Introduction
Welcome to the age of remote work and virtual meetings, where connecting with colleagues and clients across the globe is just a few clicks away. One of the most popular platforms for virtual meetings is Zoom, which provides a seamless experience for video conferencing and collaboration. Whether you’re conducting an important business meeting, hosting a virtual event, or having a productive discussion with your team, the ability to record Zoom meetings can prove to be incredibly useful.
In this digital era, recording meetings on your iPhone can be a game-changer. From capturing crucial details to revisiting important discussions, having a recording can help you stay organized, ensure accurate note-taking, and capture moments that might have been missed.
However, if you’re new to Zoom or unsure about how to record meetings on your iPhone, this guide is here to help. We’ll explore different methods that will allow you to effortlessly record Zoom meetings directly from your iPhone, ensuring that you can capture and review the content whenever and wherever you need.
So, if you’re ready to elevate your virtual meeting experience and become a master at recording Zoom meetings on your iPhone, let’s dive in!
Why you might want to record a Zoom meeting on your iPhone
Recording a Zoom meeting on your iPhone offers a plethora of benefits that can enhance your productivity, efficiency, and overall meeting experience. Let’s explore some of the key reasons why you might want to consider recording your Zoom meetings:
1. Review and Recap: Recording a Zoom meeting allows you to revisit the discussion and review key points, ensuring that you don’t miss any important details. You can go back and listen to specific parts of the meeting, making it easier to summarize and recap the main takeaways.
2. Accurate Note-Taking: While taking notes during a meeting is essential, it can be challenging to jot down every important detail in real-time. By recording the Zoom meeting on your iPhone, you can focus more on active listening and participation, knowing that you have a reliable recording that you can refer back to for accurate note-taking later.
3. Sharing with Absentees: In situations where team members or stakeholders couldn’t attend the meeting, having a recorded session allows you to share the discussion with them afterward. This ensures that everyone stays on the same page and has access to the same information, even if they couldn’t attend the live meeting.
4. Training and Education: If you’re conducting a training session or educational webinar on Zoom, recording the meeting can serve as valuable content for future trainees or students. It allows you to create a library of resources that can be accessed at any time, making it convenient for individuals who may have missed the live session or for those who need a refresher.
5. Legal and Compliance Purposes: In some cases, recording a Zoom meeting is necessary for legal or compliance reasons. It can serve as evidence in contractual agreements, sensitive discussions, or any situation where documentation is required for reference or dispute resolution.
By understanding the reasons behind recording Zoom meetings on your iPhone, you can leverage this feature to enhance your workflow, collaboration, and knowledge sharing.
How to prepare your iPhone for recording
Before you start recording Zoom meetings on your iPhone, there are a few key steps you need to take to ensure that your device is ready. Follow these tips to prepare your iPhone for a seamless recording experience:
1. Check available storage: Recording a Zoom meeting requires storage space on your iPhone. Make sure you have enough free space to accommodate the size of the recording. If you’re running low on storage, consider deleting unused apps, photos, or videos to create more space.
2. Update your iOS: Ensure that your iPhone is running on the latest iOS version. Updating your device to the latest software version not only ensures that you have access to the latest features and bug fixes, but it also improves the performance and stability of your device during the recording process.
3. Optimize battery life: Recording a Zoom meeting can consume a significant amount of battery life, especially if it is a long session. To optimize your iPhone’s battery life, close any unnecessary background apps, lower your screen brightness, and enable Low Power Mode if needed. You can also connect your iPhone to a power source during the recording to prevent any interruptions due to low battery.
4. Adjust audio and microphone settings: Before you start recording, ensure that your iPhone’s audio and microphone settings are properly configured. Go to “Settings,” tap on “Sounds & Haptics,” and adjust the volume and ringer settings according to your preference. Additionally, check that the microphone is enabled and working properly by testing it in the Voice Memos app.
5. Clear distractions: Find a quiet and distraction-free environment for recording your Zoom meetings. Minimize background noise and ensure that you have a stable internet connection to avoid any interruptions during the recording process.
By following these steps and preparing your iPhone beforehand, you can ensure a smooth and hassle-free experience while recording your Zoom meetings. Taking the time to prepare your device will give you the confidence to focus on the meeting itself, knowing that everything is set up for a successful recording.
Method 1: Use the iOS screen recording feature
If you have an iPhone running on iOS 11 or later, you have the built-in capability to record your screen, including your Zoom meetings, using the iOS screen recording feature. Follow these steps to use this method:
Step 1: Open the Control Center on your iPhone by swiping down from the top right corner for iPhone X or newer models, or swipe up from the bottom for older iPhone models.
Step 2: Look for the “Screen Recording” icon, which resembles a solid circle within another circle. If you don’t see this icon, you may need to add it to your Control Center. To do this, go to “Settings,” tap on “Control Center,” and customize the icons to include “Screen Recording.”
Step 3: Once you have located the “Screen Recording” icon, tap on it to start the screen recording. You may be prompted to customize your recording settings, such as enabling or disabling microphone audio or showing touch inputs. Adjust these settings according to your preference.
Step 4: Open the Zoom app on your iPhone and join the meeting you want to record. The screen recording will capture everything on your screen, including the video, audio, and any shared content during the meeting.
Step 5: When you’re done with the meeting, stop the screen recording by tapping on the red bar at the top of your screen or by opening the Control Center and tapping on the “Screen Recording” icon again.
Step 6: The recorded video will be saved in your Photos app. You can access it by opening the Photos app, going to the “Recents” album, and locating the screen recording video. From there, you can edit, share, or delete the recording as needed.
Method 2: Use a third-party screen recording app
If your iPhone doesn’t have the built-in screen recording feature or if you prefer more advanced recording options, you can use third-party screen recording apps available on the App Store. Here’s how you can record Zoom meetings using a third-party screen recording app:
Step 1: Open the App Store on your iPhone and search for a trusted and highly-rated screen recording app. Some popular options include “DU Recorder,” “Screen Recorder,” or “TechSmith Capture.”
Step 2: Once you have selected and downloaded the app, open it and familiarize yourself with its features and settings.
Step 3: Configure the recording settings according to your preferences. These settings may include video resolution, frame rate, audio recording options, and storage location.
Step 4: Open the Zoom app on your iPhone and join the meeting you want to record.
Step 5: Open the third-party screen recording app and start the recording. Ensure that the app is recording the screen, audio, and any additional settings you have enabled.
Step 6: Participate in the Zoom meeting as usual. The screen recording app will capture everything on your screen, including the video, audio, and any shared content during the meeting.
Step 7: When you’re done with the meeting, stop the recording in the screen recording app. Follow the app’s instructions to save the recorded video to your device or the cloud, depending on the app’s capabilities.
Step 8: Access the recorded video from within the third-party app or through the app’s designated storage location. From there, you can edit, share, or delete the recording as needed.
By using a third-party screen recording app, you can access additional features and customization options that may not be available with the built-in iOS screen recording feature. Experiment with different apps to find the one that suits your recording needs best.
Method 3: Connect your iPhone to a computer for screen recording
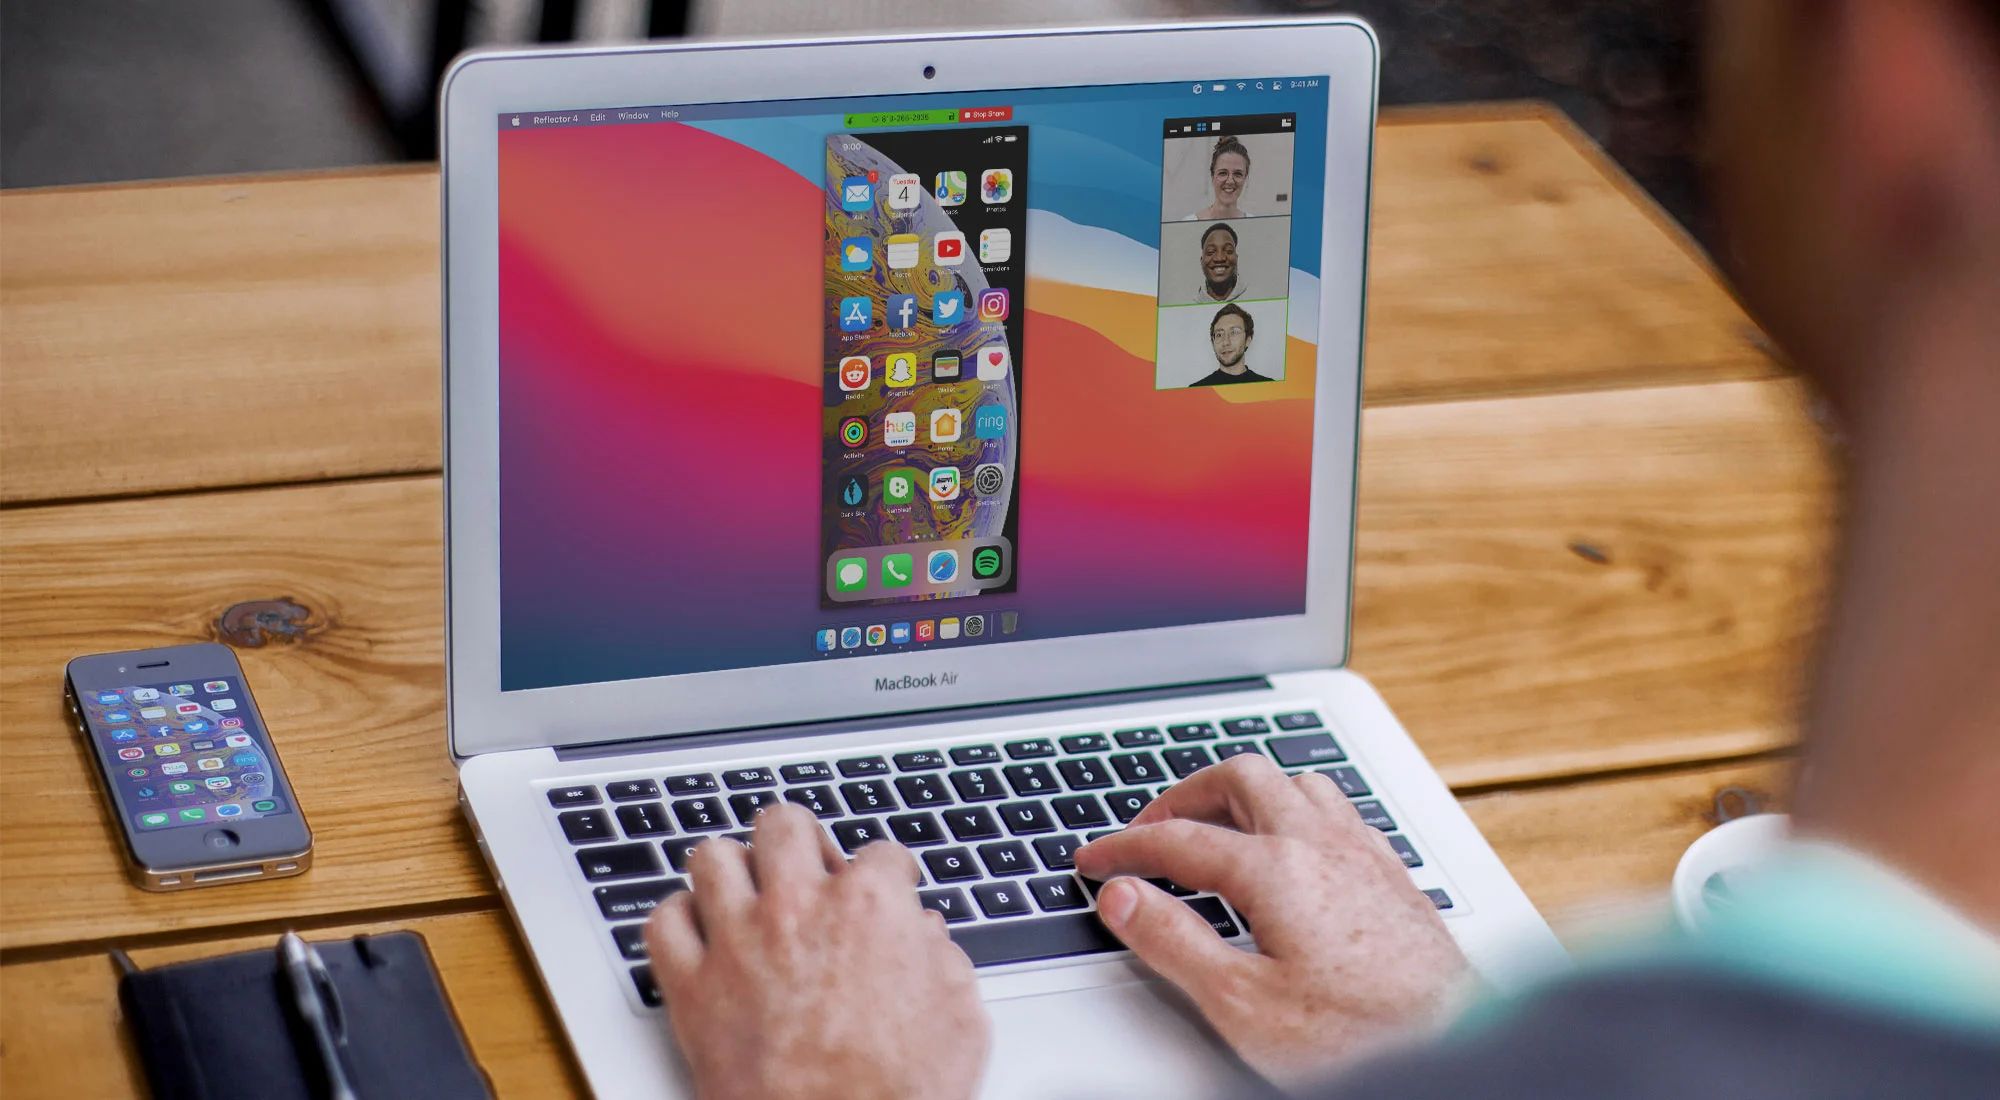
If you prefer to have more control over the recording process or require advanced editing capabilities, you can connect your iPhone to a computer and use screen recording software. Follow these steps to record your Zoom meetings by connecting your iPhone to a computer:
Step 1: Connect your iPhone to your computer using a Lightning cable or USB-C cable, depending on your device’s port.
Step 2: On your computer, launch screen recording software that supports iOS devices. Some popular options include QuickTime Player on Mac or third-party screen recording software such as OBS Studio or Camtasia.
Step 3: Configure the recording settings in the screen recording software. Ensure that the audio and video settings are set to capture your iPhone’s screen and any accompanying audio.
Step 4: Open the Zoom app on your iPhone and join the meeting you want to record.
Step 5: On your computer, start the screen recording in the screen recording software. This will capture the screen of your connected iPhone, including the Zoom meeting, audio, and any shared content.
Step 6: Participate in the Zoom meeting as usual on your iPhone. The screen recording software will record everything displayed on the iPhone screen.
Step 7: When you’re done with the meeting, stop the screen recording in the screen recording software. The recorded video will be saved to your computer, in a location specified by the software.
Step 8: Access the recorded video on your computer and use video editing software, such as iMovie or Adobe Premiere Pro, to edit and enhance the recording as needed.
By connecting your iPhone to a computer and using screen recording software, you gain more flexibility in terms of editing and post-processing. This method is particularly suitable for those who require advanced editing features or need to integrate the screen recording with other multimedia content in their projects.
Tips for successful recording
Recording Zoom meetings on your iPhone can be simple and effective with a few helpful tips. Follow these tips to ensure a successful recording experience:
1. Plan ahead: Before starting the recording, inform all meeting participants that the session will be recorded. This ensures transparency and compliance with any privacy regulations or company policies.
2. Stable internet connection: A stable internet connection is crucial for a smooth recording. Connect to a reliable Wi-Fi network or ensure that your cellular data connection is strong and stable.
3. Test audio and video quality: Prior to the meeting, check your audio and video settings to ensure optimal quality. Adjust the microphone and camera settings if needed to capture clear audio and video during the recording.
4. Use headphones: To prevent any echo or audio feedback, consider using headphones during the Zoom meeting. This helps to isolate your audio and improve the overall quality of the recording.
5. Minimize distractions: Find a quiet location for your meeting to minimize background noise. Close any unnecessary apps or notifications on your iPhone to avoid interruptions during the recording.
6. Keep your iPhone charged: Recording a Zoom meeting can consume significant battery power. Ensure that your iPhone is adequately charged or connect it to a power source to avoid disruptions due to low battery.
7. Review and edit: After the recording is complete, review the video to ensure the quality and accuracy of the content. Trim or edit the recording if necessary using video editing software to remove any irrelevant or sensitive information.
8. Backup your recordings: It’s always advisable to create backups of your recorded Zoom meetings. Store the recording files in a secure location, such as cloud storage or an external hard drive, to prevent data loss.
By implementing these tips, you can ensure a smooth and successful recording of your Zoom meetings on your iPhone. Remember to comply with any legal and ethical considerations, as well as obtain consent from participants if required, to maintain professionalism and respect privacy.
Conclusion
Recording Zoom meetings on your iPhone can be incredibly valuable for various reasons, whether it’s for reviewing discussions, sharing information with absentees, or creating educational content. With the methods outlined in this guide, you can easily capture and save your Zoom meetings with just a few simple steps.
By utilizing the iOS screen recording feature or opting for third-party screen recording apps, you can record your Zoom meetings directly on your iPhone. Additionally, connecting your iPhone to a computer and using screen recording software provides advanced editing capabilities and options.
Before you embark on your recording journey, make sure to prepare your iPhone by checking storage space, updating your iOS, optimizing battery life, adjusting audio settings, and ensuring a distraction-free environment. These preparations will help ensure a successful and uninterrupted recording experience.
Remember to follow important protocols such as informing participants about the recording and obtaining consent if necessary. It is also crucial to abide by any legal and compliance requirements regarding recording meetings.
By implementing the tips provided, you can enhance the quality of your recordings and ensure an optimal experience. Additionally, backing up your recorded Zoom meetings establishes a reliable system for keeping important meeting content secure and accessible.
So, whether you’re a business professional, educator, or simply someone who wants to capture important moments during virtual meetings, recording Zoom meetings on your iPhone is a powerful tool at your disposal. Invest the time to explore the different methods and incorporate them into your workflow to maximize the benefits of recording your Zoom meetings.
Now, armed with the knowledge and techniques shared in this guide, you can confidently record your Zoom meetings on your iPhone and unlock the full potential of your virtual collaboration and knowledge sharing experiences.


