Introduction
Welcome to the world of online meetings and collaboration! In today’s digital age, virtual communication has become an integral part of our lives. Whether you are a student attending an online class, a professional working remotely, or simply catching up with family and friends, platforms like Zoom have revolutionized the way we connect.
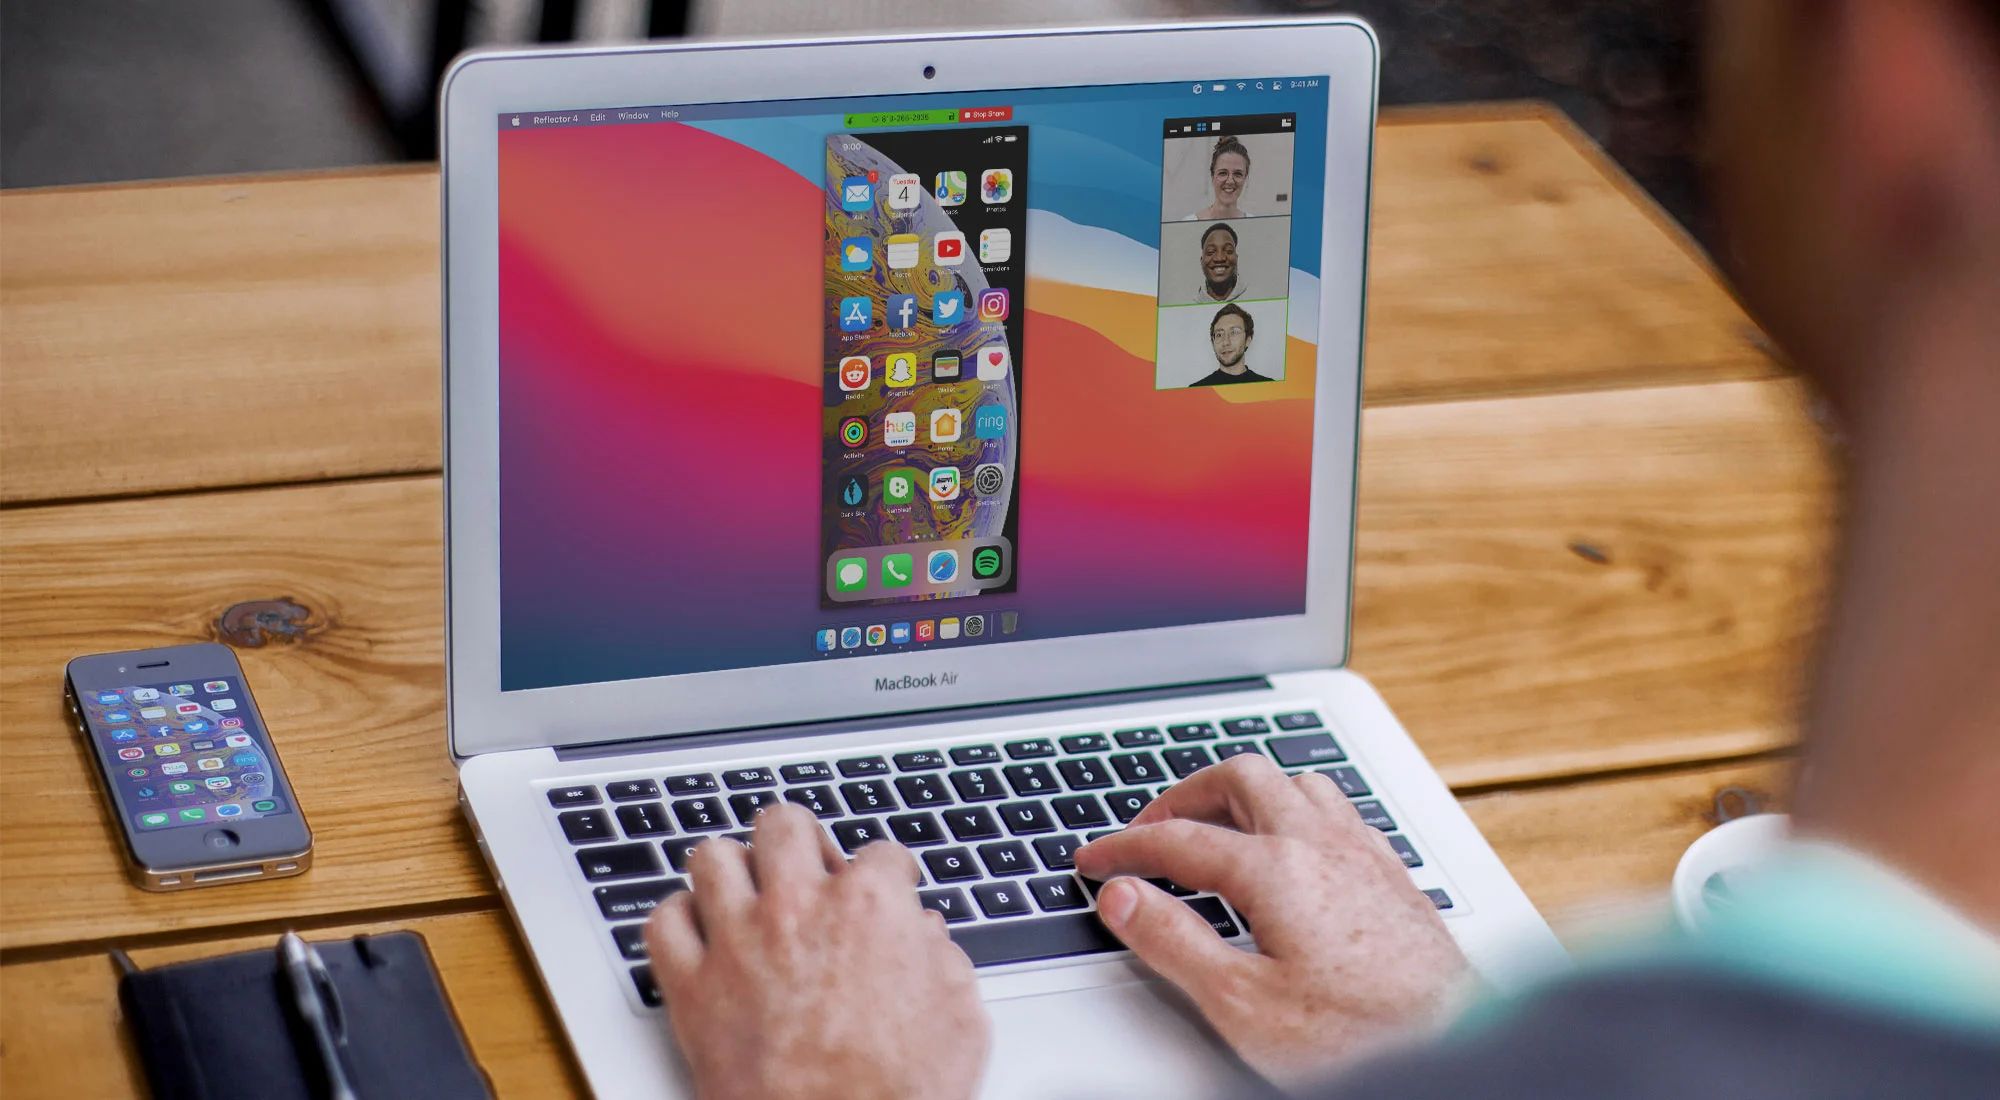
If you are a Mac user, you’re in luck. Zoom offers a seamless and user-friendly experience on Mac, allowing you to enjoy high-quality video calls, audio conferencing, and screen sharing. In this article, we will walk you through the process of sharing your screen on Zoom specifically on your Mac.
Screen sharing is a valuable feature that enables you to present slideshows, demonstrate software, collaborate on documents, or show anything on your screen to other participants in a meeting. Whether you’re using Zoom for professional purposes or personal gatherings, knowing how to share your screen on your Mac can significantly enhance your virtual communication experience.
In the following sections, we will guide you through the setup process, teach you how to start a Zoom meeting, navigate Zoom’s interface, share your screen, select specific content to share, annotate shared content, and troubleshoot any screen sharing issues you may encounter. So, let’s dive in and explore the world of screen sharing on Zoom for Mac users!
Setting Up Zoom on Mac
Before you can start sharing your screen on Zoom, you’ll need to set it up on your Mac. Here’s how:
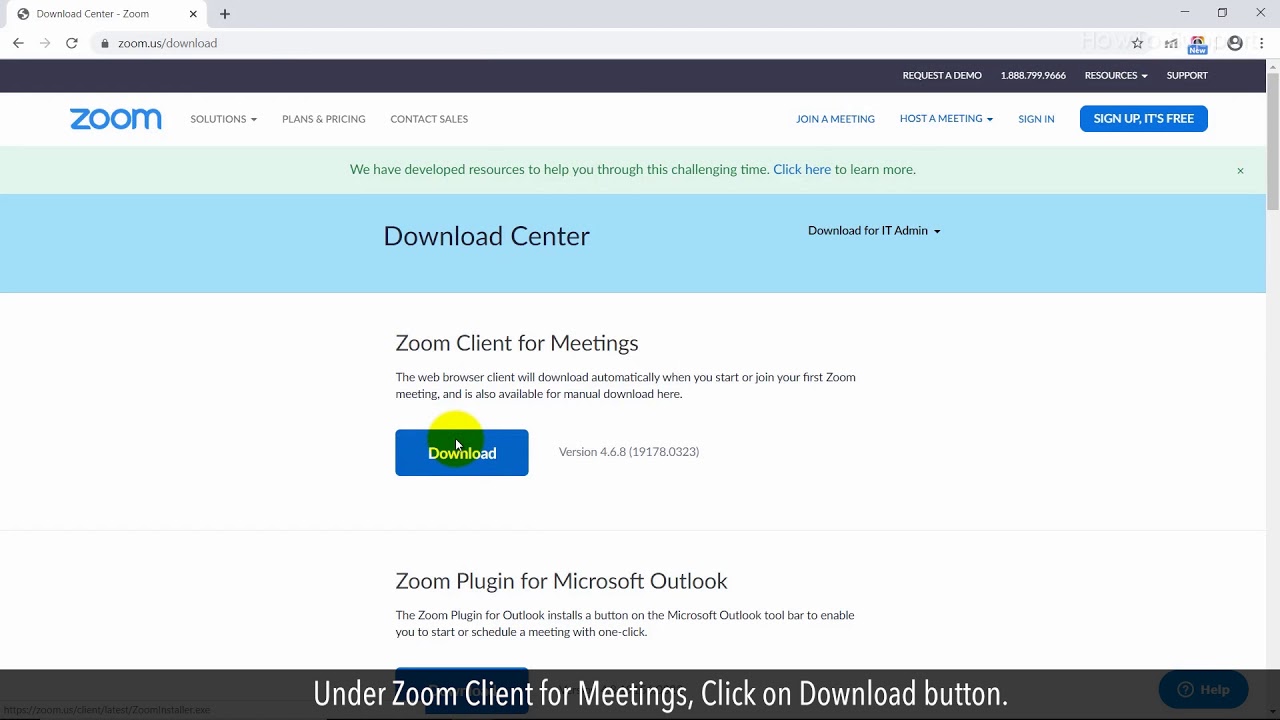
- Visit the Zoom website (https://zoom.us) and click on “Sign Up, It’s Free” to create a Zoom account if you don’t already have one. Alternatively, you can download the Zoom app from the App Store.
- Once you have signed up or downloaded the app, open Zoom on your Mac.
- Click on “Sign In” and enter your Zoom credentials to log in to your account.
- Upon successful login, you will be greeted with the main Zoom interface.
- Before you start a meeting, take a moment to customize your settings by clicking on the gear icon in the top right corner. Here, you can adjust your audio and video settings, set up meeting preferences, and configure other options to suit your needs.
- You are now ready to start a Zoom meeting and share your screen with others!
Setting up Zoom on your Mac is a straightforward process that can be completed in just a few minutes. By customizing your settings beforehand, you can ensure a smooth and personalized experience when using Zoom for screen sharing and video conferencing.
Now that you have successfully set up Zoom on your Mac, let’s move on to the next section to learn how to start a Zoom meeting.
Starting a Zoom Meeting
Now that you have Zoom set up on your Mac, it’s time to start your first meeting. Here’s a step-by-step guide on how to do it:
- Open Zoom on your Mac.
- Click on the “Sign In” button and enter your Zoom credentials.
- Once you’re signed in, you will be on the main Zoom interface.
- Click on the “New Meeting” button located on the home screen.
- Your meeting will now start, and you will have the option to enable your audio and video by clicking the respective buttons.
- To invite others to your meeting, click on the “Participants” button at the bottom of the Zoom window and select “Invite.”
- You can choose to invite participants by email, send them a Zoom meeting link, or share the meeting ID and password manually.
- Once your participants have joined, you can proceed to share your screen by clicking on the “Share Screen” button located at the bottom of the Zoom window.
- Now you can select the screen or window you want to share and click “Share.”
Starting a Zoom meeting on your Mac is a breeze, and with the ability to easily invite participants and share your screen, you’ll be able to collaborate and communicate effectively in no time.
In the next section, we’ll explore how to navigate Zoom’s interface to make the most of your meeting and screen sharing experience.
Navigating Zoom’s Interface
Zoom’s interface on Mac is designed to be intuitive and user-friendly. Familiarizing yourself with the various elements will help you navigate seamlessly during your meetings. Here’s a breakdown of Zoom’s interface:
- Home Screen: This is the first screen you see when you open Zoom. It provides quick access to your scheduled meetings, personal meeting room, and the option to start an instant meeting.
- Meeting Window: This is where your meeting takes place. It displays video feeds of participants, shared content, and meeting controls at the bottom.
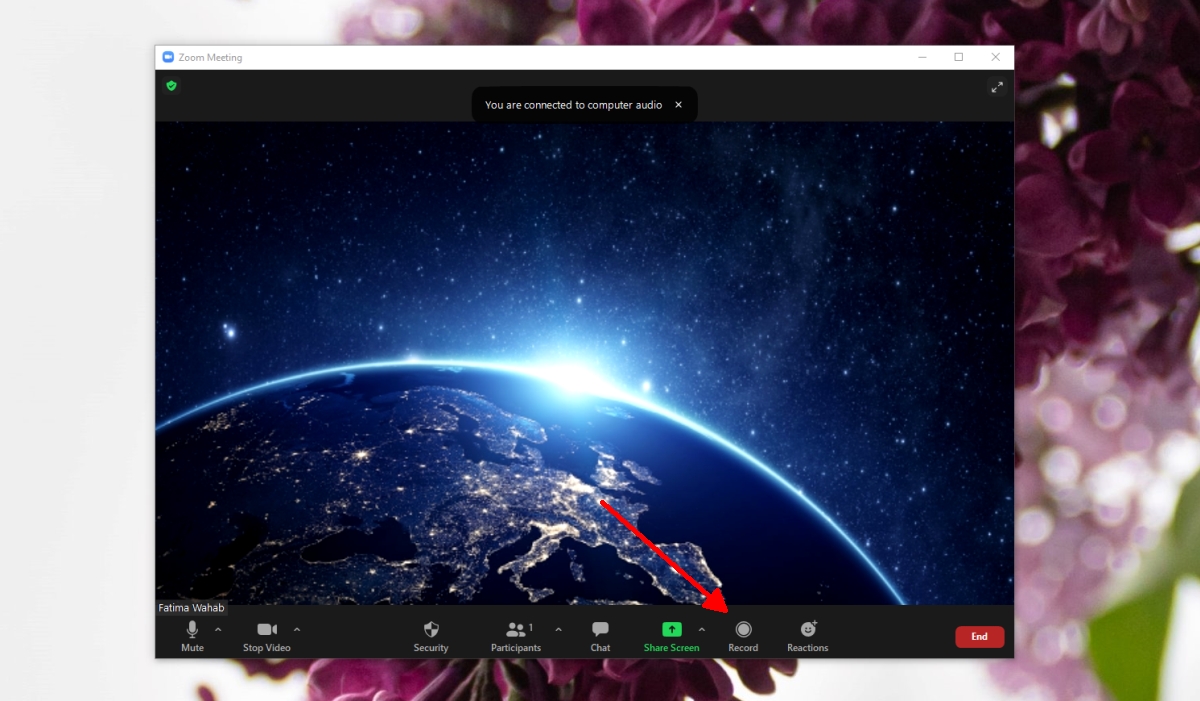
- Control Toolbar: Located at the bottom of the meeting window, the control toolbar offers various options such as audio and video controls, screen sharing, participant management, chat, and more.
- Participants Panel: You can access this panel by clicking on the “Participants” button on the control toolbar. It displays a list of participants, allowing you to manage their settings and interaction.
- Chat Panel: The chat panel can be accessed by clicking on the “Chat” button on the control toolbar. It allows you to send messages to all participants or specific individuals.
- Annotation Toolbar: When you’re sharing your screen, you can use the annotation toolbar to draw, highlight, and annotate on the shared content.
By familiarizing yourself with Zoom’s interface, you can easily navigate between different features and seamlessly manage your meetings and screen sharing sessions on your Mac.
Next, let’s explore the process of sharing your screen on Zoom and the different options available to you.
Sharing Your Screen
Screen sharing is a powerful feature in Zoom that allows you to share your screen with others in a meeting. Here’s how to share your screen on Zoom:
- Start or join a meeting on Zoom.
- Once you’re in the meeting, locate the control toolbar at the bottom of the screen.
- Click on the “Share Screen” button.
- A window will appear, displaying the different screens and windows available for sharing.
- Select the screen or specific window you want to share, then click on “Share.”
Once you start sharing your screen, the meeting participants will be able to see the content on your selected screen or window. This can include presentations, documents, web browsers, or any other application you have open on your Mac.
It’s important to note that while you’re sharing your screen, your participants will be in “Gallery View” by default, which allows them to see both your shared content and the video feeds of other participants. However, you can switch to “Speaker View” if you prefer to have the focus solely on your shared screen.
When sharing your screen on Zoom, you have the flexibility to pause or stop sharing anytime. You can also switch between different screens or windows if needed. This versatility allows you to tailor your screen sharing experience to best suit your meeting or presentation needs.
In the next section, we’ll delve into the process of selecting a specific screen or window to share on Zoom.
Selecting a Specific Screen or Window to Share
When sharing your screen on Zoom, you have the option to share your entire screen or a specific application window. This allows you to control exactly what you want your meeting participants to see. Here’s how you can select a specific screen or window to share:
- Start or join a meeting on Zoom.
- Click on the “Share Screen” button located at the bottom of the meeting window.
- In the screen sharing menu, you will see different options to choose from:
- Screen: This option allows you to share your entire screen. Simply click on the screen you want to share and then click “Share.”
- Application Window: If you only want to share a specific application window, click on “Application Window” and select the window you wish to share. Then, click “Share.”
- Whiteboard: The whiteboard option allows you to create and share a virtual whiteboard where you can draw, annotate, and write.
- iPhone/iPad: If you have an iPhone or iPad connected to your Mac, you can use this option to share the screen of your mobile device.
- Once you’ve made your selection, your chosen screen or window will be shared with the meeting participants.
By selecting a specific screen or window to share, you have the flexibility to control what information you share with others. This can be especially useful when you have multiple screens or when you want to focus participants’ attention on a particular application or document.
In the next section, we’ll explore the options available to you for annotating and controlling the shared content during a screen sharing session.
Annotating and Controlling Shared Content
Zoom provides a range of tools that allow you to annotate and control the shared content during a screen sharing session. These tools enhance collaboration and engagement with your meeting participants. Here are some of the annotation and control options available to you:
- Annotation Toolbar: When you’re in a screen sharing session, you can access the annotation toolbar by hovering your mouse over the top of the screen. This toolbar offers various annotation tools such as text, shapes, lines, and arrows. You can use these tools to draw, highlight, or write on the shared content, making it easier to emphasize important points or provide visual explanations.
- Mouse and Keyboard Control: As the presenter or screen sharer, you have the ability to request control of another participant’s mouse and keyboard. This allows you to demonstrate or navigate through an application or document. Simply click on the “Request Control” button located at the top of the screen sharing window. The participant can grant you control, and you’ll be able to interact with the shared content as if you were using their computer.
- Remote Control: You also have the option to give control to another participant during a screen sharing session. This is useful when you want someone else to take over the presentation or demonstrate a specific task. To grant remote control, click on the “More” button in the control toolbar and select the participant you wish to give control to.
- Presenter View: If you’re sharing a PowerPoint presentation, Zoom offers a “Presenter View” that allows you to see your speaker notes, upcoming slides, and the current slide. This feature helps you deliver a seamless and professional presentation while still being able to control the shared content.
By utilizing these annotation and control options, you can make your screen sharing sessions more interactive, dynamic, and collaborative. Whether you’re conducting a training session, giving a presentation, or working on a group project, these tools will assist you in effectively engaging with your meeting participants.
In the next section, we’ll address some common troubleshooting tips for screen sharing issues on Zoom.
Troubleshooting Screen Sharing Issues
While using Zoom for screen sharing on your Mac, you might encounter certain issues. Here are some common troubleshooting tips to help resolve screen sharing issues:
- Check System Requirements: Ensure that your Mac meets the system requirements for Zoom. Make sure you have the latest version of Zoom installed and that your operating system is up to date.
- Permissions: Check your Mac’s privacy settings to ensure that Zoom has the necessary permissions to access your screen. Go to System Preferences > Security & Privacy > Privacy, and ensure that Zoom is allowed to access the screen recording and accessibility features.
- Restart Zoom: Sometimes simply restarting the Zoom app can resolve screen sharing issues. Close the app completely and reopen it to see if the problem persists.
- Disable Other Applications: Certain applications or software running in the background can interfere with screen sharing. Close any unnecessary applications or disable conflicting software before starting a screen sharing session.
- Update Graphics Drivers: Outdated or incompatible graphics drivers can cause issues with screen sharing. Check for any available updates for your Mac’s graphics drivers and install them if necessary.
- Switch Browsers: If you’re using the Zoom web client, try switching to a different browser. Certain browsers may have compatibility issues with Zoom, so using an alternative browser can sometimes solve screen sharing problems.
- Check Network Connection: A stable internet connection is crucial for smooth screen sharing. Ensure that you have a strong and reliable internet connection. Consider connecting to a wired network or moving closer to your Wi-Fi router for a better signal.
- Restart Your Mac: If all else fails, try restarting your Mac. This can help resolve any underlying software conflicts or temporary issues that may be affecting screen sharing on Zoom.
If you continue to experience screen sharing issues despite trying these troubleshooting tips, it may be helpful to consult Zoom’s support resources or contact their customer support for further assistance.
With these troubleshooting techniques in mind, you’ll be better equipped to tackle any screen sharing issues that may arise during your Zoom meetings on your Mac.
Now that we’ve covered troubleshooting, let’s conclude our journey through screen sharing on Zoom for Mac users.
Conclusion
Screen sharing on Zoom for Mac opens up a world of possibilities for remote collaboration, online presentations, and virtual meetings. By following the steps outlined in this guide, you can easily set up Zoom on your Mac, start a meeting, navigate through Zoom’s interface, and share your screen with participants.
Remember to customize your settings, familiarize yourself with the annotation and control options, and troubleshoot any common screen sharing issues that may arise. By utilizing these features and techniques, you can enhance your virtual communication experience and make your meetings more engaging and interactive.
Whether you’re a student attending virtual classes, a professional conducting remote presentations, or simply catching up with loved ones, knowing how to share your screen on Zoom is a valuable skill. The ability to showcase content, collaborate in real-time, and engage with others visually can make a significant impact on your remote communication and productivity.
So, take the time to explore and experiment with screen sharing on Zoom for your Mac. Embrace the power of technology and utilize this innovative feature to connect, collaborate, and communicate effectively in the virtual world.
With Zoom, your Mac becomes a gateway to seamless and dynamic screen sharing experiences. Now, it’s time to embark on your own screen sharing adventures and make the most of your Zoom meetings on your Mac!


