Introduction
Welcome to the world of Zoom, the popular video conferencing platform that allows users to connect and collaborate seamlessly. Whether you’re a business professional needing to host a virtual meeting, a teacher conducting online classes, or simply wanting to catch up with friends and family, mastering Zoom is essential in today’s digital landscape.
With its user-friendly interface and powerful features, Zoom has gained widespread popularity for its ability to bring people together from different corners of the globe. It offers a smooth and interactive way to communicate face-to-face, eliminating the need for physical gatherings.
In this guide, we will take you through the step-by-step process of starting a Zoom meeting. By following these easy instructions, you’ll be able to set up and conduct a successful Zoom meeting in no time.
Whether you’re a first-time user or simply need a refresher, this guide will equip you with the knowledge and skills you need to confidently navigate and utilize the features of Zoom. Let’s dive in!
Step 1: Download and Install Zoom
The first step in starting a Zoom meeting is to download and install the Zoom application on your device. Zoom is available for a variety of platforms, including Windows, Mac, iOS, and Android.
To begin, open your preferred web browser and visit the official Zoom website at zoom.us. From there, navigate to the “Resources” section and click on the “Download” button. This will initiate the download process for the Zoom application.
Once the file has finished downloading, locate it in your designated downloads folder and double-click on it to begin the installation process. Follow the on-screen prompts to complete the installation.
After the installation is complete, launch the Zoom application from your desktop or applications folder. You will be prompted to sign in or create a new account. If you don’t have an existing Zoom account, go ahead and click on the “Sign Up” button to create one using your email address or by signing in with your Google or Facebook account.
Once you have signed in or created a new account, the Zoom application will open, and you will have access to the various features and settings. You are now ready to start scheduling and hosting your Zoom meetings.
Having the Zoom application installed on your device ensures a seamless and efficient experience when starting and joining Zoom meetings. It allows you to take full advantage of the extensive features and customization options that Zoom provides.
Now that you have successfully downloaded and installed Zoom, let’s move on to the next step: creating a Zoom account.
Step 2: Create a Zoom Account
To fully utilize the features of Zoom and manage your meetings effectively, you need to create a Zoom account. Creating an account is free and only takes a few moments.
To get started, open the Zoom application on your device or visit the Zoom website. If you’re using the application, click on the “Sign Up” button on the home screen. If you’re on the website, click on the “Sign Up, It’s Free” button.
Next, you’ll be prompted to enter your email address. Provide a valid email address that you have access to as this will be used for account verification and communication purposes.
After entering your email address, click on the “Sign Up” button. You will receive an email from Zoom with a verification link. Open your email inbox, find the email from Zoom, and click on the verification link. This will verify your email address and complete the sign-up process.
Once your email is verified, you can proceed to fill out the required information, including your name, password, and your desired Zoom display name. Make sure to choose a strong password to ensure the security of your account.
Additionally, you have the option to sign up with your Google or Facebook account. This simplifies the sign-up process as you can use your existing account credentials.
Once you’ve filled in all the necessary information, click on the “Continue” button. Congratulations! You have successfully created your Zoom account.
Your Zoom account provides you with access to a range of features, including hosting meetings, scheduling future meetings, managing participants, and customizing meeting settings. It also allows you to access your meeting history, recordings, and other account-related information.
Now that you have your Zoom account set up, you are ready to move on to the next step: scheduling a Zoom meeting.
Step 3: Schedule a Zoom Meeting
Scheduling a Zoom meeting allows you to plan and organize your virtual gatherings in advance. This step ensures that your participants are aware of the meeting details and have sufficient time to prepare.
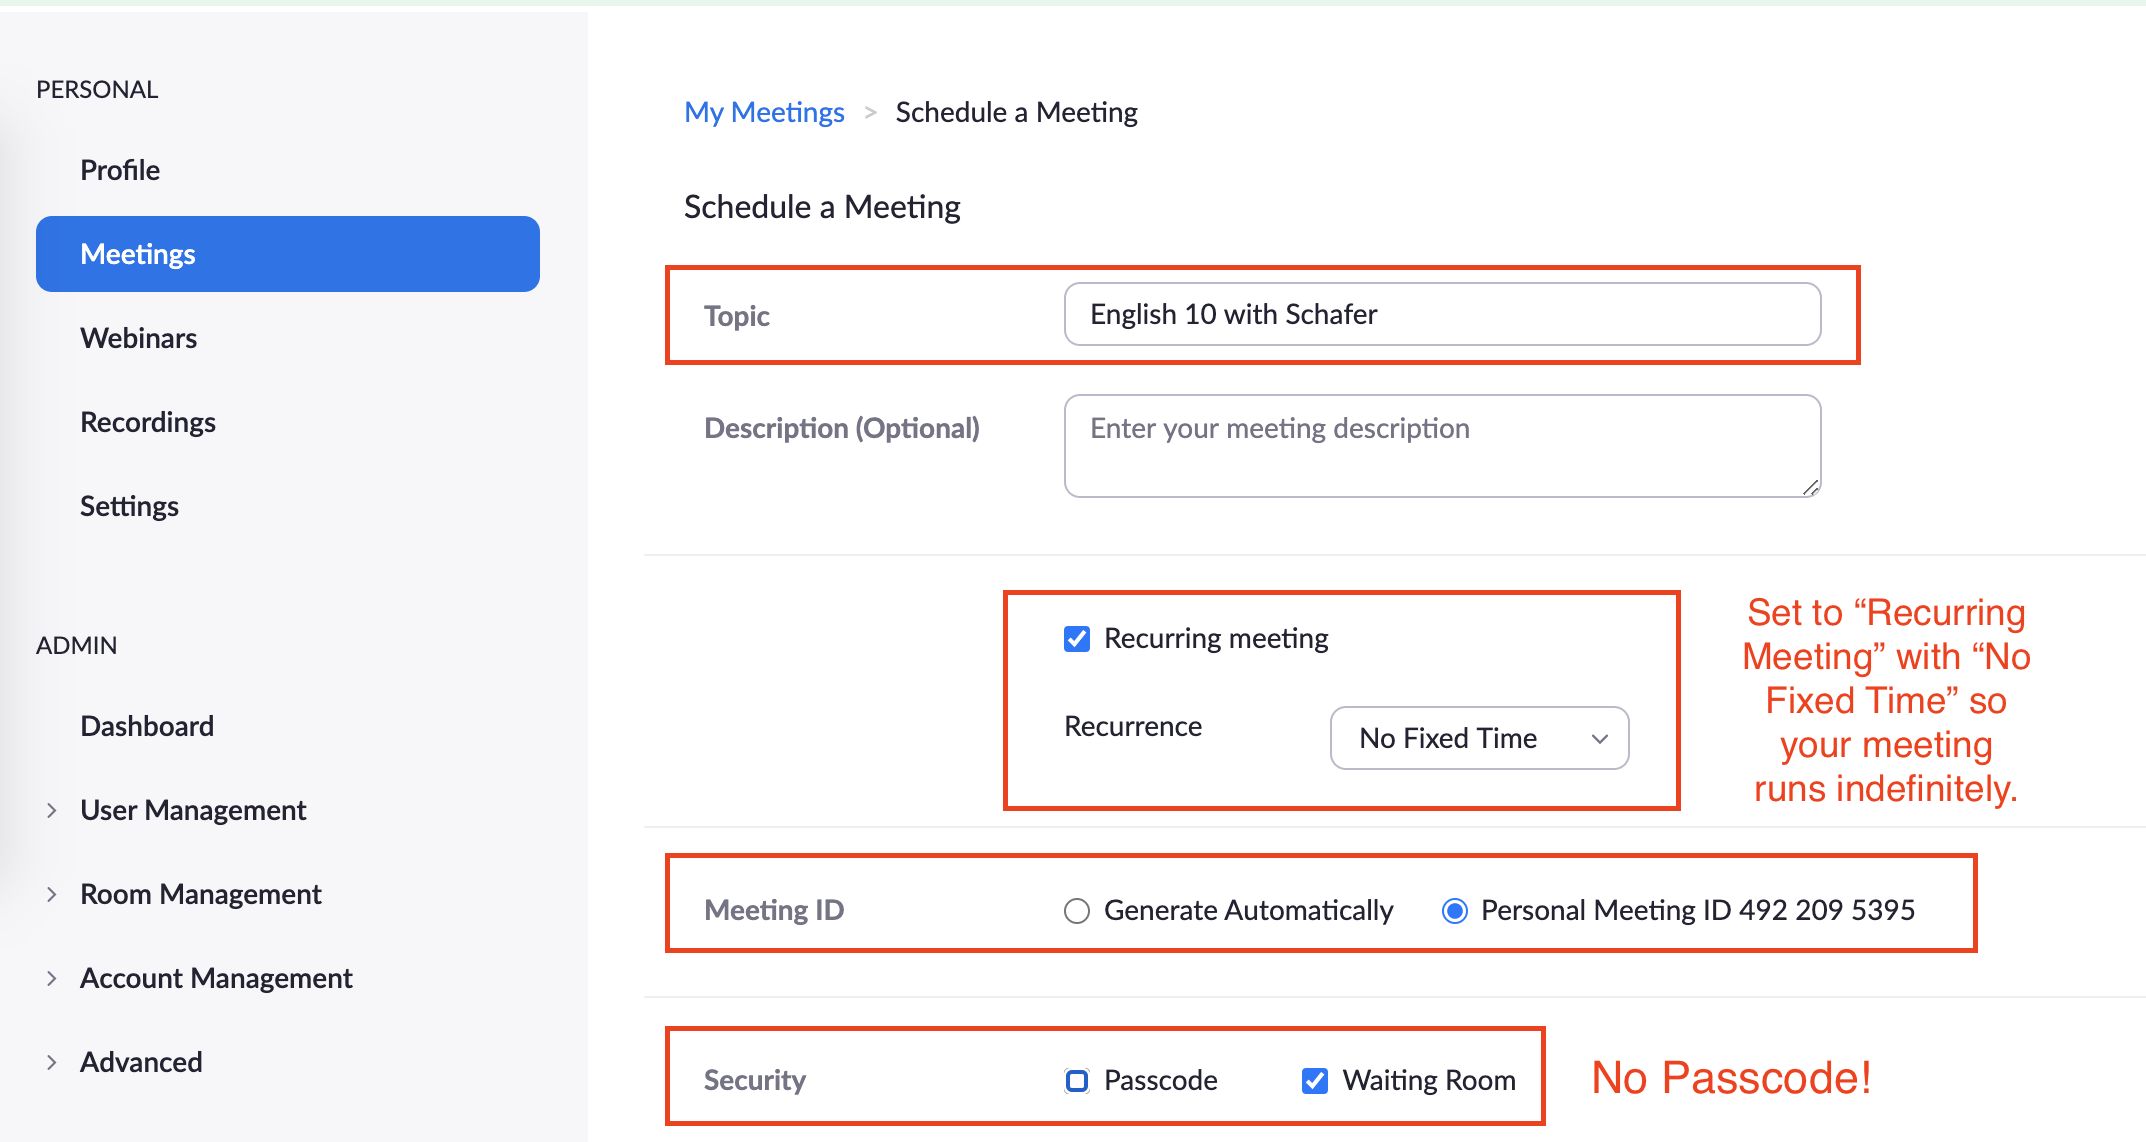
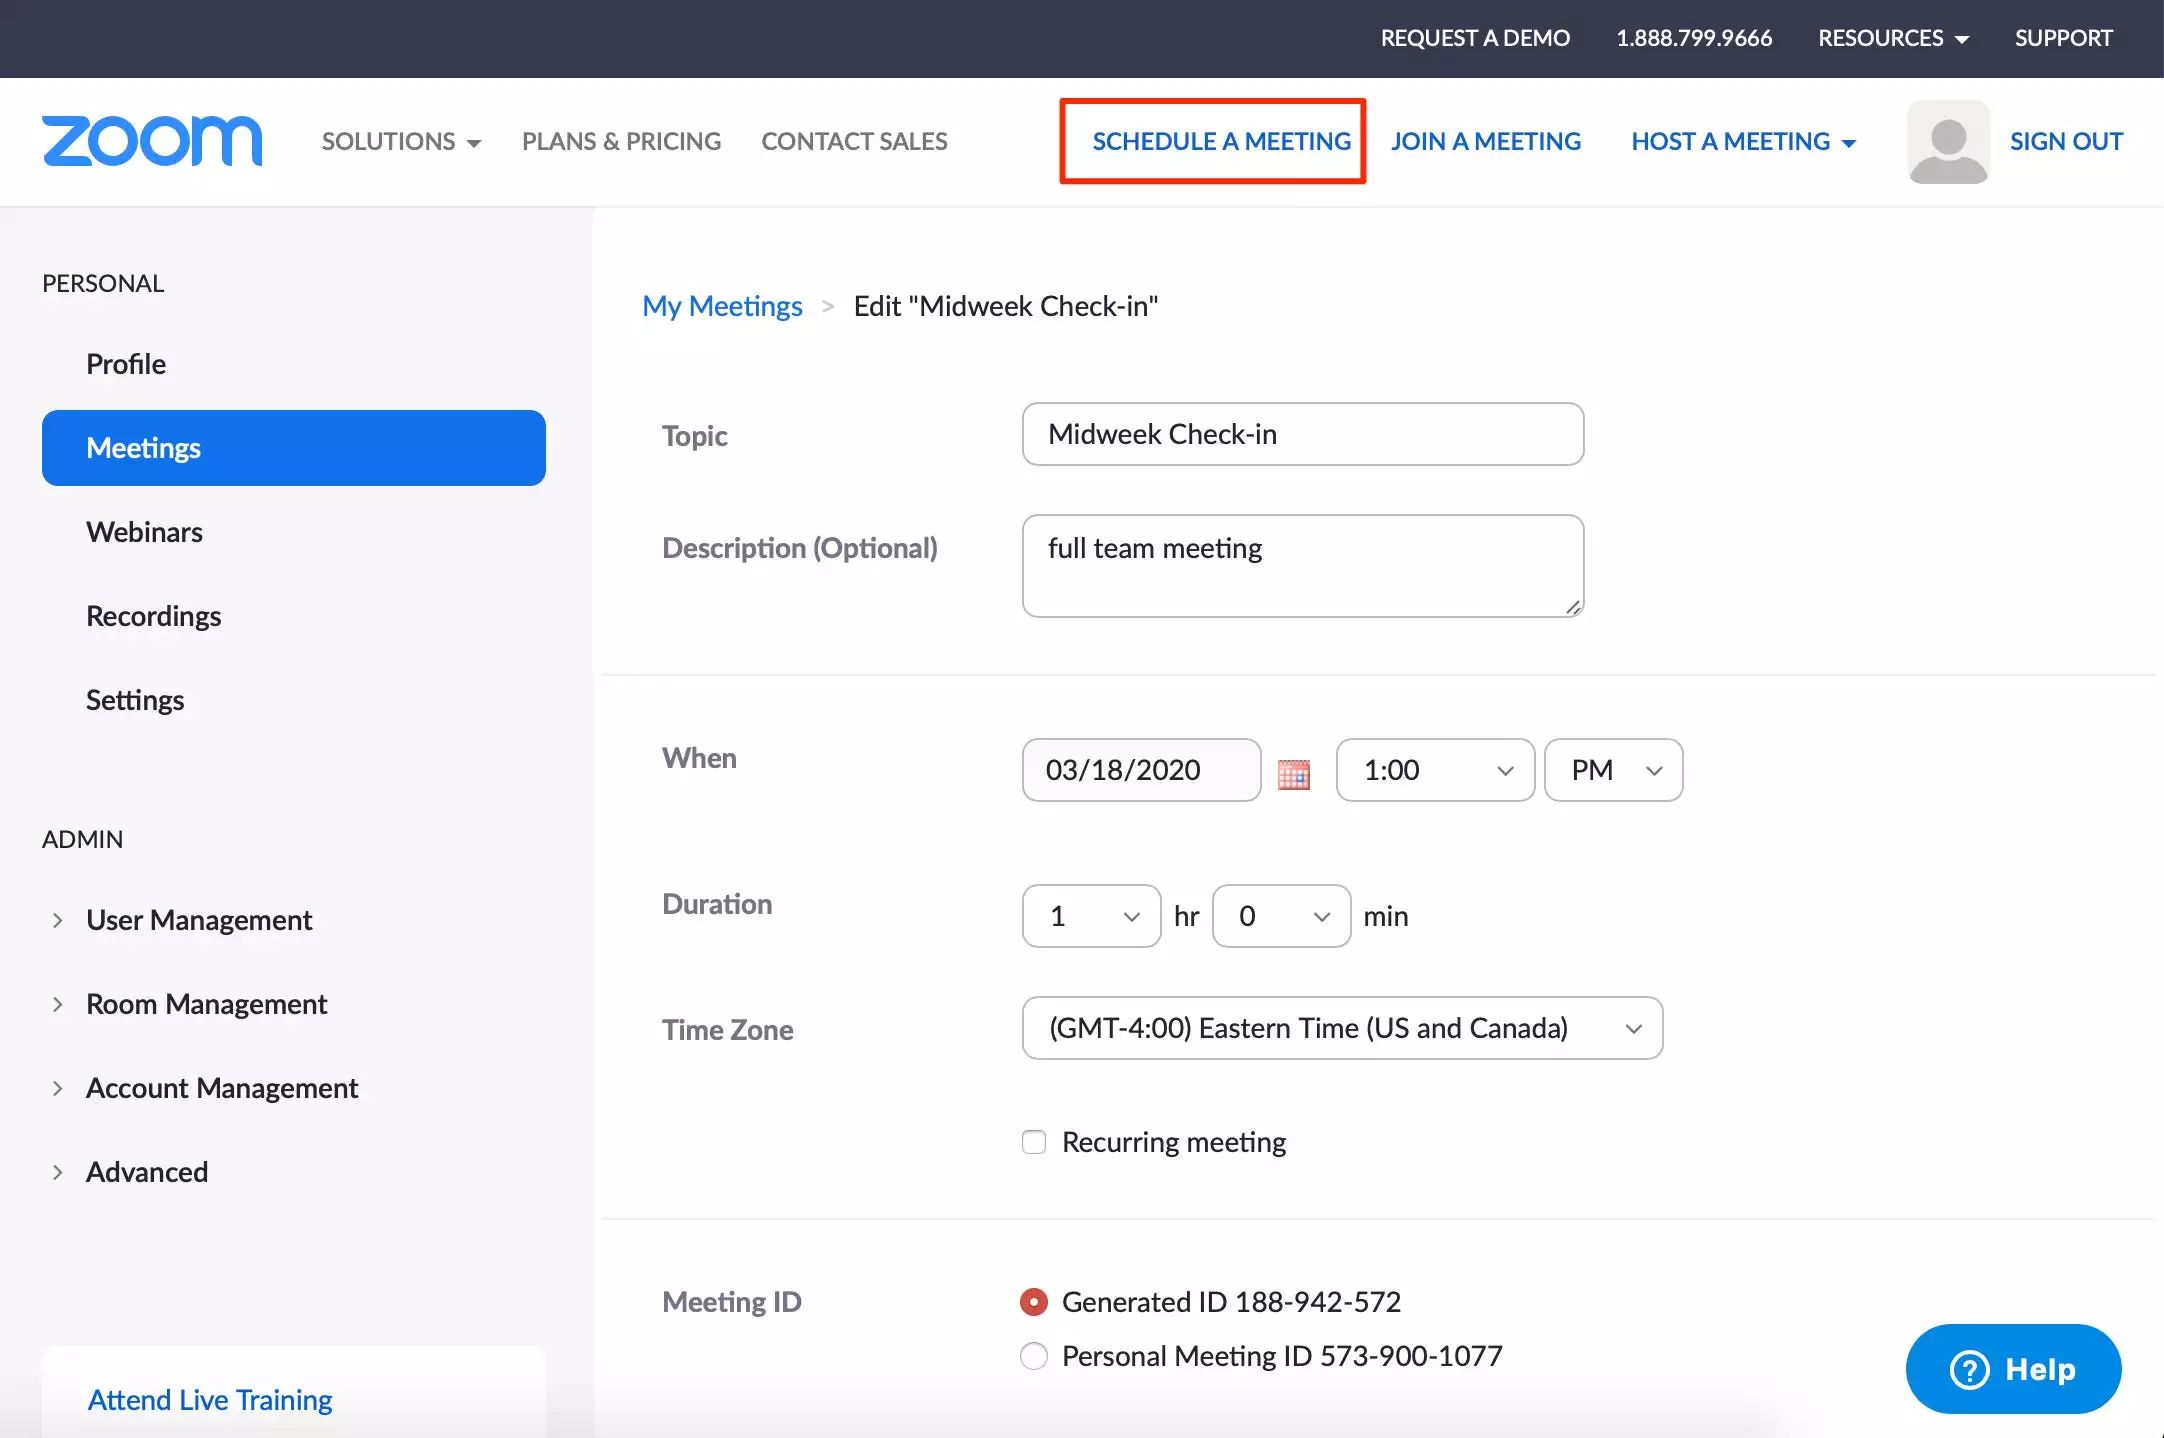
To schedule a Zoom meeting, open the Zoom application and sign in to your account. Once you’re logged in, click on the “Schedule” button located on the home screen. This will open a new window where you can enter the meeting details.
Start by providing a descriptive title for your meeting in the “Topic” field. This should accurately summarize the purpose or topic of your meeting to make it easily identifiable to participants.
Next, select the date and time for your meeting. Click on the respective drop-down menus to choose the desired date and time. You can also customize the duration of the meeting by adjusting the start and end times.
Below the date and time settings, you have the option to enable additional settings such as requiring a meeting password, enabling waiting room, and enabling join before host. These options help in managing security and control over meeting participants.
Scrolling down, you’ll find options to configure the audio and video settings for the meeting. Choose whether you want participants to join with video and audio enabled by default or if they should have the ability to enable or disable their own audio and video.
Further down, you can specify whether participants should register for the meeting in advance. This can be useful for keeping track of attendees and acquiring necessary information before the meeting.
In the next section, you can add any additional advanced options, such as enabling a waiting room, enabling automatic recording, and allowing participants to join with their personal meeting ID.
Lastly, click on the “Schedule” button to finalize the meeting details and schedule the Zoom meeting. The application will then generate a unique meeting ID and invitation link that you can share with participants.
You can copy the meeting invitation and share it via email, messaging apps, or any other communication channel. The meeting invitation includes all the necessary information for participants to join, including the meeting ID, password, and the provided invitation link.
With your Zoom meeting successfully scheduled, participants can now save the date and prepare for the upcoming virtual gathering. Now, let’s move on to the next step: inviting participants to the Zoom meeting.
Step 4: Invite Participants to the Zoom Meeting
Once you have scheduled your Zoom meeting, the next step is to invite participants and ensure that they have all the necessary information to join the meeting successfully.
There are multiple ways to invite participants to your Zoom meeting:
1. Send Email Invitations: In the Zoom application, click on the “Invite” button for the scheduled meeting. This will open a new window where you can enter the email addresses of the participants. Customize the invitation message if needed and click “Send” to send out the email invitations.
2. Copy the Meeting Invitation: In the Zoom application, click on the “Invite” button for the scheduled meeting. This will display the meeting invitation with all the necessary details, including the meeting ID, password, and the invitation link. You can copy the invitation and share it via email, messaging apps, or any other communication channel.
3. Share the Meeting Details: You can manually share the meeting details with participants via any communication method of your choice, such as email, messaging apps, or even through social media platforms. Include the meeting ID, password, and the invitation link for easy access.
When inviting participants, be sure to provide clear instructions on how to join the meeting. Include details such as the meeting start time, the meeting ID, and the password required, if applicable. Encourage participants to join a few minutes before the scheduled start time to ensure a smooth and timely start to the meeting.
If you have registered participants for your meeting, they will receive email reminders and notifications with the necessary information before the scheduled start time.
It’s also a good practice to follow up with participants closer to the meeting date and time to ensure that they have received the invitation and are prepared to join the Zoom meeting.
With participants successfully invited, they will have all the information needed to join your Zoom meeting. Now, let’s move on to the next step: joining a Zoom meeting as the host.
Step 5: Join a Zoom Meeting as the Host
As the host of a Zoom meeting, it’s important for you to know how to join the meeting successfully. Whether you’re starting a meeting you scheduled or joining someone else’s meeting, the process is straightforward.
To join a Zoom meeting as the host, follow these simple steps:
1. Using the Zoom application:
- Open the Zoom application on your device.
- Click on the “Sign In” button if you’re not already logged in. Enter your Zoom account credentials and sign in.
- Once signed in, click on the “Join” button.
- Enter the meeting ID provided by the organizer in the designated field.
- If a meeting password is required, enter it as well.
- Click on the “Join” button to join the meeting.
2. Using the meeting invitation link:
- Open the meeting invitation email or message that you received from the meeting organizer.
- Click on the provided meeting invitation link.
- If prompted, enter your name as you would like it to appear during the meeting.
- Click on the “Join” button to join the meeting.
Once you have successfully joined the meeting, you will have access to a variety of meeting controls and features as the host. These include the ability to start or stop video, mute or unmute participants, manage screen sharing, and more.
Make sure to familiarize yourself with these controls to effectively manage the meeting and ensure a smooth experience for all participants. You can access these controls through the menu bar at the bottom of the meeting window.
Remember to join the meeting a few minutes before the scheduled start time to greet and prepare for your participants. It’s a good idea to check your audio and video settings beforehand to ensure they are functioning properly.
As the host, it’s your responsibility to facilitate the meeting, engage participants, and manage the flow of the discussion. Be prepared to introduce the meeting agenda, guide participants through the agenda items, and address any questions or issues that may arise during the meeting.
With these steps, you are now equipped to join a Zoom meeting as the host. In the next step, we will explore how to effectively manage participants during the Zoom meeting.
Step 6: Manage Participants during the Zoom Meeting
Managing participants during a Zoom meeting allows you to maintain control, ensure smooth communication, and create a productive virtual environment. As the host, you have various options to manage participants and their interactions within the meeting.
Here are some key participant management features and tips:
Mute or Unmute Participants: As the host, you have the ability to mute or unmute participants’ audio. This can be helpful in minimizing background noise and ensuring that only one person speaks at a time. To mute or unmute a participant, click on the “Mute” or “Unmute” button next to their name in the participant list.
Manage Screen Sharing: Screen sharing allows participants to show their screens, presentations, or documents. As the host, you can control and manage screen sharing capabilities. Click on the “Share Screen” button on the meeting toolbar to enable screen sharing, and select who can share their screen. You can also disable screen sharing completely if needed.
Manage Chat: The chat feature in Zoom allows participants to communicate through text messages. As the host, you can control whether participants can send messages to everyone, only to you as the host, or to no one at all. You can also disable private chats among participants.
Raise Hand Feature: The “Raise Hand” feature allows participants to virtually indicate that they have a question or would like to speak. As the host, you can see the raised hands and decide when to address them. To enable the “Raise Hand” feature, click on the “Participants” button on the meeting toolbar and select “Raise Hand” from the participant list.
Remove Participants: In certain cases, you may need to remove a participant from the meeting. To do so, click on the “Participants” button on the meeting toolbar, hover over the participant’s name, and click on the “Remove” button. Confirm the removal when prompted.
Spotlight Video: The “Spotlight Video” feature allows you to focus the attention of all participants on a specific video feed. You can choose to spotlight your own video or another participant’s video. To use this feature, click on the “Participants” button, locate the participant’s video, and click on “Spotlight” next to their name.
Remember to use these participant management features responsibly and effectively. Encourage participants to respect one another and create a positive virtual environment where everyone can contribute and participate.
By managing participants during the Zoom meeting, you can ensure effective communication, minimize disruptions, and create a conducive virtual space for collaboration and discussion. Now that you know how to manage participants, let’s move on to the next step: sharing your screen during the Zoom meeting.
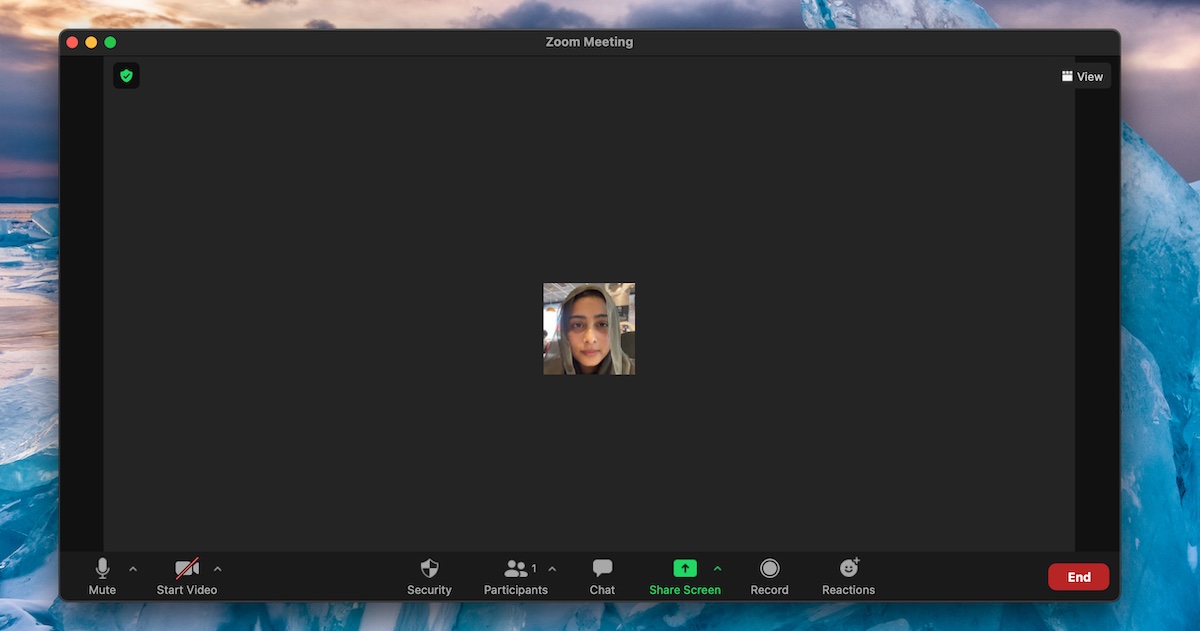
Step 7: Share Your Screen during the Zoom Meeting
Sharing your screen during a Zoom meeting allows you to present documents, slideshows, webpages, or any other content to the participants. This feature is especially useful for collaborative discussions, presentations, or training sessions. As the host, you have the ability to share your screen with ease.
To share your screen during a Zoom meeting, follow these steps:
1. With the Zoom meeting window open, locate the meeting toolbar at the bottom of the screen. Click on the “Share Screen” button.
2. A new window will open, displaying a list of the screens or applications that you can share. You can choose to share your entire screen, a specific application, or a specific portion of your screen.
3. Select the screen or application you want to share by clicking on it. If you choose to share a portion of your screen, click and drag to select the desired area.
4. Click on the “Share” button to start sharing your screen.
Once you start sharing your screen, participants in the meeting will be able to see the content you are sharing in real-time. They can follow along, take notes, or interact with the shared content depending on the meeting settings and permissions granted.
During screen sharing, the meeting toolbar will appear at the top of the screen, allowing you to control the sharing options. You can stop sharing your screen, annotate on the shared screen, pause or resume the sharing, and more.
While sharing your screen, it’s important to keep in mind the following tips:
Prepare your content: Make sure you have your content ready to share before starting the screen sharing. This can include PowerPoint presentations, documents, webpages, or other visual aids that support your discussion or presentation.
Minimize distractions: Close any unnecessary applications, notifications, or tabs that are not relevant to the shared content. This helps to minimize distractions and ensures that participants can focus on the screen sharing.
Engage participants: Encourage participants to ask questions or provide feedback during the screen sharing session. Utilize interactive tools such as Zoom’s annotation feature or chat box to facilitate engagement and foster participation.
End screen sharing: Once you’re done sharing your screen, click on the “Stop Share” button in the meeting toolbar. This will stop the screen sharing and return the focus to the meeting interface.
By utilizing the screen sharing feature, you can enhance the effectiveness and engagement of your Zoom meetings. Whether it’s for presentations, collaboration, or training, sharing your screen provides you with a powerful tool for conveying information and ideas to your participants.
Now that you know how to share your screen, let’s proceed to the next step: recording the Zoom meeting for future reference.
Step 8: Record the Zoom Meeting
Recording a Zoom meeting allows you to capture the entire session for future reference, sharing it with those who couldn’t attend or for personal documentation purposes. As the host, you have the ability to start and stop the recording during the meeting.
To record a Zoom meeting, follow these steps:
1. With the Zoom meeting window open, locate the meeting toolbar at the bottom of the screen. Click on the “Record” button.
2. A menu will appear with recording options. Choose whether you want to record to the cloud or to your local device. Select the desired option based on your preference and available storage.
3. Once you’ve made your selection, the recording will start automatically. A “Recording…” indicator will appear on the top-left corner of the meeting window to indicate that the meeting is being recorded.
4. During the meeting, you can continue with your discussions, presentations, or activities as usual. The entire meeting, including audio, video, and shared content, will be captured in the recording.
5. When you’re ready to stop the recording, click on the “Stop Recording” button in the meeting toolbar. Alternatively, you can end the meeting, and the recording will automatically stop.
6. After the recording has stopped, Zoom will process and save the recording based on your chosen recording location (cloud or local device).
Once the recording is complete, you can access and manage it through the Zoom application or the Zoom web portal. If you recorded to the cloud, you will receive an email notification with the recording details and a link to access it online.
It’s worth noting that recording a Zoom meeting should always be done with the consent and awareness of all participants. Respect privacy and confidentiality by informing participants beforehand and allowing them to opt-out of the recording if necessary.
Recording meetings can be beneficial for various reasons:
- Archiving and documentation: Store a permanent record of important discussions, decisions, and presentations for future reference.
- Review and analysis: Review the meeting recording to revisit key points, analyze participants’ contributions, or extract valuable information.
- Sharing and collaboration: Share the recorded meeting with individuals who couldn’t attend, providing them with the opportunity to catch up on the discussions and outcomes.
- Training and educational purposes: Use recorded meetings for training purposes, employee onboarding, or educational resources.
Remember to check local laws and regulations regarding the recording of meetings to ensure compliance.
Now that you know how to record a Zoom meeting, let’s move on to the final step: ending the Zoom meeting.
Step 9: End the Zoom Meeting
Ending a Zoom meeting is the final step in successfully wrapping up your virtual gathering. As the host, you have the authority to close the meeting and disconnect all participants.
To end a Zoom meeting, follow these simple steps:
1. With the Zoom meeting window open, locate the meeting toolbar at the bottom of the screen.
2. Click on the “End Meeting” button.
3. A confirmation dialog box will appear, asking if you want to end the meeting for all participants. Click on the “End Meeting” button once again to confirm.
4. The meeting will now end, and all participants will be disconnected.
Ending the meeting signals the official completion of the discussion or activity, allowing participants to leave the virtual gathering and carry on with their day.
Before clicking the “End Meeting” button, it’s important to ensure that all desired discussions, announcements, or additional activities have been addressed. Give participants a gentle reminder that the meeting is coming to a close to allow them to ask any final questions or provide any necessary feedback.
Ending the Zoom meeting doesn’t mean that the collaboration ends. Participants can continue discussions via other communication channels or schedule follow-up meetings if needed.
After ending the meeting, you can access the meeting summary and recording (if applicable) through your Zoom account or the Zoom web portal.
Remember that a smooth ending to the meeting contributes to a positive overall experience for participants. Take a moment to thank everyone for their participation, summarize any key points or decisions made during the meeting, and express your appreciation for their time and contributions.
Now that you know how to effectively end a Zoom meeting, you have successfully completed all the essential steps in starting, hosting, and managing a successful Zoom meeting. Congratulations!
By following these steps, you can confidently navigate the Zoom platform and harness its powerful features to connect, collaborate, and communicate with individuals from anywhere in the world.
Thank you for joining us in this guide, and we hope that it has provided you with valuable insights and skills to make the most out of your Zoom meetings.
Conclusion
Zoom has revolutionized the way we connect and collaborate, especially in today’s digital landscape where remote communication is more important than ever. With its user-friendly interface, powerful features, and seamless connectivity, Zoom has become the go-to platform for virtual meetings, presentations, webinars, and more.
In this guide, we have walked you through the essential steps to start, host, and manage a successful Zoom meeting. From downloading and installing the Zoom application to scheduling meetings, inviting participants, and effectively managing interactions, you now have the skills and knowledge to navigate the Zoom platform confidently.
By following these steps, you can create a productive virtual environment where ideas can be shared, discussions can take place, and collaborations can flourish. Whether you’re a business professional, educator, or simply looking to connect with friends and family, Zoom provides the tools to make communication enjoyable and efficient.
Remember to make use of the various features available, such as screen sharing, participant management, and recording, to enhance the engagement and impact of your Zoom meetings. Additionally, maintain a respectful and inclusive environment for all participants, allowing everyone to contribute and be heard.
As technology continues to evolve, Zoom remains at the forefront of virtual communication. Stay up to date with the latest updates and enhancements that Zoom offers to unlock even more possibilities for seamless remote collaboration.
Now that you have the knowledge and skills to host successful Zoom meetings, go ahead and put them into practice. Adapt and refine your approach based on the needs of each meeting and the participants involved. Embrace the power of Zoom to connect, collaborate, and communicate effectively in the digital age.
Thank you for joining us on this journey of mastering Zoom. We hope that this guide has equipped you with the necessary tools and insights to make the most of your Zoom meetings. Happy Zooming!