Introduction
Zoom has become an essential tool for remote collaboration and communication. Whether you’re attending virtual meetings, engaging in online classes, or simply catching up with friends and family, Zoom offers a versatile platform for connecting with others. As an SEO writer, it’s crucial to understand how to optimize the sharing of audio on Zoom to enhance the overall user experience.
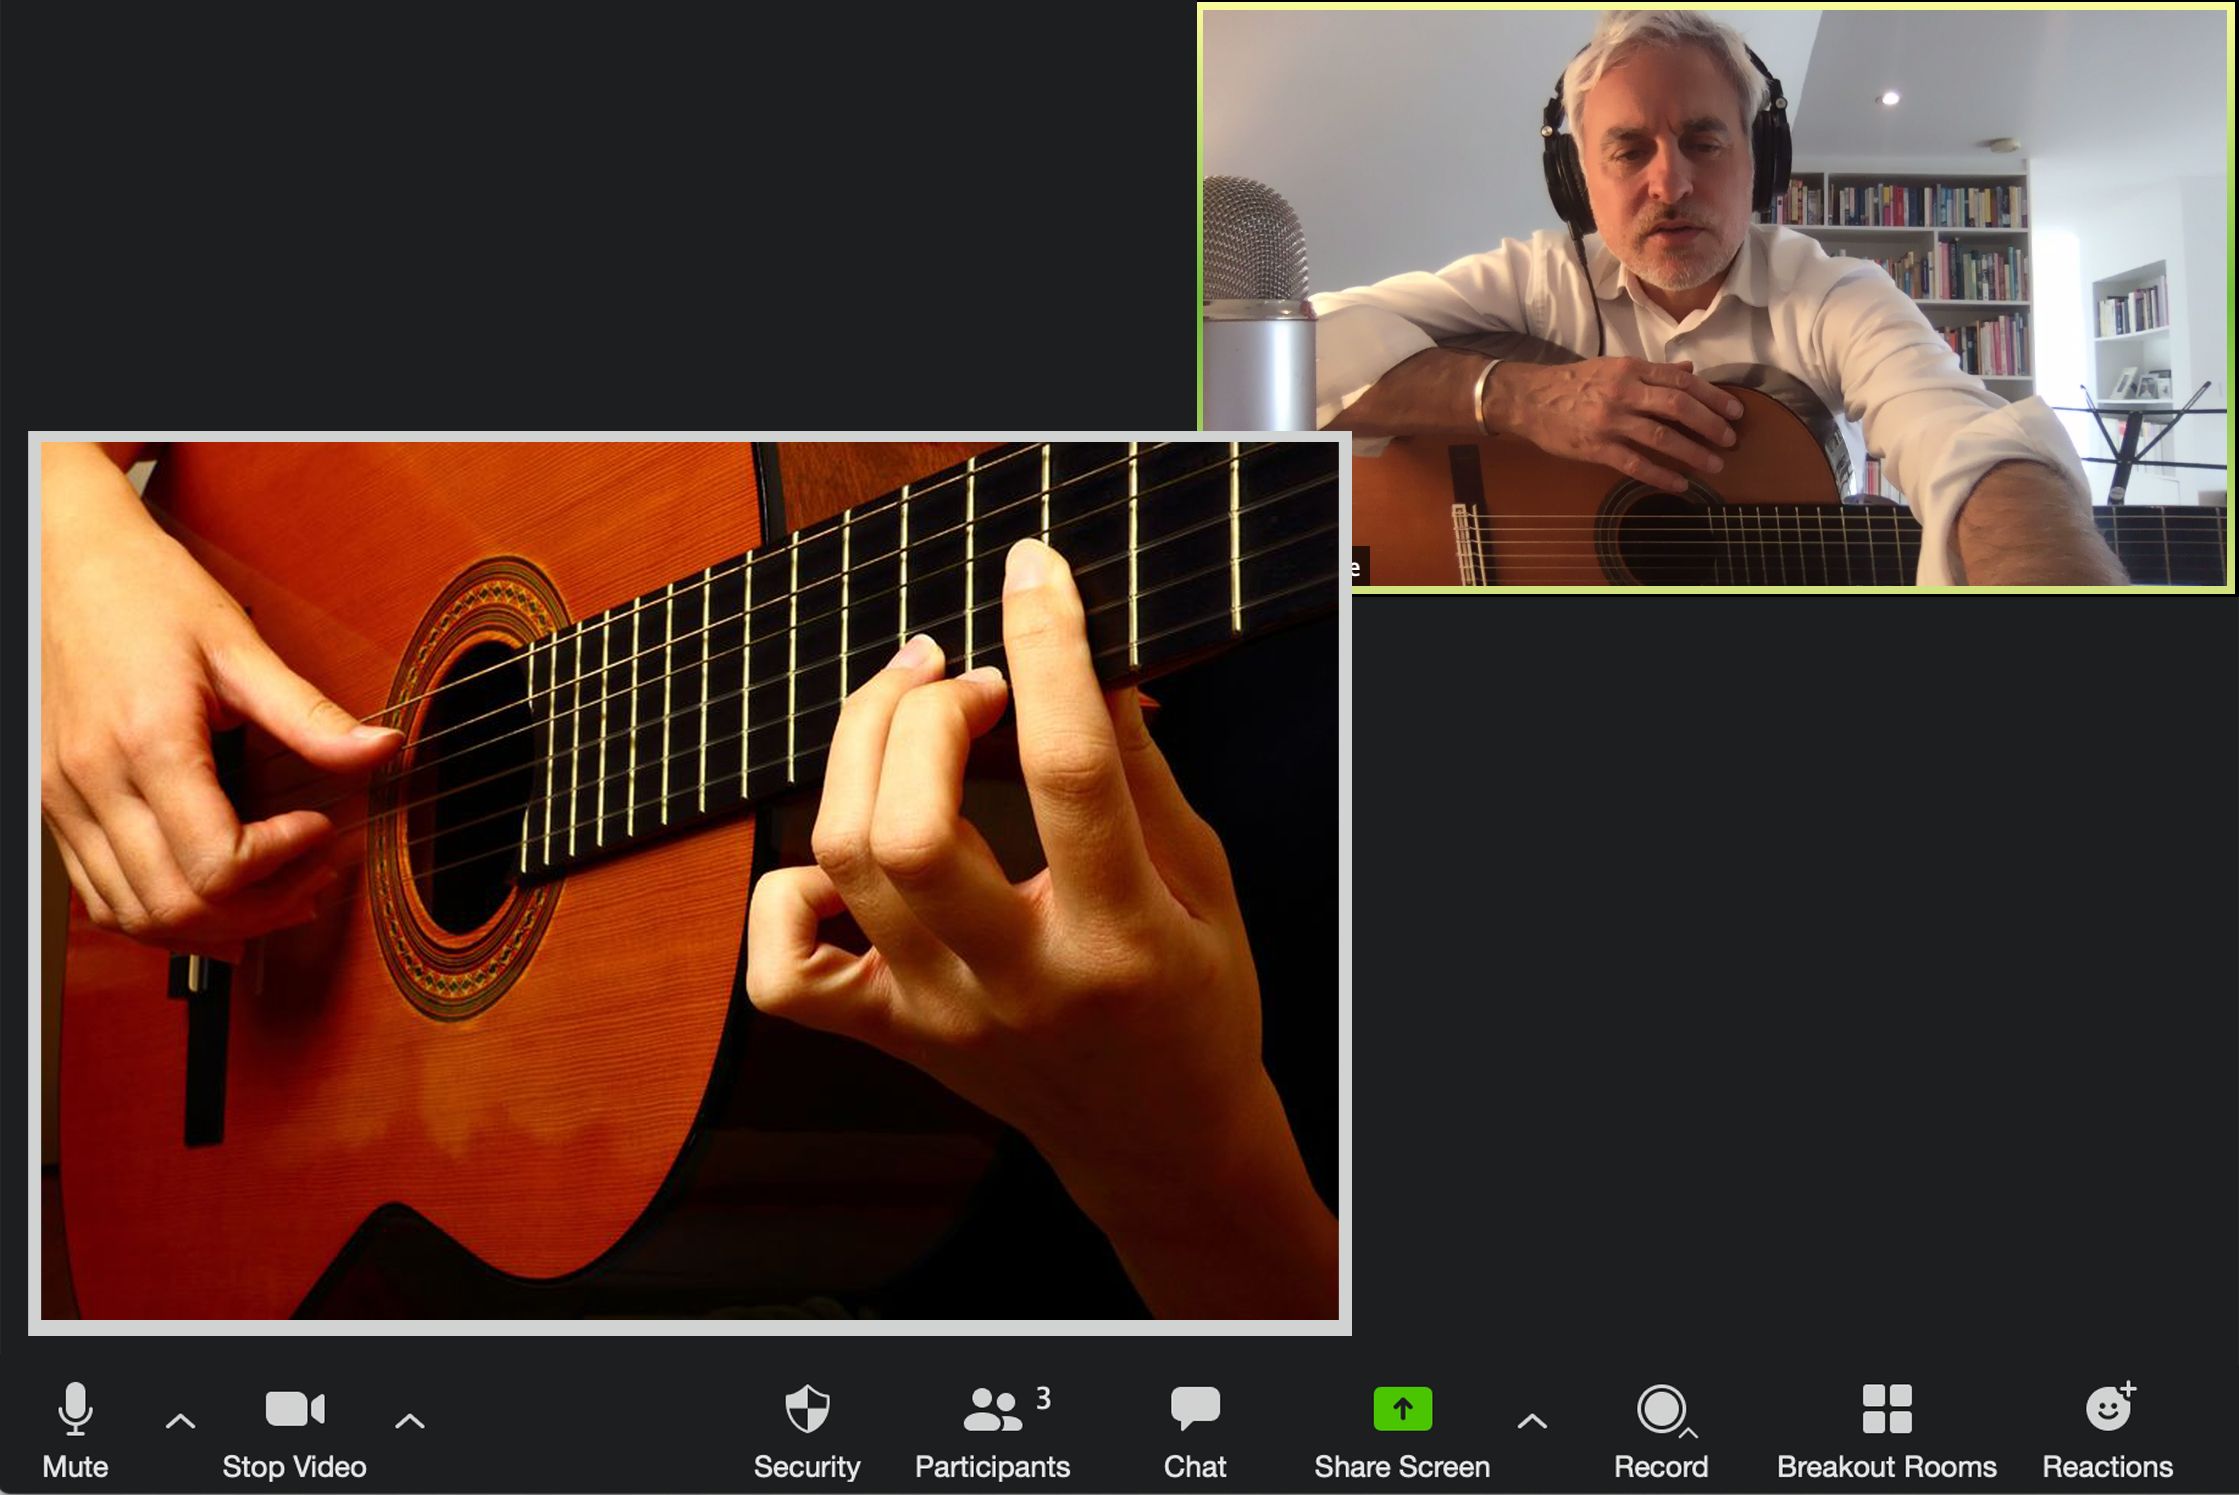
Sharing audio can be incredibly useful in a variety of scenarios. You might want to share a podcast episode, play music during a presentation, or share a recording for everyone to listen to. While Zoom provides a seamless audio sharing feature, it’s important to know the right techniques to ensure a smooth and efficient experience.
In this article, we will explore the ins and outs of sharing audio on Zoom. We’ll dive into the step-by-step process, provide tips for successful audio sharing, and troubleshoot common issues that may arise. By the end of this article, you’ll have the knowledge and skills to confidently share audio on Zoom with ease.
Before we delve into the nitty-gritty details of audio sharing, it’s essential to ensure that you have a reliable internet connection and an up-to-date version of the Zoom application. These factors can significantly impact your audio sharing experience, so it’s crucial to address any connectivity or software issues before proceeding. Once you have the necessary prerequisites in place, you’re ready to embark on the journey of sharing audio on Zoom.
Getting Started with Sharing Audio on Zoom
Sharing audio on Zoom is a straightforward process that requires just a few simple steps. Follow these guidelines to get started:
- Launch the Zoom application: Open the Zoom application on your computer or mobile device. If you don’t already have Zoom installed, you can download it from the official website. Sign in to your Zoom account if prompted, or join a meeting as a guest.
- Start or join a meeting: Once you’re logged in, you can either start a new meeting or join an existing one. If you’re starting a new meeting, click on the “New Meeting” button. If you’re joining an existing meeting, enter the meeting ID provided by the host and click “Join.”
- Enable audio sharing: Once you’re in the meeting, locate the toolbar at the bottom of the screen. Look for the “Share Screen” button and click on it. A popup window will appear, offering different screen sharing options. Select the option that says “Advanced” and then click “Music or Computer Sound Only.”
- Select the audio source: After selecting the audio sharing option, a new window will appear with a list of audio sources. Choose the audio source you want to share. This can be the sound from your computer, microphone, or a specific application you have open.
- Start sharing audio: Once you’ve selected the audio source, click on the “Share” button. Zoom will start sharing the audio from your chosen source with all meeting participants. You will also see a green icon indicating that audio is being shared.
- Control audio sharing: While sharing audio, you have several control options available. You can pause or stop the audio sharing by clicking on the “Pause Share” or “Stop Share” buttons in the Zoom toolbar. You can also adjust the volume of the shared audio by using the volume controls on your computer or device.
Now that you know the basic steps to share audio on Zoom, let’s explore some additional tips and best practices for a successful audio sharing experience.
Step-by-Step Guide to Sharing Audio on Zoom
Sharing audio on Zoom is a convenient way to enhance your virtual meetings and presentations. Here’s a step-by-step guide to help you navigate the process:
- Launch the Zoom application: Open the Zoom application on your computer or mobile device. Make sure you have the latest version installed to ensure access to all the necessary features.
- Start or join a meeting: Once you’re logged in, start a new meeting or join an existing one by entering the meeting ID provided by the host.
- Navigate to the Share Screen option: Locate the toolbar at the bottom of the screen during the meeting. Click on the “Share Screen” button, which looks like a green icon with an arrow pointing upwards.
- Select the screen or application you want to share: A pop-up window will appear with different sharing options. Choose the screen or application window that contains the audio you want to share. You can share your entire screen, a specific application window, or a whiteboard.
- Enable the “Share Computer Sound” option: Before clicking the “Share” button, make sure to check the box that says “Share computer sound.” This will ensure that the audio from your selected screen or application is shared with the meeting participants.
- Start sharing audio: Once you’ve made your selection and enabled the “Share computer sound” option, click the “Share” button. Zoom will start sharing the audio with all participants in the meeting.
- Control the audio sharing: While sharing audio, you have control over managing the shared audio. You can adjust the volume of the shared audio using the volume controls on your computer or device. Additionally, Zoom provides options to pause or stop sharing the audio if needed.
That’s it! Following these simple steps will allow you to share audio seamlessly during your Zoom meetings. Keep in mind that some advanced sharing features may be available depending on your Zoom plan. Now, let’s explore some tips to ensure a successful audio sharing experience on Zoom.
Tips for Sharing Audio on Zoom Successfully
Sharing audio on Zoom can greatly enhance your virtual meetings and presentations. To ensure a successful audio sharing experience, consider the following tips:
- Test your audio setup beforehand: Before the meeting or presentation, test your audio setup to ensure everything is working correctly. Make sure your speakers or headphones are connected and functioning properly. Check the volume levels and adjust them accordingly.
- Use a high-quality microphone: If you’re the one sharing the audio, using a high-quality microphone can greatly improve the audio clarity for participants. Consider investing in a dedicated microphone to provide clear, professional-grade audio.
- Optimize your internet connection: A stable and fast internet connection is essential for smooth audio sharing. Connect to a reliable network and ensure you have sufficient bandwidth to handle the audio streaming. Close any unnecessary applications or browser tabs that might consume bandwidth.
- Close unnecessary applications: To minimize any potential disruptions or audio interference, close any unnecessary applications or programs on your computer. This helps to allocate more resources to the audio sharing process and reduces the chances of audio lag or glitches.
- Communicate with participants: Inform participants in advance if you plan to share audio during the meeting. This allows them to adjust their audio settings accordingly and ensures everyone is prepared for audio playback. Consider providing instructions on how to optimize audio settings for the best experience.
- Check copyright permissions: If you plan on sharing copyrighted audio content, make sure you have the necessary permissions to do so. Avoid sharing copyrighted music or audio tracks without proper authorization to avoid any legal issues.
- Close notifications and system sounds: To avoid unnecessary interruptions, close any notification sounds or system sounds on your computer. These sounds can be distracting to both you and the meeting participants.
- Rehearse and prepare: If you’re presenting audio during a meeting, rehearse your audio sharing beforehand. Familiarize yourself with the content and ensure that it plays smoothly. Have a backup plan in case of any technical difficulties.
By following these tips, you can enhance the audio sharing experience on Zoom and ensure that everyone enjoys seamless audio playback during your meetings or presentations. Now, let’s address some common issues that you may encounter and provide troubleshooting suggestions.
Troubleshooting Common Issues with Sharing Audio on Zoom
While sharing audio on Zoom is usually a seamless experience, there may be occasions when you encounter technical issues. Here are some common problems and their potential solutions:
- Audio not being shared: If the audio is not being shared, double-check that you have enabled the “Share computer sound” option before initiating the screen sharing. If the issue persists, try restarting the Zoom application and ensuring that your audio settings are properly configured.
- Poor audio quality: If the audio quality is poor or distorted during the sharing process, make sure you have a stable internet connection. Consider using a wired internet connection instead of Wi-Fi, as it provides a more reliable and consistent connection. Additionally, close any bandwidth-intensive applications or processes that may be slowing down your internet speed.
- No sound during playback: If there is no sound during the audio playback, check your computer’s audio settings to ensure that the correct audio output device is selected. Consider restarting your computer and reopening the Zoom application to resolve any potential software glitches that may be causing the issue.
- Audio lag or delay: If there is noticeable audio lag or delay during the sharing process, it is likely due to network latency. Close any unnecessary applications or browser tabs that may be using up bandwidth and causing network congestion. If possible, connect to a wired internet connection for a more stable and consistent network experience.
- Audio playback interruptions: If the audio playback is interrupted or keeps buffering, it could be due to insufficient network bandwidth. Lowering the screen resolution or minimizing other bandwidth-heavy activities can help improve the audio playback performance. If the issue persists, contact your internet service provider to ensure you have sufficient bandwidth for smooth audio sharing.
- Participants unable to hear audio: If participants in the meeting are unable to hear the shared audio, check that the meeting host has enabled the “Allow participants to share computer sound” option in the meeting settings. Additionally, ensure that participants have their audio settings properly configured and their speakers or headphones connected and functioning correctly.
If these troubleshooting tips do not resolve your audio sharing issues, consider reaching out to Zoom support for further assistance. They have a dedicated team available to help you troubleshoot and resolve any technical issues you may encounter during the audio sharing process.
Conclusion
Sharing audio on Zoom has become an essential aspect of virtual meetings and presentations. With the right techniques and knowledge, you can enhance your online communication and collaboration by seamlessly incorporating audio into your Zoom sessions.
In this article, we explored the step-by-step process of sharing audio on Zoom, starting from launching the application to selecting and sharing the desired audio source. We also provided tips for successful audio sharing, such as testing your audio setup, optimizing your internet connection, and communicating with participants in advance.
Additionally, we addressed common issues you may encounter while sharing audio on Zoom and provided troubleshooting suggestions. By following these guidelines, you can overcome any audio-related challenges and ensure a smooth and satisfactory experience for both you and your meeting participants.
Remember, preparation is key to successful audio sharing on Zoom. Test your audio setup, rehearse your audio content, and check copyright permissions if necessary. By doing so, you can deliver engaging and impactful presentations, share audio recordings for everyone to enjoy, and create a more immersive virtual meeting environment.
As technology continues to evolve, Zoom remains at the forefront of online communication platforms. By harnessing the power of audio sharing on Zoom, you can create engaging and memorable experiences for all participants, even in virtual settings.
So go ahead and start exploring the possibilities of sharing audio on Zoom. Get creative, experiment with different audio sources, and make your Zoom meetings and presentations truly stand out with the addition of rich and captivating audio!