Introduction
Welcome to this guide on how to do a Zoom meeting on your computer. In today’s digital age, virtual meetings have become increasingly popular, and Zoom has emerged as one of the go-to platforms for hosting online meetings, webinars, and video conferences. Whether you are a student attending virtual classes, a professional working from home, or simply looking to connect with friends and family, Zoom offers a seamless and user-friendly experience.
Setting up and joining a Zoom meeting may seem daunting at first, but fear not! In this guide, we will walk you through the process step by step, and explore various features and settings to make your Zoom experience smooth and efficient. By the end of this article, you’ll be able to confidently navigate Zoom’s interface, control your audio and video settings, and utilize the chat, screen sharing, and recording features.
But before we delve into the technicalities, let’s take a moment to understand why Zoom has become so popular. One of the key reasons is its versatility. Zoom is compatible with both desktop and mobile devices, making it accessible to a wide range of users. It offers high-definition video and audio capabilities, allowing participants to communicate in real-time without any lags or disruptions. Additionally, Zoom provides a host of interactive features such as chat, screen sharing, virtual backgrounds, and more, which enhance the overall meeting experience.
With the ongoing global pandemic, Zoom has played a crucial role in enabling remote work and virtual collaboration. It has bridged the distance between colleagues, friends, and families, bringing people together despite physical barriers. So whether you need to attend business meetings, conduct interviews, participate in workshops, or simply catch up with loved ones, learning how to use Zoom effectively is a valuable skill to have in the digital era.
Now, without further ado, let’s dive into the world of Zoom meetings and explore the multitude of possibilities it offers!
Setting up Zoom
To get started with Zoom, you’ll first need to set up an account. Here’s a step-by-step guide to help you through the process:
- Go to the Zoom website (insert URL) and click on “Sign Up, It’s Free”.
- Enter your email address and click “Sign Up”. You can also sign up with your Google or Facebook account for added convenience.
- Check your email inbox for a confirmation message from Zoom and click on the provided link to activate your account.
- Once your account is activated, you can proceed to download the Zoom application for your computer. Simply click on the “Download” button on the homepage and follow the prompts to install the application.
- After the installation is complete, launch the Zoom application and sign in using your Zoom credentials.
- Upon signing in, you will be greeted with the Zoom dashboard, which allows you to schedule and join meetings, access settings, and manage your account information.
Now that you have successfully set up your Zoom account, it’s time to familiarize yourself with some key features and settings. Take a few moments to explore the Zoom dashboard and customize your preferences to suit your needs. You can adjust settings such as audio and video options, notifications, virtual backgrounds, and more.
Additionally, Zoom offers a mobile app that allows you to attend meetings and manage your account on the go. Simply download the app from the App Store (for iOS) or Google Play Store (for Android), sign in, and you’re ready to join meetings from your smartphone or tablet.
Setting up Zoom is quick and easy, and it opens up a world of possibilities for virtual communication and collaboration. Whether you’re a beginner or an experienced user, taking the time to customize your settings will ensure a seamless and personalized Zoom experience.
Joining a Zoom Meeting
Once you have set up your Zoom account, joining a meeting is a breeze. Here’s a step-by-step guide on how to join a Zoom meeting:
- Open the Zoom application on your computer.
- On the Zoom dashboard, click on the “Join” button.
- Enter the meeting ID provided by the meeting host. This can be a 9, 10, or 11-digit number.
- If prompted, enter the meeting password. Meeting passwords are sometimes required to ensure the security of the meeting.
- Choose your audio option. You can select “Join with Computer Audio” to use your computer’s built-in microphone and speakers, or choose “Phone Call” to dial into the meeting using your phone.
- Select the “Join” button to enter the meeting.
- Once you have joined the meeting, you will have the option to turn on your video by clicking on the camera icon in the bottom left corner of the Zoom window. You can also adjust your audio settings by clicking on the microphone icon.
- Wait for the meeting host to admit you into the meeting. In some cases, the meeting may be set up with a waiting room, where participants are held until the host admits them.
- Once you are admitted into the meeting, you can participate in the discussion, view shared screens, and interact with other participants using the built-in chat feature.
It’s important to join a Zoom meeting on time to avoid interrupting the flow of the meeting. If you are unable to attend the meeting, make sure to inform the meeting host in advance.
Remember, joining a Zoom meeting is just the beginning. As a participant, you have access to a range of interactive features that enhance the meeting experience. Take advantage of features such as raising your hand, using emojis, and participating in chat discussions to engage with other participants.
By following these simple steps, you’ll be able to join Zoom meetings effortlessly and participate in virtual gatherings with ease.
Controlling Audio and Video Settings
Controlling your audio and video settings in Zoom is essential to ensure clear communication during meetings. Here’s a guide on how to manage your audio and video settings:
Audio Settings:
1. Once you join a meeting, locate the microphone icon at the bottom left corner of the Zoom window. Click on it to mute or unmute your microphone. Alternatively, you can use the shortcut key Alt+A to toggle your microphone on or off.
2. To test your microphone and speaker settings, click on the arrow next to the microphone icon and select “Test Speaker & Microphone”. This will open a test window where you can adjust the volume levels and verify that your audio devices are working correctly.
3. If you encounter any audio issues during a meeting, you can troubleshoot them by clicking on the arrow next to the microphone icon and selecting “Audio Settings”. Here, you can adjust the input and output devices, test the audio, and troubleshoot any problems you may be experiencing.
Video Settings:
1. To control your video settings, locate the camera icon at the bottom left corner of the Zoom window. Click on it to turn your video on or off. You can also use the shortcut key Alt+V to toggle your video on or off.
2. If you have multiple cameras connected to your computer, you can select the desired camera by clicking on the arrow next to the camera icon and choosing the appropriate camera from the dropdown menu.
3. To check your video preview and adjust video settings, click on the arrow next to the camera icon and select “Video Settings”. Here, you can customize settings such as video resolution, aspect ratio, and mirror effects.
4. If you experience any video-related issues during a meeting, you can troubleshoot them by clicking on the arrow next to the camera icon and selecting “Video Settings”. Here, you can test your video, adjust video settings, and troubleshoot any problems you may encounter.
By familiarizing yourself with these audio and video settings, you can ensure that your audio is clear and your video is properly configured for seamless communication during Zoom meetings. Adjusting these settings according to your preferences and the requirements of each meeting will enhance your overall Zoom experience.
Navigating Zoom’s Interface
Navigating Zoom’s interface is crucial for a seamless and productive meeting experience. Familiarizing yourself with the various elements and features will allow you to make the most out of your Zoom meetings. Here are some key components of Zoom’s interface:
1. Meeting Controls:
At the bottom of the Zoom window, you will find the meeting controls. These controls include options to mute/unmute your microphone, start/stop your video, share your screen, and more. Take some time to explore and familiarize yourself with these controls to effectively participate in meetings.
2. Participants Panel:
The Participants panel is located on the right side of the Zoom window. It displays the list of participants currently in the meeting. You can see their names, raise your hand to get the host’s attention, and manage participant settings if you are the host or co-host.
3. Chat Panel:
The Chat panel allows participants to communicate via text during the meeting. You can access it by clicking on the chat icon at the bottom of the Zoom window. Use the chat feature to ask questions, share links, and engage in discussions with other participants.
4. Sharing Options:
Zoom provides a powerful screen sharing feature that allows you to share your entire screen or specific applications or documents with other participants. You can access the screen sharing options by clicking on the “Share Screen” button in the meeting controls. Utilize this feature when presenting slides, conducting demonstrations, or collaborating on documents.
5. Recording:
If enabled by the host, Zoom allows participants to record meetings. The recording feature is useful for capturing important information or for participants who may be unable to attend the meeting. You can access the recording options by clicking on the “Record” button in the meeting controls. Keep in mind that recording meetings may be subject to local laws and company policies, so always obtain permission from participants before recording.
6. Layout Options:
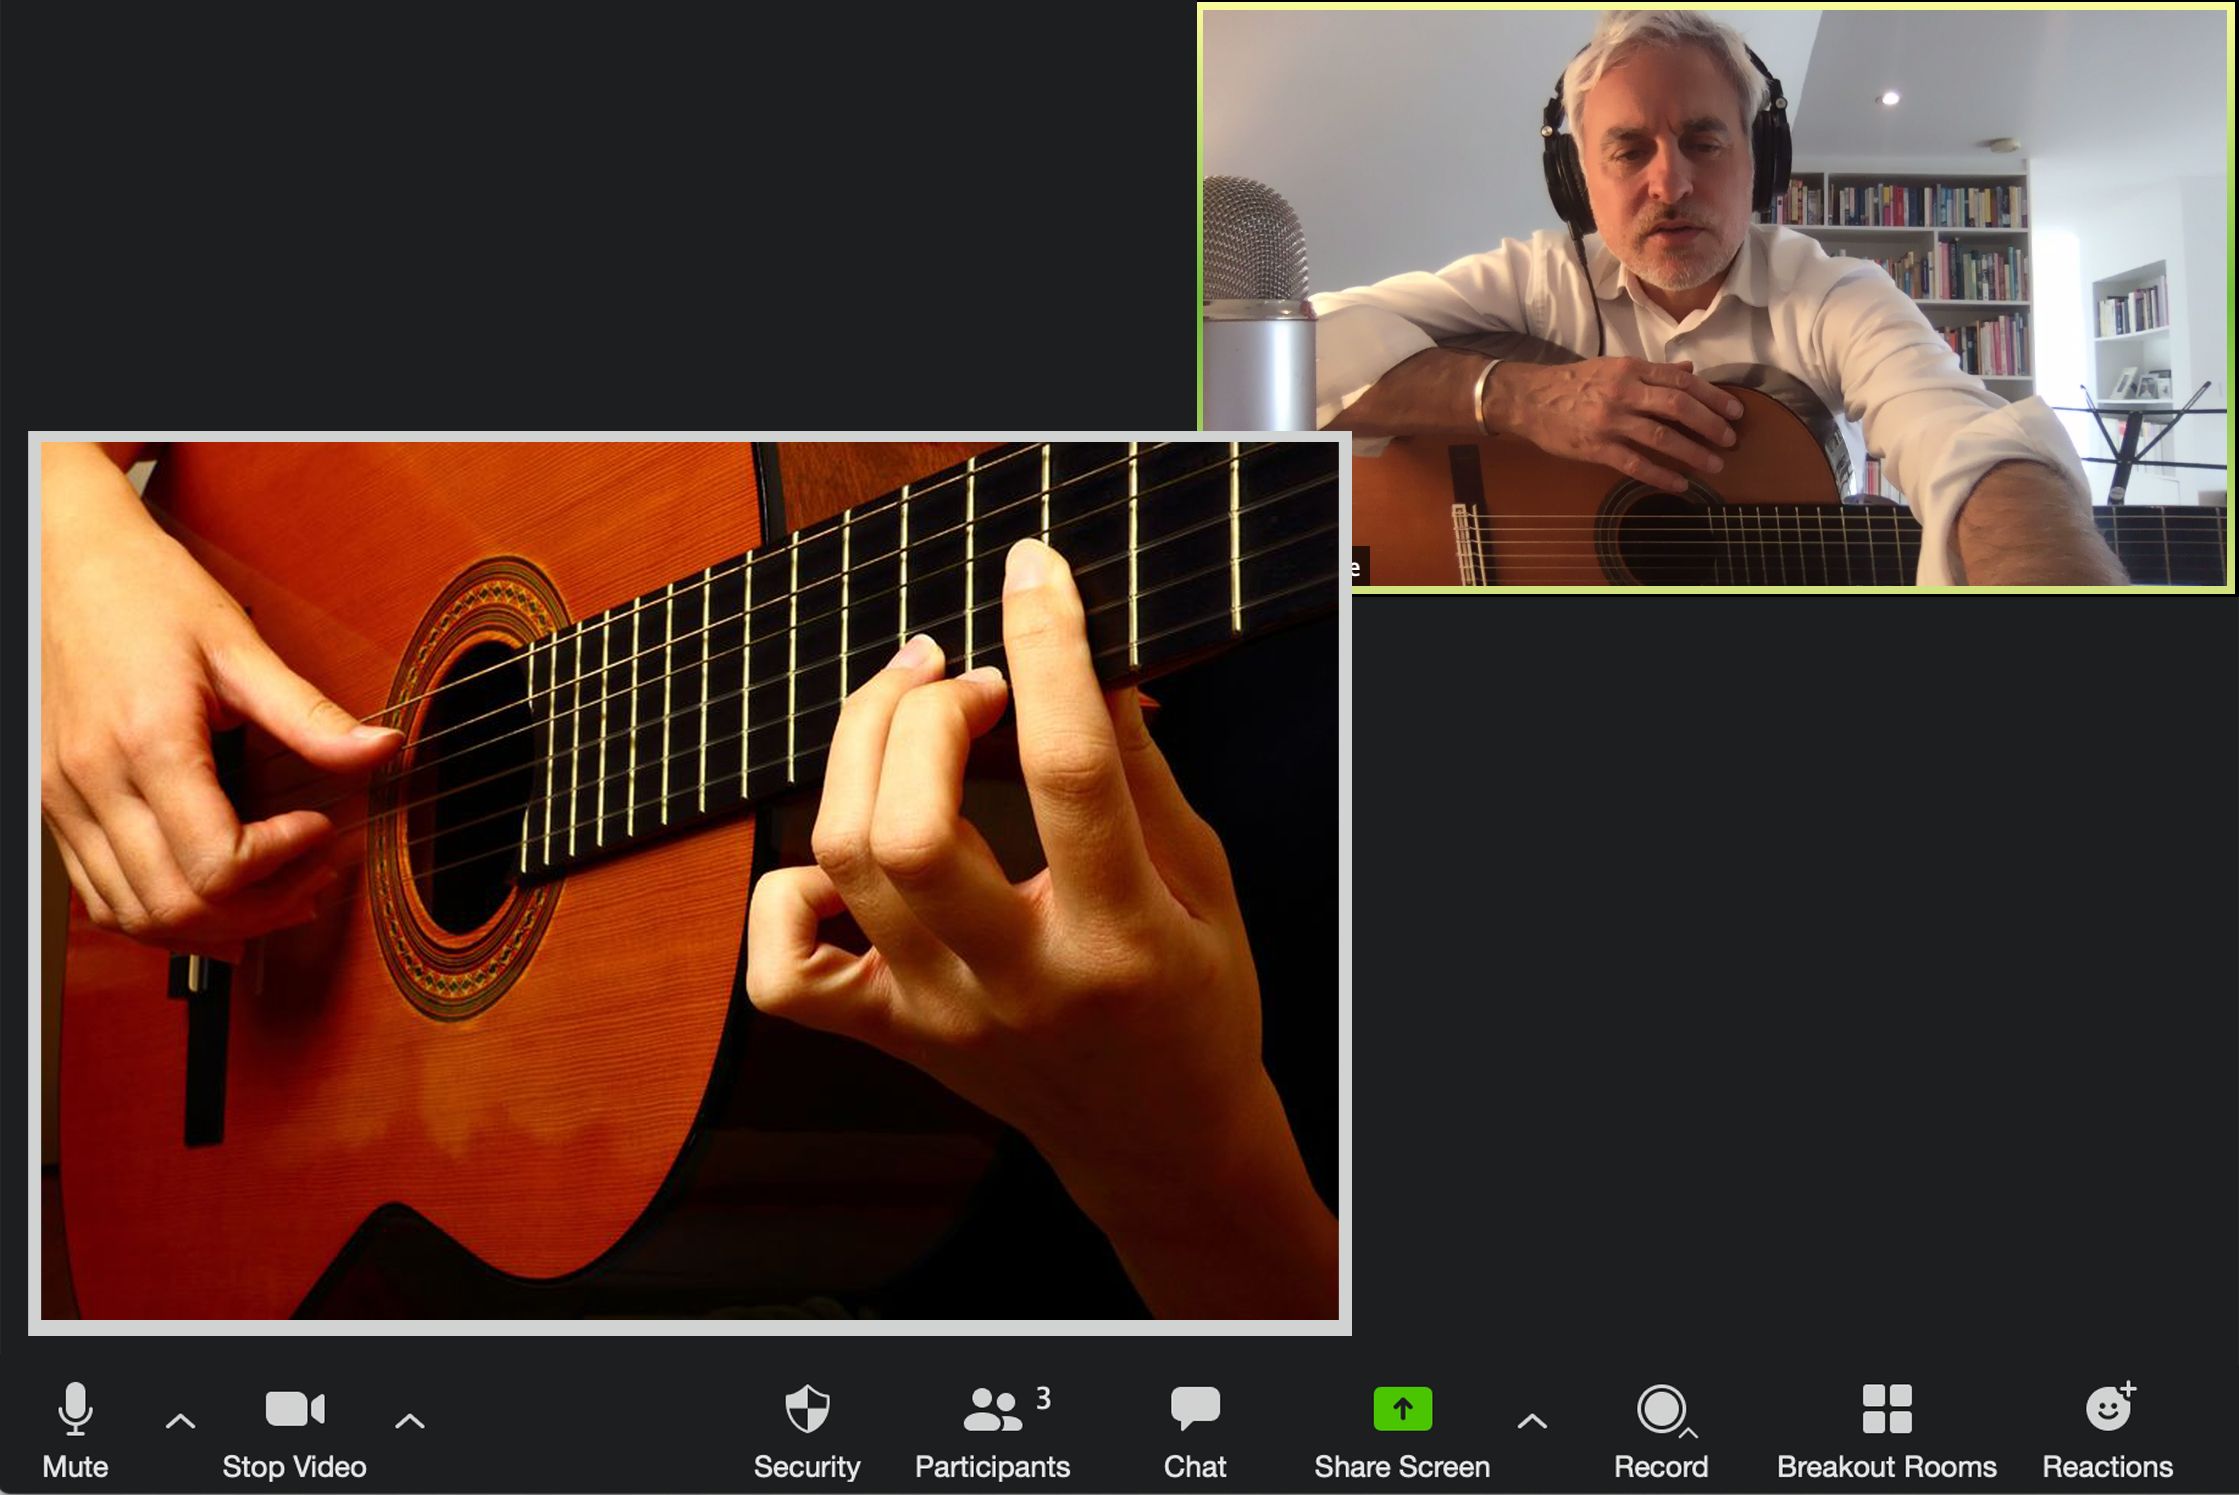
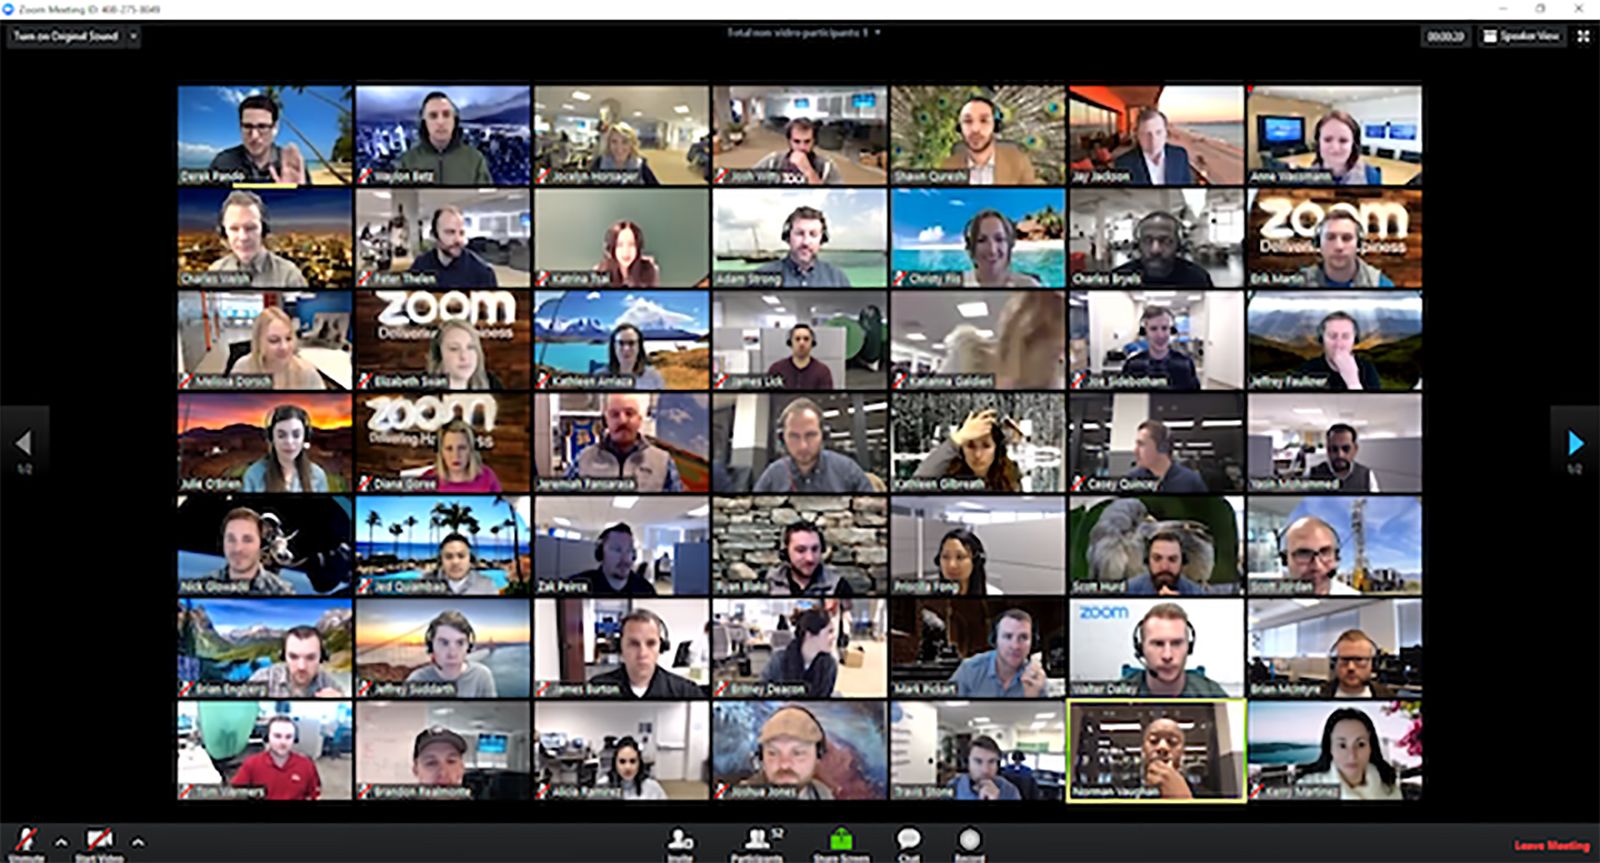
You can choose between various layout options to customize your view during a Zoom meeting. Zoom provides options such as Speaker View, Gallery View, and Full-Screen View. Explore these layout options to find the one that suits your preference and meeting requirements.
7. Virtual Backgrounds:
Zoom allows users to set virtual backgrounds during video meetings. You can choose from a range of pre-loaded backgrounds or upload your own. This feature is particularly useful if you want to hide your physical background or add a touch of creativity to your meetings. To access the virtual background options, click on the arrow next to the video icon and select “Choose Virtual Background”.
By understanding and utilizing these key elements of Zoom’s interface, you can navigate through meetings with ease, engage with participants effectively, and make the most out of Zoom’s features and functionalities.
Using Chat and Emojis During a Meeting
Chat and emojis are powerful tools in Zoom that allow participants to communicate, share information, and express themselves during a meeting. Here’s how you can effectively use chat and emojis:
1. Chat Feature:
The chat feature in Zoom enables participants to send text messages to the entire group or privately to specific individuals. To access the chat panel, click on the chat icon located at the bottom of the Zoom window. You can then type your message and hit Enter to send it. Use the chat feature to share links, ask questions, provide feedback, or have side conversations during the meeting.
2. Sending Direct Messages:
If you want to send a private message to a specific participant, you can do so by clicking on their name in the Participants panel and selecting “Chat”. This opens a separate chat window where you can have a one-on-one conversation without disrupting the main meeting chat. Direct messages are useful for asking questions privately or discussing sensitive matters.
3. Formatting Text:
Zoom’s chat feature allows you to format your text to emphasize certain words or phrases. You can use asterisks (*) to make text bold, underscores (_) for italics, and tildes (~) for strikethrough. For example, typing *Hello* will display as Hello in the chat.
4. Emoji Reactions:
In addition to text messages, Zoom also provides a range of emojis that participants can use to express their reactions during a meeting. To use emojis, click on the “Reactions” button in the meeting controls. A panel will appear with various emojis to choose from. Simply select the desired emoji, and it will be displayed next to your name in the Participants panel. Emojis are a fun and quick way to show agreement, applause, laughter, or any other type of response.
5. Suppression of Chat:
As a host, you have the option to disable the chat feature for all participants or restrict it to private messages only. This can be useful in large meetings or webinars where you want to minimize distractions or maintain a more controlled environment.
By using the chat and emojis features in Zoom, you can actively engage with other participants, clarify information, and express yourself in a fun and interactive way. Make the most of these tools to enhance collaboration and communication during your Zoom meetings.
Screen Sharing and Presentation Options
Screen sharing is a powerful feature of Zoom that allows participants to share their computer screens, applications, or specific documents with others in the meeting. It is particularly useful for conducting presentations, collaborative work, and demonstrations. Here’s how you can effectively use screen sharing and explore presentation options in Zoom:
1. Sharing Your Screen:
To share your screen in Zoom, click on the “Share Screen” button in the meeting controls. A window will appear, displaying the available options for sharing. You can choose to share your entire screen, a specific application window, or a whiteboard. Select the desired option, and your screen will be visible to all participants.
2. Multiple Screen Sharing:
If you have multiple monitors connected to your computer, Zoom allows you to choose which screen to share. When you click on the “Share Screen” button, select the desired screen from the list of available options. This feature is beneficial when you need to share content from two or more screens simultaneously.
3. Annotating and Whiteboard:
While sharing your screen, Zoom provides annotation tools that allow you and other participants to draw, highlight, and make notes on the shared content. You can access these tools by clicking on the “Annotate” button in the screen sharing toolbar. Additionally, Zoom offers a built-in whiteboard option, which can be accessed by clicking on the “Share Screen” button and selecting “Whiteboard”. You can use the whiteboard to create and collaborate on ideas in real-time.
4. Presenter View:
If you are giving a presentation and want to have a clear view of your speaker notes or next slides, Zoom offers a Presenter View option. When sharing your PowerPoint or Keynote presentation, click on the “More” button in the screen sharing toolbar and select “Swap Presenter View”. This will display your presentation with your notes on one screen, while the shared screen is visible to the participants.
5. Remote Control:
As a host, you have the ability to grant remote control of your screen to other participants. This can be useful when collaborating on documents or providing technical support. To enable remote control, click on the “Remote Control” button in the screen sharing toolbar, and select the participant you want to give control to. The participant can then navigate and make changes on your shared screen.
Screen sharing and presentation options in Zoom empower you to engage, collaborate, and deliver impactful presentations. By utilizing these features effectively, you can ensure a seamless and interactive meeting experience for all participants.
Recording a Zoom Meeting
One of the beneficial features of Zoom is the ability to record meetings. Recording meetings allows participants to capture important information, review discussions, and share the content with others who were unable to attend. Here’s a guide on how to effectively record a Zoom meeting:
1. Starting the Recording:
To start recording a Zoom meeting, click on the “Record” button in the meeting controls at the bottom of the Zoom window. From the dropdown menu, select “Record to the Cloud” or “Record on this Computer” depending on your preference. The host of the meeting typically has the recording privileges, but co-hosts and alternative hosts can also be given permission to start and manage the recording.
2. Pausing and Stopping the Recording:
During the meeting, you can pause or stop the recording as needed. To pause the recording temporarily, click on the “Pause Recording” button in the meeting controls. This can be useful if there is a break or a section of the meeting that does not need to be recorded. To stop the recording completely, click on the “Stop Recording” button. Once stopped, Zoom will process and save the recording, making it available for access later.
3. Recording Notifications:
By default, Zoom notifies participants when a meeting is being recorded. A recording indicator will be displayed in the top-left corner of the Zoom window. Participants will also receive an automated notification in the chat panel. It’s important to respect the privacy and permissions of participants by informing them in advance that the meeting will be recorded.
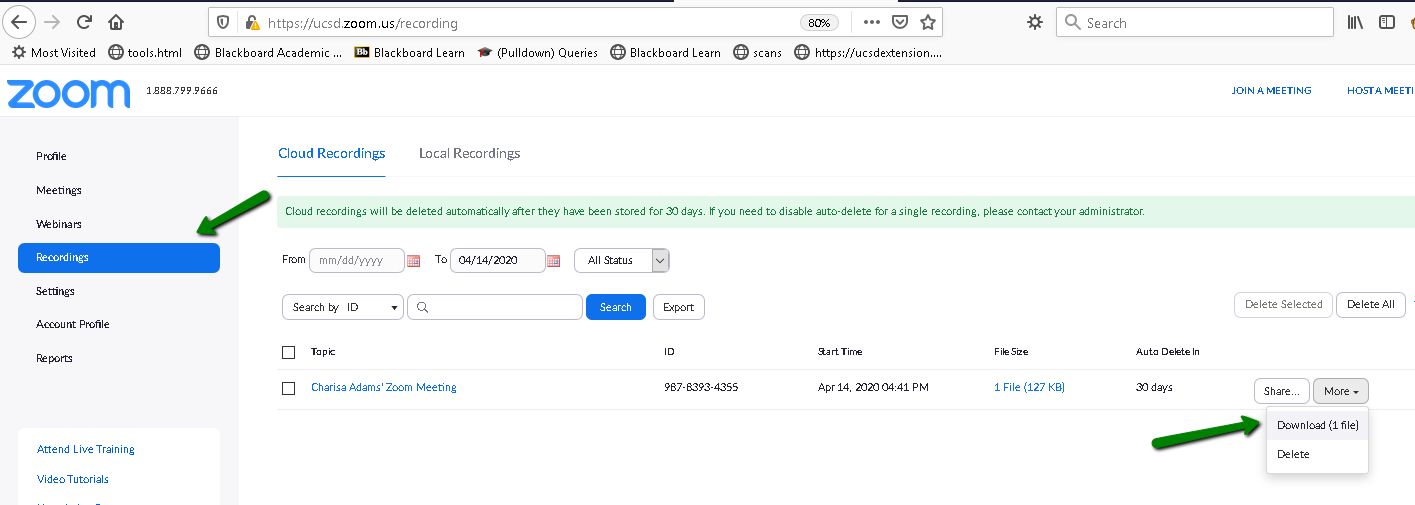
4. Accessing the Recording:
If the meeting was recorded to the cloud, it will be automatically processed and saved in your Zoom account. You can access the recording by signing in to your Zoom account, navigating to the “Recordings” tab, and selecting the desired recording. From there, you can play, download, or share the recording with others. If the meeting was recorded on your computer, you can find the recording in the default folder specified in your Zoom settings.
5. Editing and Sharing the Recording:
If you need to make any edits to the recording before sharing it, you can use third-party video editing software. Trim any unnecessary parts, add captions or annotations, and enhance the overall quality of the recording. Once edited, you can share the recording with others via email, file-sharing platforms, or by uploading it to a video hosting service.
Recording a Zoom meeting provides a valuable resource for future reference and collaboration. Keep in mind that recording meetings may be subject to local laws and company policies, so ensure you have the necessary permissions and consider the privacy of participants before recording.
Advanced Settings and Features
Beyond the basic functions, Zoom offers a range of advanced settings and features that can enhance your meeting experience. Here, we explore some of these options:
1. Breakout Rooms:
Breakout Rooms allow you to create smaller, private rooms within a larger Zoom meeting. This feature is useful for group discussions, team activities, or brainstorming sessions. As the host, you can assign participants to different breakout rooms and manage their access. Breakout Rooms promote collaboration and engagement among participants.
2. Polling:
Zoom’s polling feature enables hosts to create and conduct real-time polls during a meeting. Polling is a great way to gather feedback, gauge opinions, or conduct quick surveys among participants. You can create multiple-choice or open-ended questions, share the results with participants, and use the data to guide discussions or make informed decisions.
3. Waiting Room:
The Waiting Room feature allows hosts to hold participants in a virtual waiting area before admitting them to the meeting. This feature adds an extra layer of security and control, ensuring that only invited participants can enter the meeting. Waiting rooms are particularly useful for larger meetings or webinars where participant verification is important.
4. Co-hosting:
Co-hosting allows you to assign co-hosts who have similar meeting controls and features as the host. Co-hosts can manage participants, start and stop recordings, and control other aspects of the meeting. This feature is useful when you want to divide responsibilities among team members or assign a backup host in case the original host is unable to attend.
5. Live Transcription:
Zoom offers a live transcription feature that provides real-time speech-to-text captions during a meeting. This feature is beneficial for participants who are deaf or hard of hearing, those who prefer to read along, or for language support. To enable live transcription, you can assign a third-party transcription service or use Zoom’s built-in transcription features, depending on your account type.
6. Integrations and Plugins:
Zoom integrates with various third-party applications and platforms, allowing you to enhance your meeting experience. You can connect Zoom with calendar apps, project management tools, and messaging platforms to streamline your workflow and improve collaboration. Additionally, Zoom offers plugins for popular video conferencing software and devices.
7. Advanced Security Settings:
Zoom offers advanced security settings to protect your meetings and ensure privacy. You can enable features such as meeting passwords, waiting rooms, user authentication, and encryption. These settings provide added control and prevent unauthorized access or unwanted disruptions during your meetings.
Exploring and utilizing these advanced settings and features will take your Zoom meetings to the next level. Customize your meetings to suit your specific needs, engage participants, and enhance collaboration using these powerful options.
Troubleshooting Common Issues
While using Zoom, you may encounter certain issues that can disrupt your meeting experience. Here are some common problems and troubleshooting tips to help you resolve them:
1. Poor Audio or Video Quality:
If you experience poor audio or video quality during a meeting, check your internet connection and ensure that you have a stable and high-speed connection. Limiting the number of devices connected to your network and closing any unnecessary applications can also improve the quality. If the issue persists, try adjusting the audio and video settings within Zoom or contact your internet service provider for assistance.
2. Echo or Feedback:
If you hear an echo or feedback during a meeting, it may be due to audio feedback caused by two devices using the same audio or being too close to each other. To resolve this, ensure that you are using headphones or speakers, and lower your device’s volume. Muting participants who are not speaking can also help eliminate feedback.
3. Unable to Join a Meeting:
If you are unable to join a meeting, double-check the meeting ID and password entered. Ensure that you have a stable internet connection and that your Zoom application is updated to the latest version. If you are still unable to join, try restarting your device or reinstalling the Zoom application if necessary.
4. Unresponsive Controls or Frozen Screen:
If your Zoom controls become unresponsive or your screen freezes during a meeting, it may be due to high CPU usage or a network issue. Close any unnecessary applications or browser tabs to free up system resources. If the problem persists, exit the meeting, relaunch Zoom, and rejoin the meeting. You can also check for any available Zoom updates and install them to ensure you have the latest version.
5. Lost Connection:
If you lose your internet connection during a meeting, try reconnecting to your network and rejoin the meeting. If you are unable to regain internet access, consider using a backup device or using your phone as a hotspot. You can also try restarting your router or contacting your internet service provider for assistance.
6. Audio or Video Lag:
If there is a noticeable delay or lag in the audio or video during a meeting, it may be due to a slow internet connection or network congestion. Close any unnecessary applications or devices that may be using bandwidth. Consider switching to a wired connection instead of relying on Wi-Fi, as it can provide a more stable connection.
7. Firewall or Security Software Blocking Zoom:
If your firewall or security software is blocking Zoom, you may experience issues while using the application. Check your firewall settings and allow Zoom to access the internet. If necessary, consult the documentation provided with your security software or contact your IT department for assistance.
If you encounter any other issues, refer to Zoom’s official support documentation or reach out to their support team for further assistance. Troubleshooting common issues can help ensure a smooth and uninterrupted meeting experience for both you and the other participants.
Conclusion
Zoom has revolutionized the way we communicate and collaborate in today’s digital era. With its user-friendly interface, versatile features, and seamless meeting experience, Zoom has become a go-to platform for virtual meetings, webinars, and video conferences. By following the step-by-step guide in this article, you have learned how to set up Zoom, join meetings, control audio and video settings, navigate the interface, use chat and emojis, share your screen, record meetings, and explore advanced settings.
Zoom provides a wide range of options to customize and enhance your meeting experience. Whether you are a student attending virtual classes, a professional working from home, or someone looking to connect with friends and family, mastering the use of Zoom can greatly benefit you in staying connected and productive.
Remember to experiment with the various features and settings to discover what works best for you and your meeting requirements. Zoom is continually adding new features and updates to cater to the evolving needs of its users, so be sure to stay informed about any new developments.
As you continue to use Zoom, it’s important to always prioritize security and privacy. Be cautious with your meeting links and passwords, only share them with trusted participants, and stay updated on Zoom’s recommended security practices.
Now that you are armed with the knowledge and skills to utilize Zoom effectively, you can confidently navigate through virtual meetings, presentations, and collaborations. Embrace the possibilities that Zoom offers and make the most out of your virtual interactions.
So go ahead, start scheduling meetings, connecting with others, and exploring the full potential of Zoom. Happy Zooming!