Introduction
Zoom has become an essential tool for conducting online meetings, webinars, and virtual conferences. With its impressive features, one of the most valuable functionalities of Zoom is the ability to record meetings. Whether it’s for reference, sharing with absent attendees, or archiving purposes, having the option to download Zoom recordings is incredibly useful.
In this article, we will guide you through the process of downloading Zoom recordings. Whether you’re a host or a participant, you can easily save the recorded meetings and access them whenever needed. By following these simple steps, you’ll have no trouble downloading your Zoom recordings and keeping them for future use.
Before we get started, it’s important to note that the ability to download a recording depends on the settings chosen by the meeting host. If the host has disabled the downloading feature, participants may not be able to download the recordings. However, if the host has granted permission, you can easily follow the steps below to save the recordings on your computer or device.
Step 1: Accessing Zoom Recordings
To begin the process of downloading a Zoom recording, you need to first access the Zoom web portal. Follow these steps:
- Open your preferred web browser and go to the Zoom website.
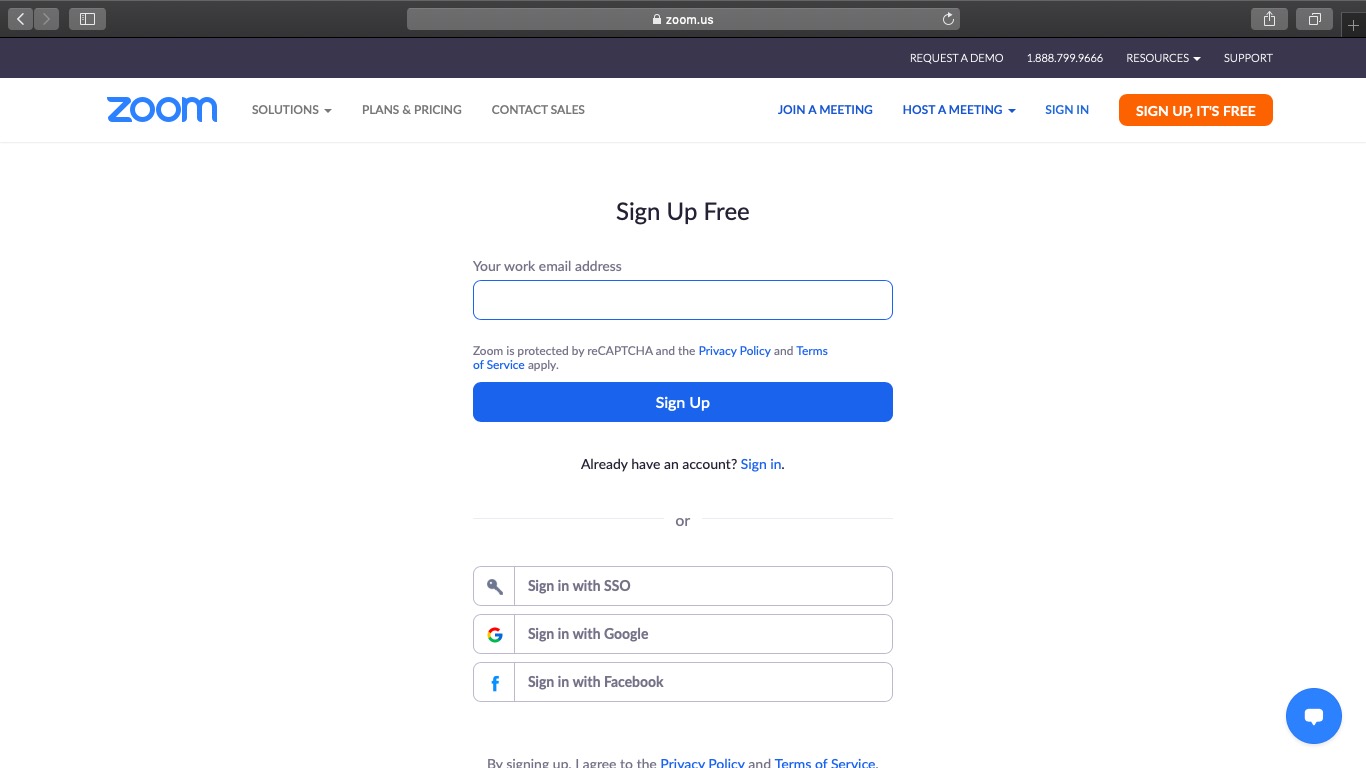
- Click on the “Sign In” button located at the top-right corner of the page.
- Enter your Zoom credentials, including your username and password, and click “Sign In.” If you do not have an account, you can create one by clicking on the “Sign Up, It’s Free” button and following the provided instructions.
- Once you are signed in, you will be redirected to the Zoom dashboard. Here, you can access various Zoom features and settings.
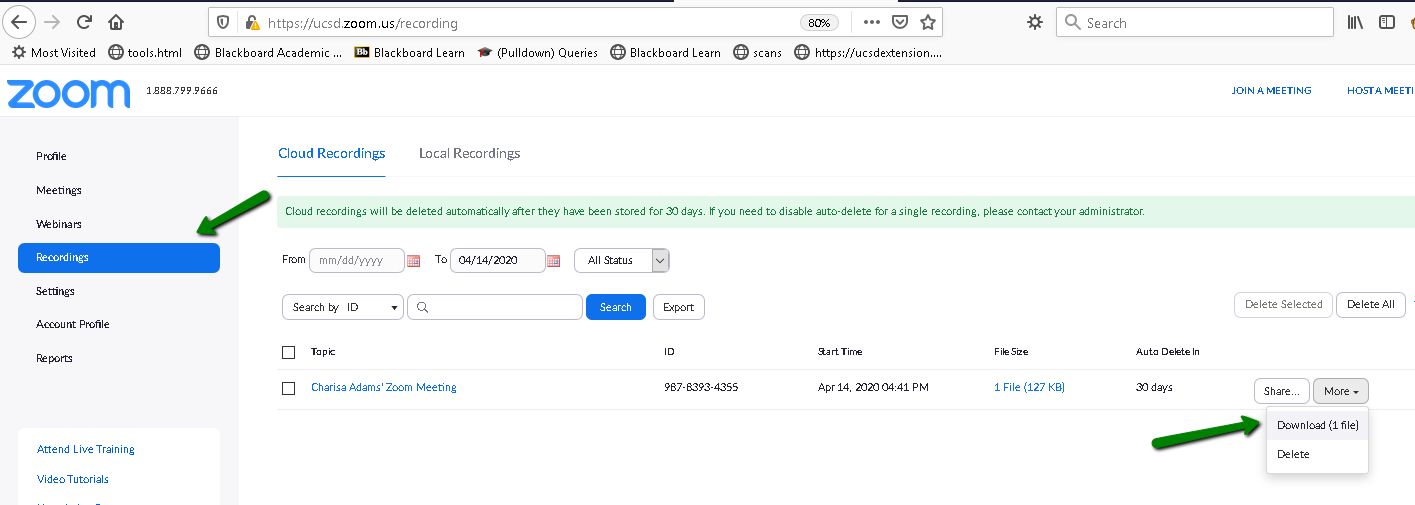
- In the left-hand menu, click on “Recordings.” This will take you to the recordings management page, where you can view and manage your recorded meetings.
Once you have successfully accessed the Zoom recordings page, you are now ready to locate and download the specific recording you wish to save. In the following steps, we will guide you through the process of finding and downloading your Zoom recordings.
Step 2: Locating the Recording
After accessing the Zoom recordings page, you will need to locate the specific recording you want to download. Follow these steps:
- On the recordings management page, you will see a list of all your recorded meetings. The recordings are organized by date and time.
- Scroll through the list or use the search bar to find the desired recording. You can search by meeting title, host name, or date.
- Once you have found the recording you want to download, click on the title or the associated options button (usually represented by three dots) to the right of the recording entry.
- A dropdown menu will appear with various options. Click on “Download” to initiate the download process. Depending on the length of the recording and your internet connection, it may take a few moments to download the file.
It’s worth noting that if the host has enabled cloud recording, the recordings may be stored on the Zoom cloud, and you will need to download them from there. In such cases, when you click on the recording title, you will be redirected to the cloud recording playback page. On this page, you can find the download button to save the recording to your computer or device.
Now that you’ve successfully located the recording you want to download, it’s time to proceed to the next step and save it to your system.
Step 3: Downloading the Recording
Once you have located the Zoom recording you want to download, you can proceed with the actual downloading process. Follow these steps:
- After clicking on the “Download” option for the desired recording, a file will be saved to your computer or device.
- Depending on your browser settings, you may be prompted to choose a location to save the file. Select a suitable location on your computer or device to save the recording.
- The download progress will be displayed, and once it is complete, the recording will be available on your computer or device for future use.
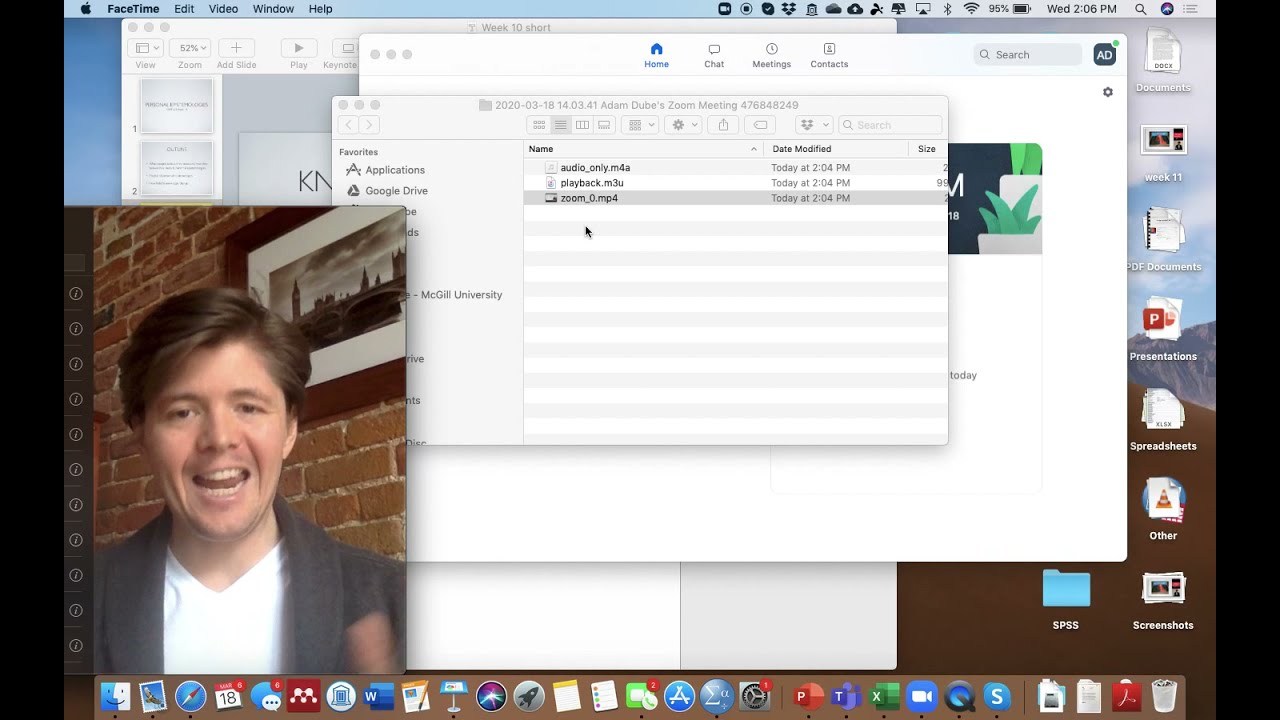
It’s important to note that the downloaded recording will be in the MP4 video format, along with an accompanying audio file if the meeting consisted of audio only. These files can be played on most media players and video editing software.
Downloading the recording allows you to have a local copy of the meeting, ensuring that you can access it even if it is removed from the Zoom cloud or if your account no longer has access to it.
Now that you have successfully downloaded the Zoom recording, it’s time to proceed to the next step and save it in a secure location on your computer or device.
Step 4: Saving the Recording
Once you have downloaded the Zoom recording, it’s crucial to properly save it in a secure location on your computer or device. Follow these steps:
- Open the folder where the downloaded recording is located, either through the browser’s downloads section or the file explorer on your computer or device.
- Right-click on the downloaded recording file and select “Cut” or “Copy” from the context menu.
- Navigate to the desired location on your computer or device where you want to save the recording, such as a specific folder or directory.
- Right-click in the selected location and choose “Paste” from the context menu to move or copy the recording file to the new location.
By saving the recording in a designated folder or directory, you can easily access it whenever you need it. It’s a good practice to create a dedicated folder for your Zoom recordings to keep them organized and easily retrievable.
Additionally, consider giving the recording file a meaningful name that reflects the meeting or topic discussed. This will help you quickly identify and locate the recording in the future.
Now that you have successfully saved the Zoom recording, you can move on to the final step and ensure that the downloaded file is accessible and playable.
Step 5: Checking the Downloaded Recording
After you have downloaded and saved the Zoom recording, it’s important to ensure that the file is accessible and playable on your computer or device. Follow these steps to check the downloaded recording:
- Navigate to the location where you saved the recording file.
- Double-click on the recording file to open it.
- Based on the media player installed on your computer or device, the recording should automatically start playing. If it doesn’t, right-click on the recording file and select “Open With” to choose the appropriate media player.
- While playing the recording, check the audio and video quality to ensure that the content is clear and intact.
- Verify that the recording captures the entire meeting duration and any accompanying audio, if applicable.
If the recording plays smoothly and meets your expectations, you can be confident that the download was successful and the recording is ready for use. If any issues are encountered, such as audio or video glitches, consider re-downloading the recording or seeking assistance from the Zoom support team.
Remember to back up your downloaded Zoom recordings regularly to avoid any data loss. You can store them on an external hard drive, a cloud storage service, or any other secure backup solution.
Now that you have checked the downloaded recording and ensured its quality, you can enjoy the convenience of accessing and utilizing your Zoom meeting recordings whenever needed.
Conclusion
Downloading Zoom recordings is a simple and valuable process that allows you to save important meetings, webinars, or conferences for later reference or sharing. By following the steps outlined in this article, you can easily access, locate, download, save, and check your Zoom recordings.
Remember to always check the settings and permissions set by the meeting host, as some recordings may not be available for download. Additionally, it is recommended to save your recordings in a secure location and back them up regularly to prevent any potential data loss.
Having the ability to download and save Zoom recordings not only provides convenience but also ensures that you have control over the accessibility and longevity of your important meetings. By following these steps, you can confidently navigate the process of downloading Zoom recordings and keep them readily available for future use.
So, make the most out of your Zoom meetings by harnessing the power of recordings and easily downloading them to enhance collaboration, learning, and knowledge sharing.