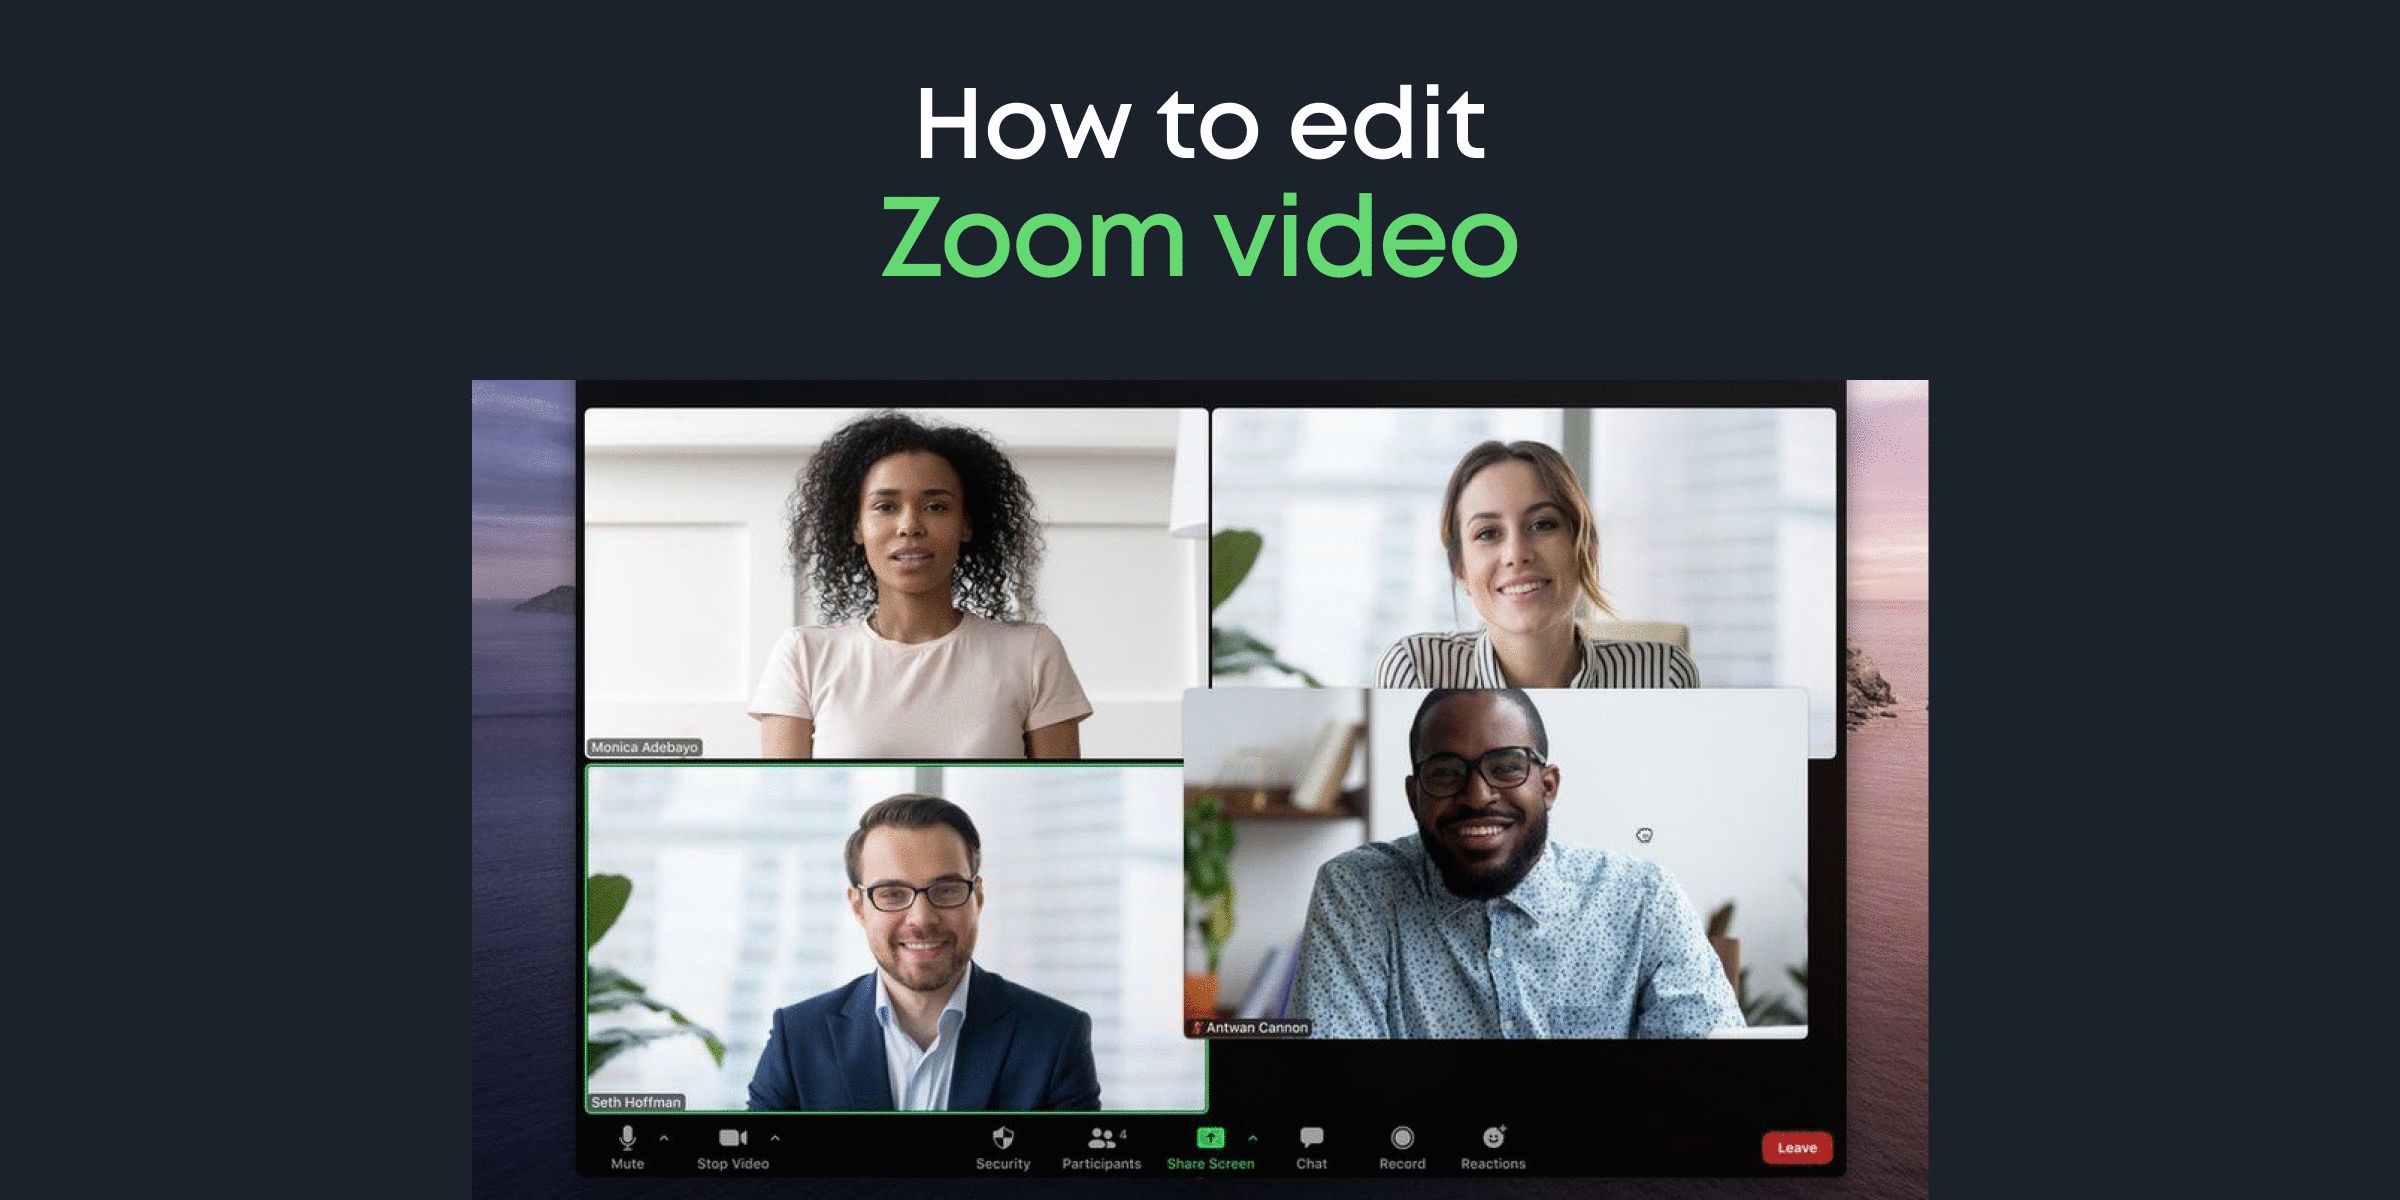
Introduction
Welcome to the era of remote work and virtual meetings! With the increasing popularity of platforms like Zoom, online meetings have become the norm for individuals and businesses alike. One of the advantages of these virtual gatherings is the ability to record them for future reference and sharing. However, often these recordings capture more than just the essential content, including pauses, interruptions, and irrelevant conversations.
This is where the process of trimming Zoom recordings comes in. Trimming, or editing, allows you to remove unwanted sections, making your recordings concise, professional, and easier to follow. Whether you’re looking to highlight specific information, create a shorter version of a lengthy recording, or simply remove any accidental background noise, this guide will walk you through the steps to trim your Zoom recordings.
In this article, we’ll discuss the importance of trimming Zoom recordings and guide you through the process, ensuring that you can confidently remove unnecessary portions and produce a polished final recording. No prior editing experience is necessary. Let’s dive in and learn how to trim Zoom recordings effectively.
Why Trim Zoom Recordings?
As mentioned earlier, Zoom recordings often capture more than just the essential content. There are several reasons why you might want to trim your Zoom recordings:
- Enhance Focus: Trimming allows you to remove any distractions or irrelevant conversations, ensuring that the audience remains focused on the key points and information being presented. It helps streamline the recording and makes it more engaging for viewers.
- Optimize Clarity: Removing unnecessary segments from your Zoom recordings can help eliminate any moments of confusion or ambiguity. By retaining only the most relevant parts, you enhance the clarity and understanding of the content, making it easier for viewers to comprehend the information being shared.
- Save Time: Lengthy Zoom recordings can be time-consuming for both you and your audience. By trimming unnecessary portions, you create a more concise version that can be consumed in a shorter timeframe. This is particularly beneficial if you plan to share the recording with others who may not have the luxury of dedicating hours to watch the entire recording.
- Highlight Key Points: Trimming allows you to emphasize specific sections or key points within your Zoom recording. By removing unrelated segments, you can draw attention to the most important information, enabling viewers to easily grasp the main takeaways without getting lost in extraneous content.
- Professionalism: Presenting a trimmed Zoom recording demonstrates a level of professionalism. It shows that you value your viewers’ time by providing them with a refined and edited version of the content. This attention to detail can leave a lasting positive impression on your audience.
Now that we understand the benefits of trimming Zoom recordings, let’s move on to the tools and steps required to effectively trim your recordings, ensuring you create a polished final product that captures the attention of your audience.
What You’ll Need
Before you start trimming your Zoom recordings, there are a few essential things you’ll need:
- A Computer: You’ll need access to a computer, as the process of trimming Zoom recordings is typically done using video editing software. While there are various software options available, make sure your computer meets the minimum system requirements for the software you choose.
- Zoom Recording: Naturally, you’ll need the Zoom recording that you want to trim. Ensure that you have a copy of the recording saved on your computer. If you don’t have a recording yet, make sure to set up and record your Zoom meeting before proceeding.
- Video Editing Software: To trim your Zoom recording, you’ll need video editing software. There are several options available, both free and paid. Some popular choices include Adobe Premiere Pro, iMovie (for Mac users), Windows Movie Maker (for Windows users), and Shotcut (a free and open-source option). Choose software that suits your needs and experience level.
- Familiarity with the Software: While you don’t need to be an expert, having a basic understanding of the video editing software’s features and functions will make the process smoother. Take some time to familiarize yourself with the software’s interface and tools before starting the trimming process.
- Time and Patience: Trimming Zoom recordings requires time and patience, especially if you’re new to video editing. Be prepared to spend a bit of time learning the software and experimenting with different editing techniques to achieve the desired results.
Once you have these essentials in place, you’re ready to start trimming your Zoom recordings. In the next sections, we’ll guide you through the steps to import your recording into the chosen software and trim unwanted sections effectively.
Step 1: Download the Recording
Before you can begin trimming your Zoom recording, you’ll need to download it to your computer. Follow these simple steps to download your Zoom recording:
- Open the Zoom application on your computer and sign in to your account.
- Go to the “Meetings” tab and select the “Recorded” tab to access your recorded meetings.
- Locate the specific meeting recording that you want to trim and click on it to open the recording details.
- Click on the “Download” button, typically represented by a downward arrow or a cloud icon. This will initiate the download process.
- Choose the folder or directory on your computer where you want to save the downloaded recording. Make sure to select a location that you can easily locate later on.
- Wait for the download to complete. The time will vary depending on the length and size of the recording.
- Once the download is finished, you’ll have a local copy of your Zoom recording saved on your computer. You’re now ready to move on to the next step of the trimming process.
Downloading your Zoom recording ensures that you have a local copy that you can access and edit using video editing software. It’s an important step in the process, as you’ll need the recording file to trim out the unwanted sections and create a polished final version. Now that you’ve successfully downloaded your Zoom recording, let’s move on to selecting the right video editing software in the next step.
Step 2: Choose the Right Tool
Now that you have your Zoom recording downloaded on your computer, it’s time to choose the right video editing software to trim and edit your recording. Here are a few factors to consider when selecting the tool:
- User-Friendly Interface: Look for video editing software with a user-friendly interface, especially if you’re new to editing. This will make the trimming process more straightforward and enjoyable.
- Compatibility: Ensure that the software you choose is compatible with your operating system. Some popular video editing software options include Adobe Premiere Pro, iMovie, Windows Movie Maker, and Shotcut. Make sure to select software that is compatible with your computer’s operating system.
- Features and Tools: Consider the features and tools offered by the software. Look for basic editing options like cutting, splitting, and merging clips. Additionally, if you have specific editing requirements, such as adding transitions or overlays, make sure the software supports those features.
- Availability and Cost: Determine whether you’re willing to invest in paid software or prefer to use free options. Many video editing software programs offer free versions with limited features, while others require a one-time purchase or subscription. Choose a tool that fits your budget and editing needs.
- Learning Resources: It’s helpful to choose software that provides learning resources such as tutorials, documentation, or a supportive community forum. This can greatly assist you in learning the software and mastering the trimming process.
Spend some time researching and comparing different video editing software options to find the one that aligns best with your needs and preferences. Once you’ve selected the right tool, you’re ready to move on to the next step, which involves importing the downloaded Zoom recording into the chosen software.
Step 3: Import the Recording
After choosing the video editing software that suits your needs, it’s time to import the downloaded Zoom recording into the software. Follow these steps to import your recording:
- Launch the video editing software on your computer.
- Create a new project or open an existing one, depending on your software’s interface.
- Locate the ‘Import’ or ‘Add Media’ option within the software. This option is usually found in the toolbar or the menu at the top of the screen.
- Navigate to the folder or directory where you saved the downloaded Zoom recording.
- Select the recording file and click on ‘Import’ or ‘Add’ to import it into the software. Some software may have additional options for importing, such as importing specific sections or importing multiple files at once.
- Wait for the software to import and process the recording. The time taken will depend on the length and size of the recording.
- Once the import process is complete, you’ll see the Zoom recording appear in your project workspace or media library within the software. Now, you’re ready to start trimming the recording and removing any unwanted sections.
By importing the Zoom recording into the video editing software, you gain access to various editing tools and features that will allow you to trim, enhance, and refine the recording. With the recording successfully imported, you can now move on to the next step, which involves trimming out the unwanted parts of the recording to create a more concise and engaging final version.
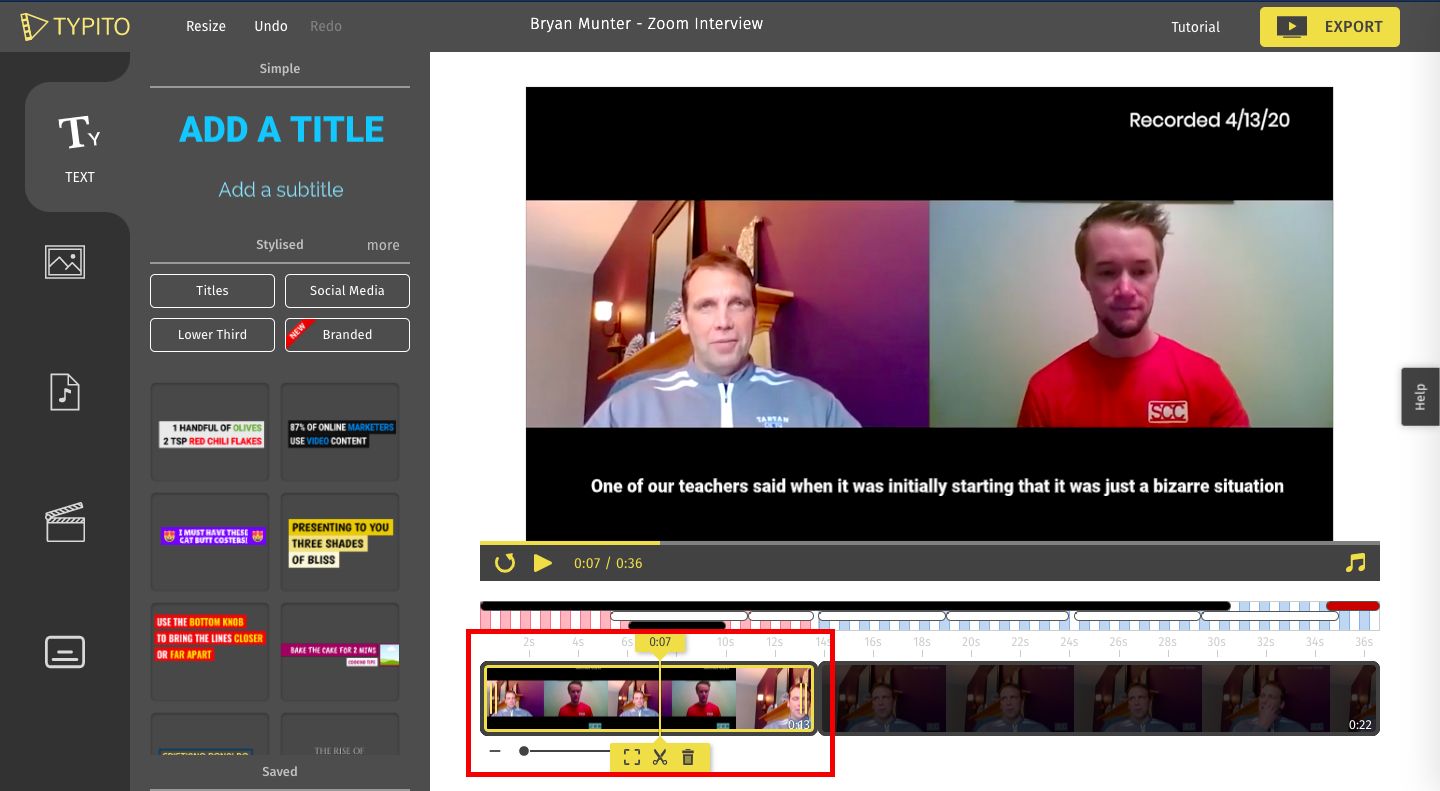
Step 4: Trim the Unwanted Parts
Now that you have imported your Zoom recording into the video editing software, it’s time to start trimming out the unwanted parts. Follow these steps to effectively remove sections from your recording:
- Locate the Zoom recording in your project workspace or media library within the video editing software.
- Drag and drop the recording onto the timeline or the editing area of the software’s interface. The timeline is where you will perform the trimming and editing.
- Play the recording in the preview window to identify the sections you want to remove. As you listen, look for pauses, interruptions, irrelevant conversations, or any other parts that detract from the main content.
- Once you’ve identified a section you want to trim, locate the ‘trim’ or ‘cut’ tool in the video editing software. This tool allows you to select the beginning and end points of the section you want to remove.
- Position the playhead at the start of the section you wish to trim and click on the ‘trim’ or ‘cut’ tool.
- Move the playhead to the end of the section you want to remove and click on the ‘trim’ or ‘cut’ tool again. The software will remove the selected section, creating a clean edit.
- Repeat this process for each unwanted section you want to remove. Take your time, listen carefully, and make precise trims to ensure a seamless and flowing final recording.
- Preview the trimmed recording to ensure that all unwanted parts have been successfully removed. Make any additional adjustments or trims if necessary.
By carefully trimming out the unwanted sections, you create a more concise and focused Zoom recording that highlights the key content and enhances the overall viewing experience. Once you are satisfied with the trimming, you’re ready to move on to the next step, saving the final trimmed recording.
Step 5: Save the Trimmed Recording
After successfully trimming your Zoom recording and creating a polished version, it’s time to save the final trimmed recording. Follow these steps to save your trimmed recording using the video editing software:
- Make sure you have the trimmed version of your Zoom recording in the timeline or editing area of the software.
- Go to the ‘File’ menu or the ‘Export’ option within the software’s interface.
- Select the desired output format for your trimmed recording. Common formats include MP4, MOV, AVI, or WMV.
- Choose the destination folder or directory on your computer where you want to save the final trimmed recording. Pick a location that is easily accessible and memorable.
- Provide a suitable filename for your trimmed recording, ensuring it reflects the content and purpose of the recording.
- Adjust any additional export settings as needed, such as video quality, resolution, or audio settings. These options may vary depending on the video editing software you are using.
- Click on the ‘Save’ or ‘Export’ button to start the saving process.
- Wait for the software to save and export the trimmed recording. The time taken will depend on the length of the recording and the software’s processing speed.
- Once the saving process is complete, navigate to the destination folder you selected to locate your final trimmed recording. Congratulations! You now have a professional and concise version of your Zoom recording.
By saving the trimmed recording, you ensure that it is preserved and can be easily shared or accessed whenever needed. Make sure to keep a backup of the trimmed recording in a secure location to avoid any accidental loss of data. With the final trimmed recording saved, you have successfully completed the trimming process. However, if you wish to further enhance or edit the recording, you can explore the optional steps for further editing outlined in the next section.
Step 6: Optional Steps for Further Editing
After trimming your Zoom recording, you may want to explore additional editing options to further enhance the final result. While these steps are optional, they can take your recording to the next level. Here are some optional steps you can consider for further editing:
- Add Transitions: Use transitions between different sections of your recording to create a smooth and seamless flow. Transitions like fades, wipes, or dissolves can enhance the visual appeal and make the viewing experience more engaging.
- Apply Filters and Effects: Experiment with various filters and effects available in your video editing software to enhance the color, contrast, or overall look of your recording. Effects like vignettes or color correction can add a professional touch to your trimmed recording.
- Include Captions or Subtitles: If your Zoom recording includes dialogue or presentations, consider adding captions or subtitles to make it accessible to a wider audience. This is especially beneficial for viewers who may be hearing impaired or prefer to consume content with subtitles.
- Add Intro or Outro: Create an introductory slide or animation at the beginning of your recording to set the stage and grab the viewer’s attention. Similarly, an outro slide or animation at the end can provide closure and leave a lasting impression.
- Overlay Graphics or Images: If you have relevant graphics, images, or slides to emphasize certain points during your Zoom recording, consider overlaying them in the appropriate sections. This can enhance visual interest and help convey information more effectively.
- Adjust Audio Levels: Ensure that the audio levels in your trimmed recording are balanced and consistent. Adjustments can be made to the overall volume or specific sections of the recording to eliminate any unwanted background noise or ensure clarity of dialogue.
- Include Music or Sound Effects: If suitable for your recording, you can add background music or sound effects to enhance the mood or make certain sections more engaging. Ensure that the audio choices align with the content and do not overpower the main message.
These optional steps provide you with creative avenues to enhance your Zoom recording further. Experiment with different editing techniques and find what works best for your specific recording and target audience. Remember, the goal is to create a polished, professional, and engaging final product.
With the optional editing steps complete, you have successfully refined and enhanced your trimmed Zoom recording. Now it’s time to share your creation or use it according to your original intent. Whether it’s for professional presentations, internal trainings, or sharing valuable content, your trimmed Zoom recording is ready to make an impact.
Conclusion
Congratulations! You have learned how to effectively trim your Zoom recordings to create concise and professional versions that capture the attention of your audience. By following the steps outlined in this guide, you have gained the ability to remove unwanted sections, enhance focus, optimize clarity, save time, highlight key points, and add a touch of professionalism to your recordings.
Remember, trimming your Zoom recordings is an essential step to ensure that your content remains engaging and impactful. By removing distractions and irrelevant conversations, you create a more streamlined experience for your viewers, allowing them to focus on the most important information.
Additionally, utilizing the right video editing software and exploring optional editing techniques can take your trimmed recordings to the next level. Adding transitions, applying filters, including captions, and incorporating graphics or music can provide a polished and professional touch to your final product.
With these skills in your repertoire, you are equipped to create high-quality Zoom recordings that effectively convey your message, whether it’s for business presentations, educational webinars, or any other purpose. Make use of your newfound knowledge to create impactful content that engages and informs your audience.
Remember to save your trimmed recordings after the editing process and keep backups to ensure they are easily accessible whenever needed. With practice and a creative mindset, you can continually improve your editing skills and produce even more captivating Zoom recordings.
Now it’s time to put what you’ve learned into action and start trimming your Zoom recordings. Embrace the power of editing, and enjoy the benefits of concise and engaging content that will leave a lasting impression on your viewers. Happy trimming!