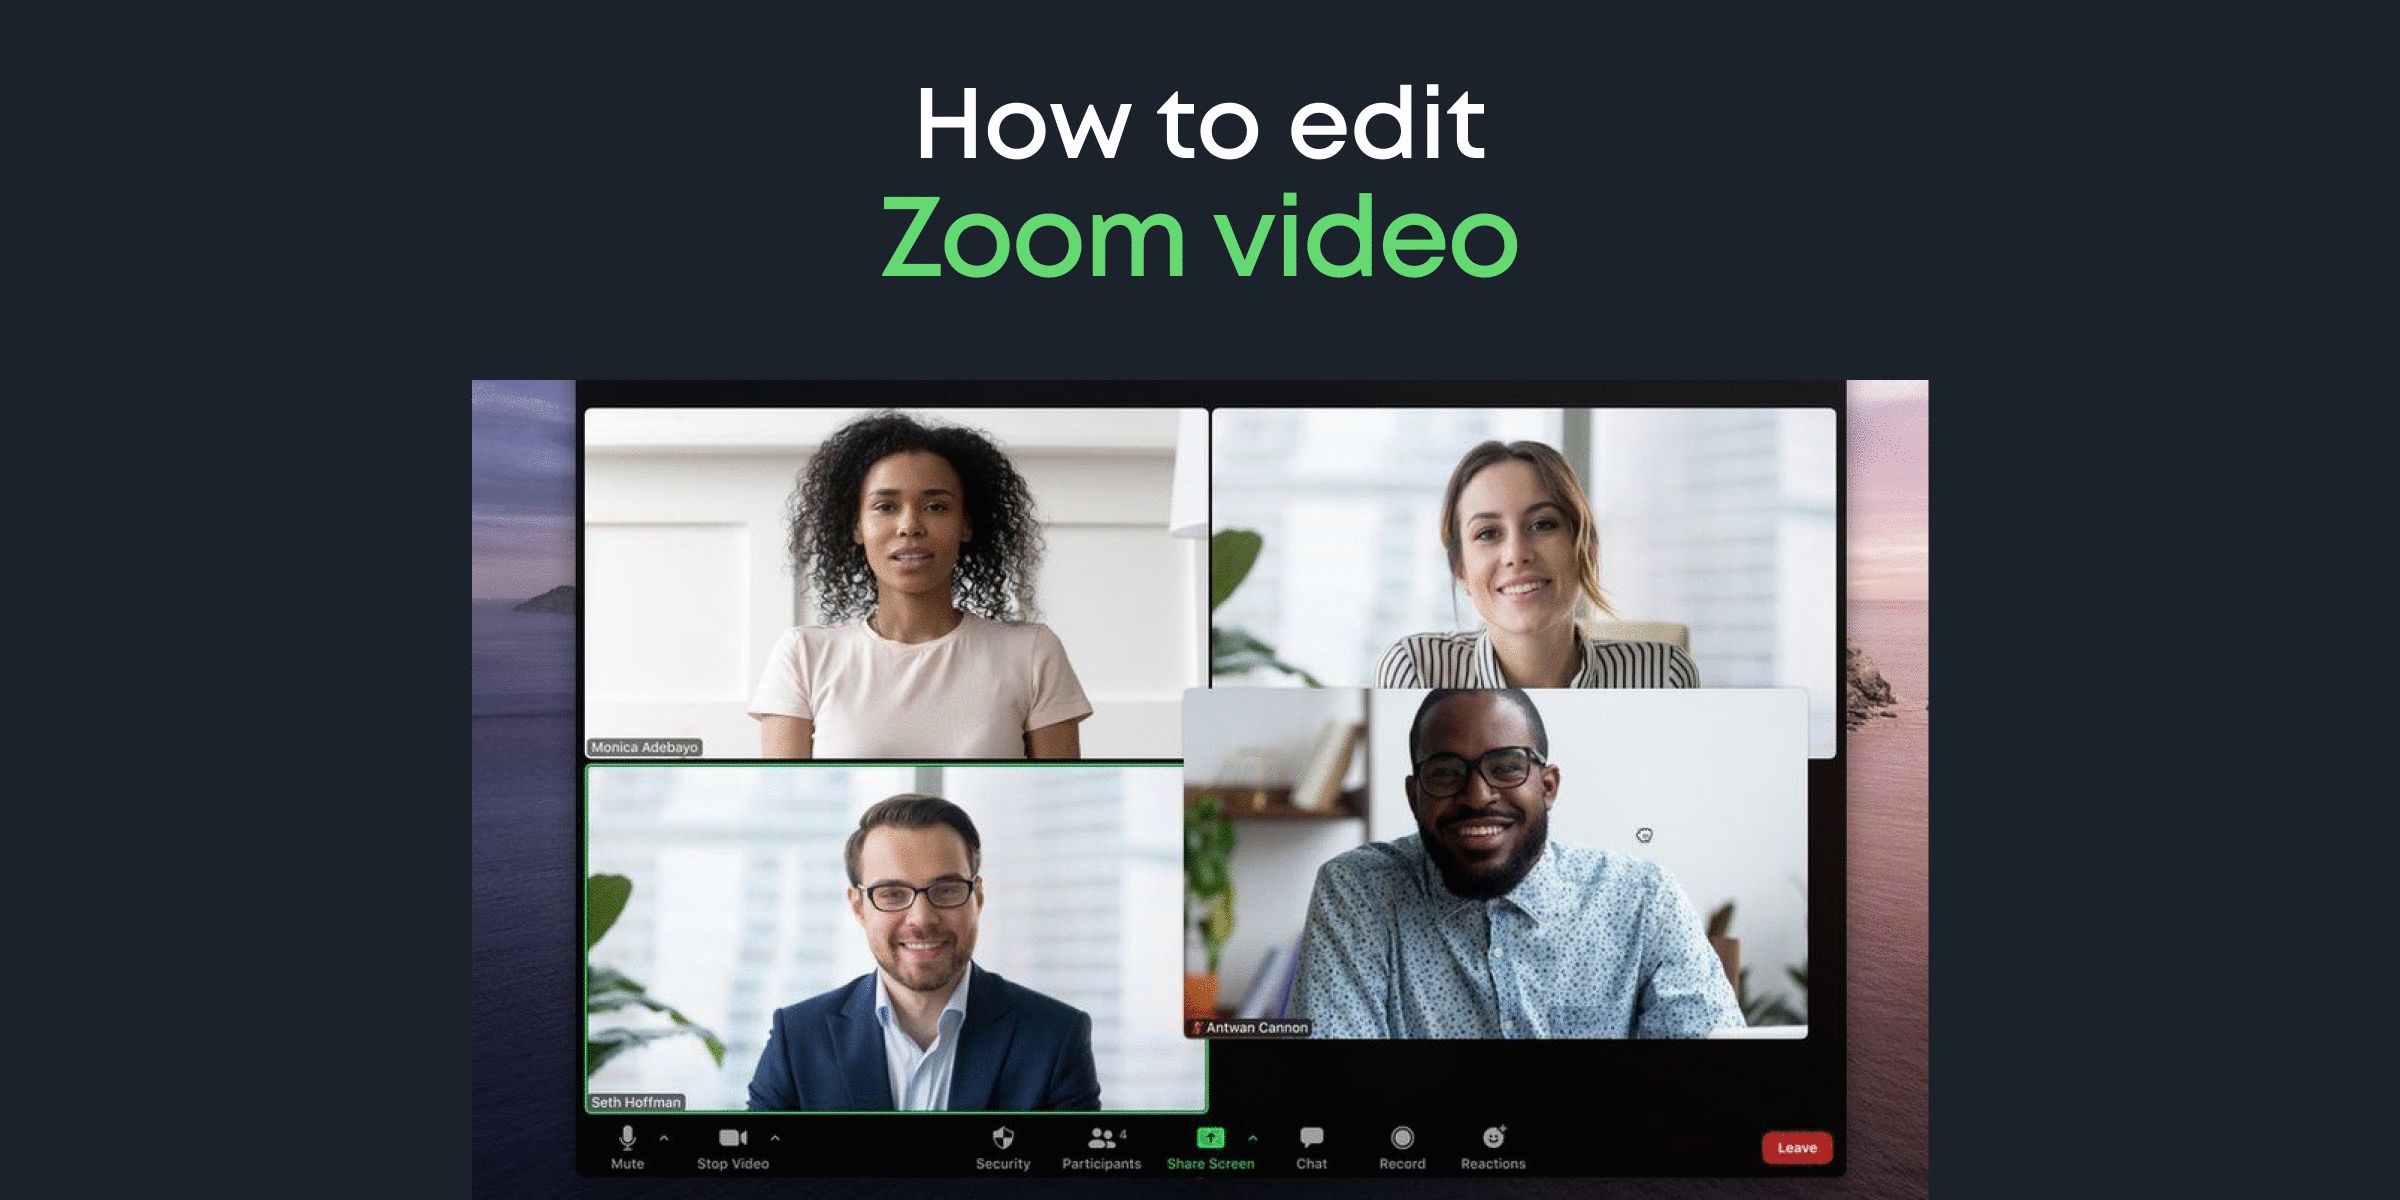
Introduction
Editing videos has become increasingly popular with the rise of online video platforms and remote communication tools. One such tool that has gained immense popularity is Zoom, known for its video conferencing capabilities. Whether you are recording a virtual meeting, an online webinar, or a personal video call, you might need to edit your Zoom video to enhance its quality, remove unnecessary sections, or add creative elements. In this article, we will explore the steps and techniques you can use to edit your Zoom video and create a polished final product.
Editing a Zoom video can be a rewarding process, as it allows you to refine your content and tailor it to your needs. Whether you are a professional videographer or a novice content creator, using video editing software can help you transform raw footage into a captivating visual story. With the right tools and techniques, you can trim unwanted sections, adjust audio levels, add transitions, overlay text or graphics, and enhance the overall quality of your Zoom video.
Before diving into the editing process, it’s essential to prepare yourself and gather the necessary resources. You will need a capable video editing software that supports the formats used by Zoom, such as MP4 or MOV. Familiarize yourself with the software’s interface and features to streamline your editing workflow. Additionally, make sure you have the raw footage from your Zoom meeting saved on your computer or external storage device.
In the upcoming sections, we will guide you through the process of importing your Zoom video into the editing software, trimming and cutting footage, adjusting audio levels, adding transitions, applying video effects, overlaying text or graphics, enhancing video quality, and finally, exporting the edited Zoom video. By following this step-by-step guide, you will be able to transform your raw footage into a captivating video that meets your specific needs.
Preparing for Editing
Before diving into the editing process, it’s crucial to make some preparations to ensure a smooth and efficient workflow. By taking a few minutes to prepare, you’ll be able to save time and avoid potential issues during the editing process. Here are some essential steps to follow before starting your editing session.
1. File Organization: Create a dedicated folder on your computer to store all the files related to your Zoom video project. This will help keep your files organized and easily accessible throughout the editing process. Sort your raw footage into clearly labeled sub-folders, such as “Original Recordings” and “B-Roll Footage.”
2. Backup Your Files: Before making any changes to your Zoom video files, it’s wise to create a backup of the original footage. This ensures that you have a safe copy of the unedited files in case any unexpected issues arise during the editing process.
3. Hardware and Software Requirements: Check the system requirements of your chosen video editing software and ensure that your computer meets the recommended specifications. This includes checking the minimum processor speed, RAM capacity, and available disk space. Additionally, confirm that your editing software supports the video file formats used by Zoom, such as MP4 or MOV.
4. Latest Updates: It’s important to have the latest version of both your video editing software and Zoom installed on your computer. Software updates often come with bug fixes, performance improvements, and new features that can enhance your editing experience.
5. Project Settings: Open your video editing software and create a new project. Set the project settings to match the resolution, frame rate, and aspect ratio of your Zoom video footage. This ensures that your final edited video will be in the correct format for your intended output, whether it’s for online platforms or offline viewing.
By following these preparatory steps, you are setting yourself up for a smooth and efficient editing process. Organizing your files, backing up your footage, checking system requirements, keeping your software updated, and configuring the project settings are vital to ensuring that your final edited Zoom video meets your desired expectations.
Importing Zoom Video into Editing Software
Once you have prepared your files and ensured that your computer meets the necessary requirements, it’s time to import your Zoom video into the chosen video editing software. This step allows you to access and manipulate the raw footage so that you can begin the editing process. Here’s how you can import your Zoom video into your editing software.
1. Launch the Editing Software: Open your video editing software and create a new project or select an existing one, depending on your needs.
2. Import Media: Look for the “Import Media” or “Import Files” option within the software. This could be a button or a menu item located at the top or side of the interface. Click on it to open the file explorer or media browser window.
3. Select Zoom Video File: Navigate to the folder where you have saved your Zoom video files. Select the files you want to import by clicking on them. You can select multiple files by holding down the “Ctrl” or “Command” key while clicking on each file.
4. Import the Files: Click on the “Import” or “Open” button to import the selected Zoom video files into your project. Depending on the size and quantity of the files, it may take a few moments for them to be processed and added to your project.
5. Organize Footage: Once your Zoom video files are imported, they will appear in the media bin or library of your editing software. Take a moment to review the footage and organize it into appropriate bins or folders, if supported by your software. This can help you locate specific footage quickly during the editing process.
When importing your Zoom video files, it’s essential to consider the different formats and resolutions of the footage. If your Zoom video consists of multiple clips or different recording settings, ensure that they match the project settings you configured earlier. This will prevent any potential issues with aspect ratios or frame rates when working with the footage.
By successfully importing your Zoom video files into the editing software, you are one step closer to editing and transforming your raw footage into a polished and engaging final product. With the footage ready to be edited, you can now proceed to trim and cut unnecessary sections, adjust audio levels, and add creative elements to enhance the overall quality of your Zoom video.
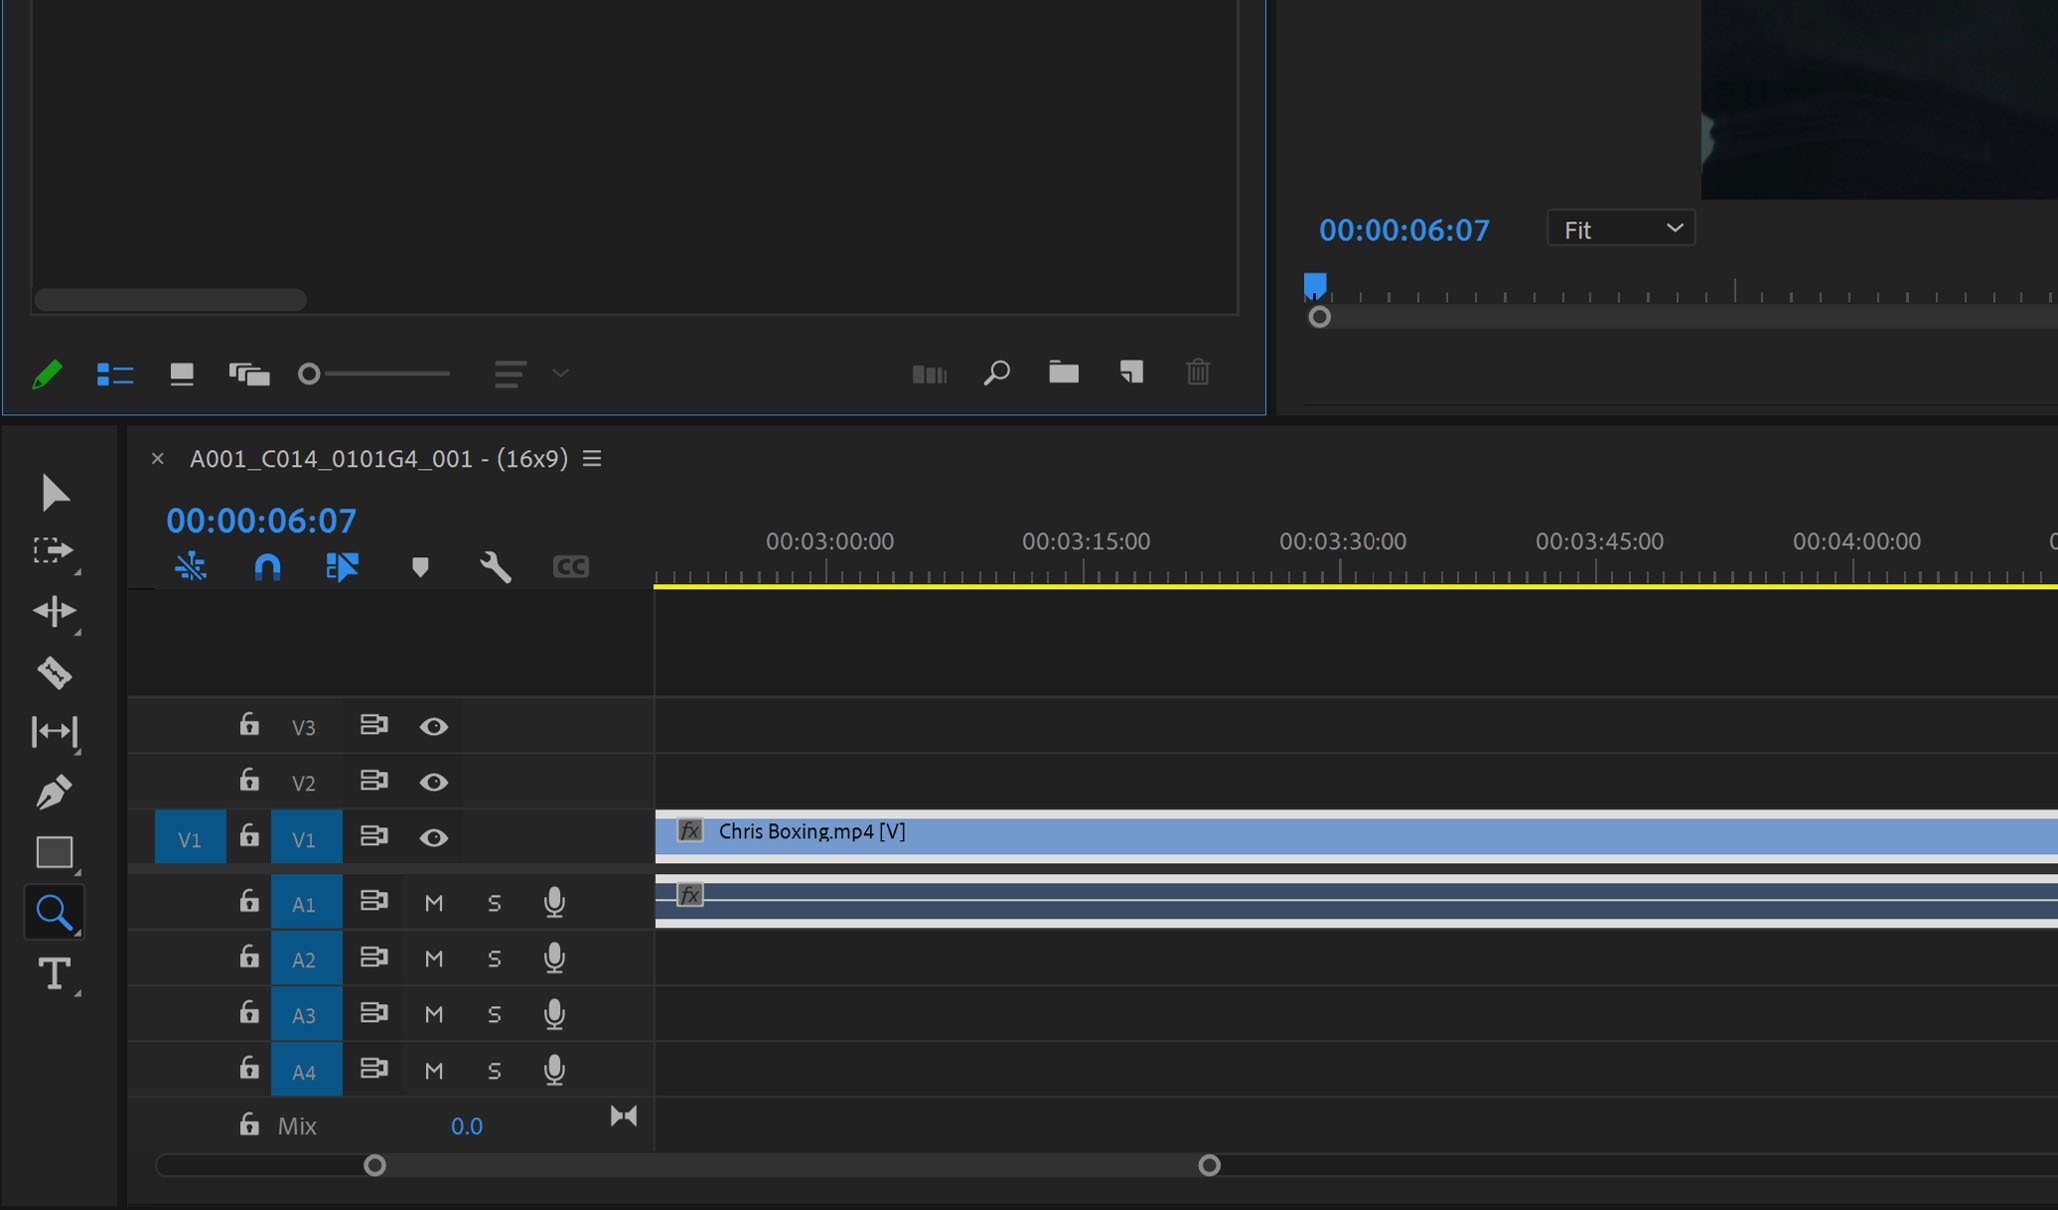
Trim and Cut Footage
After importing your Zoom video into the editing software, it’s time to trim and cut the footage to remove any unwanted sections or mistakes. This step allows you to refine the content and focus on the essential parts of your video. Here are the steps to trim and cut your Zoom video footage effectively.
1. Timeline Navigation: Locate the timeline or video track in your editing software’s interface. This is where you will make your edits. You can usually find it at the bottom or center of the screen. Use the mouse cursor or the navigation controls to move backward and forward along the timeline.
2. Setting In and Out Points: Scrub along the timeline to find the starting point of the section you want to trim. Once located, set an “In” point by clicking on the “Mark In” or “Set In” button provided by your software. Next, scrub to the end point of the section and set an “Out” point by clicking on the “Mark Out” or “Set Out” button.
3. Trimming the Footage: With the in and out points set, use the “Cut” or “Trim” function within your editing software to remove the selected section. This action will separate the unwanted portion from the main timeline, effectively trimming your Zoom video.
4. Reviewing the Edits: Play through the timeline to review the edited footage and ensure that the cuts have been made correctly. If needed, make further adjustments by repeating the process described above.
5. Save and Render: Once you are satisfied with the trimmed footage, save your project to ensure you don’t lose any progress. Depending on your editing software, you may need to render or export the trimmed video to apply the changes permanently.
It’s important to approach trimming and cutting with precision, keeping in mind the flow and narrative of your Zoom video. Consider removing any sections that are repetitive, contain technical glitches, or lack relevance to the main content. By removing these unnecessary parts, you can create a more concise and engaging video that holds the attention of your viewers.
When trimming and cutting your Zoom video, it’s always a good idea to keep a backup copy of the unedited footage. This ensures that you can revisit and make additional edits if needed, without starting from scratch. By mastering the art of trimming and cutting, you can shape your Zoom video into a more compelling and focused piece of content.
Adjusting Audio
Audio plays a significant role in the quality and impact of your Zoom video. It’s important to ensure that the audio levels are balanced, clear, and free from any distractions or issues. By adjusting the audio in your video, you can enhance the overall viewing experience for your audience. Here are the steps to effectively adjust the audio in your Zoom video.
1. Audio Track: Locate the audio track in your editing software’s interface. This track shows the waveform and allows you to make precise adjustments to the audio levels. You can usually find the audio track below or beside the video track on the timeline.
2. Visualizing Audio Levels: Play through your Zoom video and observe the audio levels on the waveform. Look for any sections where the audio is too loud or too soft, indicated by spikes or flat lines on the waveform.
3. Volume Adjustment: To adjust the overall volume of your Zoom video, find the audio level controls in your editing software. You can typically find sliders or numerical input fields to increase or decrease the volume. Gradually adjust the volume until it reaches a balanced level that is audible and pleasant to the viewer.
4. Audio Keyframes: If you need to make more precise adjustments to the audio levels within specific sections of your Zoom video, you can use keyframes. Keyframes allow you to set different audio levels at different points in time. By adding keyframes and adjusting their positions, you can create smooth and seamless transitions between audio levels.
5. Background Noise Reduction: If you have recorded your Zoom video in a noisy environment or with a low-quality microphone, you may need to reduce background noise. Your editing software may have tools or plugins specifically designed for noise reduction. Experiment with these tools to minimize unwanted background noise while preserving the clarity of the primary audio.
6. Audience Considerations: Keep in mind the intended audience and delivery platform of your Zoom video. Ensure that the audio levels are suitable for the setting in which the video will be viewed. For example, if your Zoom video will be watched on mobile devices, consider optimizing the audio to be easily audible on smaller speakers or headphones.
Remember to regularly play through your Zoom video and listen attentively to ensure that the adjusted audio levels are satisfactory. It’s also a good idea to seek feedback from others to validate if the audio is clear and balanced. By giving due attention to the audio in your Zoom video, you can create a more immersive and enjoyable viewing experience for your audience.
Adding Transitions
Transitions are visual effects that help smoothly transition between different clips or scenes in your Zoom video. They add a professional touch and improve the flow and continuity of your video. By incorporating transitions, you can create a more polished and engaging viewing experience for your audience. Here’s how you can effectively add transitions to your Zoom video.
1. Accessing Transitions: Look for the transitions library or menu in your editing software’s interface. This is where you will find a variety of transitions to choose from. Click on the transition panel to see the different options available.
2. Selecting a Transition: Browse through the available transitions and select the one that best fits the style and mood of your Zoom video. Popular transition types include fades, dissolves, wipes, and slides. Consider the content and context of the clips you are transitioning between to choose more suitable options.
3. Applying the Transition: To apply a transition, simply drag and drop it onto the timeline between the two clips you want to transition. Most editing software will provide a preview of the transition within the timeline, allowing you to see how it looks before rendering or exporting the final video.
4. Customizing Transition Duration: If needed, you can adjust the duration of the transition to fit the desired timing. Depending on your editing software, you can usually click and drag the edges of the transition on the timeline to extend or shorten its duration. Experiment with different durations to find the most seamless and visually appealing result.
5. Transition Effects: Some editing software also offers additional effects or options to enhance the transitions. This could include adjusting the speed, direction, or adding unique visual elements to the transition. Explore these options to add a personalized touch and make your transitions stand out.
6. Consistency and Moderation: While transitions can add flair to your Zoom video, it’s essential to use them judiciously. Avoid overusing transitions, as this can distract the viewer and diminish the impact. Instead, focus on selecting transitions that enhance the narrative and contribute to the overall flow of your video.
Remember to play through your Zoom video and review the transitions in context to ensure they blend smoothly and seamlessly. Additionally, consider the pace and style of your Zoom video when choosing transitions. By thoughtfully incorporating transitions, you can elevate the visual appeal and professionalism of your Zoom video, capturing and retaining the attention of your audience.
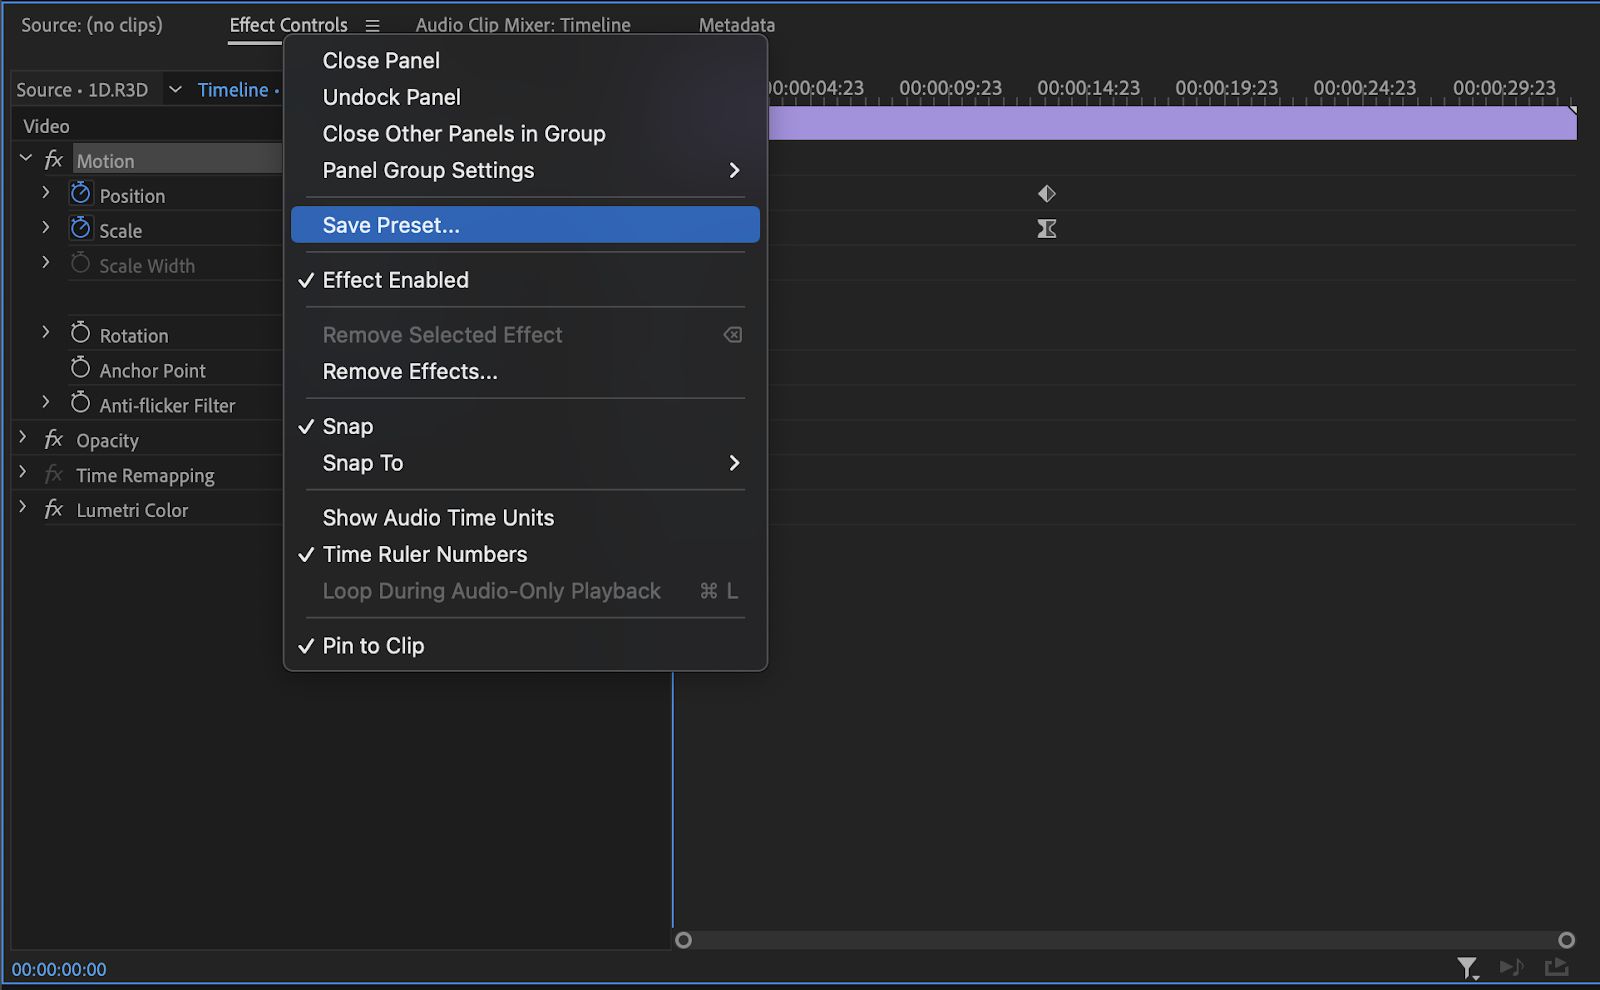
Applying Video Effects
Video effects are a creative way to enhance the visual appeal and storytelling of your Zoom video. They can add a unique style, mood, or atmosphere to your footage, allowing you to create a more immersive and engaging viewing experience. Here’s how you can effectively apply video effects to your Zoom video.
1. Effects Library: Access the effects library in your editing software’s interface. This is where you will find a wide range of video effects to choose from. Click on the effects panel to explore the available options.
2. Selecting an Effect: Review the various video effects available and choose the one that aligns with the desired look and feel of your Zoom video. Effects can include color grading, filters, blur, sharpening, stylized effects, and more. Consider the tone and mood you want to convey in your video when selecting an effect.
3. Applying the Effect: To apply an effect, simply drag and drop it onto the clip or section of your Zoom video where you want it to be applied. Most editing software provides a real-time preview of the effect, allowing you to see how it alters the appearance of your footage.
4. Adjusting Effect Parameters: Many video effects can be adjusted to fine-tune their intensity or customize their appearance. Use the effects controls or properties panel in your editing software to modify parameters such as opacity, intensity, color balance, and more. Experiment with these adjustments to achieve the desired visual effect.
5. Layering and Blending: Some editing software allows you to apply multiple effects to a single clip, enabling you to create complex and unique visuals. Experiment with layering effects and adjusting their blending modes to achieve the desired result. This can add depth and dimension to your Zoom video.
6. Consistency and Intent: While video effects offer creative possibilities, it’s important to use them with intention and consistency. Ensure that the effects you choose align with the overall vision and message of your Zoom video. Avoid overusing effects, as it may distract or overwhelm the viewer. Instead, focus on using video effects to enhance the storytelling and engagement of your content.
Always play through your Zoom video and review the applied effects to ensure they contribute to the desired style and atmosphere. Pay attention to details such as color grading, contrast, and any visual artifacts that may result from the applied effects. By thoughtfully applying video effects, you can elevate the visual impact and convey your story in a more compelling and captivating manner.
Overlaying Text or Graphics
Adding text or graphics to your Zoom video can provide additional information, highlight key points, or create a visually appealing element that captures the attention of your viewers. Whether it’s titles, captions, logos, or other visual elements, overlaying text or graphics can enhance the overall communication and engagement of your video. Here’s how you can effectively overlay text or graphics on your Zoom video.
1. Title or Graphics Editor: Most video editing software includes a dedicated title or graphics editor where you can create and customize text or graphic elements. Locate this feature within your software’s interface, usually found in the toolbar or menu options.
2. Selecting a Design: Choose a design or style that aligns with the overall theme and aesthetics of your Zoom video. Consider the font, color, size, and positioning of the text or graphics to ensure they are legible and visually appealing. For logos or other visual elements, ensure they are in a format that supports transparency, such as PNG.
3. Adding Text or Graphics: Use the title or graphics editor to create and position the text or graphic elements on your Zoom video. Simply drag and drop them onto the timeline or use the editing software’s tools to manually position them. You can customize the appearance, animation, and duration of the overlay as per your preference.
4. Animation and Timing: If you want to animate the overlay, explore the animation options available in your editing software. Animations can include fading in or out, sliding or zooming effects, or any other creative transitions. Adjust the timing and duration of the animation to synchronize with the content and pace of your Zoom video.
5. Legibility and Contrast: When overlaying text or graphics, it’s crucial to ensure they are easily readable and stand out from the video footage. Consider using contrasting colors and positioning the text or graphics in less busy areas of the frame. Preview the overlayed content and make adjustments as needed to enhance its visibility.
6. Consistency and Branding: If you are incorporating logos or other branding elements, ensure they align with your overall brand guidelines and maintain consistency across your Zoom video. Consistent use of text and graphics can help reinforce your brand identity and make your video more memorable to viewers.
7. Review and Fine-tuning: Play through the Zoom video and review the overlayed text or graphics to ensure they serve their intended purpose without being intrusive or distracting. Make any necessary adjustments to the design, positioning, or timing to achieve a harmonious integration with the video content.
By thoughtfully overlaying text or graphics on your Zoom video, you can provide additional context, convey important information, and enhance the overall visual appeal. Remember to strike a balance between functionality and aesthetics, ensuring the overlayed elements do not overshadow the main content but rather complement and enhance it.
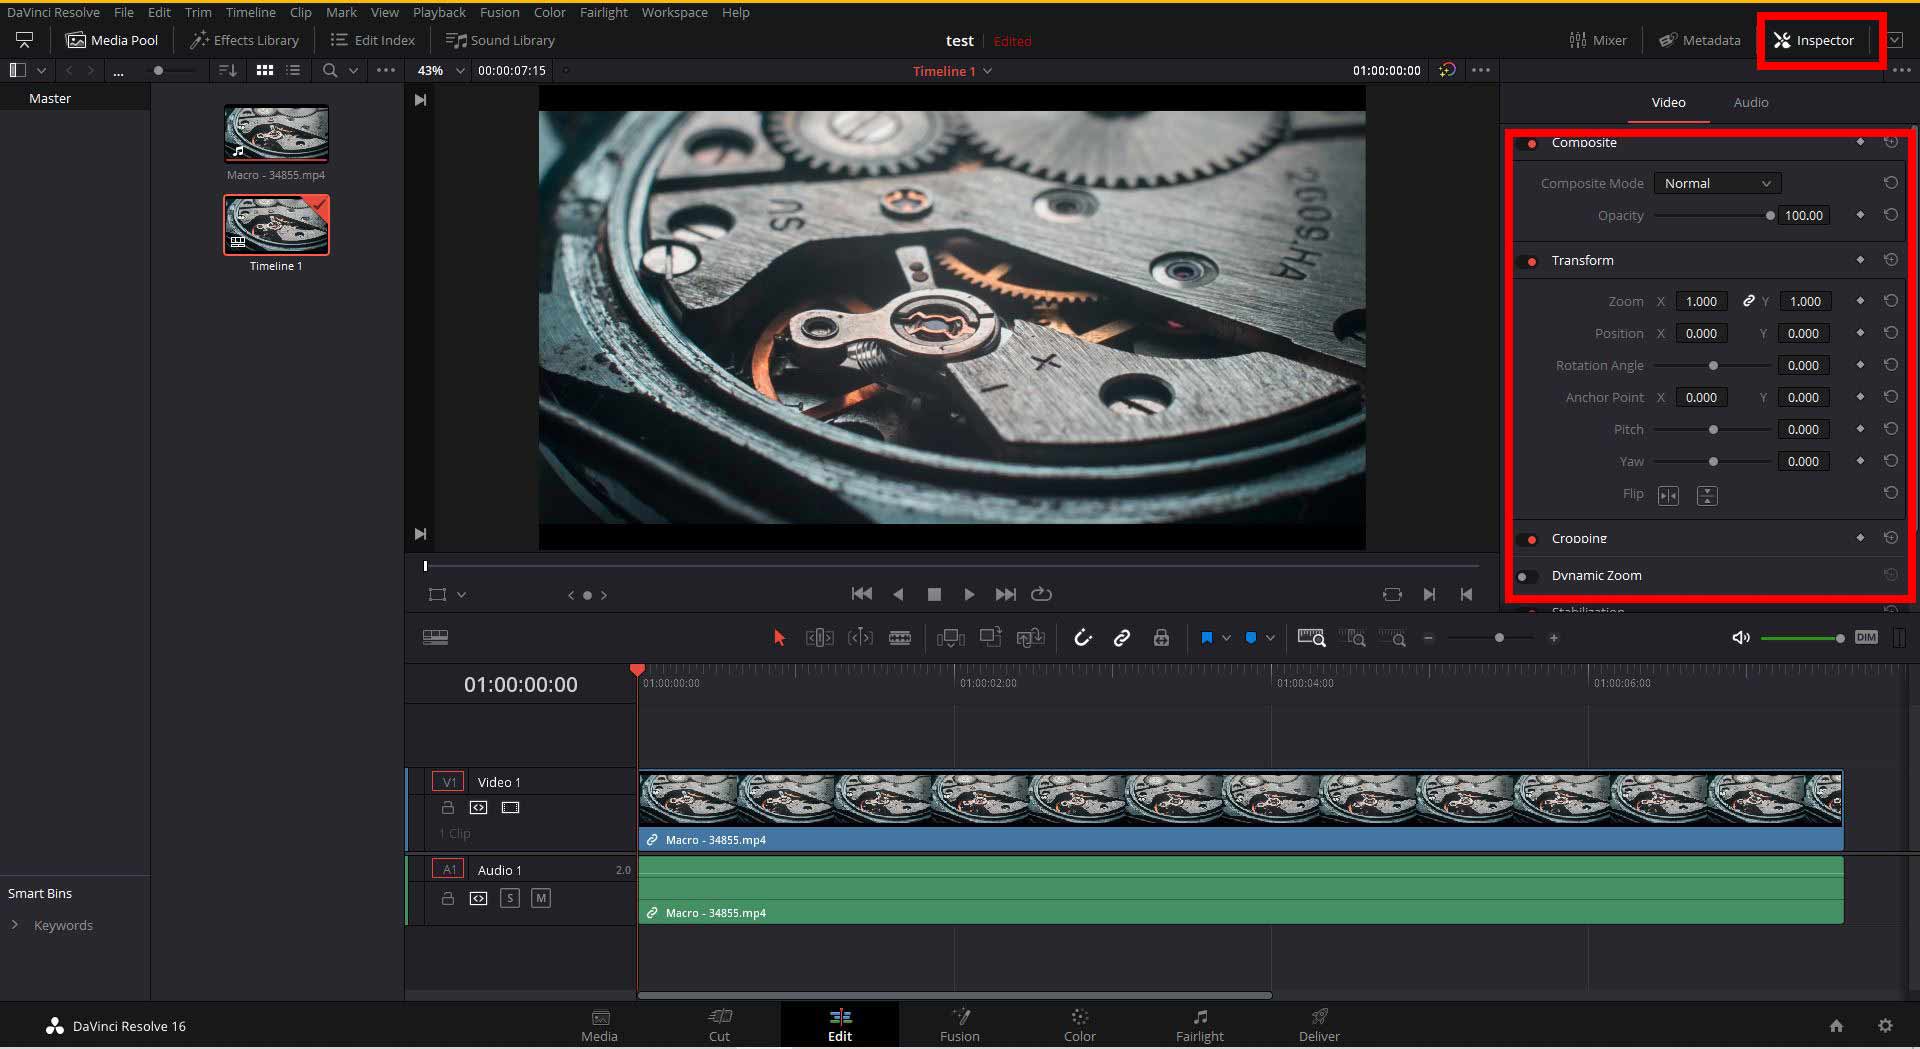
Enhancing Video Quality
To make your Zoom video visually appealing and professional, it’s important to enhance the video quality during the editing process. By applying certain techniques and adjustments, you can improve the clarity, colors, and overall visual impact of your video. Here are some steps to effectively enhance the video quality of your Zoom video.
1. Color Correction: Use color correction tools in your editing software to adjust the color balance, contrast, and saturation of your video. This helps to make the colors more vibrant and accurate, creating a more visually pleasing image.
2. Exposure and Contrast: Adjust the exposure and contrast levels of your video to ensure that the key elements are properly lit and distinguishable. This can help improve the overall clarity and detail of the footage.
3. Sharpening and Noise Reduction: Apply sharpening filters to enhance the clarity of the video and reduce any blurriness. Additionally, use noise reduction tools to minimize any unwanted visual noise or graininess in the footage, resulting in a cleaner and more professional look.
4. Stabilization: If your Zoom video footage is shaky or unstable, consider using the stabilization feature in your editing software. This helps smoothen out the camera movements, resulting in a more polished and professional appearance.
5. Resolution and Aspect Ratio: Ensure that your Zoom video is optimized for the resolution and aspect ratio you intend to share or publish. Adjust the video settings in your editing software to match the desired output formats, whether it’s for online platforms, presentations, or other purposes.
6. Audio Enhancement: In addition to improving the visual quality, it’s important to pay attention to the audio quality of your Zoom video. Use audio enhancement tools to remove background noise, adjust volume levels, and enhance clarity. This ensures that the audio complements the visual components and contributes to an overall high-quality viewing experience.
7. Preview and Fine-tuning: Regularly preview your video to ensure that the enhancements are visually pleasing and align with your intended vision. Make any necessary adjustments to the settings or effects to achieve the desired video quality.
Always remember to strike a balance between enhancing the video quality and maintaining a natural and realistic look. Avoid applying excessive filters or adjustments that can make the video appear artificial or overprocessed. The goal is to enhance the visual appeal of your Zoom video while maintaining a professional and authentic aesthetic.
By following these steps, you can significantly improve the overall video quality of your Zoom recordings, making them visually engaging and captivating for your audience.
Exporting the Edited Zoom Video
Once you have completed the editing process and are satisfied with the final result of your Zoom video, the next step is to export and save it as a finished product. Properly exporting your video ensures that it is in the right format and quality for sharing or publishing. Here’s how you can effectively export your edited Zoom video.
1. Setting Export Parameters: Before exporting, determine the desired video format, resolution, frame rate, and other export settings. Consider the purpose and platforms where you plan to share or publish the video. Your editing software should provide options for customizing these parameters.
2. Quality and Bitrate: Balance the video file size and the desired video quality. Higher bitrates generally result in better quality but also larger file sizes. Choose a bitrate that provides a good compromise between quality and the capacity of the platform or medium you plan to use.
3. File Format: Select an appropriate file format for your exported video. Common formats include MP4, MOV, AVI, or WMV. Ensure that the chosen format is compatible with the playback devices and platforms you intend to use.
4. Export Settings: Access the export settings within your editing software. This may be in the form of an “Export” or “Render” button or menu. Click on it to open the export settings dialog box.
5. Naming and Location: Choose a name for your exported video file and designate the location where it will be saved on your computer or external storage device. It is advisable to create a new folder specifically for storing your exported videos to keep your projects organized.
6. Export Options: Customize any additional options based on your preferences or specific requirements. These options can include things like adding watermarks, enabling hardware acceleration, or adjusting audio settings. Make sure to check the documentation or help resources for your editing software for detailed instructions on available options.
7. Start Export: Once you have reviewed, selected, and customized the export settings, initiate the export process by clicking on the “Export” or “Start” button. Depending on the length and complexity of your Zoom video, the exporting process may take some time. During this period, it’s important to avoid making any changes to the project or closing the editing software.
8. Verification: After the export process is complete, verify the exported video by playing it on your computer or in a video player. Ensure that the video and audio quality, as well as any applied effects, are as expected. This step helps catch any potential issues before sharing or publishing the final video.
Congratulations! You have successfully exported your edited Zoom video. Remember to keep a backup copy of the exported video file, as well as the original project file, in case any future edits or modifications are needed. Now you can confidently share, upload, or present your professionally edited Zoom video to your desired audience.