Introduction
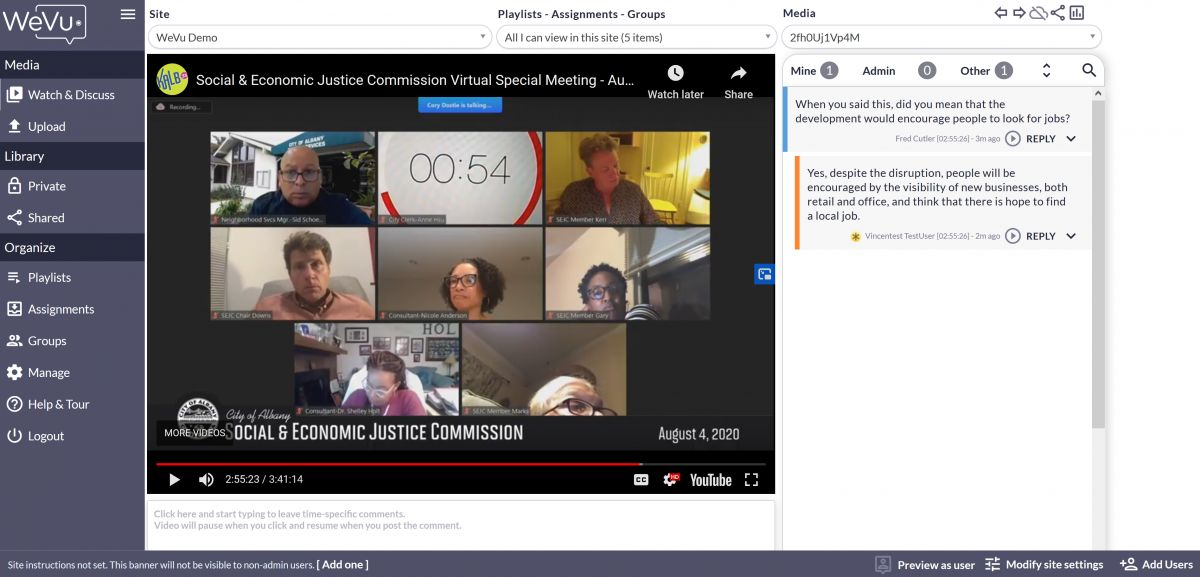
Zoom has become an essential tool for remote collaboration and communication. Whether you’re hosting a team meeting, conducting a webinar, or participating in an online class, Zoom offers a wide range of features to enhance the virtual experience. One of the most valuable features provided by Zoom is the ability to record meetings and sessions. Recording on Zoom allows you to capture important discussions, presentations, or training sessions for future reference.
In this article, we will guide you through the process of recording on Zoom. We will cover everything you need to know, from setting up the recording to managing your recorded files. Whether you’re a beginner or an advanced user, this guide will help you make the most out of Zoom’s recording capabilities.
Before we dive into the details, it’s important to note that the ability to record on Zoom may depend on the settings enabled by the host. If you’re joining someone else’s Zoom meeting, make sure that recording is allowed.
Without further ado, let’s get started and learn how to record on Zoom!
Setting up the Recording
Before you start recording on Zoom, there are a few settings you need to configure to ensure a smooth recording experience. Here’s how to set up the recording:
- Open the Zoom application: Launch the Zoom application on your computer or mobile device. Make sure you have the latest version installed to access all the recording features.
- Sign in to your Zoom account: If you haven’t already, sign in to your Zoom account using your credentials. If you don’t have an account, you can create one for free at zoom.us/signup.
- Join or host a meeting: To start recording, you either need to join someone else’s meeting or host your own. If you’re joining a meeting, enter the meeting ID or join via the meeting link provided by the host. If you’re hosting a meeting, click on the “New Meeting” button to start a new session.
- Check recording settings: Before you start the meeting, make sure the recording feature is enabled. Click on the “Settings” icon in the upper right corner of the Zoom window and select “Recording” from the sidebar. Ensure that the “Local recording” option is turned on.
- Select the recording location: In the same “Recording” settings menu, you can choose where you want your recordings to be saved on your computer. You can select a specific folder or let Zoom save it in the default location.
- Adjust recording settings (optional): Zoom provides additional options to enhance your recording experience. In the “Recording” settings menu, you can enable or disable recording the gallery view, speaker view, or shared screen. You can also choose to record audio only if you don’t need video.
Once you have completed these setup steps, you’re ready to start recording on Zoom. In the next section, we will walk you through the process of actually starting the recording.
Start Recording
Once you have set up the recording settings in Zoom, you can start recording your meeting or session. Here are the steps to start recording:
- Join or host a meeting: Make sure you have joined or hosted a Zoom meeting before you proceed to start the recording. Follow the steps mentioned in the previous section to join or host a meeting.
- Begin the recording: Once you are in the meeting, locate the “Record” button at the bottom of the Zoom window. Click on the “Record” button to initiate the recording. A popup notification will appear, confirming that the recording has started. You will also see a red dot indicator at the top-left corner of the Zoom window, indicating that the meeting is being recorded.
- Manage your recording controls: While recording, you have several options to control the recording. You can pause or stop the recording, and even enable or disable your microphone and camera. These controls can be accessed through the “Recording” panel at the bottom of the Zoom window.
- Be mindful of privacy considerations: It’s important to respect the privacy of all participants in the meeting. Inform all attendees at the beginning of the meeting that it will be recorded. Also, be cautious when sharing or distributing the recorded content, ensuring that it complies with privacy regulations and any applicable consent requirements.
Now that you have successfully started the recording, you can proceed with your meeting or session. Capture all the essential content and interactions that you want to preserve for future reference. In the next section, we will explore the various controls and options available to you while recording on Zoom.
Pause or Stop Recording
When recording a meeting or session on Zoom, you have the flexibility to pause or stop the recording at any time. Here’s how to pause or stop the recording:
- Pausing the recording: To temporarily pause the recording, locate the “Pause” button in the “Recording” panel at the bottom of the Zoom window. Click on the “Pause” button to pause the recording. The recording will be temporarily halted, and the “Pause” button will change to “Resume” indicating that the recording is paused. When you are ready to resume recording, simply click on the “Resume” button.
- Stopping the recording: To stop the recording completely, click on the “Stop” button in the “Recording” panel. A confirmation prompt will appear, asking if you are sure you want to stop the recording. Click on “Stop Recording” to confirm. Once you stop the recording, Zoom will finalize the recording file and save it to the designated location on your computer.
- Remember to save your recording: After stopping the recording, it’s important to save the recorded file to a secure location on your computer or cloud storage. By default, Zoom automatically saves the recording in the designated location specified in the recording settings. However, it’s always a good practice to double-check and ensure that the recording has been saved successfully.
With the ability to pause and stop the recording, you have the flexibility to capture the content you need while minimizing any unnecessary or private discussions from being saved. Additionally, pausing the recording can be useful if you need to make brief interruptions or address any technical issues during the session.
Now that you know how to pause or stop the recording, let’s move on to the next section, where we will explore the various controls and options available to you while recording on Zoom.
Recording Controls
While recording a meeting or session on Zoom, you have access to a range of controls to help you manage and customize your recording experience. Here are some of the main recording controls available:
- Mute/Unmute: You can mute or unmute your microphone during the recording by clicking on the microphone icon in the “Recording” panel. This allows you to minimize any background noise or interruptions that you might encounter during the session.
- Start/Stop Video: If you are sharing your video during the meeting, you can choose to start or stop the video recording. Use the camera icon in the “Recording” panel to control your video feed.
- Pause/Resume Recording: As mentioned earlier, you can pause or resume the recording at any time using the “Pause” and “Resume” buttons in the “Recording” panel. This is useful if you need to take a break or address any quick interruptions without stopping the recording entirely.
- Switch Layout: Zoom offers different layout options for recording, such as gallery view and speaker view. You can switch between these layouts to capture the screen arrangement that best suits your recording needs.
- Participant Management: During the recording, you have the ability to manage participants’ access and permissions. You can control who can join, present, or interact by using the participant management features in the Zoom meeting controls.
- Chat and Q&A: If participants are using the chat or Q&A features during the meeting, you can choose whether to include these interactions in the recording or keep them private. This can be controlled in the recording settings and allows you to customize the content captured in the recording.
These controls provide you with the flexibility to customize your recording experience and ensure that you capture the necessary content during your Zoom meeting or session. Remember to use these controls responsibly and in line with your meeting goals and participants’ expectations.
In the next section, we will explore additional recording options available in Zoom, giving you even more flexibility and control over your recordings.
Recording Options
Zoom offers various recording options that allow you to customize and enhance your recording experience. These options give you more control over what is captured in your recordings. Let’s take a look at some of the recording options available:
- Recordings with Transcripts: If you require a written record of your Zoom meeting or session, you can enable the automatic transcription feature. This feature generates a text transcript of the recording, making it easier to search for specific information and reference the content later.
- Recordings with Cloud Storage: Instead of saving your recordings locally on your computer, you can choose to store them in the Zoom cloud. This option allows you to access and share your recordings from anywhere, as long as you have an internet connection. Storing recordings in the cloud also saves local storage space on your device.
- Recordings with Password Protection: To ensure the privacy and security of your recorded content, Zoom allows you to set a password for your recordings. This adds an extra layer of protection, ensuring that only authorized individuals can access the recorded files.
- Edit and Trim Recordings: Zoom provides editing capabilities that allow you to trim the beginning or end of the recording. This feature helps you remove any unnecessary content or silence before and after the main discussion, making your recordings more concise and focused.
- Automatic Recording: If you frequently host recurring meetings or sessions, you can configure Zoom to automatically start the recording when the session begins. This option saves you time and ensures that your important discussions are always captured, even if you forget to manually initiate the recording.
These recording options empower you to tailor your recordings to your specific needs. Whether you need transcripts, cloud storage, or additional security measures, Zoom provides a range of customizable options that can enhance your recording experience.
Now that you are familiar with the various recording options available on Zoom, let’s move on to the next section, where we will explore how to manage and organize your recorded files.
Managing the Recordings
After you have completed your Zoom meeting or session recording, it’s important to know how to effectively manage and organize your recorded files. Here are some tips for managing your Zoom recordings:
- File Naming and Organization: When saving your recorded files, consider using clear and descriptive names to easily identify the content of each recording. It can be helpful to create separate folders or directories for different types of meetings or sessions, ensuring that your recordings are organized and easy to locate.
- Backup and Storage: It’s essential to have a backup strategy for your recorded files. Consider saving copies of your recordings on external drives, cloud storage platforms, or other backup solutions. This protects your recordings in case of hardware failures or accidental deletions.
- Sharing and Permissions: Depending on the nature of your recorded content, you may need to share the recordings with others. Ensure that you understand and set appropriate permissions for sharing, giving access only to authorized individuals or specific groups.
- Delete Unnecessary Recordings: Regularly review your recorded files and delete any recordings that are no longer needed. This practice helps free up storage space and keeps your recording archive organized.
- Transcribing and Summarizing: If you have enabled automatic transcription, take advantage of this feature by reviewing and editing the transcript if necessary. Summarizing the main points of the recorded content can also be helpful for future reference or sharing with others.
By implementing these tips, you can effectively manage and maximize the value of your Zoom recordings. Organizing, backing up, and selectively sharing your recordings will ensure that you can easily access the information you need when you need it.
Now that you know how to manage your Zoom recordings, let’s move on to the concluding section, summarizing the key points discussed in this article.
Conclusion
Recording on Zoom is a valuable feature that allows you to capture and preserve important meetings, presentations, and sessions. By following the steps outlined in this article, you can easily set up, start, and manage your Zoom recordings.
We began by discussing the importance of setting up the recording settings before you start recording. Configuring these settings ensures a smooth recording experience and allows you to customize the recording options to suit your needs.
Next, we explored how to start and pause or stop the recording during your Zoom meeting or session. These features provide flexibility and control over your recordings, allowing you to capture the content you need while minimizing unnecessary interruptions or private discussions.
We also discussed the various recording controls and options available in Zoom, such as muting/unmuting, starting/stopping video, and switching layouts. These options empower you to customize and enhance your recording experience.
Managing your Zoom recordings is crucial for easy access and organization. We provided tips for naming and organizing your recorded files, backing up your recordings, setting appropriate sharing permissions, deleting unnecessary recordings, and utilizing features like transcription and summarization.
By implementing these practices, you can efficiently manage your Zoom recordings and make the most out of this powerful feature.
In conclusion, Zoom’s recording capabilities offer a convenient and effective way to capture and store important meetings and sessions. Whether you’re using Zoom for business, education, or personal purposes, recording on Zoom ensures that valuable discussions and presentations are preserved for future reference.
So, the next time you’re planning a meeting or session on Zoom, don’t forget to utilize the recording feature and take advantage of everything it has to offer!