Introduction
Welcome to our guide on how to share Zoom recordings! In today’s digital age, remote communication has become the norm, and Zoom has emerged as a popular platform for virtual meetings and conferences. With its recording feature, you can capture important discussions, presentations, and collaborations, ensuring that valuable content is not lost in the virtual realm.
Sharing Zoom recordings can be beneficial in many ways. Whether you want to provide a reference for meeting attendees to rewatch or want to share knowledge with colleagues who couldn’t attend, sharing Zoom recordings allows for flexibility and accessibility.
Throughout this article, we will walk you through a step-by-step guide on how to share your Zoom recordings efficiently. From locating the recorded meeting to choosing the right sharing platform and providing the recording link, you’ll have all the information you need to seamlessly share your recorded Zoom sessions.
So, if you’re ready to make the most out of your Zoom meetings and harness the power of recorded content, let’s dive into the world of sharing Zoom recordings!
What is Zoom Recording?
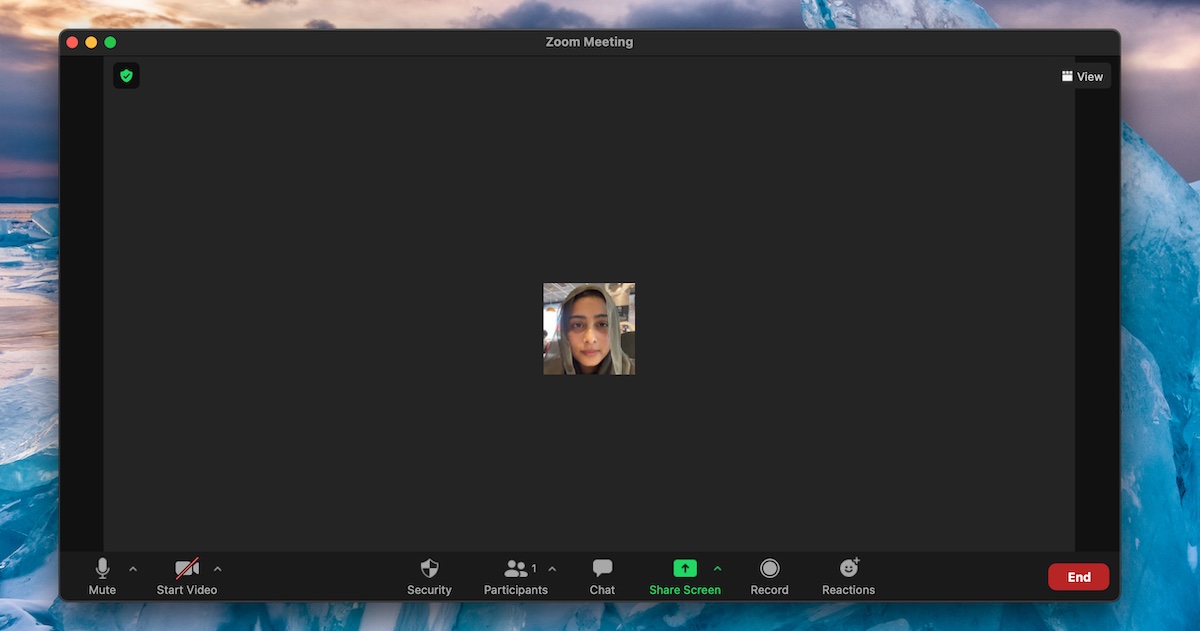
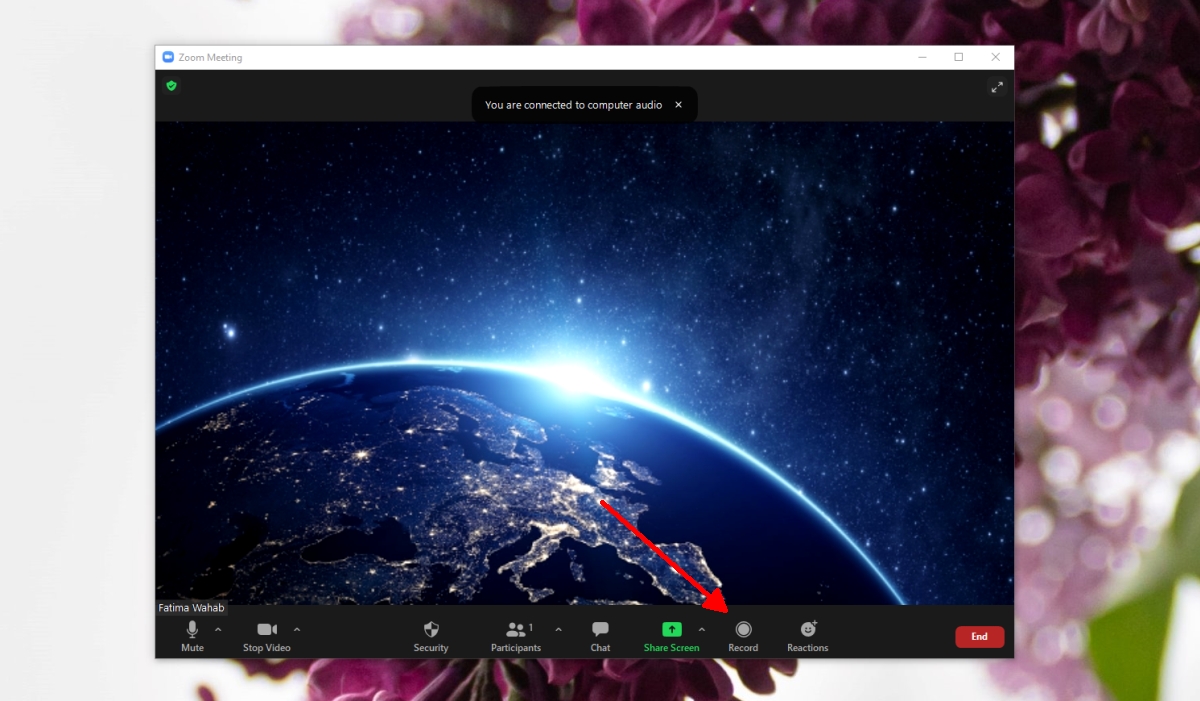
Zoom recording is a feature provided by the Zoom platform that allows users to record their virtual meetings and conferences. This feature captures audio, video, and screen sharing activities, providing a comprehensive record of the entire session. By enabling the recording feature, you can easily capture important discussions, presentations, and collaborations in real-time.
When you record a Zoom meeting, you have the option to save the recording to your local device or to the cloud, depending on your account settings. Storing recordings in the cloud offers the advantage of easy access and sharing, while saving them locally ensures that you have a backup copy available offline.
Zoom recordings preserve all the elements of a virtual meeting, including the audio from all participants, video feeds, any shared screens or files, and even the chat messages. This comprehensive recording allows participants to review and reference the content of the meeting at their convenience.
In addition to regular meetings, Zoom also allows you to record webinars, training sessions, and other virtual events. This flexibility ensures that all types of online gatherings can be documented and shared for future reference.
It’s important to note that the ability to record meetings may be subject to the settings established by the host or by your organization’s Zoom account administrator. Always ensure that you comply with any privacy policies, guidelines, or legal requirements before recording or sharing any Zoom recordings.
Now that we have a clear understanding of what Zoom recording entails, let’s explore why you might want to share these recordings and how to do so effectively.
Why would you want to share Zoom recordings?
Sharing Zoom recordings serves many purposes and can be valuable in various scenarios. Here are a few reasons why you might want to share your Zoom recordings:
- Review and reference: Sharing Zoom recordings allows participants to revisit the content of the meeting, helping them refresh their memory and review important details. This is especially useful for complex discussions or presentations where detailed information needs to be retained.
- Training and onboarding: If you conduct training sessions or onboarding sessions via Zoom, sharing the recorded sessions can be beneficial for new hires or participants who couldn’t attend the live session. It provides them with an opportunity to catch up on the material and ensure they have a thorough understanding of the subject matter.
- Collaboration and feedback: Recording meetings can be helpful in collaborative projects, as it allows team members to go back and review the ideas, suggestions, and decisions made during the session. It also offers an opportunity for others who couldn’t attend the meeting to provide their input and feedback based on the recording.
- Audit and compliance: In certain industries or organizations, it may be necessary to keep a record of virtual meetings for audit or compliance purposes. Sharing Zoom recordings ensures that these records are easily accessible and can be provided as evidence if required.
- Knowledge sharing: If you have valuable insights, presentations, or discussions captured in your Zoom recordings, sharing them with colleagues or within your organization can be an effective way to disseminate knowledge and foster a culture of learning.
Sharing Zoom recordings opens up new channels of communication and collaboration, allowing participants to stay connected and engage with the content beyond the live session. It promotes transparency, knowledge sharing, and ensures that valuable insights are not lost.
Now that you understand the benefits of sharing Zoom recordings, let’s move on to the practical steps involved in sharing your recorded Zoom sessions.
Step-by-step guide: How to share Zoom recordings
Sharing your Zoom recordings is a straightforward process that can be done in just a few simple steps. Here’s a step-by-step guide on how to share your Zoom recordings:
- Locating the recorded meeting: Log in to your Zoom account and navigate to the “Recordings” section. Locate the meeting recording you wish to share and make sure it is saved either locally or in the Zoom cloud.
- Downloading the Zoom recording: If your recording is saved in the Zoom cloud, download it to your local device. This step may not be necessary if your recording is already saved locally.
- Choosing a sharing platform: Decide on the platform or method you want to use to share your Zoom recording. You have several options available, such as email, cloud storage services like Google Drive or Dropbox, or video hosting platforms like YouTube or Vimeo.
- Uploading the Zoom recording: Depending on the sharing platform you choose, upload the Zoom recording file to the platform. This may involve creating a new folder or selecting the appropriate file upload option.
- Sharing the Zoom recording link: Once the upload is complete, obtain the link to the Zoom recording. This link will be used to share the recording with others. If necessary, adjust the sharing permissions or settings according to your preferences.
By following these steps, you can easily share your Zoom recordings with others, ensuring that they have access to the valuable content discussed during the meeting.
Remember to always consider the privacy and security implications when sharing Zoom recordings. If the content of your recording is sensitive or confidential, ensure that you only share it with authorized individuals and use secure sharing methods.
Now that you know how to share your Zoom recordings, you can make the most out of your virtual meetings and collaborate effectively with others even after the session has ended.
Locating the recorded meeting
Before you can share a Zoom recording, you need to locate the recorded meeting. Zoom provides a straightforward way to access your recordings. Here’s how:
- Log in to your Zoom account using your credentials.
- Once you’re logged in, navigate to the “Recordings” tab. This tab is typically located in the main navigation menu.
- Within the “Recordings” section, you’ll find a list of all your recorded meetings.
- Find the meeting recording you wish to share. The recordings are usually listed in chronological order, with the most recent ones at the top.
- If the recording is saved locally on your computer, you can easily locate it by clicking on the “Open” button next to the recording. This will open the folder where the recording is saved, allowing you to access the file.
- If the recording is saved in the Zoom cloud, you have the option to download it to your local device. Simply click on the “Download” button next to the recording, and the file will be saved to your designated download location.
Once you’ve located the recorded meeting and have access to the recording file, you can proceed to share it using various sharing platforms and methods.
It’s worth noting that the availability and location of the “Recordings” tab may vary depending on your Zoom account settings and user permissions. If you’re unable to find the “Recordings” tab, reach out to your account administrator or refer to the Zoom support documentation for guidance.
Now that you know how to locate your Zoom recordings, let’s move on to the next step: downloading the recording if necessary.
Downloading the Zoom recording
If your Zoom recording is saved in the Zoom cloud, you may need to download it to your local device before sharing it with others. Follow these steps to download your Zoom recording:
- Log in to your Zoom account using your credentials.
- Navigate to the “Recordings” tab, where you will find a list of all your recorded meetings.
- Locate the meeting recording you want to download. Click on the “Download” button next to the recording.
- A pop-up window will appear, giving you the option to choose the download location on your computer. Select an appropriate location and click “Save” or “Download”.
- Wait for the download to complete. The time it takes will depend on the size of the recording and the speed of your internet connection.
- Once the download is finished, navigate to the location where the recording was saved on your computer. You now have the recording file ready to be shared.
Downloading the Zoom recording allows you to have a local copy of the file, which you can then share using various platforms and methods.
Keep in mind that the availability of the download option may depend on the settings established by the meeting host or your organization’s Zoom account administrator. If you are unable to download a specific recording, contact the meeting host or administrator for assistance.
Now that you’ve downloaded the Zoom recording, you can proceed to choose a sharing platform and share the recording with others. Let’s explore the various sharing options available in the next step.
Choosing a sharing platform
Once you have located and downloaded your Zoom recording, the next step is to choose a sharing platform. The platform you choose will depend on your specific needs and preferences. Here are some popular options to consider:
- Email: One of the simplest ways to share a Zoom recording is through email. You can attach the recording file directly to an email and send it to the intended recipients. However, keep in mind that there may be limitations on the file size that can be attached to an email.
- Cloud storage services: Platforms like Google Drive, Dropbox, or OneDrive offer convenient options to share large files. You can upload the Zoom recording file to your cloud storage account and share the link to the file with others. This allows recipients to access the recording without needing to download it.
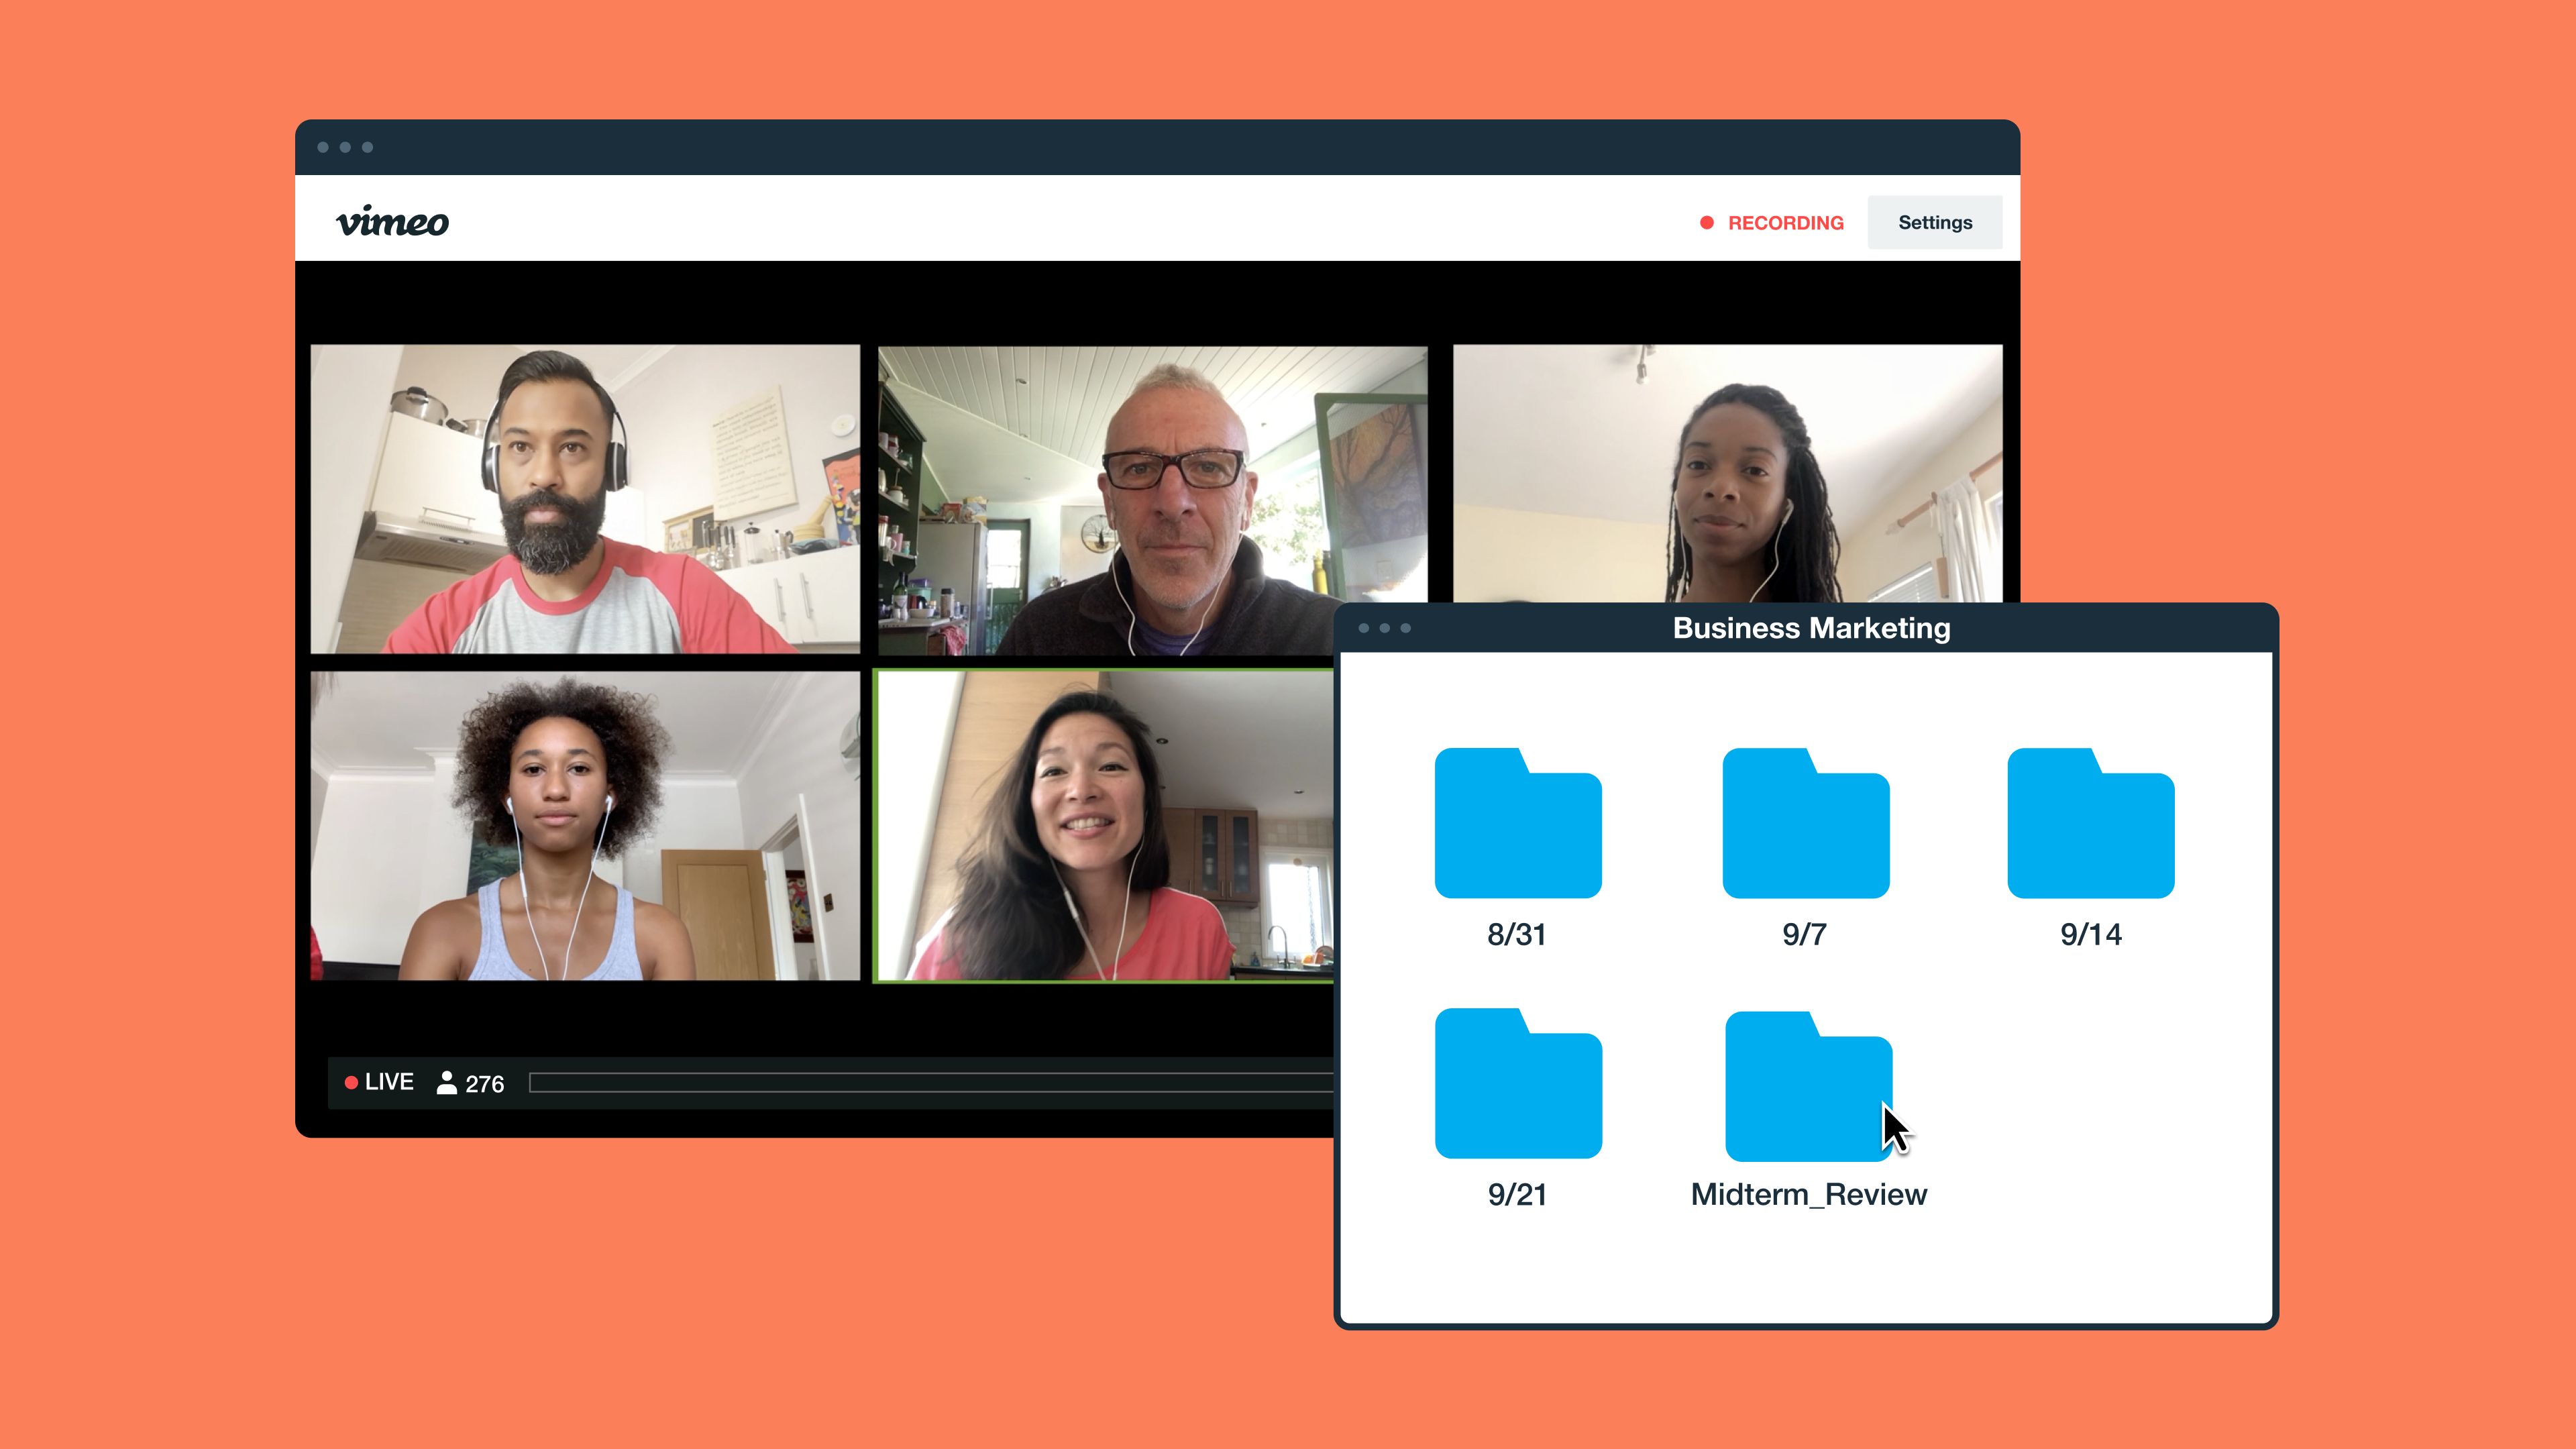
- Video hosting platforms: Video hosting platforms such as YouTube or Vimeo provide a great way to share Zoom recordings as videos. You can upload the recording to the platform and customize sharing settings according to your preferences. These platforms also offer the advantage of providing additional features like privacy settings, embedding options, and analytics.
- File sharing services: Services like WeTransfer or SendSpace allow you to upload large files and generate a shareable link. You can then provide the link to the recording to the desired recipients, who can easily download the file.
- Internal sharing platforms: If you’re sharing the recording within your organization, consider using internal sharing platforms such as intranet sites or team collaboration tools. These platforms provide a secure and centralized space for sharing and accessing important files, including Zoom recordings.
When choosing a sharing platform, consider factors such as file size limitations, accessibility for recipients, security and privacy features, and your own familiarity with the platform.
Remember to review the terms and conditions, privacy policies, and any sharing restrictions associated with the chosen platform to ensure compliance with regulations and organizational guidelines.
Now that you have selected the sharing platform, it’s time to upload the Zoom recording to the platform. The next step will guide you through this process.
Uploading the Zoom recording
With your chosen sharing platform in mind, it’s time to upload your Zoom recording. The specific steps may vary depending on the platform you are using, but here is a general guide:
- Access the chosen sharing platform, such as Google Drive, Dropbox, YouTube, or another file sharing service.
- If you are using a cloud storage service, navigate to the folder or location where you want to upload the Zoom recording file.
- Look for an “Upload” or “Add file” button or icon. Click on it to initiate the upload process.
- Select the Zoom recording file from your computer’s file explorer or finder.
- Depending on the platform, the upload process may take a few moments or longer, depending on the file size and your internet connection speed. Be patient while the upload completes.
- Once the upload is finished, verify that the Zoom recording file appears in the designated location or folder.
If you are using a video hosting platform like YouTube or Vimeo, the process may be slightly different. You will typically need to create a new video entry or channel, then follow the platform’s instructions to upload the Zoom recording file.
While uploading, it’s a good idea to double-check the sharing settings and permissions on the platform. Determine whether you want the Zoom recording to be publicly accessible or limited to specific individuals or groups. Update the sharing settings accordingly to ensure the recording is shared as intended.
Keep in mind that some platforms may have storage limitations or restrictions on the size or type of files you can upload. Familiarize yourself with any relevant limitations and consider compressing the Zoom recording file if necessary.
Now that the Zoom recording is successfully uploaded, you can proceed to the final step: sharing the Zoom recording link with others. Let’s explore this last step in the guide.
Sharing the Zoom recording link
After uploading your Zoom recording to the chosen sharing platform, the final step is to share the recording link with the intended recipients. Here is how you can easily share the Zoom recording link:
- Access the platform where you uploaded the Zoom recording.
- Navigate to the location where the recording file is stored.
- Locate the specific file or entry of the Zoom recording.
- Obtain the unique URL or link associated with the recording. This link will allow others to access and view the recording.
- Depending on your desired sharing method, you have several options:
- Email: Copy the recording link and paste it into an email message. Compose a message explaining the content of the recording and any additional information or instructions you want to provide.
- Instant messaging or chat: Copy the recording link and share it directly with recipients via a chat or messaging platform such as Slack, Microsoft Teams, or WhatsApp.
- Social media: If you want to share the Zoom recording publicly or with a wider audience, consider posting the recording link on social media platforms like Facebook, Twitter, LinkedIn, or relevant online communities.
- Collaboration tools: If you are sharing the recording within a specific project or team, consider using collaboration tools like project management software or intranet platforms. Share the link within the appropriate workspace or discussion thread.
When sharing the Zoom recording link, remember to provide any necessary context or instructions to help recipients understand the purpose or content of the recording. You may want to include a brief description, agenda, or any relevant timestamps within the recording to guide viewers.
Double-check the sharing settings and permissions on the platform to ensure that the recording is accessible to the intended recipients and is shared according to your preferences. Update the settings if needed.
It’s important to note that the availability and accessibility of the Zoom recording link may depend on the specific platform or sharing method you choose. Make sure to consider the privacy and security implications of sharing the link, especially if the recording contains sensitive or confidential information.
Now that you have successfully shared the Zoom recording link, recipients can access and view the recording, allowing them to benefit from the valuable content and discussions captured in the meeting.
Conclusion
Sharing Zoom recordings is a powerful way to extend the reach and impact of your virtual meetings and collaborations. By following a few simple steps, you can share the knowledge and insights captured in your Zoom recordings with others, fostering collaboration, learning, and knowledge sharing.
In this guide, we covered the essential steps to share Zoom recordings effectively. We started by understanding what Zoom recording is and explored the various reasons why you might want to share your Zoom recordings. We then provided a step-by-step guide on how to locate, download, choose a sharing platform, upload, and share the Zoom recording link.
Remember to consider the privacy and security implications of sharing Zoom recordings. Always comply with any privacy policies, guidelines, or legal requirements that may be applicable to your organization or industry.
By sharing Zoom recordings, you can provide attendees with valuable content for review and reference, support training and onboarding efforts, foster collaboration and feedback, meet audit and compliance requirements, and promote knowledge sharing.
So, whether you want to share a brainstorming session, a training webinar, or an important discussion, follow this guide to share your Zoom recordings efficiently.
Harness the power of Zoom recording and make your virtual meetings more impactful by sharing and preserving the valuable content discussed. Start sharing your Zoom recordings today to enhance collaboration and knowledge exchange among your team members and beyond.


