Preparation
Before you proceed with recording a Zoom meeting on your iPad, it’s essential to make a few preparations to ensure a smooth and hassle-free process. Taking these steps beforehand will help you avoid any potential issues and make the recording experience more efficient and successful.
1. Check your iPad’s available storage: Recording a Zoom meeting will require sufficient storage space on your iPad. To check the available storage, go to Settings > General > iPad Storage. Make sure you have enough space to accommodate the recording without running into any storage-related problems.
2. Update your iPad and the Zoom app: Keeping your iPad’s operating system and the Zoom app up to date is crucial for optimal performance. Check for any available updates from the App Store and make sure your iPad’s software is also up to date. This will ensure that you have the latest features and bug fixes that can contribute to a better recording experience.
3. Test your microphone and speakers: To ensure clear audio during the Zoom meeting recording, it’s important to test your iPad’s microphone and speakers. Open the Voice Memos app or any other recording app on your iPad and record a short audio clip. Play it back to verify that the sound quality is satisfactory and there are no issues with the microphone or speakers.
4. Prepare any necessary accessories: Depending on your specific requirements, you may need additional accessories to enhance the recording experience. For example, if you want to connect an external microphone or use a tripod to stabilize your iPad, make sure to have them ready before you start the meeting recording.
5. Familiarize yourself with the Zoom meeting settings: Take some time to explore the Zoom app’s settings and understand the various options available during a meeting. Familiarize yourself with features such as screen sharing, chat, and recording settings, as this knowledge will come in handy when you start recording the meeting.
By following these preparatory steps, you’ll be well-equipped and ready to record your Zoom meetings on your iPad smoothly. Once you’ve completed these preparations, you can proceed with installing a screen recording app on your device to facilitate the capturing of the Zoom meeting.
Install a Screen Recording App
To record a Zoom meeting on your iPad, you’ll need to install a reliable screen recording app. While the iOS operating system offers built-in screen recording functionality, using a dedicated screen recording app can provide you with additional features and customization options. Follow these steps to install a screen recording app on your iPad:
1. Open the App Store: Launch the App Store on your iPad by tapping on the App Store icon on your home screen. The App Store icon is usually a blue icon with a white “A” on it.
2. Search for a screen recording app: In the search bar at the top of the App Store, type in “screen recording” or a similar keyword to find relevant apps. You’ll be presented with a list of screen recording apps available for download.
3. Select a suitable app: Review the different screen recording apps and read their descriptions, user reviews, and ratings to determine which app best suits your needs. Look for features such as ease of use, audio recording capabilities, and compatibility with Zoom.
4. Tap “Get” or the app price: Once you’ve chosen the screen recording app you wish to install, tap on the “Get” button or the price button if it’s a paid app. You may need to authenticate with your Apple ID or use Touch ID/Face ID to proceed with the download.
5. Install the app: After tapping the “Get” button, the app will start downloading, and its icon will appear on your home screen. Wait for the installation to complete before proceeding to the next steps.
By following these steps, you will have successfully installed a screen recording app on your iPad. You’re now ready to adjust the recording settings of the app to ensure that it captures your Zoom meeting effectively. In the next section, we’ll explore how you can customize the recording settings to suit your preferences.
Adjust the Recording Settings
Once you have installed a screen recording app on your iPad, it’s important to adjust the recording settings to ensure that the Zoom meeting is captured accurately and according to your preferences. Follow these steps to customize the recording settings:
1. Open the screen recording app: Locate the icon of the screen recording app on your iPad’s home screen and tap on it to launch the app.
2. Access the settings: Look for a settings or preferences option within the app. It is usually represented by a gear or gear wheel icon. Tap on this icon to access the recording settings.
3. Select the recording area: The recording area determines which part of the screen will be captured during the Zoom meeting. Choose either full screen recording, which captures everything on your iPad’s screen, or a specific window recording, which captures only the Zoom meeting interface.
4. Enable audio recording: Make sure to enable audio recording to capture the sound during the Zoom meeting. Check if there are options to record system audio, microphone audio, or both. Adjust these settings based on your desired outcome. If you want to capture external audio, such as a microphone, connect it to your iPad before proceeding.
5. Set video quality and format: Some screen recording apps allow you to adjust the video quality and format. Choose a suitable resolution and format that balances file size and video quality. HD (high-definition) options are recommended for a clear and visually appealing recording.
6. Configure other options: Explore any additional settings provided by the screen recording app. This may include features like camera recording, on-screen drawing, or overlays. Customize these options based on your specific requirements or preferences.
7. Save the settings: After making your desired adjustments, save the settings within the app. In some cases, you may need to exit the settings menu or tap a save or apply button to confirm the changes.
By adjusting the recording settings according to your needs, you will have optimized your screen recording app for capturing the Zoom meeting. Now that the settings are configured, you can proceed to start the Zoom meeting and begin recording the session on your iPad.
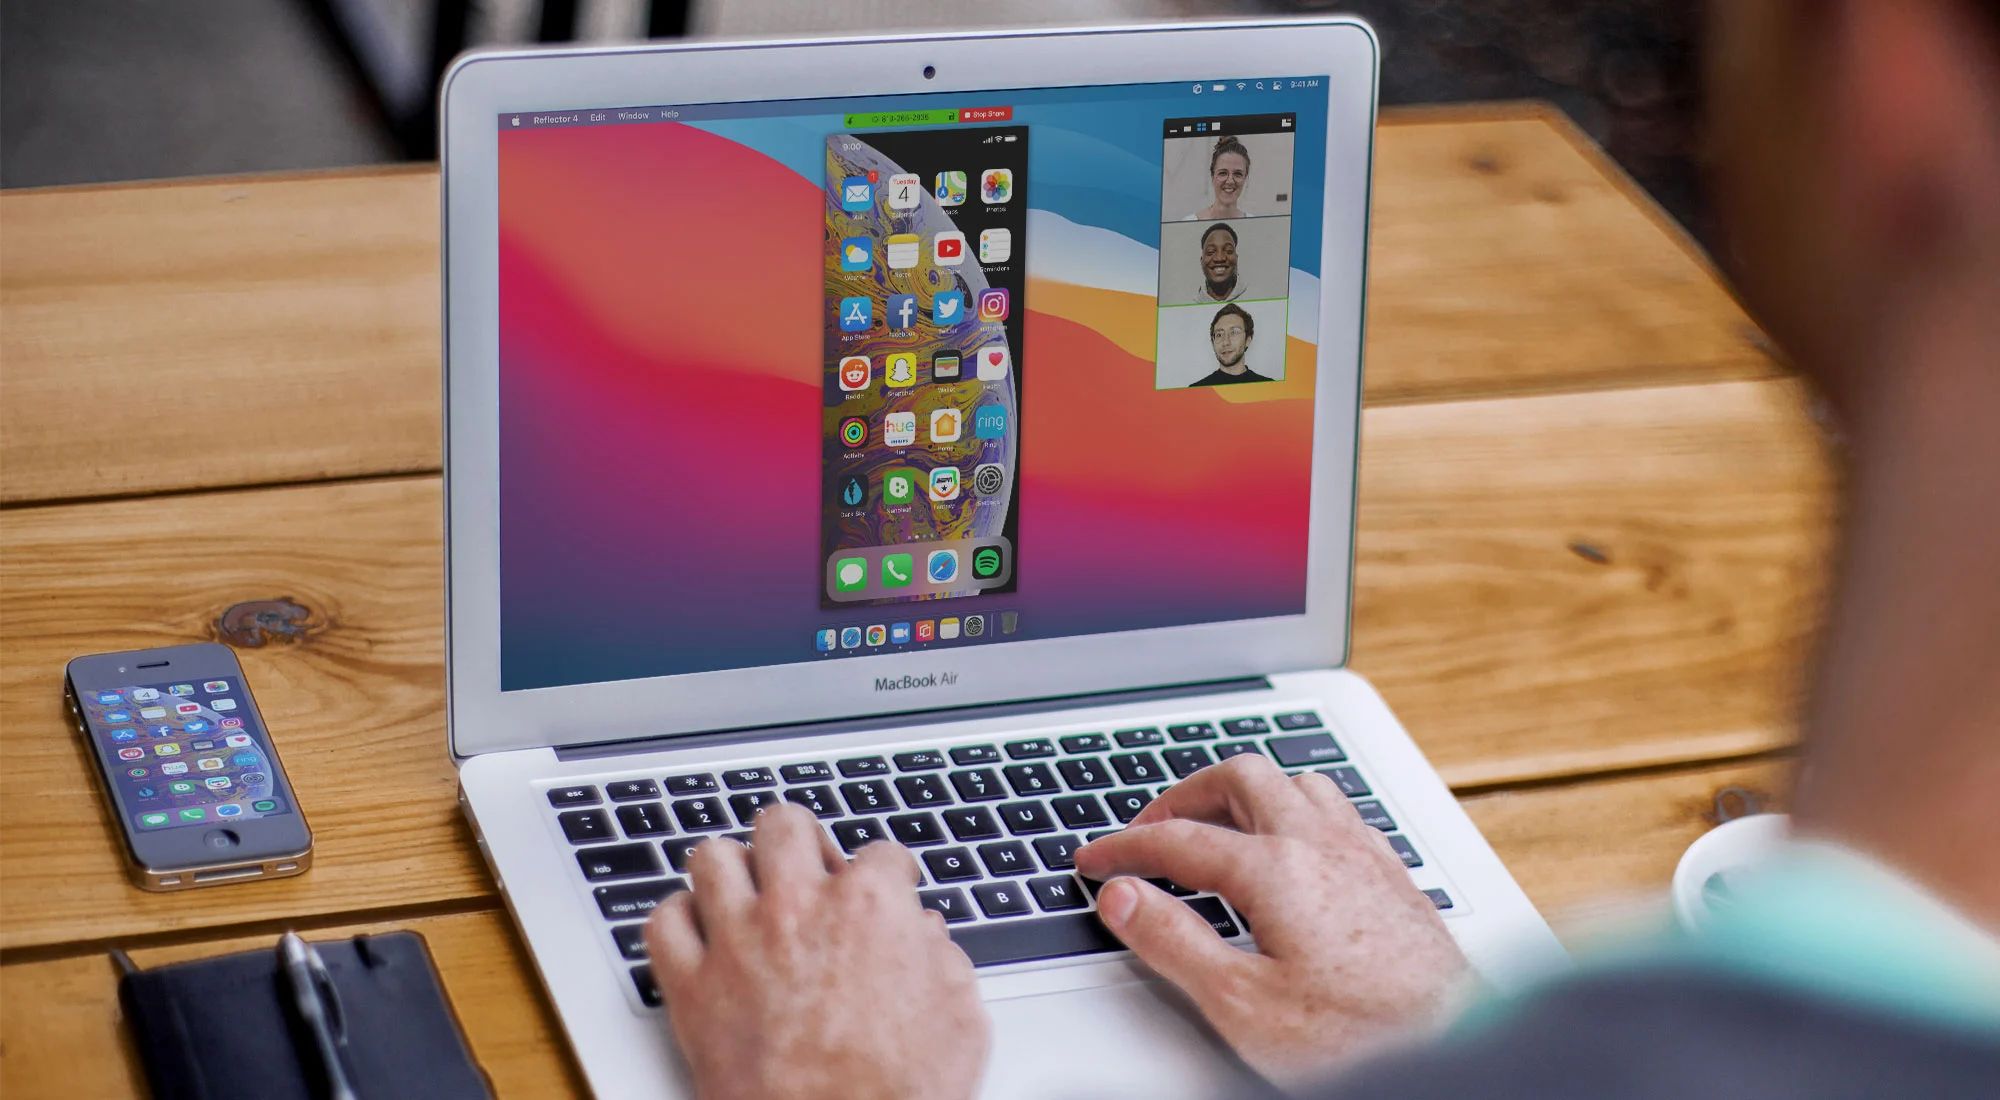
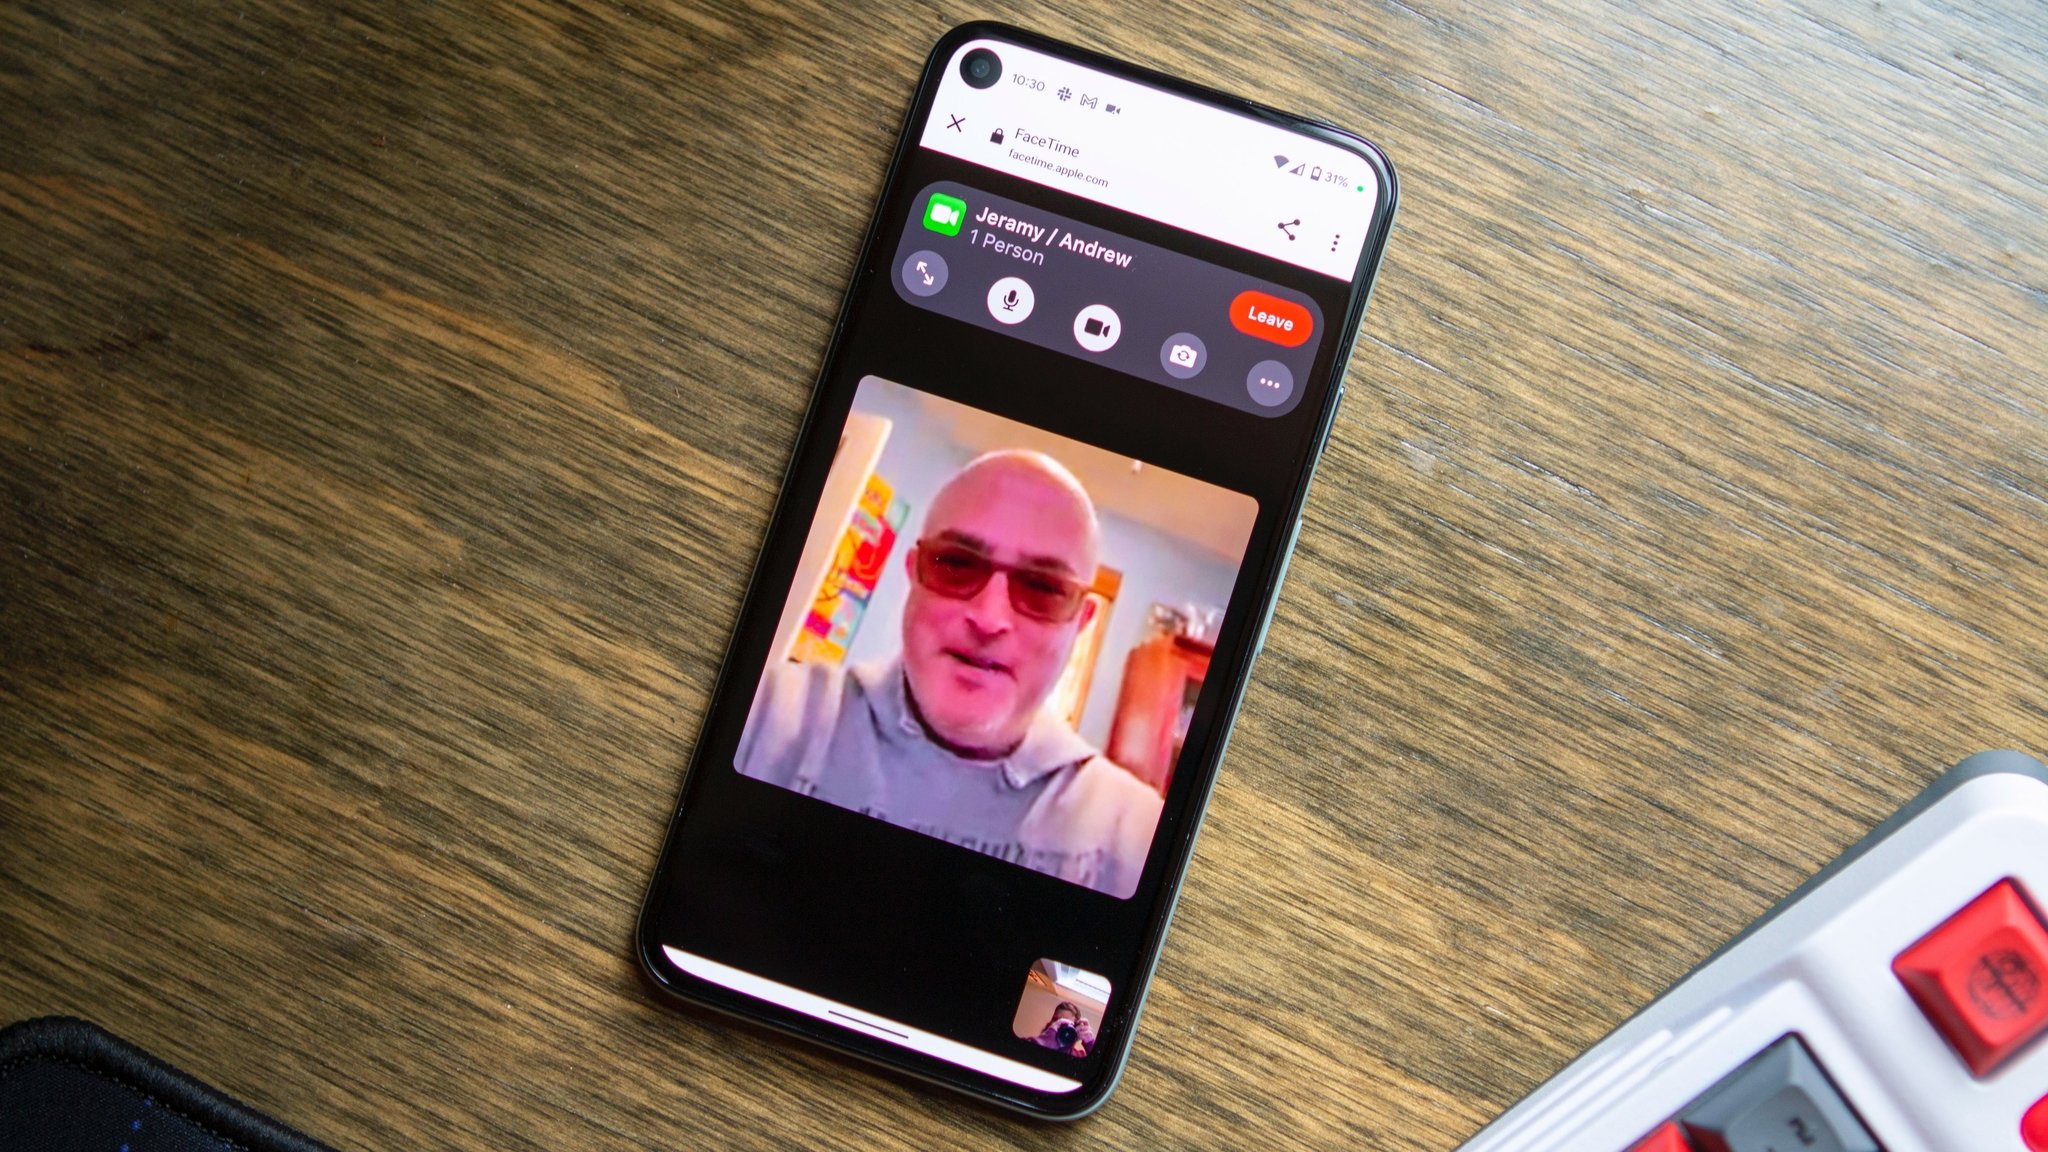
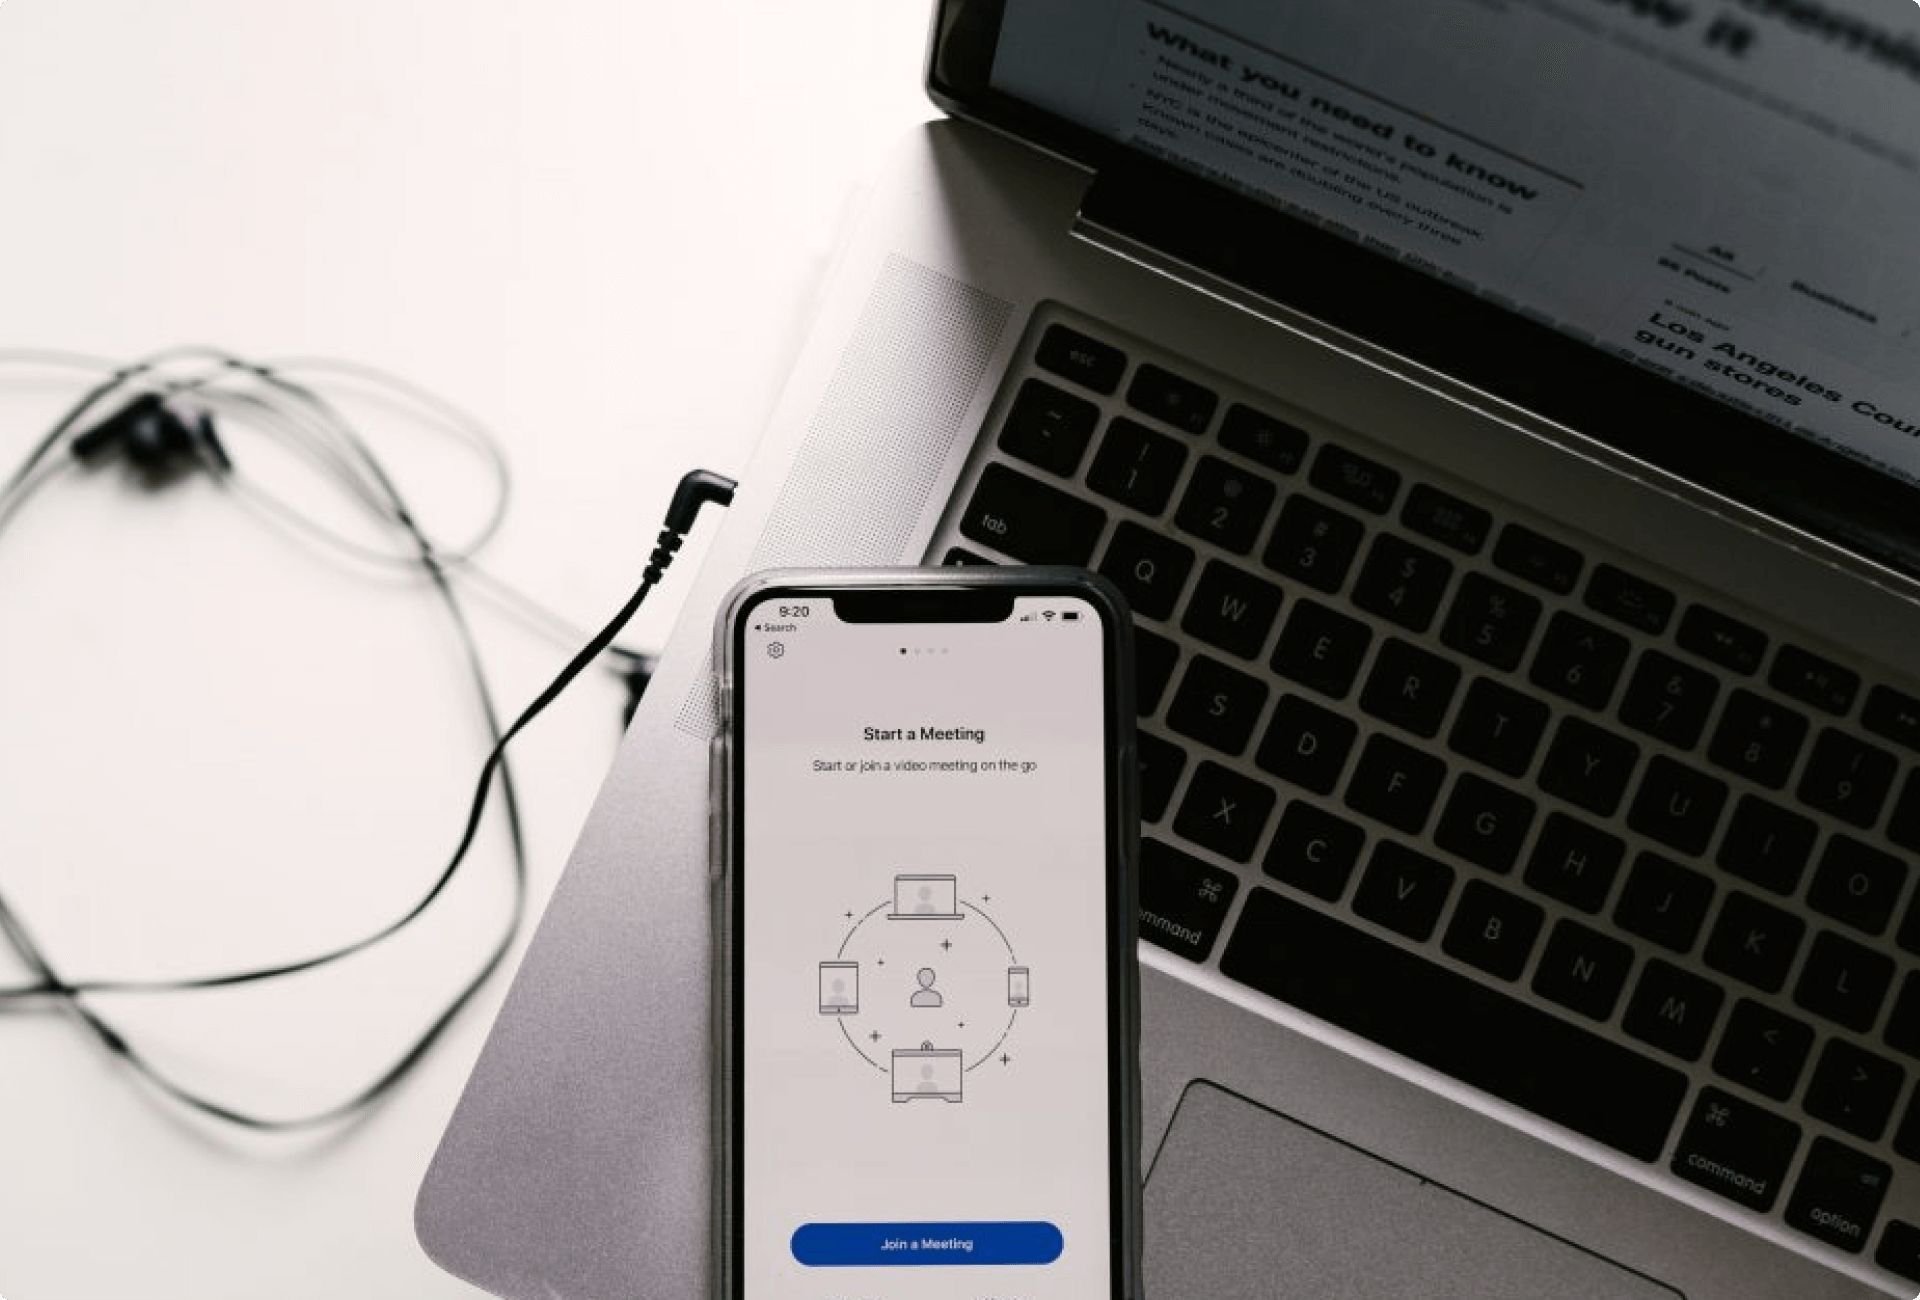
Start the Zoom Meeting
With the recording settings adjusted and the screen recording app ready to capture the Zoom meeting, it’s time to start the meeting. Follow these steps to initiate the Zoom meeting on your iPad:
1. Launch the Zoom app: Locate the Zoom app on your iPad’s home screen and tap on it to open the app. The Zoom app icon typically displays a white camera on a blue background.
2. Sign in or join as a guest: Depending on your Zoom account, you may need to sign in using your credentials or join the meeting as a guest. Enter the necessary details, such as your email address or meeting ID, and join the meeting accordingly.
3. Join the scheduled meeting: If you are joining a scheduled meeting, check the meeting invitation or your calendar for the specific details, such as the meeting date, time, and ID. Tap on the “Join” button and enter the meeting ID or use the provided link to join the scheduled meeting.
4. Create a new meeting: If you want to initiate a new meeting, tap on the “New Meeting” button within the Zoom app. Customize the meeting settings, such as the desired video and audio options, and tap on the “Start” button to launch the meeting.
5. Invite participants: If you need to invite other participants to join the meeting, tap on the “Participants” button within the Zoom app and select the “Invite” or “Share” option. Share the meeting details via email, messaging apps, or any other desired method to invite participants to join the meeting.
6. Enable necessary features: During the Zoom meeting, you can make use of various features based on your requirements. These features include screen sharing, chat, and more. Familiarize yourself with these features and utilize them as needed during the meeting.
By following these steps, you will have successfully started the Zoom meeting on your iPad. The next step is to begin recording the Zoom meeting using the screen recording app you installed earlier. Keep in mind that it’s essential to start the screen recording app before you commence the recording of the meeting to ensure that it captures the entire session seamlessly.
Begin Recording the Zoom Meeting
Now that you have started the Zoom meeting on your iPad, it’s time to begin recording the session using the screen recording app you installed. Follow these steps to initiate the recording:
1. Open the screen recording app: Locate the screen recording app on your iPad’s home screen and tap on it to launch the app. Ensure that the app is running and ready to record before proceeding.
2. Select the recording area: Within the screen recording app, choose the appropriate recording area for capturing the Zoom meeting. Depending on the app, you can select either the full screen or a specific window that contains the Zoom meeting interface.
3. Confirm the audio settings: Ensure that the audio recording options within the screen recording app are set to capture the sound during the Zoom meeting. Verify that the system audio or microphone audio, or both, are enabled based on your preferences.
4. Start the recording: Once you have selected the recording area and confirmed the audio settings, initiate the recording by tapping the record button within the screen recording app. Some apps may provide a countdown before the recording starts.
5. Switch to the Zoom app: After starting the recording, switch back to the Zoom app to continue with the meeting. Ensure that the screen displaying the Zoom meeting is visible and clearly captured within the recording area.
6. Participate in the Zoom meeting: Engage in the Zoom meeting as you normally would. Carry out the desired actions, such as sharing your screen, presenting slides, or engaging in discussions, while the screen recording app captures the session.
7. Focus on the content: Pay attention to the meeting content and participants rather than the screen recording app. Ensure that you remain actively involved in the meeting, as the recording will capture your contributions and interactions.
By following these steps, you will have successfully initiated the recording of the Zoom meeting on your iPad. It’s important to keep an eye on the recording indicator within the screen recording app to ensure that it remains active throughout the session. Once the meeting has concluded, you can proceed to stop and save the recording for future use.
Stop and Save the Recording
Once the Zoom meeting on your iPad has concluded, it’s time to stop and save the recording using the screen recording app. Follow these steps to ensure that your recording is saved successfully:
1. Return to the screen recording app: Switch back to the screen recording app that you used to capture the Zoom meeting. Locate the app on your iPad’s screen and tap on it to bring it to the foreground.
2. Stop the recording: Within the screen recording app, locate the stop or pause button and tap on it to end the recording. This action will halt the recording process and finalize the captured footage.
3. Save the recording: After stopping the recording, the screen recording app may prompt you to save the recorded footage. Tap on the save, finish, or confirm button to save the recording to your iPad’s storage.
4. Preview the recording: Depending on the screen recording app, you may have the option to preview the recorded video before officially saving it. Take this opportunity to review the recording for any issues or quality concerns.
5. Choose the storage location: Select the desired location on your iPad’s storage where you want to save the recording. You can create a new folder or choose an existing one to keep your Zoom meeting recordings organized.
6. Give your recording a descriptive name: Provide a clear and descriptive name for the Zoom meeting recording. This will help you easily identify and locate the recording later when you need to access it.
7. Confirm the saving process: Follow any further prompts or instructions from the screen recording app to complete the saving process. Wait for the app to finish saving the recording to your designated storage location.
By following these steps, you will have successfully stopped the recording of the Zoom meeting on your iPad and saved it to your device. It’s recommended to create backups of your recordings or store them in cloud storage for added security and accessibility.
Now that you have saved the recording, you can proceed to edit or share the captured Zoom meeting footage to make the most of its content and value. In the next section, we’ll explore how you can edit and share your Zoom meeting recordings with ease.
Editing and Sharing the Recording
After successfully stopping and saving the recording of your Zoom meeting on your iPad, you may want to make edits or share the captured footage with others. Follow these steps to edit and share your Zoom meeting recording:
1. Transfer the recording: If you wish to edit the recording on a computer or share it through other platforms, transfer the recording from your iPad to the desired device. You can do this by connecting your iPad to the computer and using file transfer methods such as AirDrop, iCloud, or USB transfer.
2. Choose an editing software: To edit the Zoom meeting recording, select a video editing software that is compatible with your computer or device. Popular options include Adobe Premiere Pro, Final Cut Pro, iMovie, or even online video editors like Adobe Spark or Kapwing.
3. Edit the recording: Import the Zoom meeting recording into your chosen video editing software. Trim or cut out any unnecessary portions, add transitions or effects, adjust the audio levels, and make any other desired edits to enhance the quality and content of the recording. Be sure to save your edited video once you’re satisfied with the changes.
4. Export the edited video: Once you have finished editing the Zoom meeting recording, export or render the video in a suitable format and resolution. Consider the desired output platform or medium when selecting the export settings to ensure compatibility and optimal viewing experience.
5. Share the recording: Now that you have the finalized, edited video, you can easily share it with others. You can upload the video to video-sharing platforms like YouTube or Vimeo, share it on social media platforms such as Facebook or Twitter, or send it directly to colleagues or participants via email or file-sharing services.
6. Keep privacy in mind: Before sharing the recording, consider the privacy settings and permissions related to the Zoom meeting. Ensure that you have obtained the necessary consent from the participants before making the recording public or sharing it with others.
7. Consider captioning or subtitling: For improved accessibility and understanding, you may want to add captions or subtitles to the Zoom meeting recording. This can be especially helpful for viewers who are hearing impaired or those who prefer to watch videos with subtitles.
By following these steps, you will be able to edit your Zoom meeting recording and share it effectively with others. Remember to respect the privacy and consent of participants when sharing the recording. With your edited and shared recording, you can preserve and distribute the valuable content and insights from your Zoom meeting.
Conclusion
Recording a Zoom meeting on your iPad can be a valuable tool for preserving important discussions, presentations, or collaborations. By following the steps outlined in this guide, you can successfully record, adjust the settings, start the meeting, and save the recording for future use.
Preparation is key to a smooth recording process. Ensure you have enough storage space, update your device and Zoom app, and test your microphone and speakers to avoid any unexpected issues.
Installing a screen recording app provides additional features and customization options to enhance your recording experience. Explore different apps available in the App Store and choose one that suits your needs.
Adjusting the recording settings is crucial to capturing the Zoom meeting accurately. Choose the recording area, enable audio recording, and set the video quality and format to ensure a clear and high-quality recording.
Starting the Zoom meeting involves launching the Zoom app, signing in or joining as a guest, and either joining a scheduled meeting or creating a new one. It’s important to understand the meeting settings and use features like screen sharing, chat, and more when necessary.
Once the meeting concludes, you can stop and save the recording using the screen recording app. Ensure you save the recording in a suitable location with a descriptive name for easy identification.
If desired, you can edit the recording using video editing software on your computer, adding effects, trimming unnecessary parts, adjusting audio levels, and exporting the final video in a suitable format.
Finally, you can share the edited recording through various platforms such as video-sharing websites, social media, or email. Keep in mind the privacy and permissions related to the Zoom meeting and consider captioning or subtitling for improved accessibility.
Recording, editing, and sharing Zoom meeting recordings can be valuable for collaboration, knowledge sharing, and future reference. By following these steps, you can make the most out of your Zoom meetings and create valuable resources for yourself and others.