Introduction
Welcome to our comprehensive guide on how to record video on Zoom! In today’s digital age, video conferencing has become an essential tool for communication and collaboration. Zoom, a popular video conferencing platform, not only allows you to connect with colleagues and clients from anywhere in the world, but also provides the option to record your video meetings for future reference or sharing with others.
Recording video on Zoom can be a valuable feature, whether you’re looking to capture online presentations, remote training sessions, or important discussions. Not only does it allow you to revisit the content at your convenience, but it also enables you to share the recorded video with individuals who couldn’t attend the live session. In this guide, we will walk you through the steps of setting up Zoom for video recording, adjusting the necessary settings, recording your video, and managing the recorded videos afterwards.
With the increasing popularity of remote work and online communication, knowing how to record video on Zoom will undoubtedly come in handy for various personal and professional scenarios. So, let’s dive in and uncover the secrets of capturing high-quality videos through Zoom!
Setting up Zoom for video recording
Before you can start recording videos on Zoom, it’s important to ensure that you have the necessary settings in place. Follow these steps to set up Zoom for video recording:
- Download and install the Zoom application: Visit the Zoom website (www.zoom.us) and download the application for your preferred device. Install the application by following the on-screen instructions.
- Create a Zoom account: Launch the Zoom application and sign up for a free Zoom account using your email address. If you already have a Zoom account, you can simply sign in.
- Adjust the recording settings: Once you’ve logged into Zoom, click on the gear icon (Settings) in the top right corner of the application. In the settings menu, select the Recording tab. Here, you can customize various recording settings, such as the location where the recorded files will be saved, the format of the recording (MP4, M4A, or M4V), and more.
- Enable video recording: In the Recording tab, make sure the “Record video during screen sharing” option is enabled. This will allow you to record your video while sharing your screen during Zoom meetings or webinars.
- Save the settings: Once you’ve made the necessary adjustments, click on the Save button to save your recording settings.
By following these steps, you’ll have successfully set up Zoom for video recording. In the next section, we’ll explore how to adjust the video recording settings to ensure optimal quality and performance.
Adjusting video recording settings
To ensure that your recorded videos on Zoom are of the highest quality and meet your specific needs, it’s important to adjust the video recording settings. Here are some settings you can tweak:
- Video quality: Zoom allows you to choose the video quality for your recordings. Higher quality settings will result in larger file sizes, so consider the available storage space on your device. To adjust the video quality, go to Zoom Settings, click on the Recording tab, and select your preferred video quality.
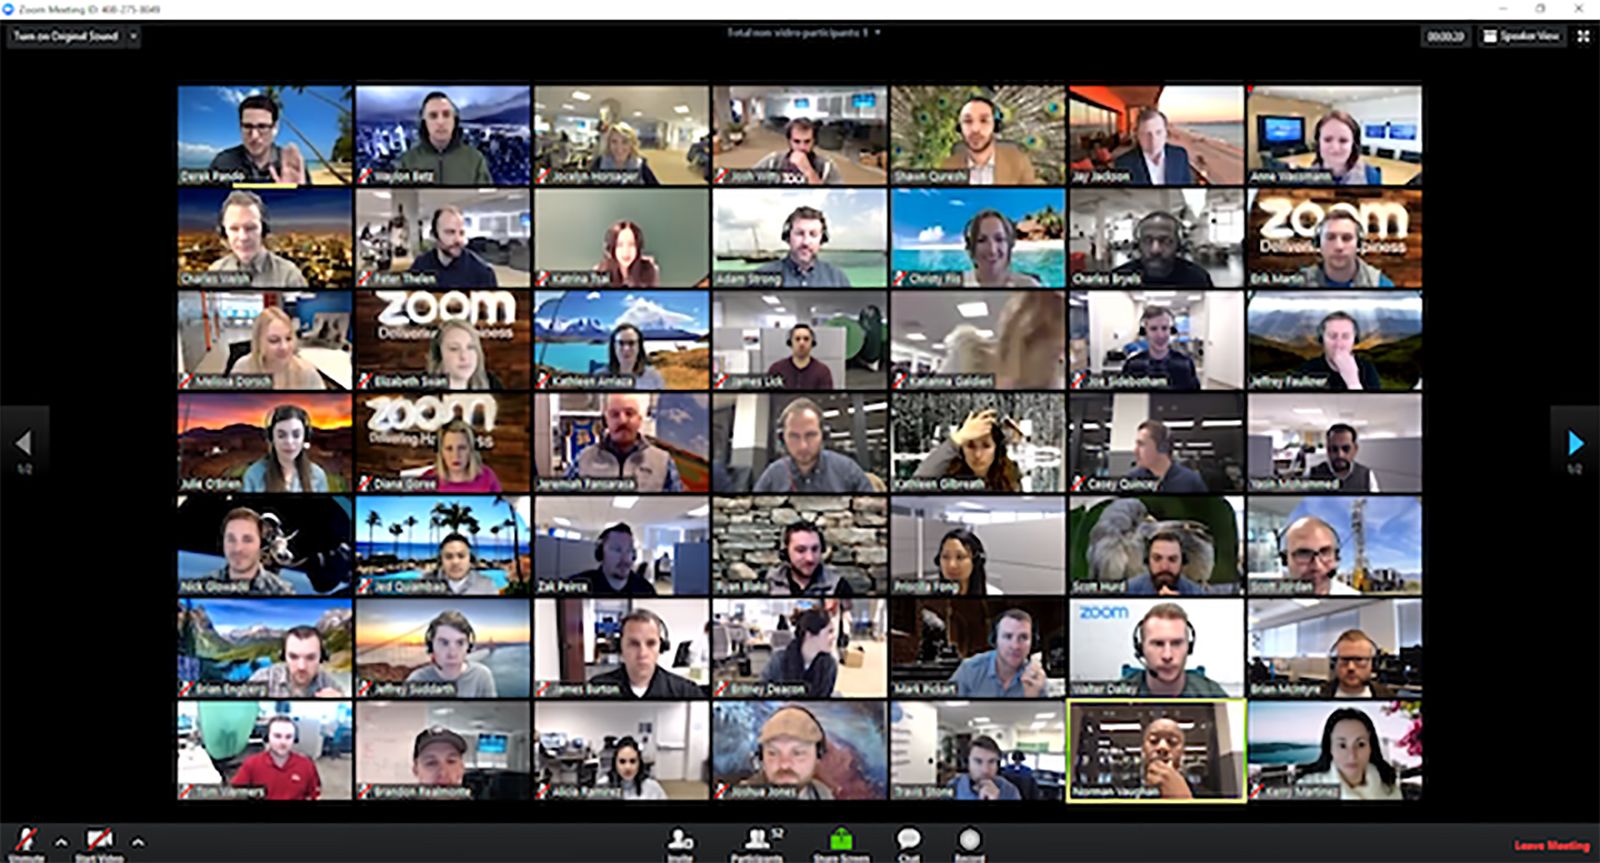
- Recording layout: Zoom offers different recording layout options to suit your preferences. You can choose to record the active speaker, the gallery view showing multiple participants, or a custom layout. To customize the recording layout, navigate to Zoom Settings, click on the Recording tab, and select your desired layout option.
- Audio options: In addition to video, Zoom allows you to record audio during your video meetings. You can choose to record audio from the microphone(s) of the participants, as well as system audio. To adjust the audio recording options, go to Zoom Settings, click on the Audio tab, and select your desired audio sources.
- Video annotation: If you need to annotate or mark up your video during the recording, Zoom provides various annotation tools, including text, shapes, and drawings. To enable video annotation, navigate to Zoom Settings, click on the Recording tab, and check the “Enable video annotation” option.
- Recording shortcuts: Zoom offers keyboard shortcuts to make the recording process more convenient. You can customize these shortcuts to suit your preferences. To adjust the recording shortcuts, go to Zoom Settings, click on the Keyboard Shortcuts tab, and modify the recording-related shortcuts as needed.
By adjusting these video recording settings, you can optimize your Zoom recording experience and ensure that your videos meet your specific requirements. Now that you’ve configured the settings, let’s move on to the next section, where we’ll explore the process of actually recording a video on Zoom.
Recording a video on Zoom
Now that you have set up Zoom and adjusted the video recording settings, it’s time to capture your first video. Follow these simple steps to record a video on Zoom:
- Start a Zoom meeting: Launch the Zoom application and sign in to your account. Create or join a meeting by clicking on the “New Meeting” or “Join” button, respectively.
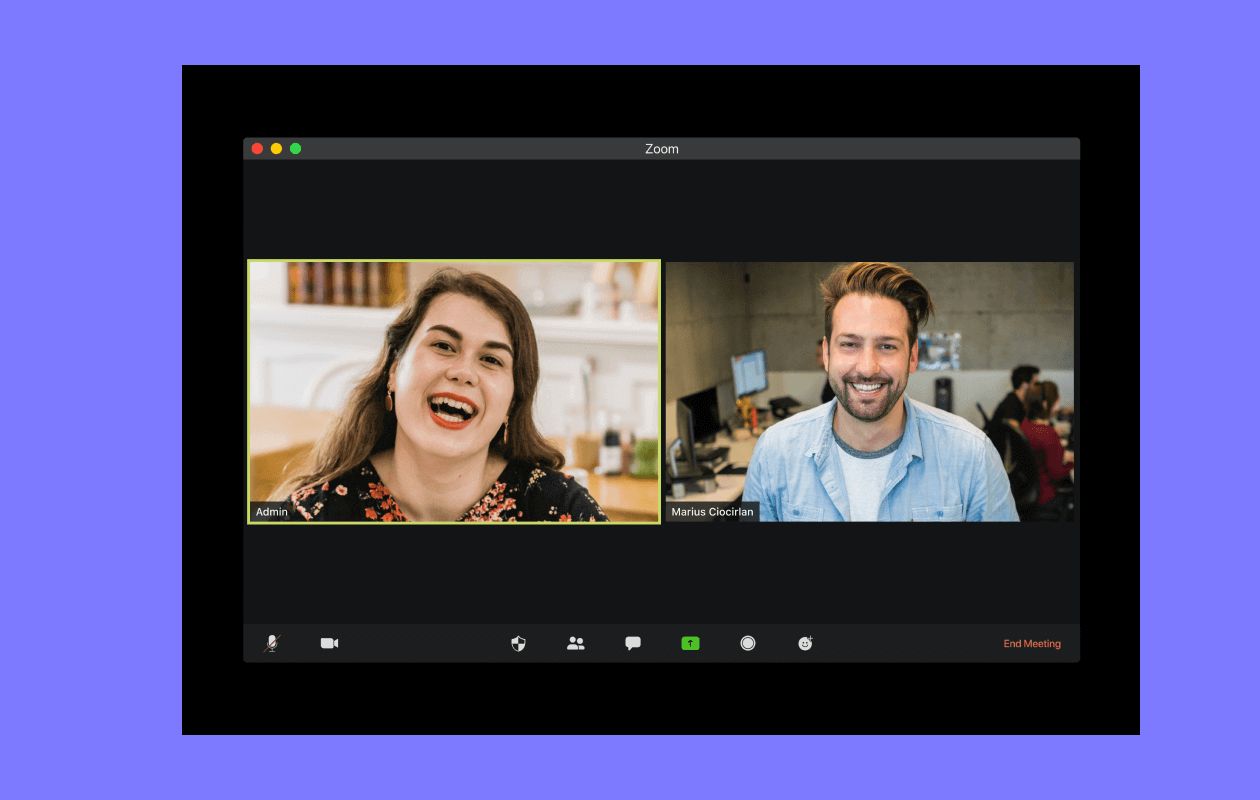
- Enable video and audio: Once you’re in the meeting, make sure both your video and audio are enabled. Click on the video icon in the bottom toolbar to turn on your video camera. Similarly, click on the microphone icon to unmute your audio.
- Start the recording: To begin recording the video, click on the “Record” button located in the bottom toolbar. A recording indicator will appear on the screen, indicating that the recording has started. You can also use the keyboard shortcut Alt + R (Windows) or Command + Shift + R (Mac) to start and stop the recording.
- Engage in the meeting: While the recording is in progress, proceed with your meeting as usual. Present slides, share your screen, or engage in discussions knowing that everything is being recorded.
- End the recording: Once you’re finished with the meeting and recording, click on the “Stop Recording” button on the bottom toolbar. Alternatively, use the keyboard shortcut Alt + R (Windows) or Command + Shift + R (Mac) to stop the recording. The recorded video will be automatically saved to the specified location on your device.
By following these steps, you can easily record a video on Zoom. After the recording is complete, you can access and manage the recorded videos, which we will discuss in the next section.
Managing and accessing recorded videos
After recording a video on Zoom, it’s important to know how to access and manage the recorded files. Here’s how you can effectively manage and access your recorded videos:
- Locate the recorded files: By default, Zoom saves the recorded videos on your local device. The location can be customized in the recording settings. To find the recorded videos, navigate to the specified folder on your device.
- Create a consistent file naming system: To stay organized, consider implementing a consistent file naming system for your recorded videos. This will make it easier to identify and retrieve specific recordings later on.
- Organize the videos in folders: If you have multiple recorded videos, consider creating folders to categorize and organize them based on different topics, meetings, or dates. This will simplify the process of locating and accessing specific recordings.
- Share the recorded videos: If you want to share a recorded video with others, you can do so by simply sharing the video file directly or by uploading it to a cloud storage service and sharing the link. This way, participants who couldn’t attend the live meeting can still benefit from the recorded content.
- Delete unnecessary recordings: To free up storage space and avoid clutter, it’s a good practice to regularly delete unnecessary or outdated recorded videos. Make sure to review and remove recordings that are no longer needed.
By managing and accessing your recorded videos effectively, you can easily locate and share the content, ensuring that the valuable information captured during your Zoom meetings is easily accessible to those who need it. In the next section, we’ll provide some tips for recording high-quality videos on Zoom.
Tips for recording high-quality videos on Zoom
To ensure that your recorded videos on Zoom are of the highest quality, consider implementing the following tips:
- Use a stable and reliable internet connection: A stable internet connection is crucial for a smooth and uninterrupted recording. Connect your device to a reliable Wi-Fi network or use an Ethernet cable for a more stable connection.
- Find a quiet and well-lit environment: Choose a quiet location with minimal background noise to enhance the audio quality of your recording. Additionally, ensure that the room is well-lit to improve the video quality.
- Position your camera properly: Position your camera at eye level or slightly above for a flattering and professional angle. Avoid looking down at the camera, as this can create an unflattering perspective.
- Eliminate distractions: Close unnecessary applications or browser tabs on your device to minimize distractions during the recording. This will help maintain focus and ensure a smooth recording process.
- Use a high-quality microphone: Invest in a good quality external microphone for better audio clarity. This will significantly enhance the overall audio quality and make your recordings more professional.
- Test your audio and video settings: Before recording, conduct a quick test to ensure that your audio and video settings are functioning properly. Check the microphone and camera settings, as well as the volume levels, to avoid any issues during the recording.
- Engage with the viewers: Keep in mind that you’re recording a video for an audience. Maintain eye contact with the camera, speak clearly and confidently, and engage with the viewers to create a more interactive and engaging experience.
- Record in a well-ventilated room: If you’re recording for an extended period, ensure that the room is well-ventilated to prevent overheating of your device. Overheating can cause performance issues and affect the overall quality of your video recording.
By following these tips, you can significantly improve the quality of your recorded videos on Zoom. Experiment with different techniques and settings to find what works best for you. Now that you are equipped with these tips, you’ll be able to create impressive and professional recordings using Zoom.
Troubleshooting common issues with video recording on Zoom
While recording videos on Zoom is generally a smooth process, you may encounter some common issues along the way. Here are a few troubleshooting tips to help you overcome these challenges:
- Low video or audio quality: If you notice that the video or audio quality of your recording is not satisfactory, check your internet connection. A poor or unstable internet connection can result in reduced quality. Consider switching to a different network or contacting your internet service provider for assistance.
- Recording compatibility issues: Sometimes, recorded videos may not play back on certain devices or media players. Ensure that you are recording in a compatible format, such as MP4, M4A, or M4V, which are widely supported. If playback issues persist, try using a different media player or converting the file to a more compatible format.
- Incomplete or missing recordings: If your recording ends abruptly or fails to save properly, check your device’s available storage space. Insufficient storage can prevent Zoom from saving the complete recording. Free up space on your device or choose a different storage location before attempting to record again.
- Audio synchronization issues: Occasionally, you may encounter issues with audio synchronization, where the audio is slightly out of sync with the video. This can happen due to various factors, such as network latency or device performance. To mitigate this issue, try pausing and resuming the recording or adjusting the recording settings to optimize performance.
- Unresponsive recording controls: If the recording controls on Zoom become unresponsive or do not work as expected, try restarting the Zoom application or your device. In some cases, updating to the latest version of Zoom can also resolve issues with the recording controls.
- Limited recording permissions: Depending on your Zoom account type, you may have limited recording permissions. Ensure that you have the necessary permissions to record meetings and access recorded videos. If you encounter any restrictions, reach out to your Zoom administrator for assistance.
If you still encounter issues with video recording on Zoom, consider visiting the Zoom support website or reaching out to their dedicated support team for further assistance. With these troubleshooting tips in mind, you’ll be better equipped to address any challenges that arise while recording your valuable video content.
Conclusion
Recording video on Zoom can be a valuable tool for capturing important meetings, presentations, and discussions. With the right settings and techniques, you can create high-quality recordings that can be revisited and shared with others. In this comprehensive guide, we have covered the essential steps for setting up Zoom for video recording, adjusting the necessary settings, actually recording a video, and managing and accessing your recorded videos.
We have also provided helpful tips for ensuring the highest quality recordings, troubleshooting common issues that may arise, and addressing potential challenges along the way. By implementing these tips and techniques, you can maximize the benefits of recording videos on Zoom and enhance your overall video conferencing experience.
Remember, video recordings on Zoom can be a valuable resource for remote collaboration, remote training, and knowledge sharing. Whether you’re recording business meetings, educational webinars, or creative presentations, capturing and sharing your video content can greatly enhance communication and collaboration within your team or organization.
Now that you are equipped with the knowledge and tools to record video on Zoom, it’s time to put your newfound skills into practice. Get started with recording your next Zoom meeting, implement the best practices discussed in this guide, and enjoy the benefits of capturing and revisiting your valuable video content.