Introduction
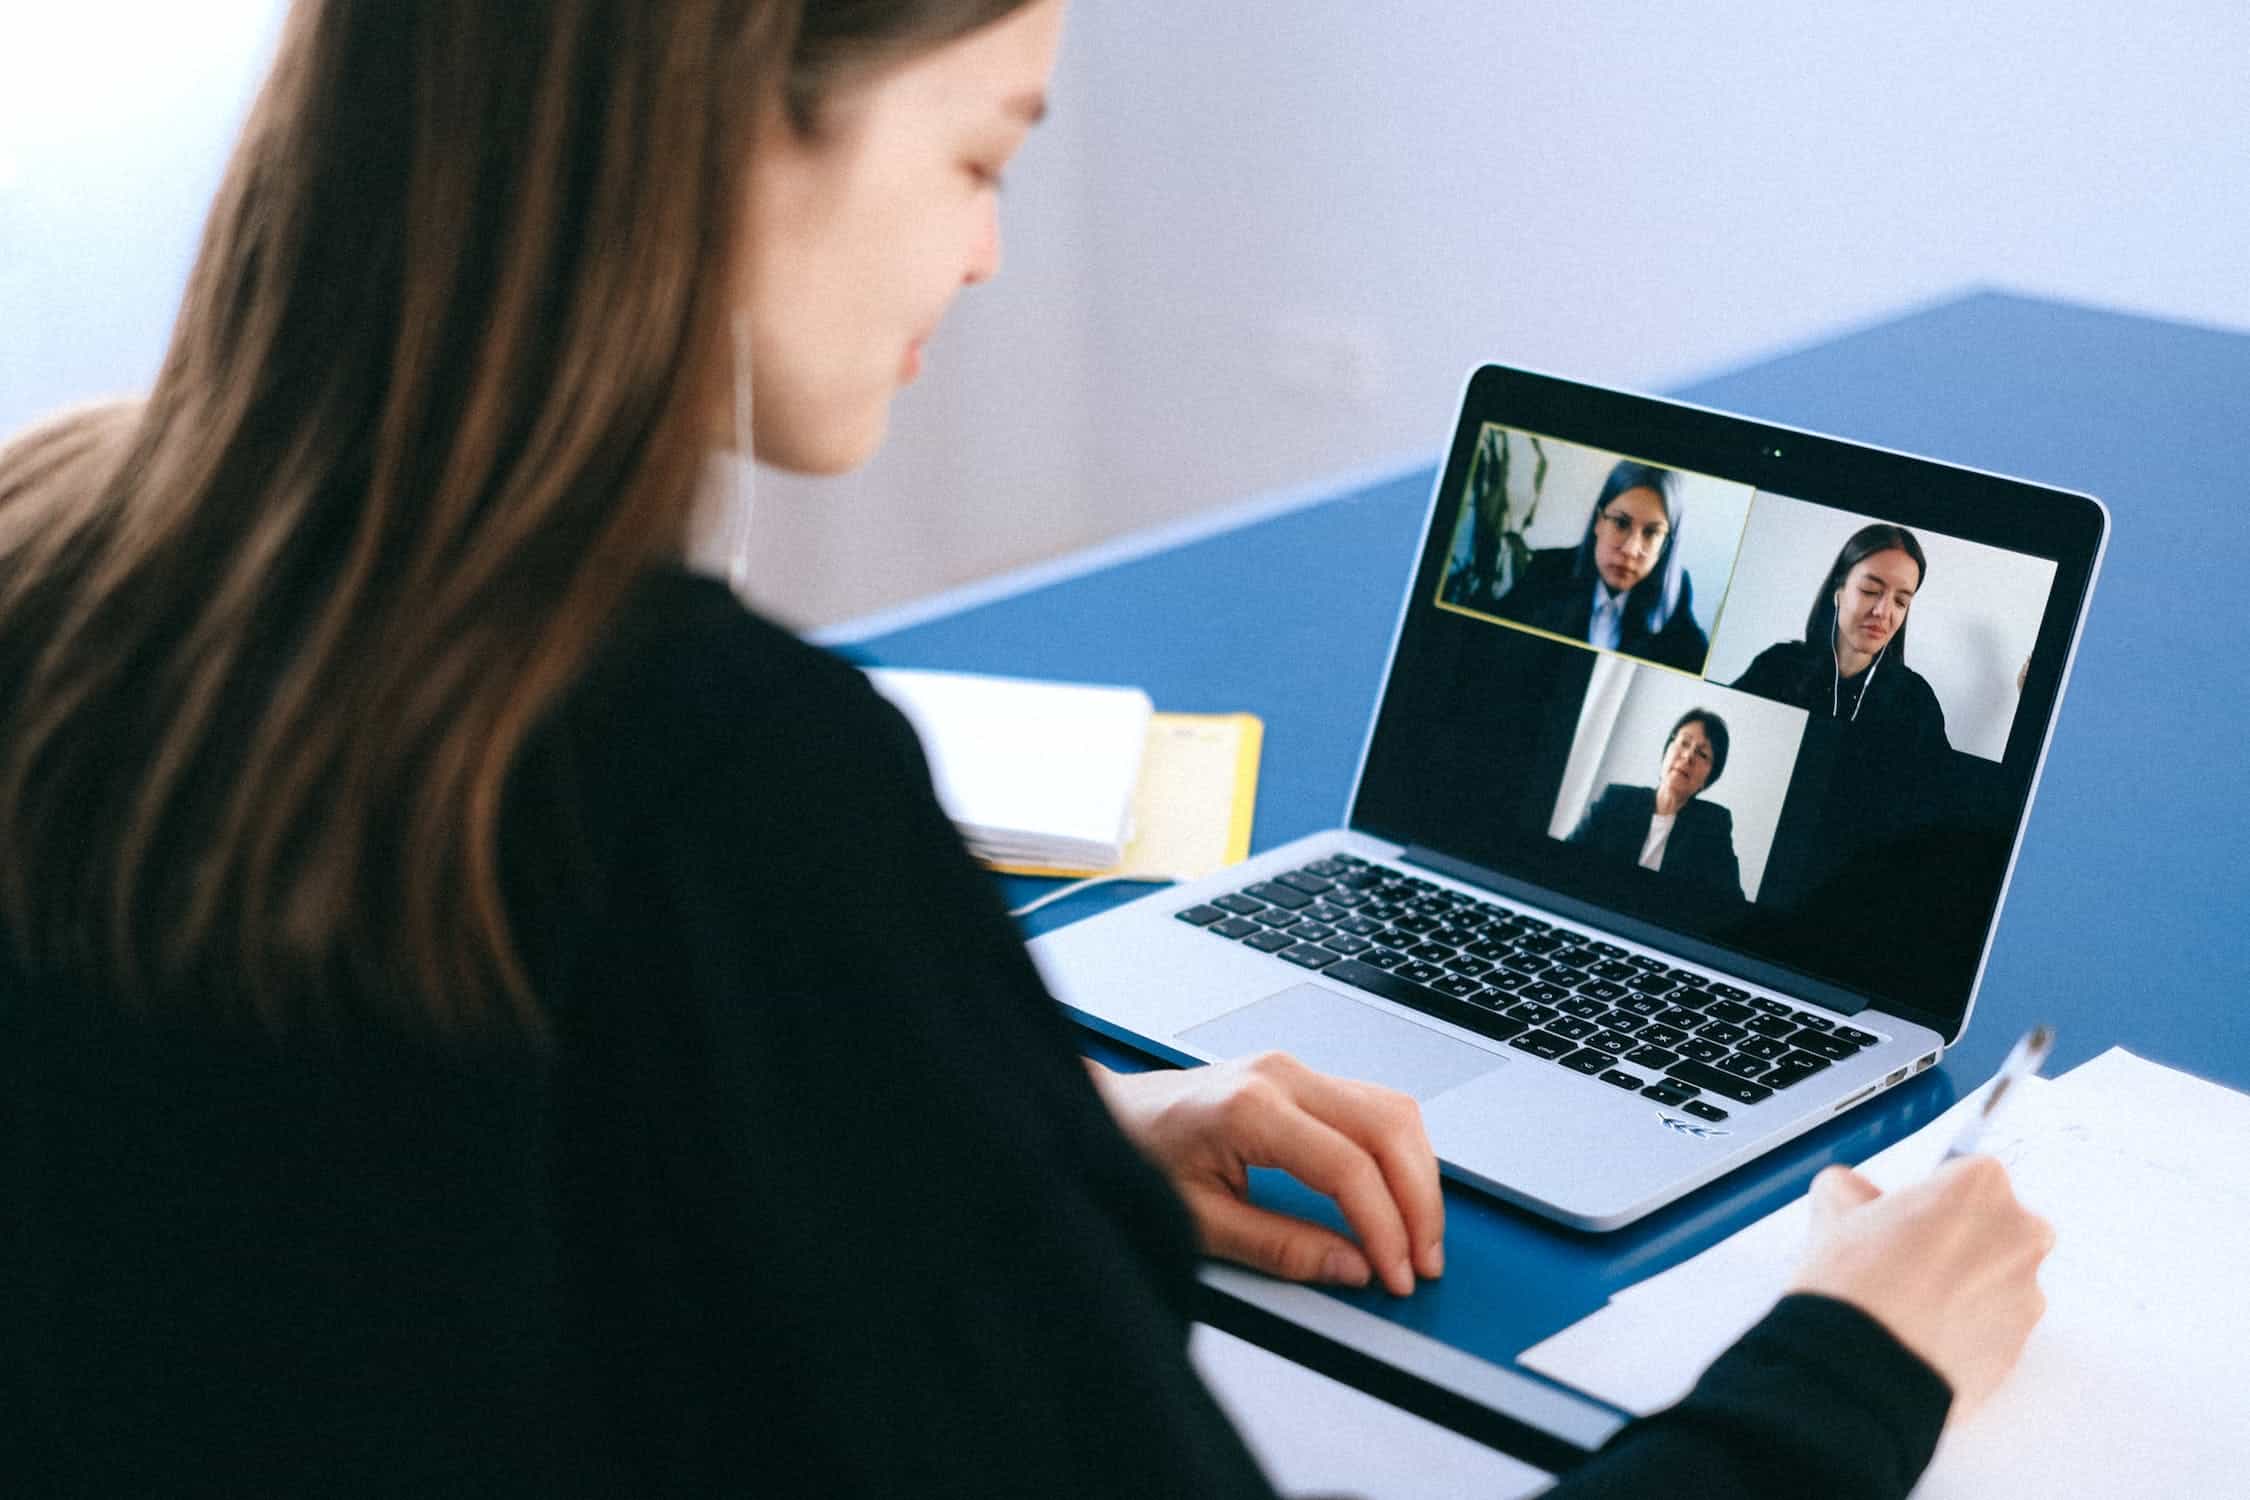
Welcome to the digital age, where virtual meetings have become the new norm. As remote work and online collaboration gain momentum, platforms like Zoom have become indispensable tools for businesses, educational institutions, and individuals alike. Whether you need to attend a team meeting, conduct an interview, or host a webinar, Zoom provides a flexible and user-friendly platform with a multitude of features.
One of the key features of Zoom is the ability to record meetings. Recording your Zoom meetings can be incredibly useful for a variety of reasons. It allows participants to revisit important discussions and take accurate notes, ensures that absentees can catch up on what they missed, and serves as a valuable resource for future reference.
In this article, we will guide you through the step-by-step process of recording a meeting on Zoom. We will show you how to launch Zoom, start a meeting, configure the necessary settings, initiate the recording, and finally, how to save and end the meeting. You don’t need any advanced technical skills to follow along – just a computer or mobile device with the Zoom application installed and an active meeting ready to be recorded.
So, whether you’re a business professional, an educator, or simply someone looking to record an important conversation, let’s dive in and discover how simple and efficient it is to record meetings on Zoom.
Step 1: Launch Zoom
Before you can start recording a meeting on Zoom, you’ll need to have the Zoom application installed on your computer or mobile device. If you haven’t already done so, head over to the Zoom website (zoom.us) and download the Zoom client for your operating system.
Once you have Zoom installed and ready to go, launch the application by finding the Zoom icon in your applications folder (for Mac users) or by clicking on the Start menu and searching for Zoom (for Windows users). Click on the Zoom icon to open the application.
If you’re using Zoom on a mobile device, simply tap on the Zoom app icon on your home screen to open it.
Upon launching Zoom, you will be greeted with the Zoom Home screen. Here, you will have access to various options, including starting a meeting, joining a meeting, scheduling a meeting, and more. To proceed with recording a meeting, you will need to start a meeting first.
Before we move on, it’s important to note that Zoom offers both free and paid versions. While some features may be limited in the free version, the process of recording meetings remains the same. If you have a paid account, you may have additional features and options available to you.
So now that you have successfully launched Zoom, let’s move on to the next step and start our meeting.
Step 2: Start a Meeting
Now that you have launched the Zoom application, it’s time to start a meeting. Starting a meeting is a straightforward process, whether you’re hosting the meeting or joining as a participant.
On the Zoom Home screen, you will see the option to ‘Start with video’. This means that your webcam will be activated when you start the meeting, allowing other participants to see you. If you prefer to start the meeting without video, simply deselect the ‘Start with video’ option. You can always turn on your video during the meeting if needed.
Next, you will have the option to ‘Join with Computer Audio’ or ‘Test Speaker and Microphone’. It’s recommended to click on ‘Test Speaker and Microphone’ to ensure that your audio is working correctly. You can adjust your speaker and microphone settings if necessary.
Once you’re satisfied with your audio settings, click on the ‘Join with Computer Audio’ button to start the meeting.
If you’re joining an existing meeting, you will need the Meeting ID or the meeting invitation link provided by the host. Simply enter the Meeting ID in the ‘Join’ field on the Zoom Home screen and click ‘Join’ to join the meeting. You can also click on the meeting invitation link if provided.
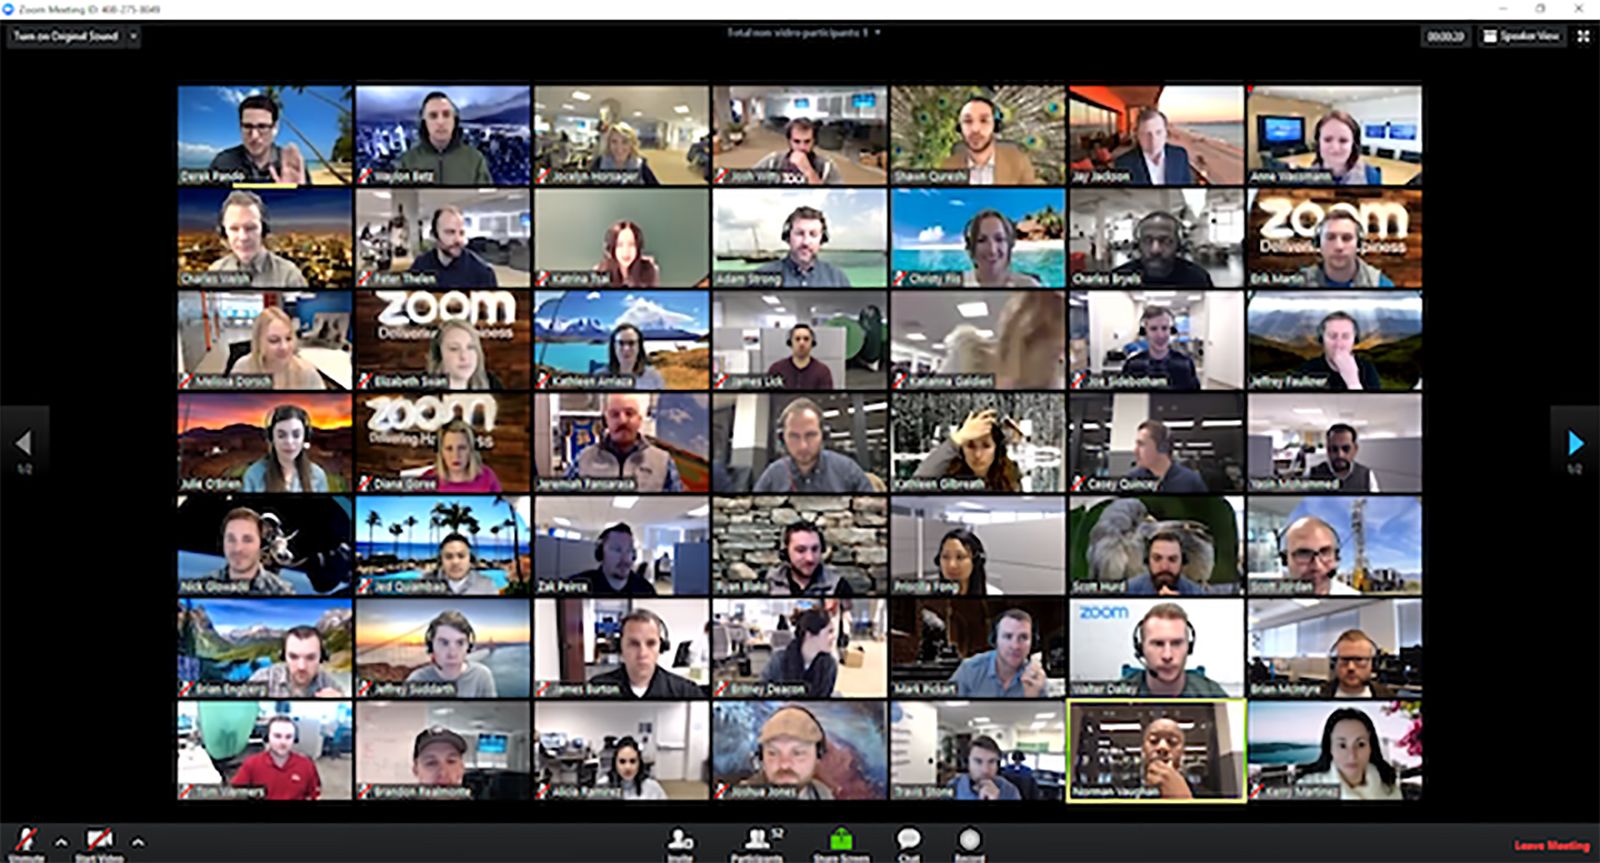
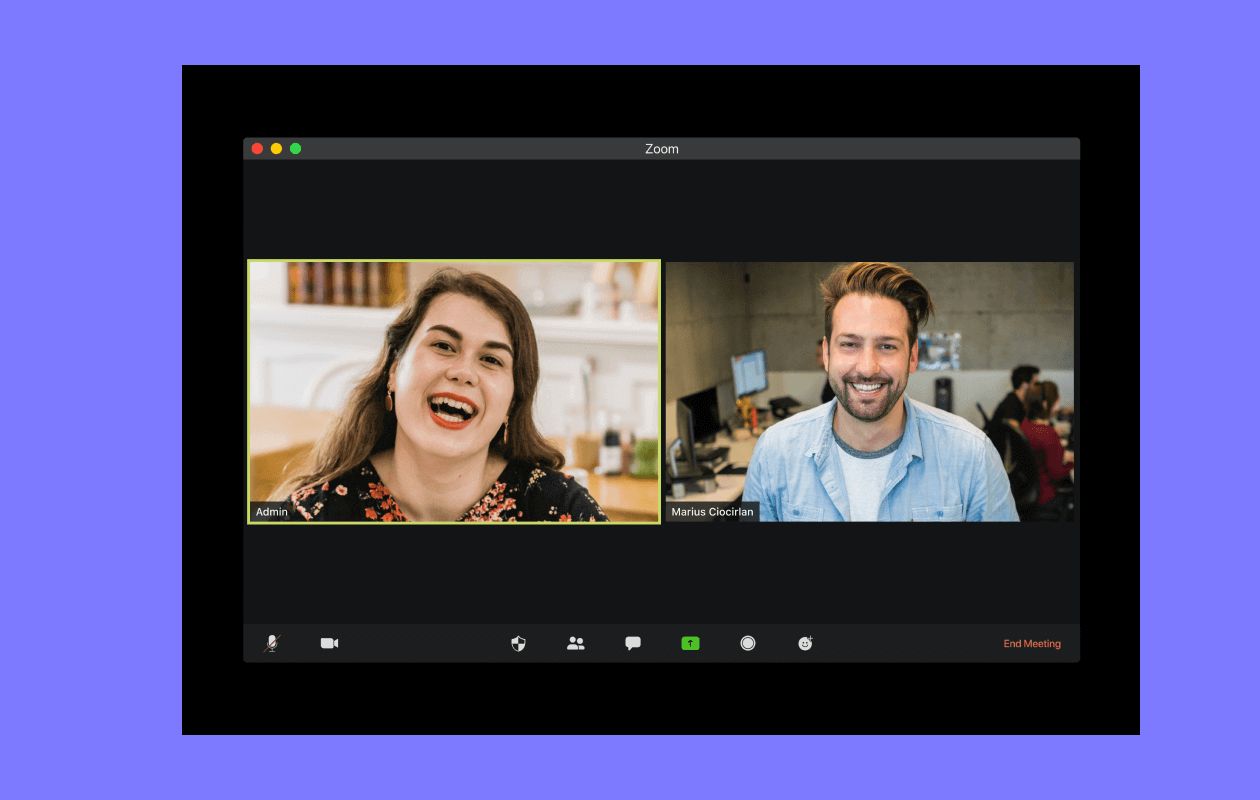
Whether you’re starting a new meeting or joining an existing one, Zoom will now connect you to the meeting room. You will be able to see yourself (if your video is turned on) and any other participants who have their videos enabled.
Before moving on to the next step, take a moment to familiarize yourself with the Zoom meeting room interface. You will see options to manage participants, share your screen, chat with other participants, and more. These features can enhance your meeting experience and may be useful during the recording process.
Now that you’re in the meeting, let’s move on to the next step and configure the necessary settings before recording.
Step 3: Configure Meeting Settings
Before you start recording the meeting on Zoom, it’s important to configure the necessary settings to ensure a smooth and optimal recording experience. Zoom offers a range of settings that allow you to customize your meeting to your specific needs.
To access the meeting settings, locate the meeting control toolbar at the bottom of the Zoom meeting room interface. Click on the ‘More’ button (represented by three dots) to open additional meeting options. From the dropdown menu, select ‘Recording settings’.
In the Recording settings, you will find various options to customize your recording preferences. Here are some key settings to consider:
- Record on this computer: By default, Zoom will record the meeting on the local computer. Ensure that this option is selected if you want to save the recording directly to your computer.
- Record to the cloud: If you have a paid Zoom account, you may have the option to record the meeting to the cloud. This allows for easy access to the recording from any device with an internet connection.
- Record video: Choose whether you want to record the meeting with video or without video. If you select the option to record video, make sure your webcam is enabled.
- Record audio: Select whether you want to record audio from the meeting. This includes both the speaker’s audio and participant’s audio.
- Record active speaker with shared screen: If screen sharing is enabled during the meeting, you can choose to record the active speaker alongside the shared screen.
- Record gallery view with shared screen: Similar to the previous option, this setting allows you to record the gallery view (grid view of participants) alongside the shared screen.
Once you have configured the desired settings, click on the ‘Close’ button to save the changes and return to the meeting room.
It’s important to note that the ability to access and change meeting settings may vary depending on your account type and permissions. If you are unable to access or modify the recording settings, reach out to your Zoom account administrator for assistance.
Now that you have configured the meeting settings, it’s time to move on to the next step and start recording the meeting on Zoom.
Step 4: Record the Meeting
Now that you have configured the necessary meeting settings, it’s time to start recording the meeting on Zoom. The recording feature allows you to capture the audio, video, and shared content during the meeting.
To initiate the recording, locate the meeting control toolbar at the bottom of the Zoom meeting room interface. Look for the ‘Record’ button and click on it to start recording. A small recording indicator will appear on the screen, indicating that the meeting is being recorded.
Once the recording has started, you can continue with your meeting as usual. Speak clearly into your microphone, enable your video if desired, and share any content on your screen. The recording will capture all the audio and video from the meeting, as well as any shared screens or presentations.
It’s important to note that only the meeting host or a co-host can initiate the recording. If you’re not the host, make sure to inform the host that you would like the meeting to be recorded.
During the meeting, if you need to pause or interrupt the recording temporarily, you can do so by selecting the ‘Pause’ button on the meeting control toolbar. This can be useful if there are discussions or segments of the meeting that you prefer not to record.
Once you’re ready to resume the recording, simply click on the ‘Resume’ button. The recording will continue from where it left off, capturing all the ongoing audio and video.
It’s important to inform all participants that the meeting is being recorded, as this is a best practice for respecting privacy and ensuring compliance with any legal requirements.
Now that you have successfully started the recording, let’s move on to the next step and learn how to pause, resume, or stop the recording.
Step 5: Pause, Resume, or Stop the Recording
While recording a meeting on Zoom, you have the flexibility to pause, resume, or stop the recording as needed. These options allow you to control the recording based on the flow of the meeting or any specific requirements.
To pause the recording, locate the meeting control toolbar at the bottom of the Zoom meeting room interface. Click on the ‘Pause’ button to temporarily halt the recording. This can be useful if there are breaks, side discussions, or any segments of the meeting that you prefer not to include in the final recording.
While the recording is paused, the small recording indicator on the screen will change to indicate that the recording is on hold. During this time, the audio and video will not be captured in the recording.
When you’re ready to resume the recording, simply click on the ‘Resume’ button in the meeting control toolbar. The recording will restart, capturing all the ongoing audio and video from the meeting. The small recording indicator will change back to indicate that the recording is active.
If you no longer wish to record the meeting and want to stop the recording completely, click on the ‘Stop’ button in the meeting control toolbar. A pop-up window will appear, confirming if you want to end the recording. Click ‘Stop Recording’ to confirm.
Once you stop the recording, Zoom will process the recording and convert it into a usable format. The time it takes for the recording to be processed will depend on the duration of the meeting and the size of the recording.
After the recording has been processed, Zoom will save the recording to your computer (if you selected the option to record on this computer) or to the cloud (if you chose to record to the cloud). You can access your saved recordings later for playback or sharing.
Keep in mind that if you recorded the meeting to the cloud, you will need an active internet connection to access and download the recording. If you recorded the meeting on your computer, make sure you have sufficient storage space available to save the recording.
Now that you know how to pause, resume, and stop the recording, let’s move on to the final step and learn how to end the meeting and save the recording properly.
Step 6: End the Meeting and Save the Recording
After you have finished your Zoom meeting and recorded all the necessary content, it’s time to end the meeting and save the recording for future use.
To end the meeting, locate the meeting control toolbar at the bottom of the Zoom meeting room interface. Click on the ‘End’ button to formally close the meeting. This will disconnect all participants and conclude the session.
After ending the meeting, Zoom will automatically process and save the recording based on the settings you configured earlier. If you chose to record on your computer, the recording will be saved locally in your selected destination folder. On the other hand, if you opted to record to the cloud, the recording will be stored in your Zoom account’s cloud storage.
It’s important to note that the time it takes to process and save the recording will depend on the duration of the meeting and the size of the recording file. It’s best to wait until the processing is complete before attempting to access or share the recording.
If you recorded the meeting on your computer, you can navigate to the destination folder you selected during the recording process to access the saved recording. From there, you can play and review the recording using a media player or edit it according to your needs.
If you recorded the meeting to the cloud, you can access the recording by logging into your Zoom account and navigating to the ‘Recordings’ section. Here, you will find all the recordings associated with your account. You can play the recording directly from the Zoom cloud or download it to your computer for further use.
Remember to properly organize and label your recordings for easy retrieval in the future. This will help you stay organized and locate specific recordings when needed.
Additionally, if you want to share the meeting recording with others, you can use the sharing options provided by Zoom. You can generate a sharing link or invite participants to access the recording through email invitations.
Always be mindful of the privacy and confidentiality of the meeting recording. Make sure to obtain consent from participants before sharing the recording and ensure compliance with any applicable laws and regulations.
Now that you have successfully ended the meeting and saved the recording, you can review, share, or utilize the recording for any necessary purposes.
Conclusion
Recording a meeting on Zoom is a valuable feature that allows you to capture important discussions, presentations, and collaborations. Whether you’re a business professional, an educator, or simply someone looking to document a conversation, Zoom provides a user-friendly platform for recording meetings.
In this article, we walked through a step-by-step process to help you record a meeting on Zoom. We covered how to launch Zoom, start a meeting, configure meeting settings, initiate the recording, and pause, resume, or stop the recording. We also discussed how to properly end the meeting and save the recording for future use.
Remember to inform all participants that the meeting is being recorded, respecting their privacy and ensuring compliance with any legal requirements. It’s also important to take into consideration the different account types and permissions, as some settings and features may vary based on your Zoom account.
Once you have recorded the meeting, you can access the recording on your computer or in the Zoom cloud, depending on your chosen settings. Take advantage of the various sharing options to distribute the recording or use it for future reference.
With Zoom’s recording feature, you can easily capture and preserve important meetings, discussions, and presentations. Whether it’s for team collaboration, training purposes, or documentation, Zoom’s recording capabilities provide a valuable resource for enhancing productivity and knowledge sharing.
Now that you have all the necessary knowledge and steps to record a meeting on Zoom, go ahead and start using this powerful feature to optimize your online meetings and virtual collaborations.