System Requirements
Before you can download Zoom on your computer, it is important to ensure that your system meets the necessary requirements. Below are the minimum system requirements to run Zoom smoothly:
- A computer with Windows 7 or later, or Mac with macOS 10.9 or later
- A stable internet connection with a minimum bandwidth of 1 Mbps
- A dual-core 2Ghz or higher processor
- A minimum of 4GB RAM
- Free disk space for the Zoom application and saved meeting recordings
- A webcam or access to an integrated camera
- A microphone for audio input
- Speakers or headphones for audio output
Please note that these are the minimum requirements, and for an optimal experience, it is recommended to have higher specifications. This will ensure smooth video and audio streaming during Zoom meetings.
If your computer meets these requirements, you are ready to proceed with the Zoom download process. Make sure to have your username and password ready if you already have a Zoom account, or be prepared to create a new account during the installation process.
Step 1: Go to the Zoom website
The first step to download Zoom on your computer is to go to the official Zoom website. To do this, open your preferred web browser and type in zoom.us in the address bar.
Once you have entered the Zoom website, you will be greeted by a user-friendly interface that provides a range of information and resources to help you navigate the Zoom platform. Take a moment to explore the various tabs and menus to familiarize yourself with the available options.
On the Zoom website, you will find details about Zoom features, pricing plans, customer testimonials, and more. This is a great opportunity to gather any additional information you may need before proceeding with the download.
It is worth noting that Zoom offers several different applications for specific purposes, such as Zoom for Meetings, Zoom for Webinars, and Zoom for Education. Make sure to click on the appropriate tab or section based on your intended use, which in this case, would be the Zoom for Meetings application.
After selecting the correct tab or section, you will be directed to the respective page where you can access the Zoom download option. This page will provide you with all the necessary information about the Zoom application and its features, as well as a prominent button to initiate the download process.
Once you have completed this step, you are ready to move on to the next step, which involves downloading the Zoom client on your computer.
Step 2: Click on “Resources” and select “Download Zoom Client”
After accessing the Zoom website, the next step is to navigate to the “Resources” section, where you can find the option to download the Zoom client. Follow these simple instructions to continue with the download process:
1. Once you are on the Zoom website, look for the navigation bar at the top of the page. Among the different tabs available, locate and click on the “Resources” tab.
2. Clicking on the “Resources” tab will open a drop-down menu with various options. Look for the option that says “Download Zoom Client” and click on it.
3. After selecting “Download Zoom Client,” you will be redirected to a new page where you can access the Zoom client download links. Here, you will find options for different operating systems, such as Windows, macOS, and Linux.
4. Choose the appropriate download link based on your computer’s operating system. If you are using a Windows computer, click on the download link for Windows. If you have a Mac, select the download link for macOS, and so on.
5. After clicking on the appropriate download link, the Zoom client installer file will begin to download onto your computer. The file size may vary depending on the operating system and any updates that have been released.
Once the download is complete, you are ready to proceed with the installation process, which we will cover in the next step. Make sure to locate the downloaded file on your computer, as you will need it to run the Zoom installer.
Step 3: Choose the appropriate download for your computer
Now that you have accessed the Zoom website and clicked on the “Resources” tab to find the download options, it’s time to choose the appropriate download for your computer’s operating system. Follow these steps to make sure you select the right option:
1. Once you are on the page with the Zoom client download links, look for the section that corresponds to your specific operating system. In this section, you will find different download options, such as Windows, macOS, or Linux.
2. Identify your computer’s operating system. If you are unsure which operating system you have, there are a few simple ways to find out. For Windows users, you can right-click on the “This PC” or “My Computer” icon on your desktop and select “Properties” to view your operating system information. For Mac users, click on the Apple logo in the top left corner of your screen and select “About This Mac.”
3. Once you have confirmed your operating system, click on the corresponding link for that system. This will initiate the download of the Zoom client installer file specific to your computer.
4. Depending on your browser settings, the file may automatically be saved to your computer’s default “Downloads” folder. If prompted, choose a location on your computer where you would like to save the file for easy access during the installation process.
By selecting the correct download link, you ensure compatibility between Zoom and your computer’s operating system, which is crucial to ensure a seamless and hassle-free installation process.
Now that you have chosen the appropriate download for your computer, it’s time to move on to the next step – running the Zoom installer.
Step 4: Run the Zoom installer
Now that you have downloaded the Zoom client installer file, it’s time to run the installer and begin the installation process. Follow these simple steps to run the Zoom installer on your computer:
1. Locate the Zoom installer file on your computer. By default, most browsers save downloaded files in the “Downloads” folder. If you are unsure where the file is located, you can use your computer’s search function to find it.
2. Double-click on the Zoom installer file to initiate the installation process. Depending on your operating system and browser settings, you may need to confirm your intention to run the file by clicking “Yes” or “Run.”
3. Once you run the installer, the Zoom setup wizard will open. The setup wizard will guide you through the installation process, presenting you with various options and settings to configure. Follow the on-screen instructions to proceed to the next steps.
4. Review the End User License Agreement (EULA) and, if you agree to the terms, select the checkbox indicating your acceptance. Click “Next” or “Agree/Install” to continue to the next step.
5. The setup wizard will prompt you to choose the installation location and any additional components you would like to install. By default, the installer will select the appropriate location and necessary components. It is recommended to leave these options unchanged unless you have specific requirements.
6. Once you have confirmed your installation preferences, click “Next” or “Install” to begin installing the Zoom client on your computer. The installer will now copy the necessary files and install the Zoom software.
7. Depending on your computer’s performance and internet connection, the installation process may take a few moments. Please be patient and avoid interrupting the process. Once the installation is complete, you will receive a notification indicating the successful installation of Zoom.
By running the Zoom installer, you are one step closer to accessing all the features and functionalities that Zoom has to offer. Now that the installation process is complete, you can proceed to the next step – signing in or creating a Zoom account.
Step 5: Begin the installation process
With the Zoom installer file downloaded and run on your computer, it’s time to begin the installation process. Follow these steps to proceed with the installation of Zoom:
1. After running the Zoom installer, the setup wizard will open on your screen. This wizard will guide you through the installation process and prompt you to make several choices along the way.
2. Review the welcome screen, which provides you with essential information about the installation process. Click on the “Next” or “Continue” button to proceed.
3. The next screen will display the End User License Agreement (EULA). Take a few moments to read through the agreement, and if you agree to the terms, select the checkbox indicating your acceptance. Then, click on the “Next” or “Agree/Install” button to continue.
4. The setup wizard will now present you with the option to choose the installation location for Zoom. By default, the recommended installation location will be selected. However, if you prefer a different location on your computer, you can browse and select the desired folder or directory. Once you’ve made your selection, click on the “Next” or “Install” button.
5. The next step in the installation process involves selecting the additional components you want to install. By default, all necessary components for Zoom functionality will be selected. If you require any specific features or components, you can choose to install them by checking the appropriate boxes. Once you’ve made your selection, click on the “Next” or “Install” button.
6. The installation process will now begin, and you will see a progress bar indicating the installation status. Depending on your computer’s performance and internet connection, this step may take a few moments.
7. Once the installation is complete, you will receive a notification confirming the successful installation of Zoom. Click on the “Finish” or “Close” button to exit the setup wizard.
Congratulations! You have successfully installed Zoom on your computer. The next step is to sign in or create a Zoom account, which we will discuss in the following section.
Step 6: Sign in or create a Zoom account
After completing the installation process, it’s time to sign in to your Zoom account or create a new one. Follow these steps to proceed:
1. Launch the Zoom application on your computer by locating it in your applications or programs folder.
2. Once the Zoom application is open, you will be presented with the option to sign in or join a meeting. Click on the “Sign In” button to continue.
3. If you already have a Zoom account, enter your email address and password in the respective fields. Make sure to use the email address associated with your Zoom account.
4. Click on the “Sign In” button to proceed. If the credentials provided are correct, you will be successfully signed in to your Zoom account.
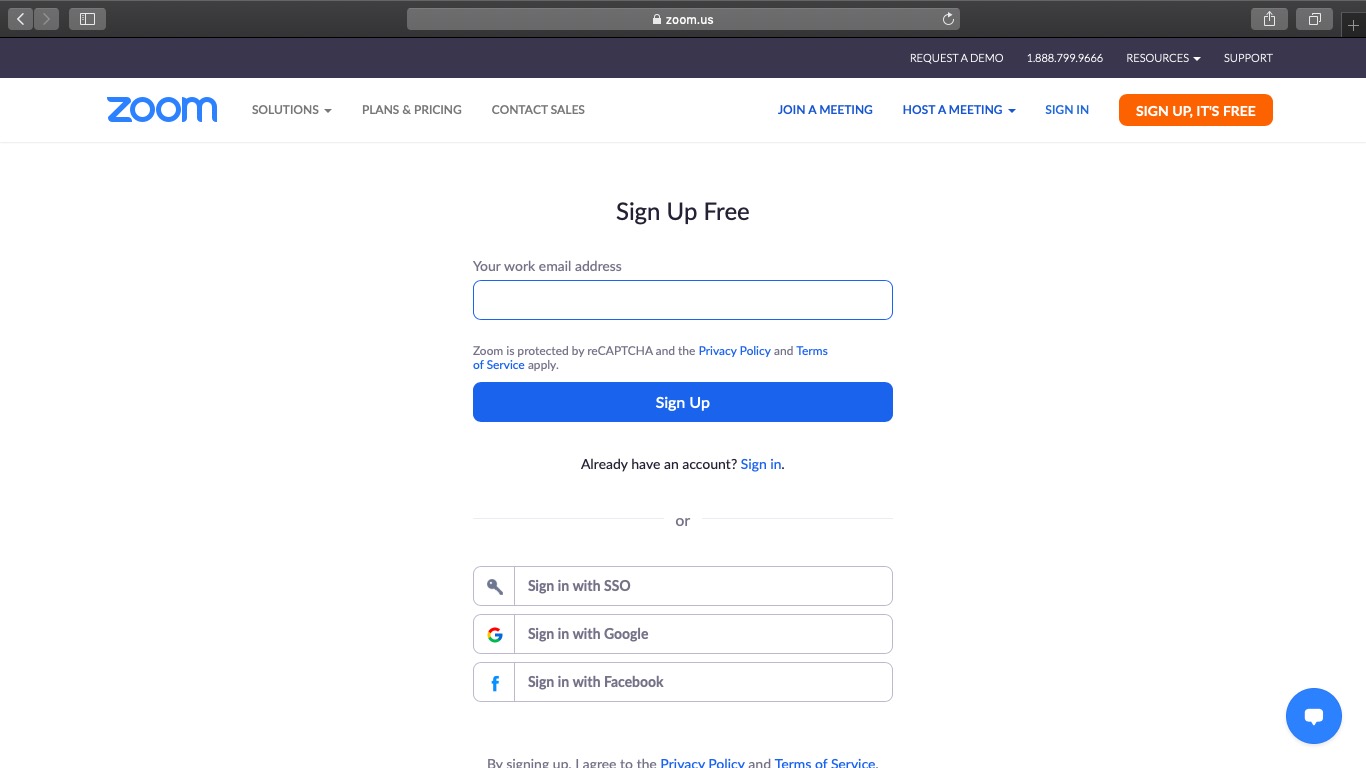
5. If you don’t have a Zoom account, click on the “Sign Up Free” or “Create a Free Account” option. This will take you to the Zoom account creation page.
6. On the account creation page, enter your email address and other required personal information, such as your name and password. Make sure to use a strong, unique password to secure your Zoom account.
7. Review the information entered for accuracy, and then click on the “Sign Up” or “Create Account” button to create your Zoom account.
8. You may be required to verify your email address by clicking on a verification link sent to the email you provided. Follow the instructions in the email to complete the verification process.
9. Once your account is successfully created and verified, you can sign in to your new Zoom account using the email address and password you provided during registration.
By signing in to your Zoom account or creating a new one, you gain access to additional features and functionalities, such as scheduling meetings and joining webinars. Now that you are signed in, you can proceed to customize your Zoom settings according to your preferences, which we will explore in the next step.
Step 7: Customize your Zoom settings
Once you have signed in to your Zoom account, it’s time to customize the settings to enhance your Zoom experience. Follow these steps to customize your Zoom settings:
1. On the Zoom application, locate and click on the “Settings” icon or navigate to the “Settings” tab in the Zoom web portal.
2. The settings menu will provide you with a range of options to customize your Zoom experience. Explore the different tabs and options available to adjust settings for audio, video, meetings, and more.
3. Within the audio settings, you can configure your microphone and speaker settings. Test the audio settings to ensure that your voice and audio output are clear during meetings or webinars.
4. In the video settings, you can adjust your webcam or camera settings. You can select your preferred camera, adjust video resolution, and enable or disable video filters or background effects.
5. Customize your meeting settings to control various options such as whether participants can use their microphones, enable or disable screen sharing, and control meeting participants’ abilities.
6. Explore the other settings options, such as recording settings, notifications, and the general settings tab, which allows you to customize your Zoom app interface and preferences.
7. As you navigate through the settings, make adjustments according to your preferences. Take the time to familiarize yourself with each setting and understand how it may impact your Zoom meetings or webinars.
8. Once you have made your desired changes, make sure to save the settings by clicking on the “Save” or “Apply” button at the bottom or on each settings page.
By customizing your Zoom settings, you can tailor the application to suit your specific needs and optimize your experience during virtual meetings or webinars. Take advantage of the various settings available to create a personalized and efficient Zoom environment.
Now that you have customized your Zoom settings, you are prepared to either join existing Zoom meetings or start hosting your own. Let’s move on to the final step – joining or starting a Zoom meeting.
Step 8: Join or start a Zoom meeting
Now that you have customized your Zoom settings, it’s time to join or start a Zoom meeting. Follow these steps to successfully join or initiate a meeting:
1. To join a meeting, you will need the meeting ID or the invitation link provided by the meeting host. Open the Zoom application and click on the “Join” button.
2. In the dialogue box that appears, enter the meeting ID provided by the host. If there is a password required to join the meeting, enter it as well.
3. Once you have entered the necessary information, click on the “Join” button to enter the meeting. You will be connected to the meeting’s audio and video settings, as determined by the host.
4. If you prefer to start your own meeting, click on the “Meetings” tab on the Zoom application dashboard. Then, click on the “New Meeting” button.
5. A new meeting window will appear, giving you options to adjust your audio and video settings before starting the meeting. Review the settings and make any necessary changes.
6. Once you are satisfied with the settings, click on the “Start” button to initiate the meeting. You will be the host of the meeting and other participants can join based on the meeting ID and password, if applicable.
7. During a Zoom meeting, you can control various features such as mute/unmute, screen sharing, and chat functions. Familiarize yourself with the meeting controls located at the bottom of the Zoom meeting window.
8. To leave a meeting, simply click on the “End Meeting” button located at the bottom right of the Zoom meeting window. Confirm the end of the meeting when prompted.
By joining or starting a Zoom meeting, you can effectively communicate and collaborate with individuals or groups, regardless of their physical location. Remember to follow proper meeting etiquette and utilize the features of Zoom to enhance your meeting experience.
Congratulations! You have now successfully joined or started a meeting using Zoom. Enjoy the benefits of virtual communication and collaboration that Zoom provides.