Overview
Changing your name in Zoom is a simple process that allows you to personalize your identity during online meetings, conferences, or classes. Whether you want to update your display name for professional reasons or simply prefer to use a nickname, Zoom provides a user-friendly interface to make this adjustment.
In this tutorial, we will guide you through the step-by-step process of changing your name in Zoom. By following these instructions, you will be able to modify your display name and ensure that it reflects your preferred identity accurately.
Before we proceed, it is essential to note that changing your name in Zoom only affects your display name within the Zoom application or platform. It does not alter your name in other systems or applications linked to your Zoom account. Additionally, the instructions provided here are applicable to both the desktop version of Zoom and the mobile app.
Now let’s dive into the simple steps required to change your name in Zoom, allowing you to confidently present yourself during online meetings and events.
Step 1: Accessing Your Zoom Account
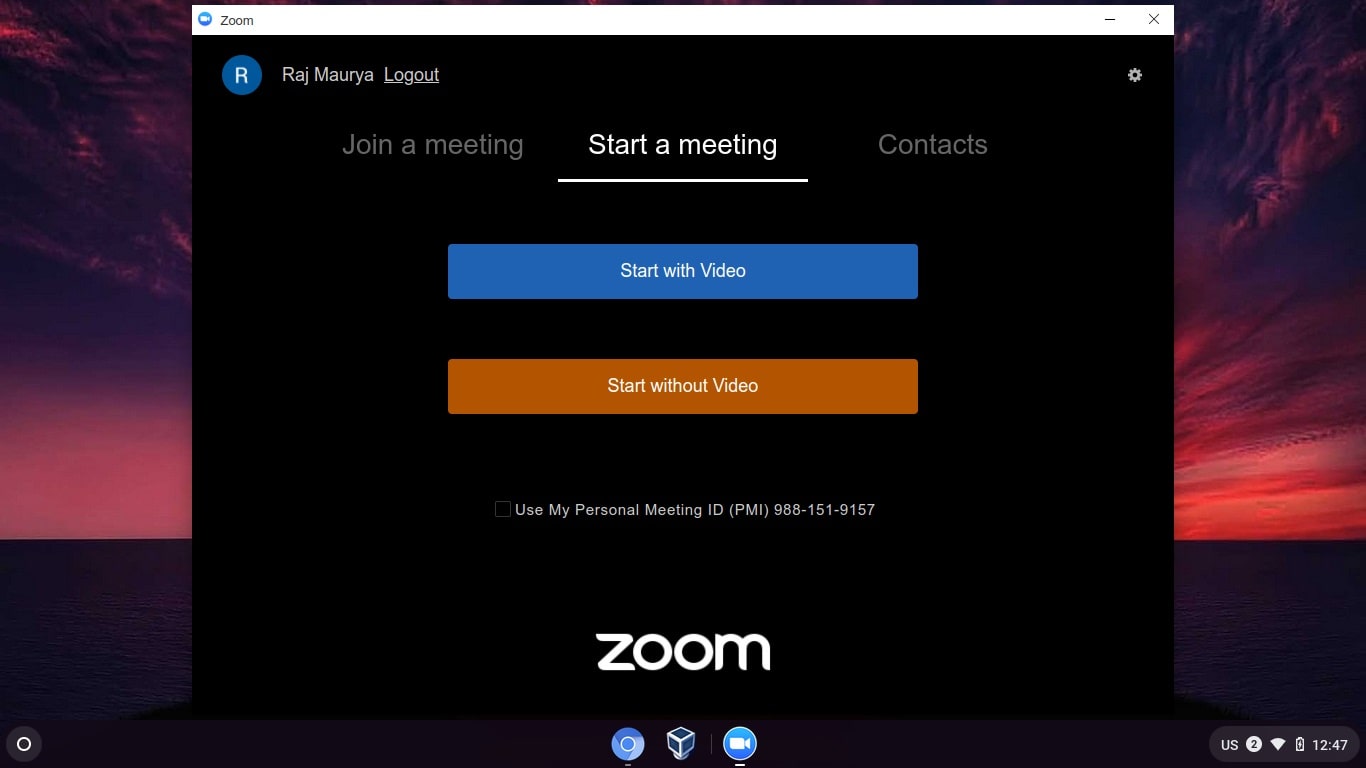
The first step to changing your name in Zoom is to access your Zoom account. This can be done through the Zoom desktop application or the Zoom mobile app. Follow the instructions below based on your preferred method of accessing Zoom.
- If you’re using the Zoom desktop application, open it on your computer. You can find the Zoom icon either on your desktop or in your list of installed applications.
- If you prefer to use the Zoom mobile app, locate the Zoom icon on your smartphone or tablet’s home screen or app drawer, and tap on it to open the app.
Once you have successfully opened the Zoom application or app, you will be prompted to sign in. Enter your Zoom account credentials, which typically include your email address and password. If you have previously signed in and enabled the “Remember me” option, you may be logged in automatically.
Once you are logged in, you will be redirected to the Zoom dashboard or home screen, depending on the version of the application you are using. Now that you have accessed your Zoom account, you are ready to proceed to the next step to change your display name.
Step 2: Changing Your Display Name
Now that you have accessed your Zoom account, you can easily change your display name. Follow the instructions below to modify your name according to your preferences.
- On the Zoom desktop application, click on your profile icon or initials at the top right corner of the screen. A drop-down menu will appear.
- From the drop-down menu, select “Settings.” This will open the Zoom settings window.
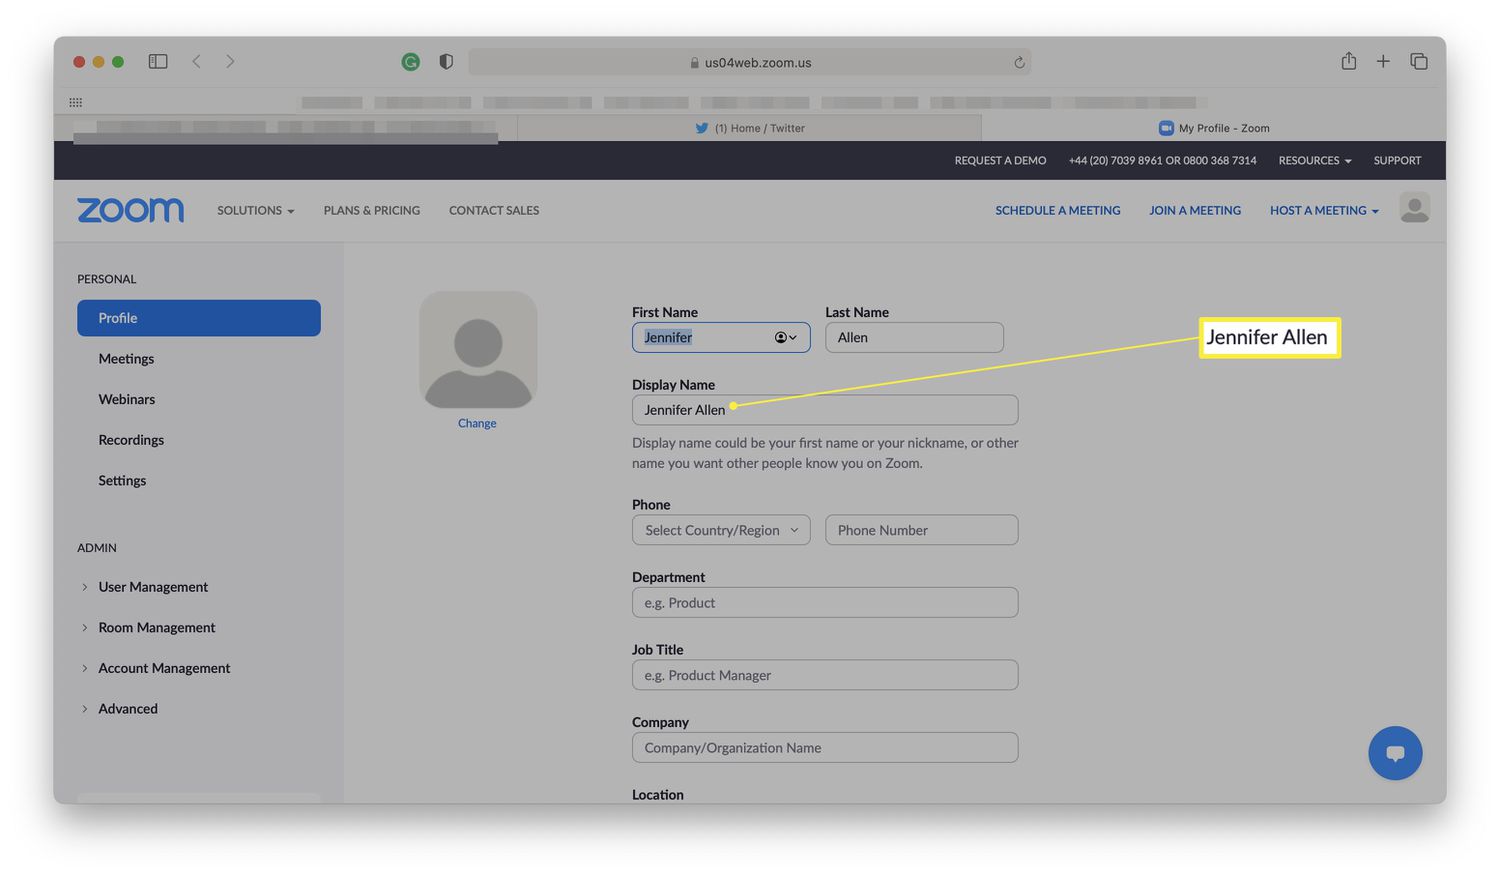
- In the settings window, navigate to the “Profile” tab. Here, you will find your current display name.
- To change your display name, simply click on the existing name and type in your desired new name. You can use your first name, last name, or any other nickname that you prefer.
- If you are using the Zoom mobile app, the process is slightly different. Once you have logged in to the app, tap on the “Settings” icon, typically represented by a gear or three horizontal lines. This will open the settings menu.
- In the settings menu, look for the “Profile” section or an option similar to “Account Profile.” Tap on it to access your profile settings.
- Within the profile settings, locate your current display name and tap on it to edit it. Enter your desired new name using the on-screen keyboard.
Whether you are using the Zoom desktop application or the mobile app, changing your display name is straightforward and only requires a few clicks or taps. Once you have entered your new name, you are ready to save your changes and test your updated display name.
Step 3: Saving Your Changes
After you have changed your display name in Zoom, the next step is to save your changes to ensure that your updated name is reflected in all future meetings and events. Follow the instructions below to save your modified display name.
- If you are using the Zoom desktop application, simply click on the “Save” button or icon located at the bottom of the settings window. This will update your display name and save the changes.
- For Zoom mobile app users, navigate to the profile settings or account settings page where you edited your display name. Look for a button or option that says “Save” or “Apply.” Tap on this button to save your changes.
Once you have saved your changes, your new display name will be updated in your Zoom account. It will now be shown to other participants in meetings, conferences, and webinars where your Zoom account is used.
It’s important to note that saving your changes in Zoom only affects your display name within the Zoom application or platform. Your name in other systems or applications linked to your Zoom account will remain unaffected.
Now that you have successfully saved your changes, let’s move on to the final step—testing your new name in Zoom.
Step 4: Testing Your New Name
After you have changed and saved your display name in Zoom, it’s a good idea to test your new name to ensure that it appears correctly in meetings and events. By verifying your updated display name, you can confidently present yourself with the desired identity. Follow the instructions below to test your new name.
- Join a Zoom meeting or schedule a test meeting within your Zoom account.
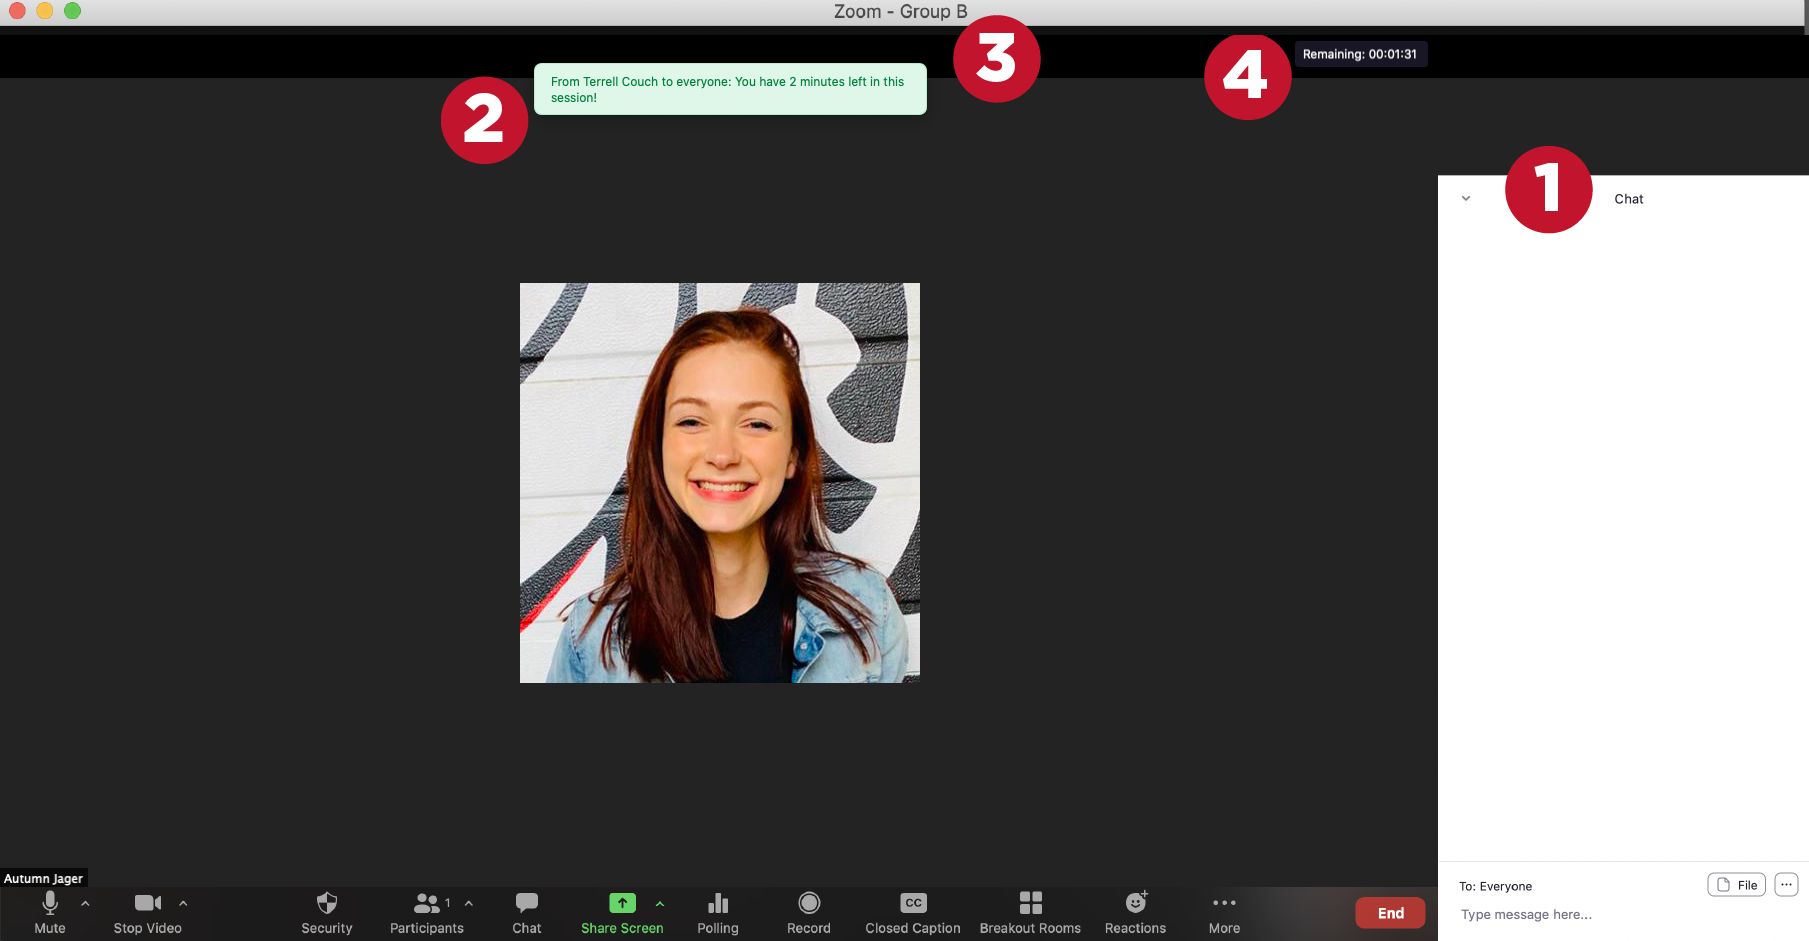
- Once you are in the meeting, your display name will be shown to all participants. Look for your name in the participants list, typically located on the right-hand side of the screen.
- If your new display name is correctly shown in the participants list, congratulations! Your name has been successfully updated in Zoom.
- If your new name does not appear correctly, double-check your settings to ensure that you followed the previous instructions accurately. If needed, repeat the steps to change and save your display name.
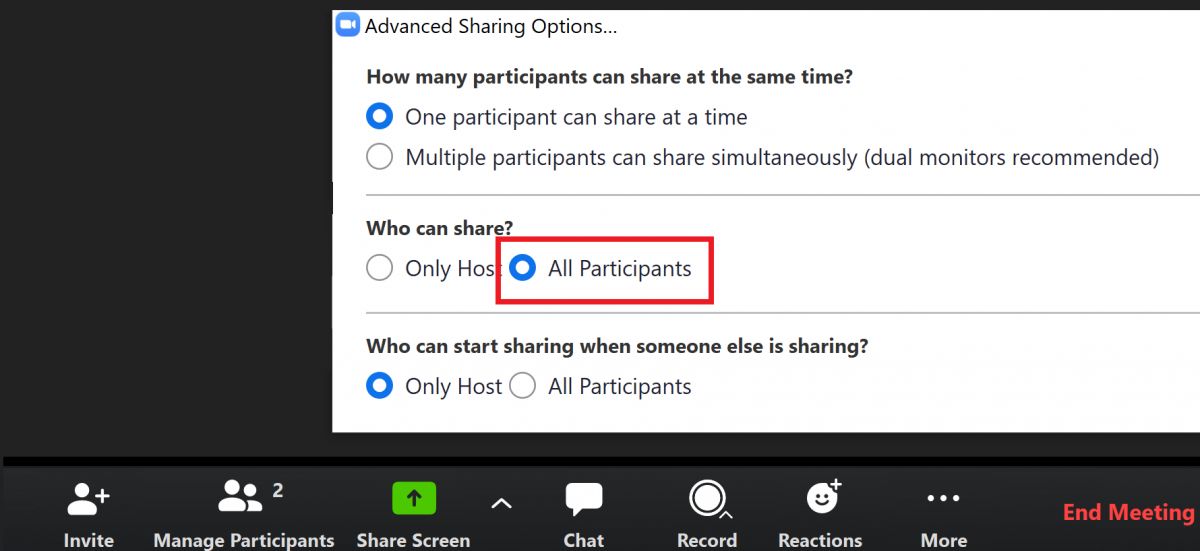
It’s worth noting that in some cases, the host of the meeting or the meeting settings may restrict participants from editing their display names. If you are unable to change your name within a specific meeting, please contact the meeting host or organizer for assistance.
By testing your new name in a Zoom meeting, you can verify that your display name appears as intended. This allows you to confidently participate in meetings, webinars, and other Zoom events with your preferred identity.
Conclusion
Changing your name in Zoom is a simple process that can help you personalize your identity during online meetings, conferences, and classes. By following the step-by-step instructions provided in this tutorial, you can easily modify your display name to reflect your preferred name or nickname.
In this tutorial, we covered the following steps:
- Accessing your Zoom account through the desktop application or mobile app.
- Changing your display name by editing your profile settings.
- Saving your changes to ensure your updated name is reflected in Zoom.
- Testing your new name in a Zoom meeting to verify its appearance.
Remember that changing your display name in Zoom only affects your name within the Zoom application or platform. It does not modify your name in other systems or applications linked to your Zoom account.
By personalizing your display name in Zoom, you can present yourself with confidence and ensure that other participants recognize you by your preferred identity. Whether you want to use your first name, last name, or a nickname, the flexibility of Zoom allows you to adapt your name to suit your preferences.
Now, armed with the knowledge of how to change your name in Zoom, you can navigate the platform confidently and participate in online meetings and events with a personalized touch.