Introduction
Welcome to this comprehensive guide on how to download the Zoom app on your Mac. Zoom has become an essential tool for remote communication, allowing individuals and businesses around the world to connect and collaborate seamlessly. Whether you need to attend virtual meetings, host webinars, or simply stay in touch with friends and family, having Zoom installed on your Mac will enable you to do so with ease.
In this article, we will walk you through the step-by-step process of downloading and installing the Zoom app on your Mac. Whether you’re a beginner or an experienced Mac user, we’ve got you covered. So, let’s dive right in and get started!
Please note that Zoom offers multiple versions of its app for different operating systems, including Windows, macOS, iOS, and Android. This guide specifically focuses on downloading and installing Zoom on a Mac. If you’re using a different operating system, the steps might vary slightly.
Before we proceed, it’s important to ensure that your Mac meets the minimum system requirements for running Zoom. You will need a Mac with at least macOS 10.9 or later, a reliable internet connection, and sufficient storage space. If your Mac meets these requirements, let’s move on to the next section and get started with the download process.
Step 1: Go to the Zoom website
The first step in downloading the Zoom app on your Mac is to open your preferred web browser and navigate to the official Zoom website. You can easily do this by typing “zoom.us” in the address bar and hitting Enter.
Once you have reached the Zoom website, you will find yourself on the homepage where you can explore the various features and services that Zoom offers. Take a moment to familiarize yourself with the website, and when you’re ready, we can proceed to the next step.
In the top-right corner of the Zoom homepage, you will see a “Sign In” button. While signing in is not necessary for downloading Zoom, it can provide you with additional features and personalized settings. If you already have a Zoom account, you can go ahead and sign in. If not, don’t worry – we will cover how to create a Zoom account in a later step.
For now, our main focus is on downloading the Zoom app. To do this, you need to access the Downloads section of the website. To locate it, look for the “Resources” tab in the top navigation bar and hover your cursor over it. A dropdown menu will appear, and you should click on “Download Zoom Client” from the options.
Alternatively, if you scroll down the homepage, you will find a section titled “Zoom Meetings” with a prominent “Download” button. You can click on this button to proceed to the Downloads page as well.
Once you have clicked on either the “Download Zoom Client” option in the Resources dropdown menu or the “Download” button under the Zoom Meetings section, you will be redirected to the Downloads page. This is where you can access the Zoom app installer for your Mac.
Step 2: Click on “Download”
Now that you are on the Downloads page of the Zoom website, you will find various options to download the Zoom app for your Mac. The website automatically detects your operating system and offers the appropriate download link.
Take a moment to verify that the “Download” button corresponds to the Mac operating system. The button should be labeled “Download” and display the macOS logo. This ensures that you are downloading the correct version of the Zoom app specifically designed for Mac.
Once you have located the correct download button, go ahead and click on it. When you click the “Download” button, your browser will initiate the download process. You may notice a notification or a pop-up asking for permission to save the file. Choose the option to save the Zoom installer file to your computer.
The file you are downloading is an executable file (.dmg) that contains the installer for the Zoom app. The size of the file may vary depending on the version of Zoom and any updates that have been released since this guide was written.
At this point, you might need to wait for a few seconds or minutes, depending on your internet connection speed, for the download to complete. You can check the progress of the download in your browser’s download manager or the Downloads folder on your Mac.
Make sure not to close the browser or interrupt the download process as this may corrupt the file and prevent the successful installation of the Zoom app.
Once the download is complete, you are now ready to move on to the next step, where we will guide you through the process of opening the downloaded file and initiating the installation of the Zoom app on your Mac.
Step 3: Wait for the download to complete
After you have clicked on the “Download” button, the Zoom app installer will begin downloading onto your Mac. The time it takes for the download to complete will depend on your internet connection speed and the size of the installer.
During this step, it is important to be patient and let the download finish. Interrupting the download could result in an incomplete installer file, which may cause issues during the installation process.
While the download is in progress, you can monitor its status in your browser’s download manager or by accessing the Downloads folder on your Mac. In some browsers, you may even see a progress bar indicating how much of the file has been downloaded.
If you experience a slow internet connection or the download seems to be taking longer than expected, you may want to check your network settings and ensure that there are no restrictions or issues affecting your internet speed. It can also be helpful to close any unnecessary applications or pause any ongoing downloads that might be consuming bandwidth.
Once the download is complete, you will be ready to proceed to the next step, where we will guide you through the process of opening the downloaded file and initiating the installation of the Zoom app on your Mac.
Step 4: Open the downloaded file
Once the Zoom app installer has finished downloading, it’s time to open the downloaded file to begin the installation process. By default, most browsers save downloaded files to the Downloads folder on your Mac, so that’s a good place to start.
Navigate to the Downloads folder by clicking on the Go menu in the menu bar at the top of your screen. From the dropdown menu, select Downloads. Alternatively, you can quickly access the Downloads folder by pressing Command+Option+L on your keyboard.
In the Downloads folder, locate the Zoom installer file. The file name should be something like “ZoomInstaller.dmg” or “Zoom.pkg”.
Double-click on the Zoom installer file to open it. A new window will appear, displaying the contents of the installer.
Inside the installer window, you may see several files and folders. Look for the file with an extension like “.pkg” or “.app” – this is the actual Zoom app that you need to install on your Mac.
Depending on your security settings, you may see a warning message stating that the installer is from an unidentified developer. If you see this message, don’t worry – Zoom is a reputable application used by millions of people. You can proceed with the installation by following the next steps.
With the Zoom installer window open, you are now ready to move on to the next step and begin the installation process of Zoom on your Mac.
Step 5: Install Zoom
Now that you have opened the Zoom app installer, it’s time to proceed with the installation process. Follow the steps below to install Zoom on your Mac:
- Inside the Zoom installer window, you will typically see the Zoom app icon and a shortcut to the Applications folder, where the app will be installed.
- To install Zoom, simply click and drag the Zoom app icon to the Applications folder shortcut. This will start the installation process.
- Depending on your Mac’s security settings, you may be prompted to enter your administrator password. This is necessary to grant permission for the installation of new applications on your system. Enter your password when prompted, and click “OK” or “Authorize”.
- The installation process will now begin. You may see a progress bar indicating the installation status.
- Wait for the installation to complete. This may take a few moments.
- Once the installation is finished, you will see a confirmation message indicating that the Zoom app has been successfully installed on your Mac.
With Zoom now installed on your Mac, you can move on to the next step – signing in or creating a Zoom account to start using the app.
Please note that installing Zoom on your Mac may require you to allocate some storage space. Ensure that you have sufficient space available on your Mac’s hard drive to accommodate the app and any future updates.
Now that you have successfully installed Zoom, let’s move on to the next step and get you started with signing in or creating a Zoom account.
Step 6: Sign in or create a Zoom account
You’ve reached an important step in using the Zoom app on your Mac – signing in to your Zoom account or creating a new one. Follow the steps below to get started:
- Launch the Zoom app on your Mac. You can find it in the Applications folder or by using Spotlight search (Command+Space) and typing “Zoom”.
- The Zoom app will open and present you with the login screen. Here, you have two options: sign in with your existing Zoom account or create a new account.
- If you already have a Zoom account, click on the “Sign In” button.
- Enter your email address and password associated with your Zoom account, and then click “Sign In”.
- If you don’t have a Zoom account yet, click on the “Sign Up” button to create a new account.
- Follow the on-screen instructions to provide the required information, such as your email address, name, and any additional details. Create a strong password for your account to ensure its security.
- Once you have entered all the necessary information, click on the “Sign Up” or “Create Account” button.
- You may receive a verification email to confirm your account. Check your email inbox and follow the instructions provided to complete the verification process.
Whether you signed in to your existing Zoom account or created a new one, you will now have access to all the features and functionalities of Zoom on your Mac.
Signing in to your Zoom account allows you to access your personal meeting rooms, join meetings hosted by others, and customize your Zoom settings. It also enables you to schedule and host your own meetings, invite participants, and collaborate effectively using Zoom’s tools and features.
With your Zoom account ready, you’re now prepared to start using Zoom on your Mac. Let’s move on to the final step where we will guide you on how to get started with Zoom on your Mac and begin connecting with others.
Step 7: Start using Zoom on your Mac
Congratulations! You have successfully signed in or created a Zoom account on your Mac. Now, it’s time to start using Zoom to connect with others, attend meetings, and collaborate effectively. Follow the steps below to get started:
- Launch the Zoom app on your Mac by clicking on its icon in the Applications folder or by using Spotlight search (Command+Space) and typing “Zoom”.
- Once the Zoom app opens, you will see several options on the main screen, including “Join a Meeting”, “Sign In”, and “Schedule a Meeting”.
- If you’re joining a meeting that someone else has scheduled, click on “Join a Meeting”. Enter the meeting ID or the personal link name provided to you by the meeting host, and click “Join”.
- If you want to host your own meeting, click on “Schedule a Meeting”. Fill in the required information, such as the meeting topic, date, time, and duration. Then click “Schedule”. You will receive a meeting ID and a unique URL that you can share with participants to join the meeting.
- While in a meeting, you can enable audio and video by clicking on the respective buttons on the Zoom app’s interface. You can also collaborate with others using features like screen sharing, chat, and file sharing.
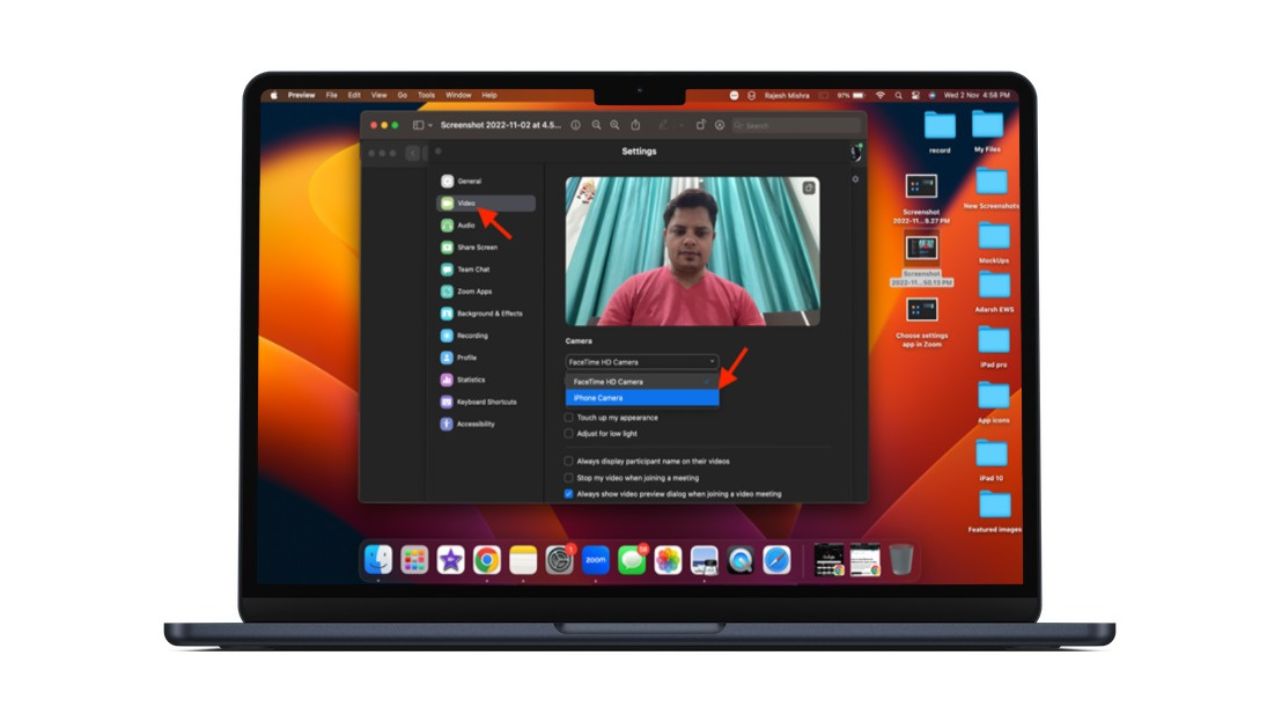
- Explore the various settings and options available to customize your Zoom experience. You can access these settings by clicking on your profile icon in the top right corner of the Zoom app and selecting “Settings”. Here, you can modify your audio and video settings, manage your account preferences, and more.
- Continue using Zoom on your Mac to schedule and join meetings, manage your contacts, and collaborate with others in a remote environment.
Zoom offers a wide range of features and functionalities to enhance your virtual meetings and remote collaborations. Take some time to familiarize yourself with these features and explore how they can benefit you and your team.
Remember to check for any future updates to the Zoom app to ensure you’re using the latest version and accessing all the newest features and improvements.
Now that you know how to start using Zoom on your Mac, you’re all set to connect, collaborate, and stay connected with others from the comfort of your own device.