Introduction
Welcome to the world of projectors! Whether you’re setting up a home theater, giving a presentation, or simply enjoying a movie night with friends, the position of your projector can make all the difference in your viewing experience. Selecting the optimal position for your projector is crucial to ensure a clear and crisp image, and to minimize any potential issues such as distorted images or uneven brightness.
In this guide, we will walk you through the process of positioning your projector for the best possible results. From selecting the right location to adjusting the height and angle, we will cover all the essential steps to help you achieve a picture-perfect projection. So, let’s dive in!
Before diving into the specifics, it’s important to note that each projector model may have slightly different requirements and specifications. Therefore, it is always recommended to refer to the manufacturer’s guidelines and instructions for optimal placement and setup. However, the general principles discussed here will provide a solid foundation for positioning any projector.
So, whether you have a home projector or a portable one, let’s explore the factors that will contribute to the best position for your projector, starting with selecting the best location.
Selecting the Best Location
Choosing the right location for your projector is the first step towards creating an optimal viewing experience. Here are a few factors to consider when selecting the best spot for your projector:
- Adequate Space: Make sure you have enough space to accommodate both the projector and the screen or projection surface. Consider the throw distance of your projector (the distance between the projector and the screen) and ensure that there is ample space to achieve the desired screen size.
- Avoiding Obstructions: Look for a location that is free from obstructions such as furniture or decorative objects that may interfere with the projected image. Clearing the area will ensure an unobstructed view for everyone.
- Stability: Ensure that the surface where you plan to place the projector is stable and level. Shaky surfaces can cause vibrations, leading to an unstable image projection.
- Accessibility: Consider the accessibility of the projector for maintenance and adjustments. It should be easily accessible for tasks such as cleaning the lens, replacing the bulb, or making necessary adjustments to the settings.
- Noise and Heat: Pay attention to the noise and heat generated by the projector. Avoid placing it in areas where the noise may be disruptive or where the heat buildup could cause overheating issues.
Keep in mind that the best location will vary depending on the specific needs of your setup. Take some time to assess the available space and determine the optimal position that meets your requirements. Once you have found the right location, it’s time to move on to the next step: adjusting the height and angle of the projector.
Adjusting the Height and Angle
Getting the height and angle of your projector just right is crucial for achieving a properly aligned and focused projection. Here are the key aspects to consider when adjusting the height and angle:
- Level and Straight: Start by ensuring that the projector is placed on a level surface. Use a level tool to check for any tilts or unevenness. A straight and level projector will help maintain a balanced and distortion-free image.
- Height: The optimal height of the projector depends on the position of the screen or projection surface. Ideally, the center of the projector lens should be at the same height as the center of the screen. Adjust the height accordingly to achieve proper alignment.
- Angle: The angle of the projector affects the keystone correction, which helps to correct distortions caused by the projector’s position relative to the screen. Most modern projectors have keystone correction features that allow you to adjust the image geometry digitally. Aim for a perpendicular projection to minimize distortion.
- Mounting Options: If you prefer a more permanent setup, consider mounting the projector on the ceiling or wall using a projector mount. Ceiling mounts are great for home theaters and large commercial spaces, while wall mounts are ideal for smaller rooms.
- Tripods and Stands: Portable projectors often come with adjustable tripods or stands that allow you to easily modify the height and angle. Take advantage of these features to find the optimal position for your specific setup.
Take some time to experiment with different heights and angles to find the sweet spot that provides the best image quality and alignment. Once you have adjusted the height and angle, it’s time to move on to the next step: ensuring the proper distance between the projector and the screen.
Ensuring Proper Distance
The distance between your projector and the screen plays a crucial role in achieving a clear, sharp, and well-focused projection. Here are some tips to ensure the proper distance:
- Throw Distance: Understand the throw distance requirements of your projector, which refers to the minimum and maximum distance at which the projector can produce a clear image. Consult the projector’s manual or specifications to determine the optimal throw distance for your model.
- Screen Size: Consider the desired screen size and the aspect ratio of your projector. Different projectors have different zoom capabilities, allowing you to adjust the screen size by varying the distance between the projector and the screen. Follow the manufacturer’s guidelines to achieve the desired screen size within the recommended throw distance.
- Calculating Throw Ratio: The throw ratio is the ratio of the distance between the projector and the screen to the width of the projected image. Use this throw ratio to calculate the ideal distance for your projector. For example, a projector with a throw ratio of 1.5:1 will require a distance of 7.5 feet for a 5-foot wide image (1.5 multiplied by 5).
- Zoom and Lens Shift: If your projector has zoom and lens shift capabilities, you can make fine adjustments to the image size and position without physically moving the projector. This allows greater flexibility in finding the optimal distance without compromising image quality.
- Test and Refine: Once you have initially positioned the projector at the recommended distance, test the projection and make any necessary adjustments. Look for any distortion, blurriness, or loss of focus, and refine the distance until the image appears crisp and well-defined.
Keep in mind that the throw distance requirements may vary depending on the specific projector model and its lens characteristics. Following these guidelines will help you determine the optimal distance for your projector and screen, ensuring a superb viewing experience.
Positioning in Relation to the Screen
The positioning of your projector in relation to the screen is a critical factor in achieving a well-aligned and immersive viewing experience. Consider the following aspects when positioning your projector:
- Centered Projection: Aim to position the projector directly in front of the center of the screen. This ensures that the image is evenly distributed across the entire screen and reduces any distortion caused by off-center projection.
- Horizontal and Vertical Alignment: Adjust the horizontal and vertical alignment of the projector to ensure that the projected image is perfectly aligned with the screen’s edges. Most projectors offer manual adjustment options or digital keystone correction features to help achieve optimal alignment.
- Lens Shift: If your projector has lens shift capabilities, you can further fine-tune the positioning by adjusting the image without physically moving the projector. This allows you to achieve the desired placement while maintaining optimal image quality.
- Screen Height: Consider the height of the screen or projection surface when positioning the projector. Ideally, the center of the projected image should align with the viewer’s eye level to provide a comfortable and immersive viewing experience.
- Aspect Ratio: Match the projector’s aspect ratio to the screen’s aspect ratio. This ensures that the projected image fills the screen properly without any black bars or cropped content. Adjust the projector’s settings, if necessary, to achieve the correct aspect ratio.
When positioning your projector in relation to the screen, take your time to make precise adjustments. Regularly review the projected image and fine-tune the position to achieve optimal alignment. It’s crucial to pay attention to these details to ensure that your projection is both visually appealing and engaging.
Considering Ambient Lighting
Ambient lighting can have a significant impact on the quality of your projected image. Here are some important factors to consider when dealing with ambient lighting:
- Light Control: Create an environment with controlled lighting to enhance the clarity and visibility of the projected image. Dimming the lights or using blackout curtains can significantly reduce ambient light interference.
- Avoid Direct Light: Position the projector away from direct light sources such as windows or bright overhead lights. Direct light can cause glare on the screen or wash out the colors of the image, leading to a loss of contrast and detail.
- Projector Brightness: Choose a projector with sufficient brightness to overcome ambient light. Higher-lumen projectors are better equipped to handle bright spaces without compromising image quality. The specific brightness requirements will depend on the level of ambient light in your environment.
- Screen Characteristics: Consider the characteristics of the projector screen or projection surface. Some screens are designed to enhance image quality in areas with ambient light, offering improved contrast and light rejection properties. Look for screens with features like ambient light rejecting (ALR) capabilities if you frequently use the projector in bright environments.
- Color Temperature: Adjust the color temperature settings on your projector to compensate for different lighting conditions. Warmer or cooler color temperatures can help improve image visibility and color accuracy in specific lighting situations.
- Test and Adjust: Experiment with different ambient lighting conditions and make necessary adjustments to the projector settings. Test the image quality and make refinements until you achieve the best possible projection under the prevailing lighting conditions.
By considering the ambient lighting in your environment and taking appropriate measures, you can optimize the projection quality and ensure a more immersive viewing experience. Keep in mind that controlling ambient lighting is an essential aspect of creating a captivating and enjoyable projection setup.
Calibrating Image Settings
To achieve the best possible visual experience with your projector, it’s essential to calibrate the image settings correctly. Here are some key factors to consider when calibrating your projector’s image settings:
- Contrast and Brightness: Adjust the contrast and brightness settings to achieve a well-balanced image. Proper contrast ensures that the dark areas appear rich and detailed, while brightness ensures that the overall image is vibrant and clear.
- Color Accuracy: Use the color temperature settings to achieve accurate and natural-looking colors. Consider the lighting conditions and the content you will be displaying to determine the appropriate color temperature setting. You can also perform a color calibration using test images or calibration equipment for precise color reproduction.
- Sharpness: Fine-tune the sharpness settings to ensure that the image appears crisp and well-defined. Too much sharpness can introduce artifacts and make the image look artificial, so find the right balance based on your personal preference and content being displayed.
- Aspect Ratio: Adjust the aspect ratio setting of the projector to match the content you are projecting. Most projectors offer options for different aspect ratios, such as 16:9 for widescreen content or 4:3 for standard presentations. Choose the appropriate aspect ratio to avoid stretching or cropping the image.
- Color Gamut and Saturation: Fine-tune the color gamut and saturation settings to achieve the desired vibrancy and richness in colors. Experiment with different settings to find the right balance that suits your personal preferences and the content being displayed.
- Test Patterns and Calibration Tools: Utilize test patterns or calibration tools available for projectors to ensure accurate calibration. These tools can help you to measure and adjust various aspects of the projection, including color reproduction, grayscale balance, and gamma settings.
Calibrating your projector’s image settings may take some time and experimentation, but it is essential for achieving optimal image quality. By fine-tuning the settings based on your specific preferences and the content you are displaying, you can enjoy a visually stunning and immersive projection experience.
Fixing Common Issues
While setting up and using a projector, you may encounter some common issues that can affect the performance and image quality. Here are a few troubleshooting tips to help you address these common problems:
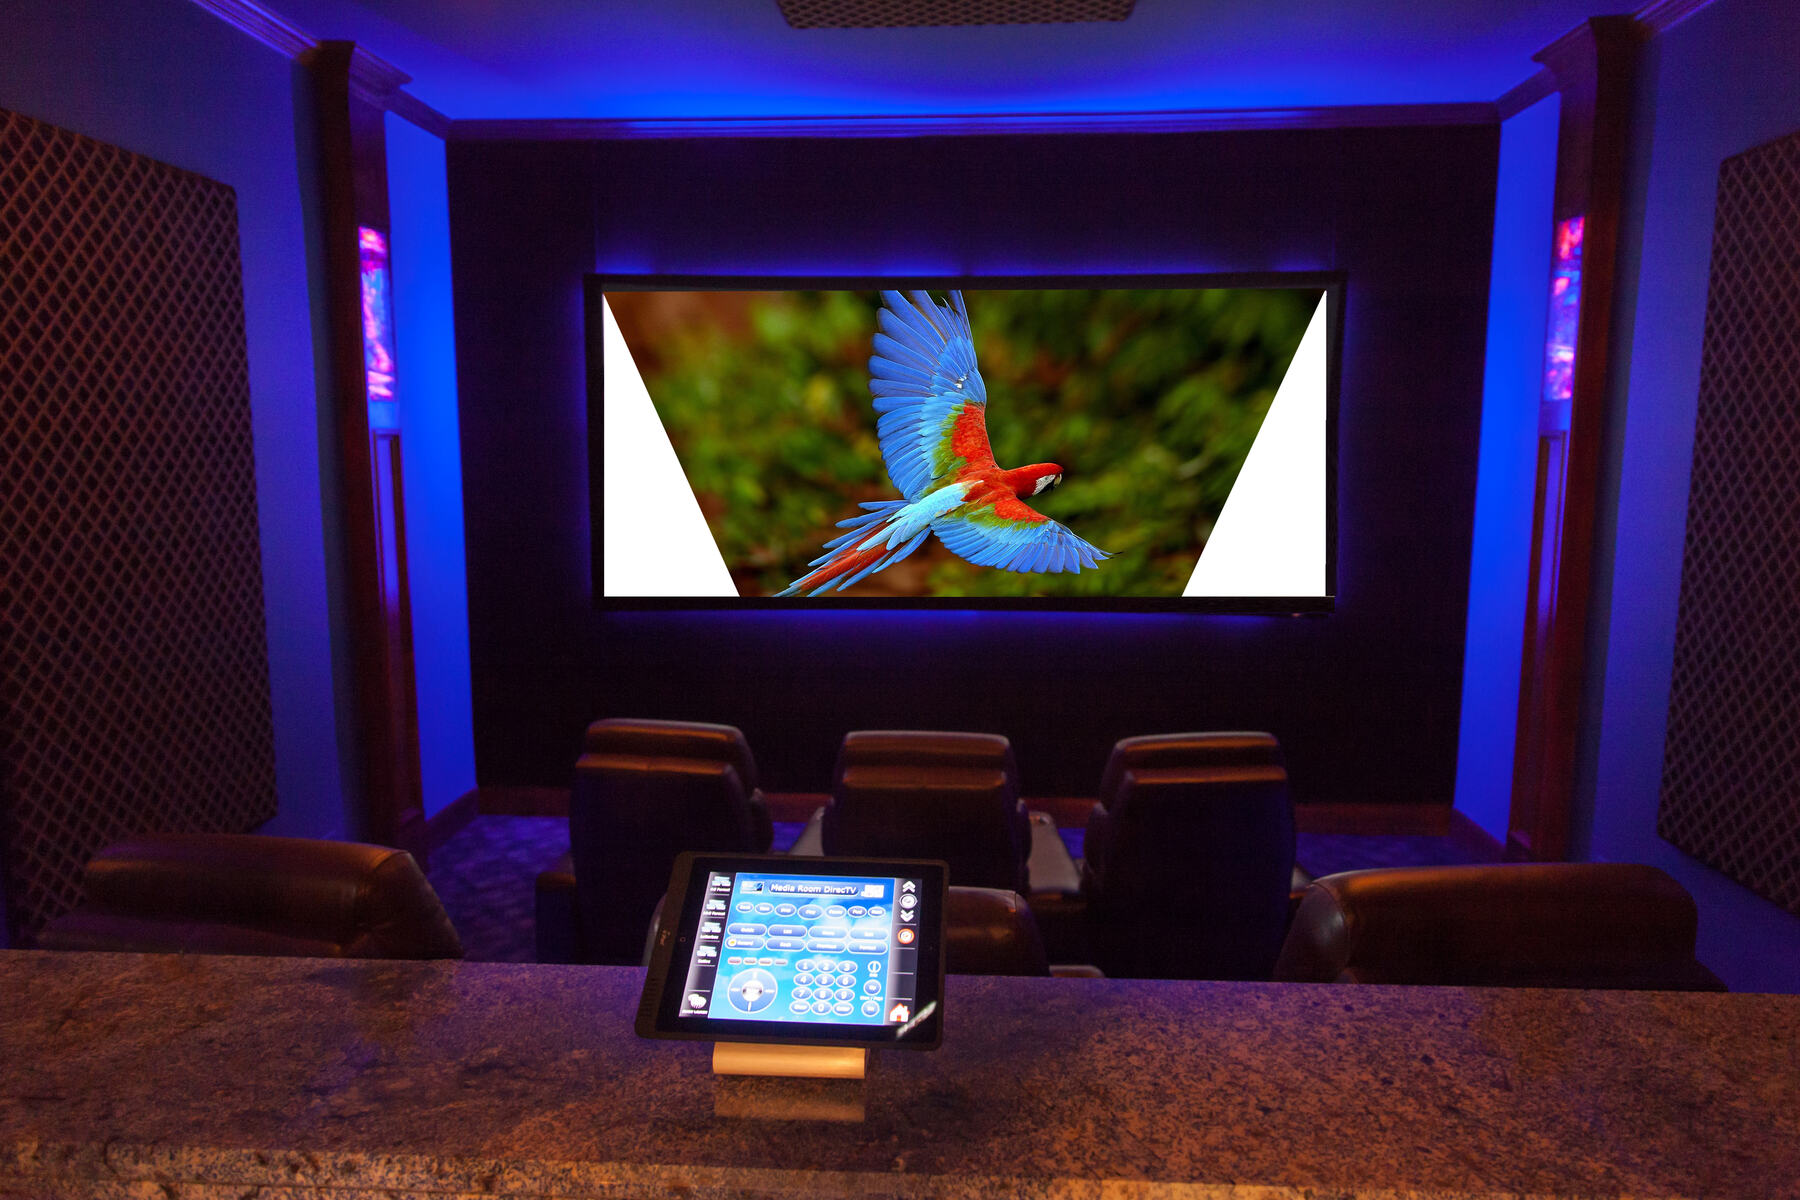
- Image Distortion: If you notice any image distortion, such as trapezoidal or keystone effects, adjust the keystone correction settings on your projector. Most projectors have digital keystone correction that can help correct distortions caused by the projector’s position relative to the screen.
- Blurred Image: A blurred or unfocused image can be caused by a variety of factors. First, ensure that the projector lens is clean and free from smudges or debris. If the image remains blurry, check the focus adjustment settings on the projector and make necessary adjustments until the image appears sharp and clear.
- Color Issues: If you notice incorrect or distorted colors, verify that the color settings on your projector are calibrated accurately. Adjust the color temperature, saturation, and color gamut settings to achieve natural and accurate colors. If the issue persists, consider performing a color calibration or consult the manufacturer for further assistance.
- Noise: If your projector is making excessive noise during operation, ensure that it is well-ventilated and not overheating. Clean the projector’s air vents and replace the filters, if applicable. In some cases, using the eco-mode or lower brightness settings can help reduce noise without sacrificing image quality.
- Connection Issues: If you are experiencing connectivity problems, such as a flickering image or intermittent signal loss, check the cable connections between the projector and the source device. Ensure that the cables are securely connected and in good condition. If using wireless connectivity, make sure the projector and the source device are on the same network and within range.
- No Power: If your projector is not powering on, check that it is properly connected to a power source and the power cable is securely plugged in. Test the power outlet with other devices to ensure there is no power supply issue. If the problem persists, consult the projector’s manual or contact the manufacturer for further assistance.
By troubleshooting and addressing these common issues, you can ensure that your projector operates smoothly and delivers optimal performance. Remember to refer to the manufacturer’s guidelines and instructions for specific troubleshooting steps related to your projector model.
Conclusion
Positioning your projector correctly is crucial for achieving a high-quality and immersive viewing experience. By following the steps outlined in this guide, you can ensure that your projector is in the optimal location, height, and angle for the best image projection. Considering factors such as ambient lighting, proper distance, and screen positioning will further enhance the visual quality and clarity of the projected image.
Remember to calibrate the image settings of your projector to achieve accurate colors, contrast, and sharpness. By fine-tuning these settings, you can tailor the projection to your personal preferences and the content you are presenting or watching.
While setting up your projector, you may encounter common issues such as image distortion, color problems, or connectivity issues. Knowing how to troubleshoot and address these problems will help you resolve them quickly and maximize the performance of your projector.
Lastly, always refer to the manufacturer’s guidelines and instructions for your specific projector model. Each projector may have unique features and specifications that are important to consider for optimal positioning and setup.
With proper positioning, calibration, and troubleshooting, you can enjoy an exceptional projection experience for your home theater, presentations, or any other multimedia needs.


