Introduction
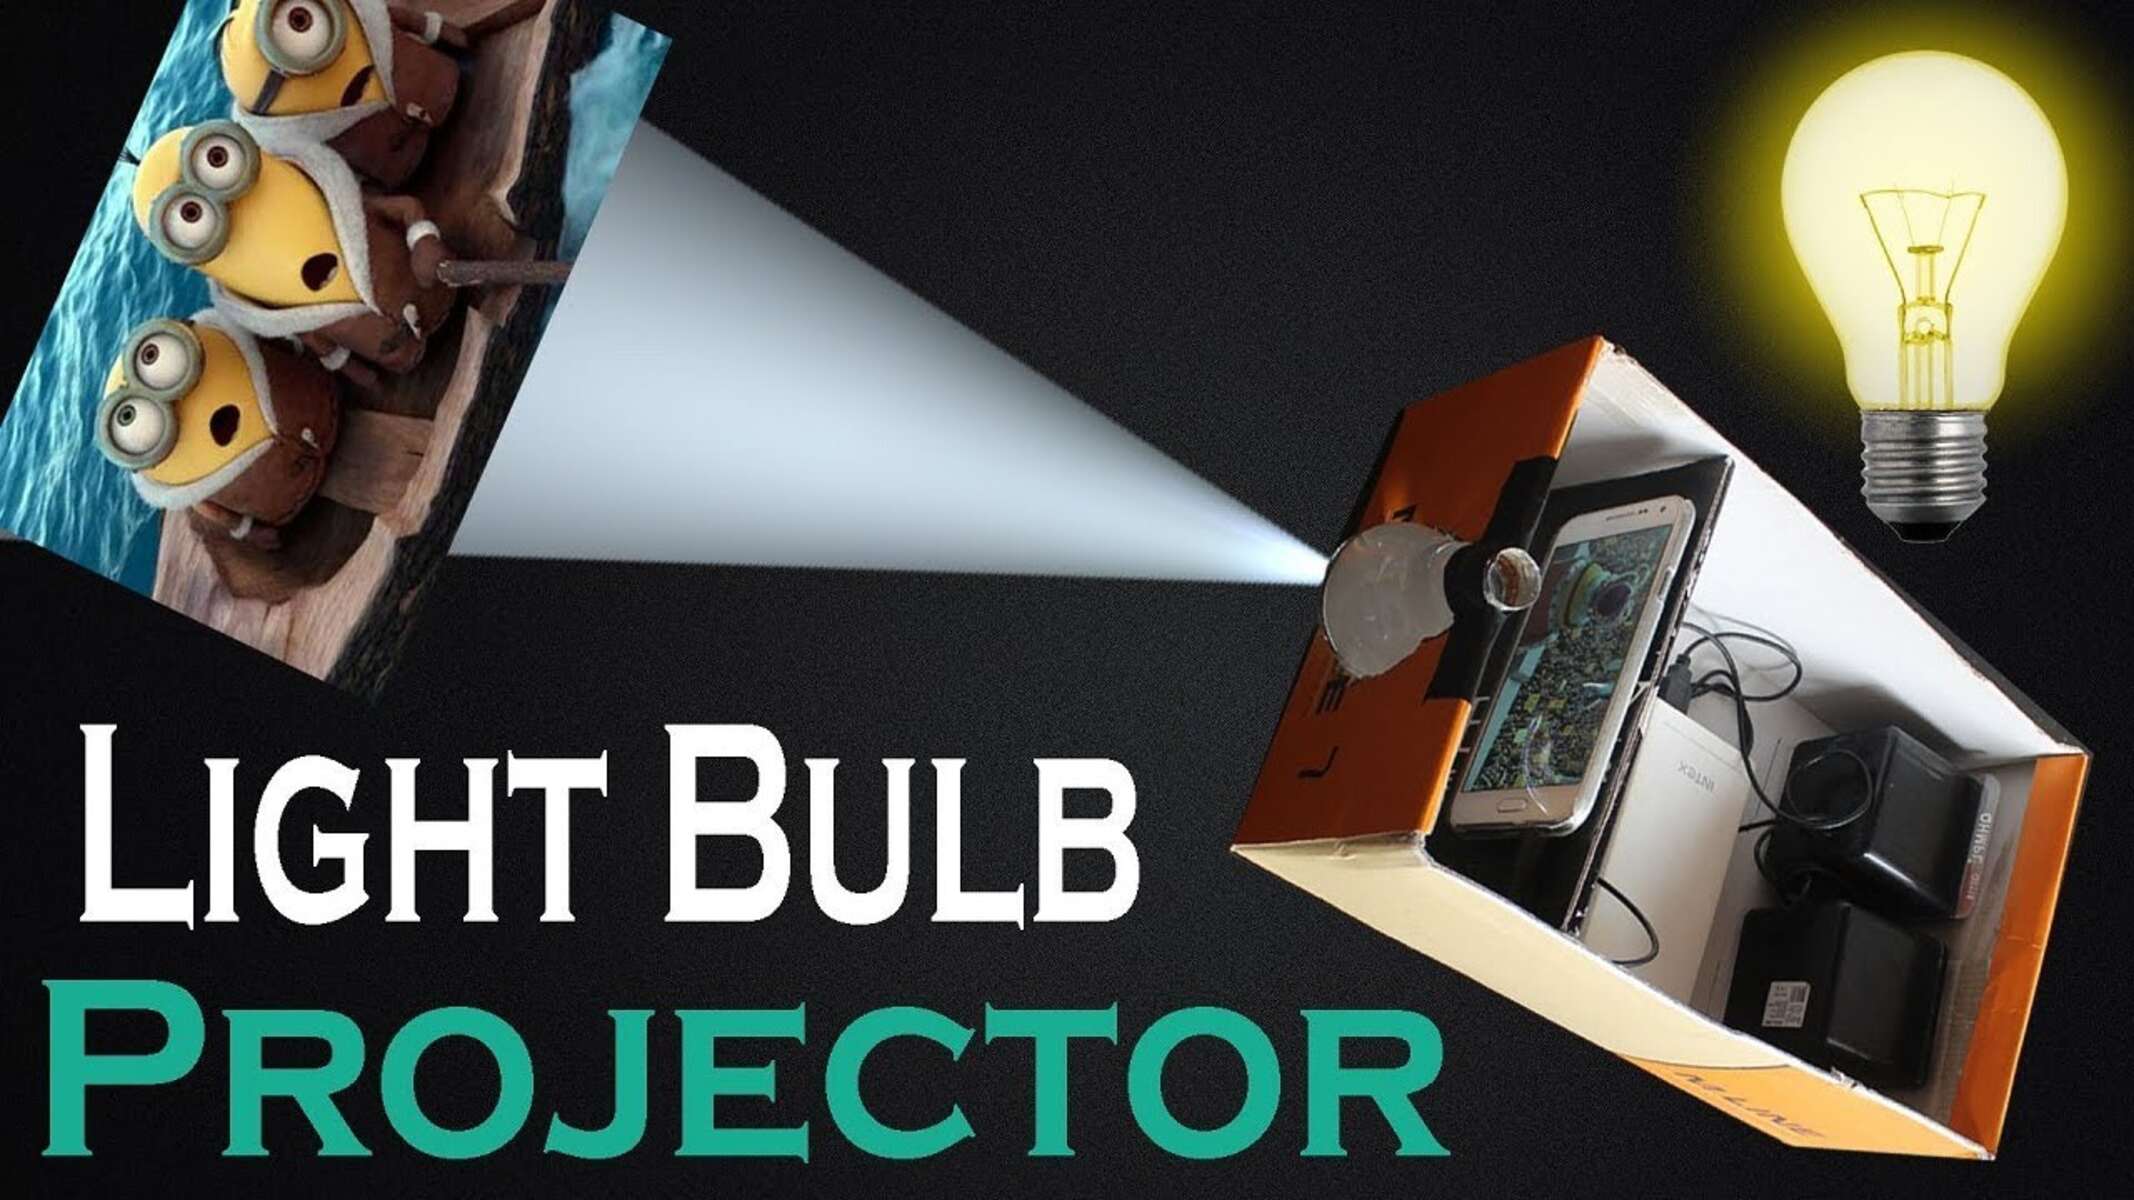
Welcome to our DIY guide on how to make a projector with a magnifying glass! Are you looking to turn your ordinary movie nights into a cinematic experience right at home? With just a few materials and some simple steps, you can create your very own projector using a magnifying glass. Whether you want to watch movies, display presentations, or even project artwork, this DIY project is perfect for all aspiring movie enthusiasts and tech enthusiasts alike.
Having a projector can enhance your viewing experience and allow you to enjoy your favorite movies or videos on a larger screen. While there are many projectors available on the market, making your own can be a fun and educational experience. Plus, it can be a budget-friendly alternative for those who might not want to invest in a professional-grade projector.
In this guide, we will walk you through the step-by-step process of creating your own projector using a magnifying glass and a few other common materials. We will guide you through gathering the necessary components, assembling the frame, attaching the magnifying glass, preparing the screen, positioning the screen, adjusting the focus, and testing your DIY projector.
Before we dive into the steps, let’s take a look at the materials you’ll need for this project.
Materials Needed
Before you get started, make sure you have the following materials handy:
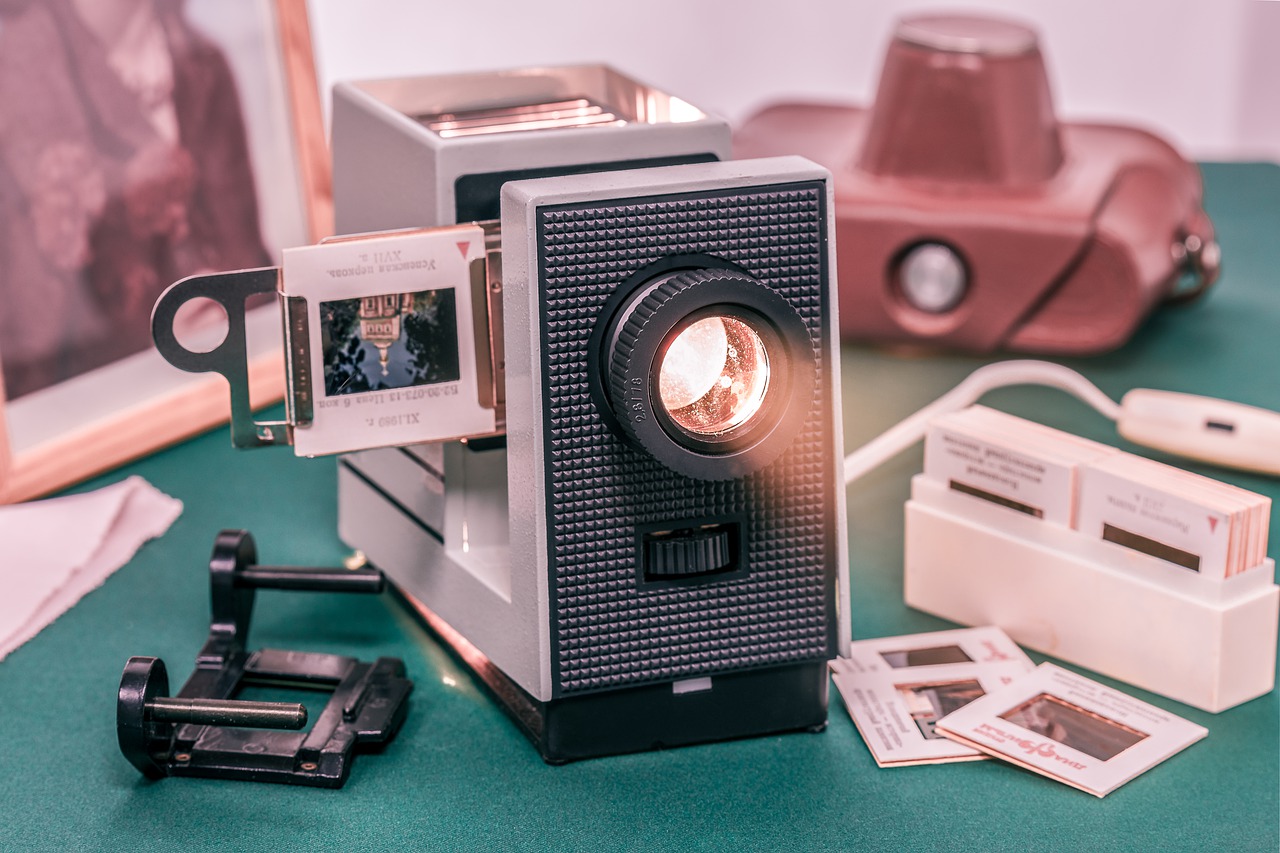
- Magnifying glass – You’ll need a larger-sized magnifying glass, preferably with a glass lens for better image quality.
- Cardboard – You’ll need a sturdy piece of cardboard to create the frame for your projector.
- Black construction paper – This will be used to create a light-blocking barrier inside the projector.
- Scissors – Essential for cutting and shaping the cardboard and construction paper.
- Adhesive tape or glue – You’ll need this to secure the components together.
- Ruler – A ruler will come in handy for measuring and cutting precise dimensions.
- Marker or pen – You’ll need a writing utensil to mark the measurements and cut lines on the cardboard.
- Phone or tablet – This will serve as the device to display the content you want to project.
- A dark room – For the best viewing experience, it’s recommended to use the projector in a dimly lit or dark room.
These are the main materials you’ll need to create your own projector with a magnifying glass. Most of these items can be found around the house or easily purchased at a local craft store. Once you have everything ready, you’re all set to move on to the next step – gathering the components.
Step 1: Gathering the Components
Before you embark on this DIY projector journey, the first step is to gather all the necessary components. Here’s a breakdown of what you’ll need:
- Magnifying glass: Choose a larger-sized magnifying glass with a glass lens to ensure better image quality. This will serve as the main component for magnifying and projecting the image.
- Cardboard: Find a sturdy piece of cardboard that can be easily cut into the desired shape and size. This will serve as the foundation and frame for your projector.
- Black construction paper: This will be used to create a light-blocking barrier inside the projector, preventing light from leaking and ruining the projection quality.
- Scissors: Have a pair of scissors ready to cut and shape the cardboard and construction paper.
- Adhesive tape or glue: Use adhesive tape or glue to secure the components together, ensuring stability and durability.
- Ruler: A ruler will come in handy for measuring and marking the dimensions on the cardboard.
- Marker or pen: Have a marker or pen available to mark the measurements and cut lines on the cardboard.
- Phone or tablet: Your phone or tablet will serve as the device to display the content you want to project. Make sure it’s fully charged or connected to a power source.
- A dark room: For optimum viewing experience, find a dark or dimly-lit room where you can set up your projector without much ambient light interfering with the projection.
Once you’ve gathered all these components, you’re ready to move on to the next step – assembling the frame. Remember to double-check that you have everything you need before proceeding further.
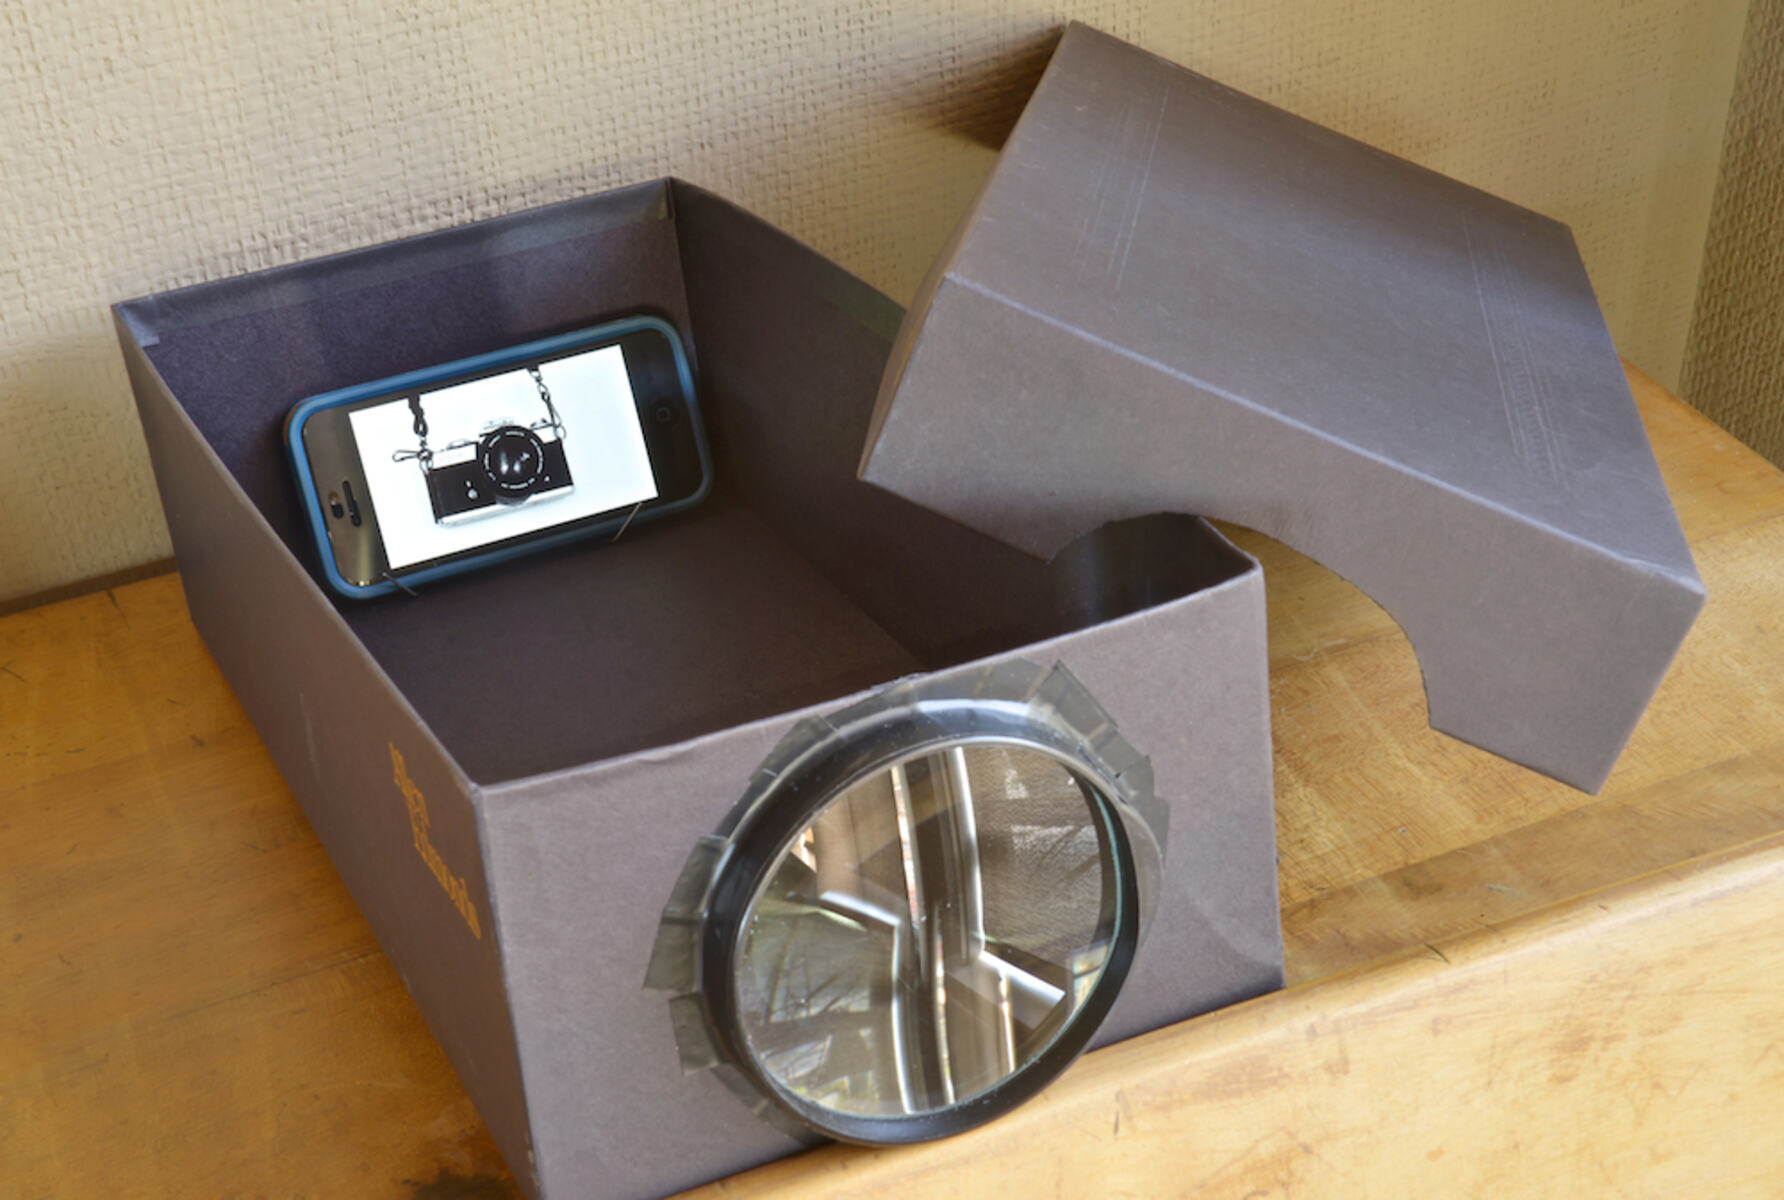
Step 2: Assembling the Frame
Now that you have gathered all the necessary components, it’s time to start assembling the frame for your projector. Follow these steps:
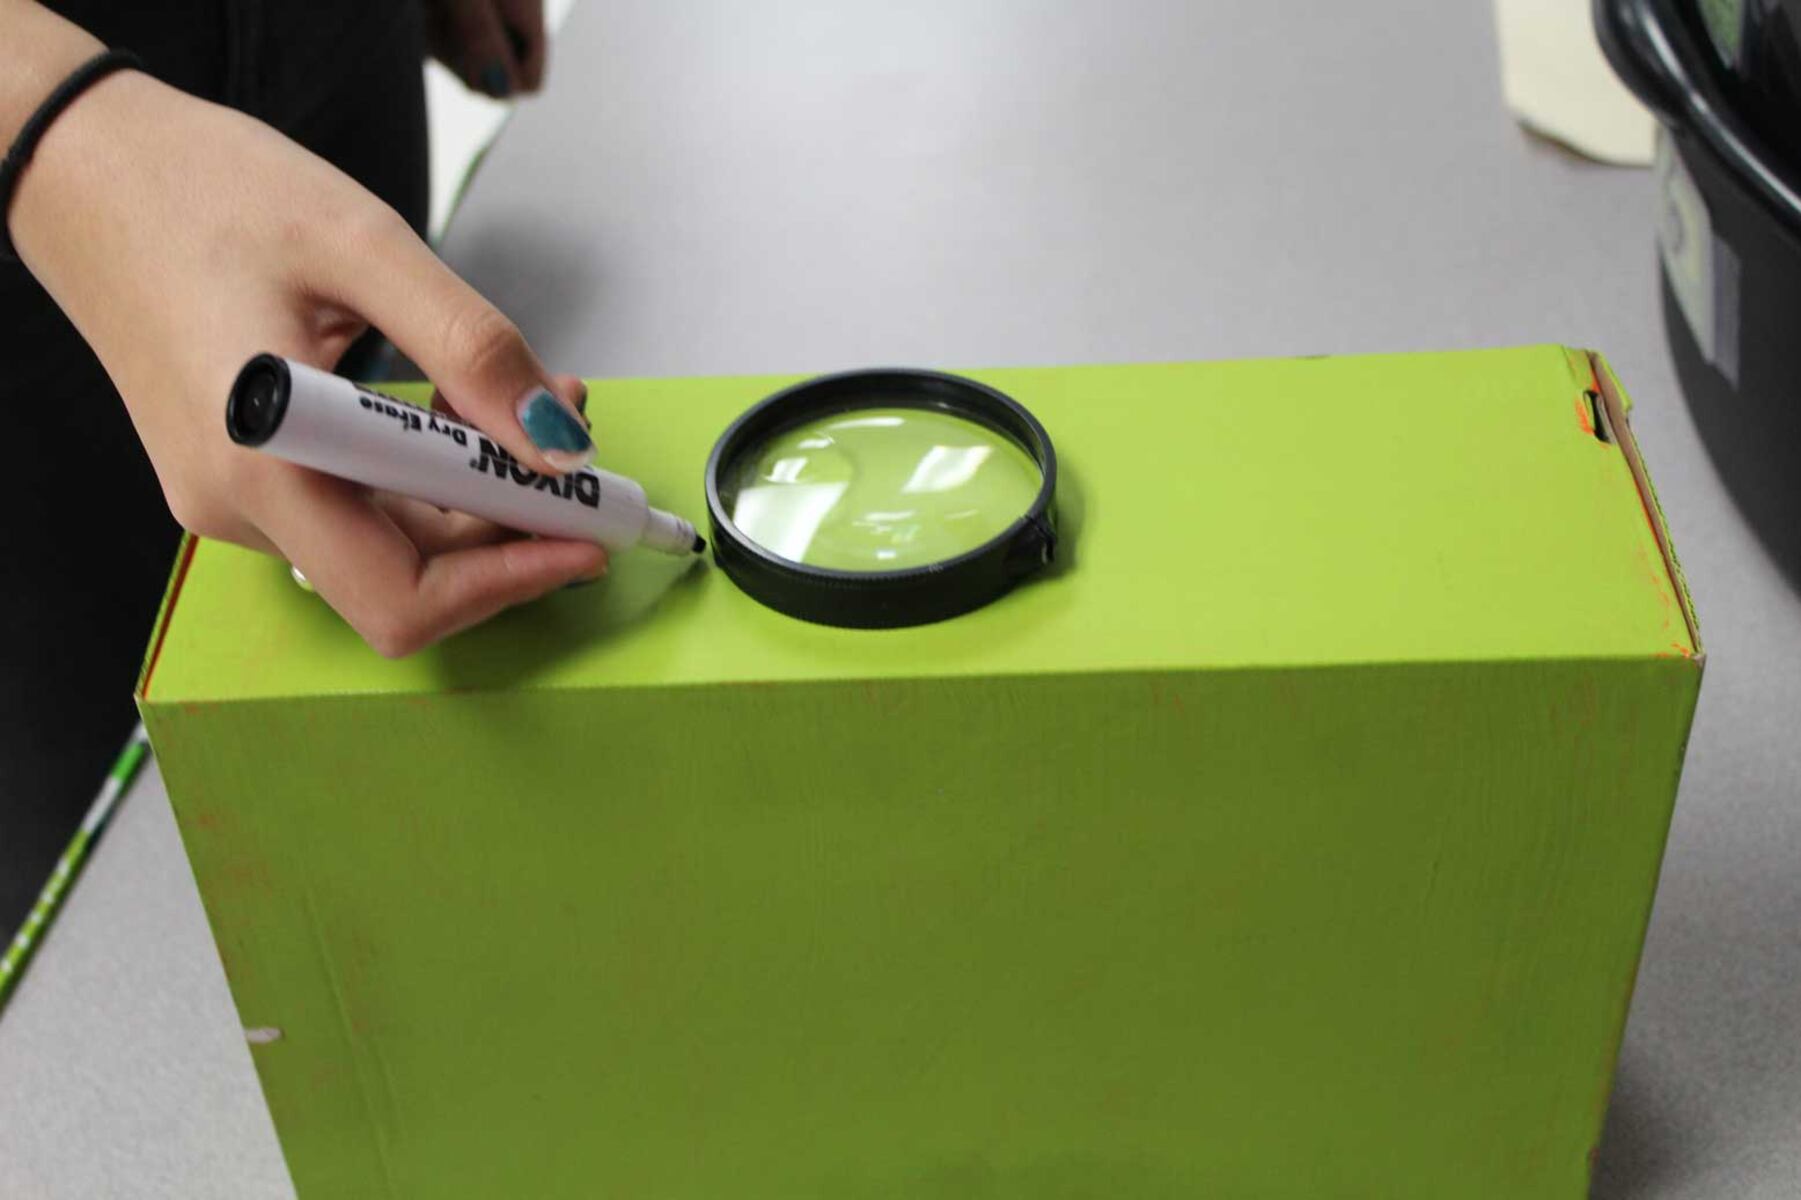
- Take your sturdy piece of cardboard and measure and mark the dimensions for your frame. You’ll need a rectangular shape with one side slightly larger than the magnifying glass.
- Using the scissors, carefully cut along the marked lines to create the frame shape. Ensure that the edges are clean and straight.
- Next, cut out a smaller rectangular opening on one side of the frame to accommodate the magnifying glass. Make sure the opening is slightly smaller than the size of the magnifying glass, as this will hold it securely in place.
- Once the frame and the opening are cut out, it’s time to attach the black construction paper to the inside of the frame. Measure and cut the construction paper to match the dimensions of the frame’s inner walls.
- Using adhesive tape or glue, securely affix the black construction paper to the inside walls of the frame. This will help block out any unwanted light and improve the projection quality.
- Allow the adhesive or glue to dry completely before moving on to the next step.
By following these steps, you have successfully assembled the frame for your DIY projector. In the next step, we will guide you on attaching the magnifying glass to the frame.
Step 3: Attaching the Magnifying Glass
With the frame assembled, it’s time to move on to attaching the magnifying glass, which will serve as the lens for your DIY projector. Follow these steps:
- Place the magnifying glass on top of the rectangular opening you created in the frame. Ensure that it fits snugly and covers the opening entirely.
- Once you have positioned the magnifying glass, use adhesive tape or glue to secure it to the frame. Apply the adhesive around the edges of the magnifying glass to hold it firmly in place.
- Make sure there are no gaps or loose areas when attaching the magnifying glass to the frame. This will help prevent any light leakage and maintain the projection quality.
- Allow the adhesive to dry completely before moving on to the next step.
By following these steps, you have successfully attached the magnifying glass to the frame of your DIY projector. In the next step, we will guide you on preparing the screen for projection.
Step 4: Preparing the Screen
Now that you have the frame and magnifying glass securely in place, it’s time to prepare your screen for projection. Follow these steps:
- Find a white and flat surface that will serve as your screen. It could be a plain wall, a whiteboard, or a sheet of white paper.
- If you’re using a wall, make sure it is clean and free from any obstructions or distractions that may interfere with the projected image.
- For better results, you can enhance the screen surface by attaching a white fabric or a white projection screen material.
- Ensure that the screen is large enough to display the projected image clearly and is positioned at an appropriate distance from the projector.
By following these steps, you have successfully prepared your screen for projection. In the next step, we will guide you on positioning the screen for optimal viewing.
Step 5: Positioning the Screen
Now that you have prepared your screen, it’s time to position it for optimal viewing. Follow these steps:
- Find a suitable location for your projector setup. Choose a dark or dimly lit room where you can control the ambient light.
- Place your DIY projector on a stable surface such as a table or tripod, ensuring that it is at a comfortable height and angle.
- Position the projector at a distance from the screen that allows the image to be projected at its desired size. This distance may vary depending on the specific magnifying glass you are using, so experiment with different distances to find the best one for your setup.
- Make sure the projector is leveled and aligned properly with the center of the screen to avoid any distortion or keystone effect.
- Adjust the height and angle of the projector as needed to achieve the desired projection size and focus.
By following these steps, you have successfully positioned your screen for optimal viewing. In the next step, we will guide you on adjusting the focus of your DIY projector.
Step 6: Adjusting the Focus
Now that your screen is properly positioned, it’s important to adjust the focus of your DIY projector to ensure a clear and sharp image. Follow these steps:
- Turn on your phone or tablet and display the content you want to project. It could be a movie, a presentation, or any other visual material.
- With the image projected on the screen, move the projector closer or farther away from the screen to achieve the desired focus.
- Rotate the magnifying glass within its frame to fine-tune the focus. Experiment with different angles until you achieve the sharpest and clearest image possible.
- You may also need to adjust the focus settings on your phone or tablet to enhance the clarity of the projected image. Check the display settings and adjust the brightness, contrast, and sharpness as necessary.
Take your time to adjust the focus until you achieve the optimal clarity for your projected image. Every projector setup may require different adjustments, so don’t hesitate to experiment and make fine-tuning adjustments as needed.
By following these steps, you have successfully adjusted the focus of your DIY projector. Now, it’s time to test your projector and enjoy the fruits of your labor in the next step.
Step 7: Testing the Projector
Now that you have completed all the necessary steps to create your DIY projector, it’s time to test it out and see the results. Follow these steps to test your projector:
- Ensure that you have a dark or dimly lit room for optimal viewing conditions.
- Turn off the lights or close the curtains to minimize any ambient light that may interfere with the projection.
- Turn on your DIY projector and your connected device (phone or tablet).
- Position yourself and your audience in front of the projected screen.
- Start playing the content you want to project, whether it’s a movie, a presentation, or any other visual material.
- Adjust the projector’s distance from the screen and the focus if necessary to achieve the best image quality.
- Take a moment to enjoy your DIY projector and evaluate the clarity, sharpness, and overall performance of the projected image.
During the testing phase, pay attention to any adjustments that need to be made to enhance the projection quality. Experiment with different settings and distances to find the optimal setup for your specific projector.
By following these steps and conducting thorough testing, you will be able to improve and fine-tune the performance of your DIY projector. Enjoy your homemade cinematic experience!
Conclusion
Congratulations! You have successfully created your own projector using a magnifying glass and a few simple materials. With your DIY projector, you can now enjoy your favorite movies, presentations, or any other visual content on a bigger screen right in the comfort of your own home.
Throughout this guide, we have walked you through the step-by-step process of gathering the necessary components, assembling the frame, attaching the magnifying glass, preparing the screen, positioning the screen, adjusting the focus, and testing your projector. Each step contributes to the overall success and performance of your DIY projector.
By following these instructions and making any necessary adjustments along the way, you can achieve a clear and crisp projected image that rivals commercially available projectors. This DIY project not only allows you to save money but also offers a great way to learn about optics, light, and projection.
Remember, as you familiarize yourself with the process, you can experiment with different materials and techniques to customize your projector even further. Whether you want to upgrade the frame, enhance the screen, or explore advanced projection features, the possibilities are endless.
Now, gather your friends and family, dim the lights, and enjoy the immersive experience of watching movies or sharing presentations on a homemade big screen. Let your DIY projector be the centerpiece of your entertainment setup and a source of pride in your creativity and resourcefulness.
With a little creativity and innovation, you can continue exploring the world of DIY projectors and take your movie nights or presentations to new heights. Have fun and happy projecting!