Introduction
Have you ever found yourself in need of a projector, but without one? Perhaps you’re giving a presentation or watching a movie, and you wish you had a larger image to display. Well, if you have an iPhone with a flashlight, you’re in luck! Believe it or not, you can actually use your iPhone’s flashlight as a makeshift projector.
Using your iPhone flashlight as a projector is a clever and innovative method to project images and videos onto a flat surface. Whether you want to amplify your presentation slides or enjoy a movie night with friends, this DIY projector technique can come in handy in a pinch.
In this article, we will explore how the iPhone flashlight can double as a projector, the steps to set it up, and some tips for making the most of this creative solution.
So, if you’re curious about how to transform your trusty iPhone into a practical little projector, read on to learn more!
How Does iPhone Flashlight Work as a Projector?
The iPhone flashlight projection technique works based on the principle of light refraction. When light passes through a transparent medium, like a glass or a water droplet, it bends due to the change in speed. This bending phenomenon is called refraction. By exploiting the refraction of light, you can create a simple projector using your iPhone’s flashlight.
To set up your iPhone flashlight as a projector, you will need a few basic materials:
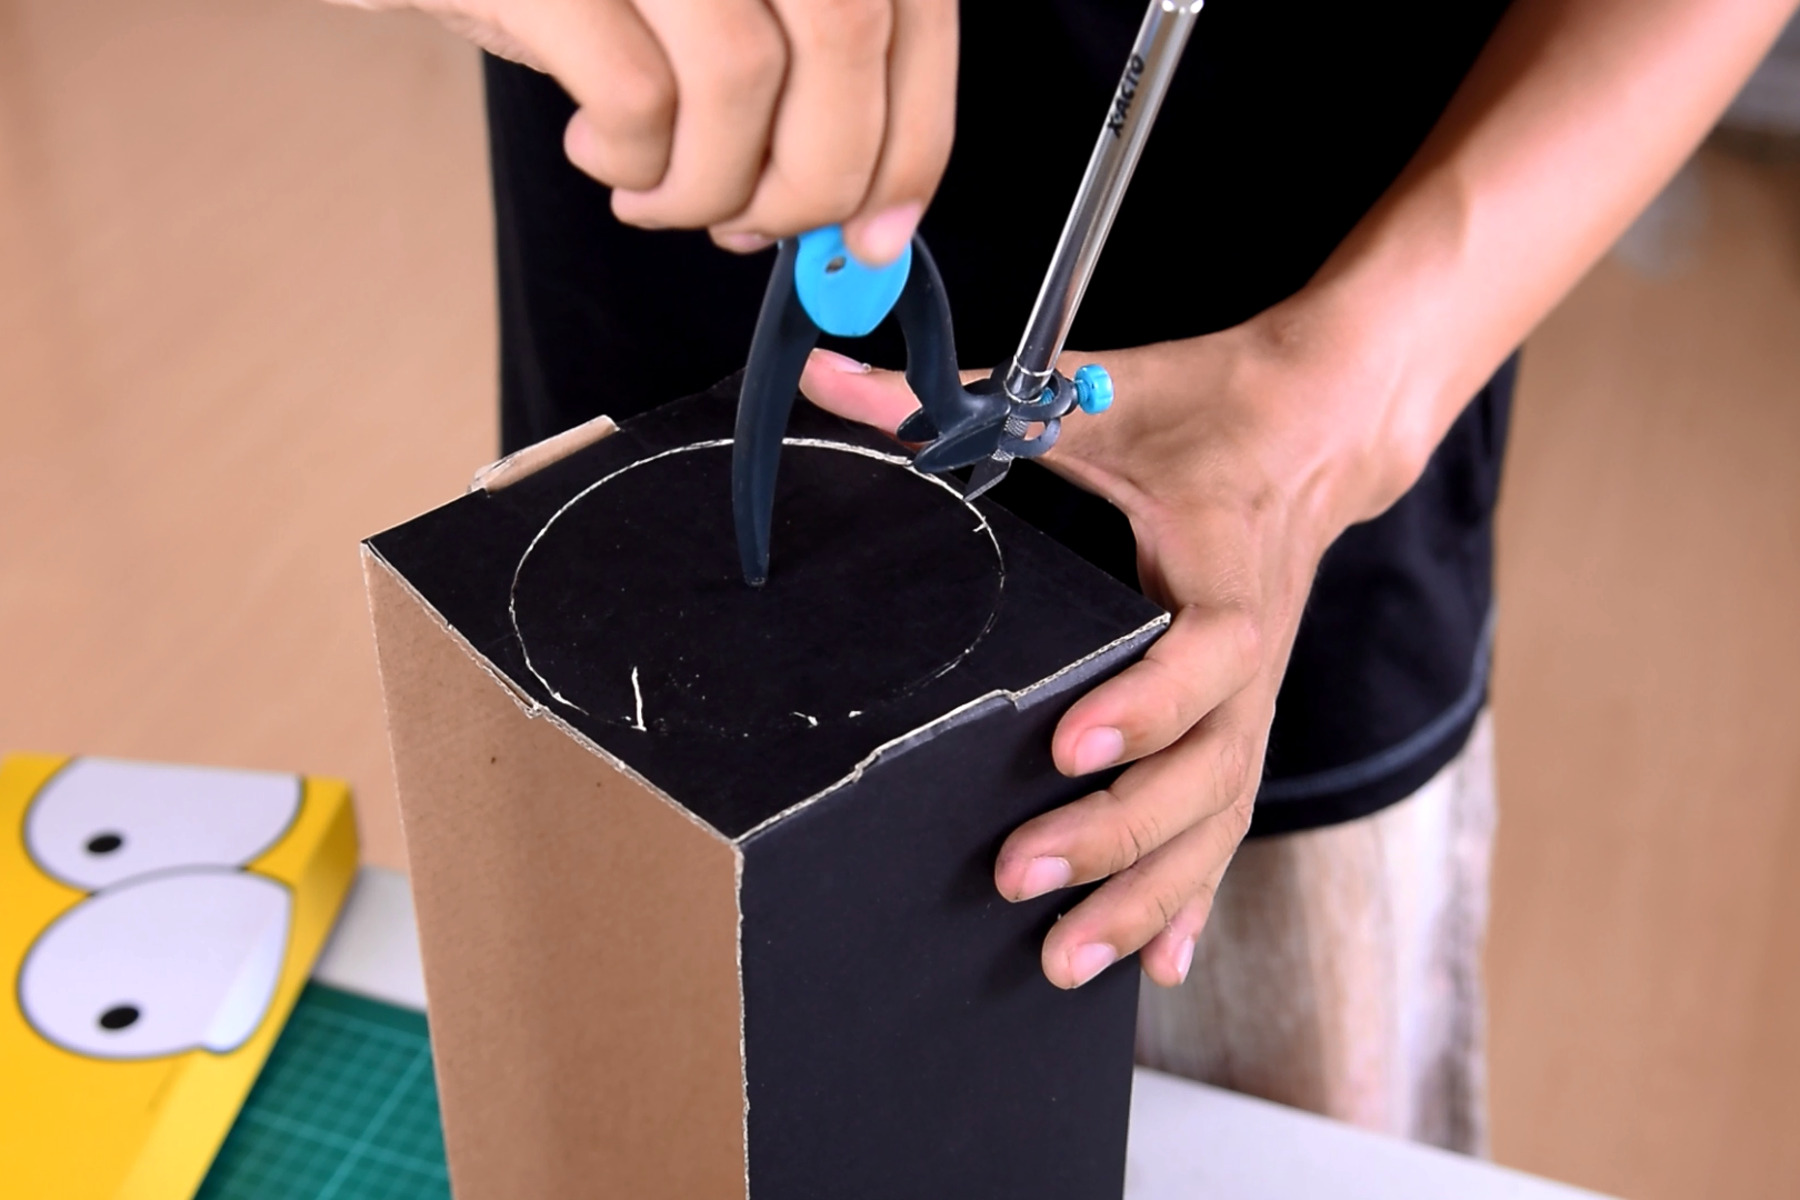
- A cardboard box or a shoebox with one side cut out.
- A magnifying glass with a large convex lens.
- A sturdy stand or tripod to hold your iPhone steady.
Here’s how it works:
- Place your iPhone on the stand or tripod, ensuring that it is stable and positioned facing towards the inside of the box.
- Turn on the flashlight function on your iPhone and adjust the brightness settings as needed.
- Hold the magnifying glass in front of the iPhone’s flashlight, keeping a slight distance between the lens and the flashlight to focus the light.
- Direct the projected light through the cutout side of the box onto a flat surface, such as a wall or a projector screen.
- Adjust the distance and focus of the projected image by moving the iPhone, magnifying glass, or the distance between the box and the projection surface.
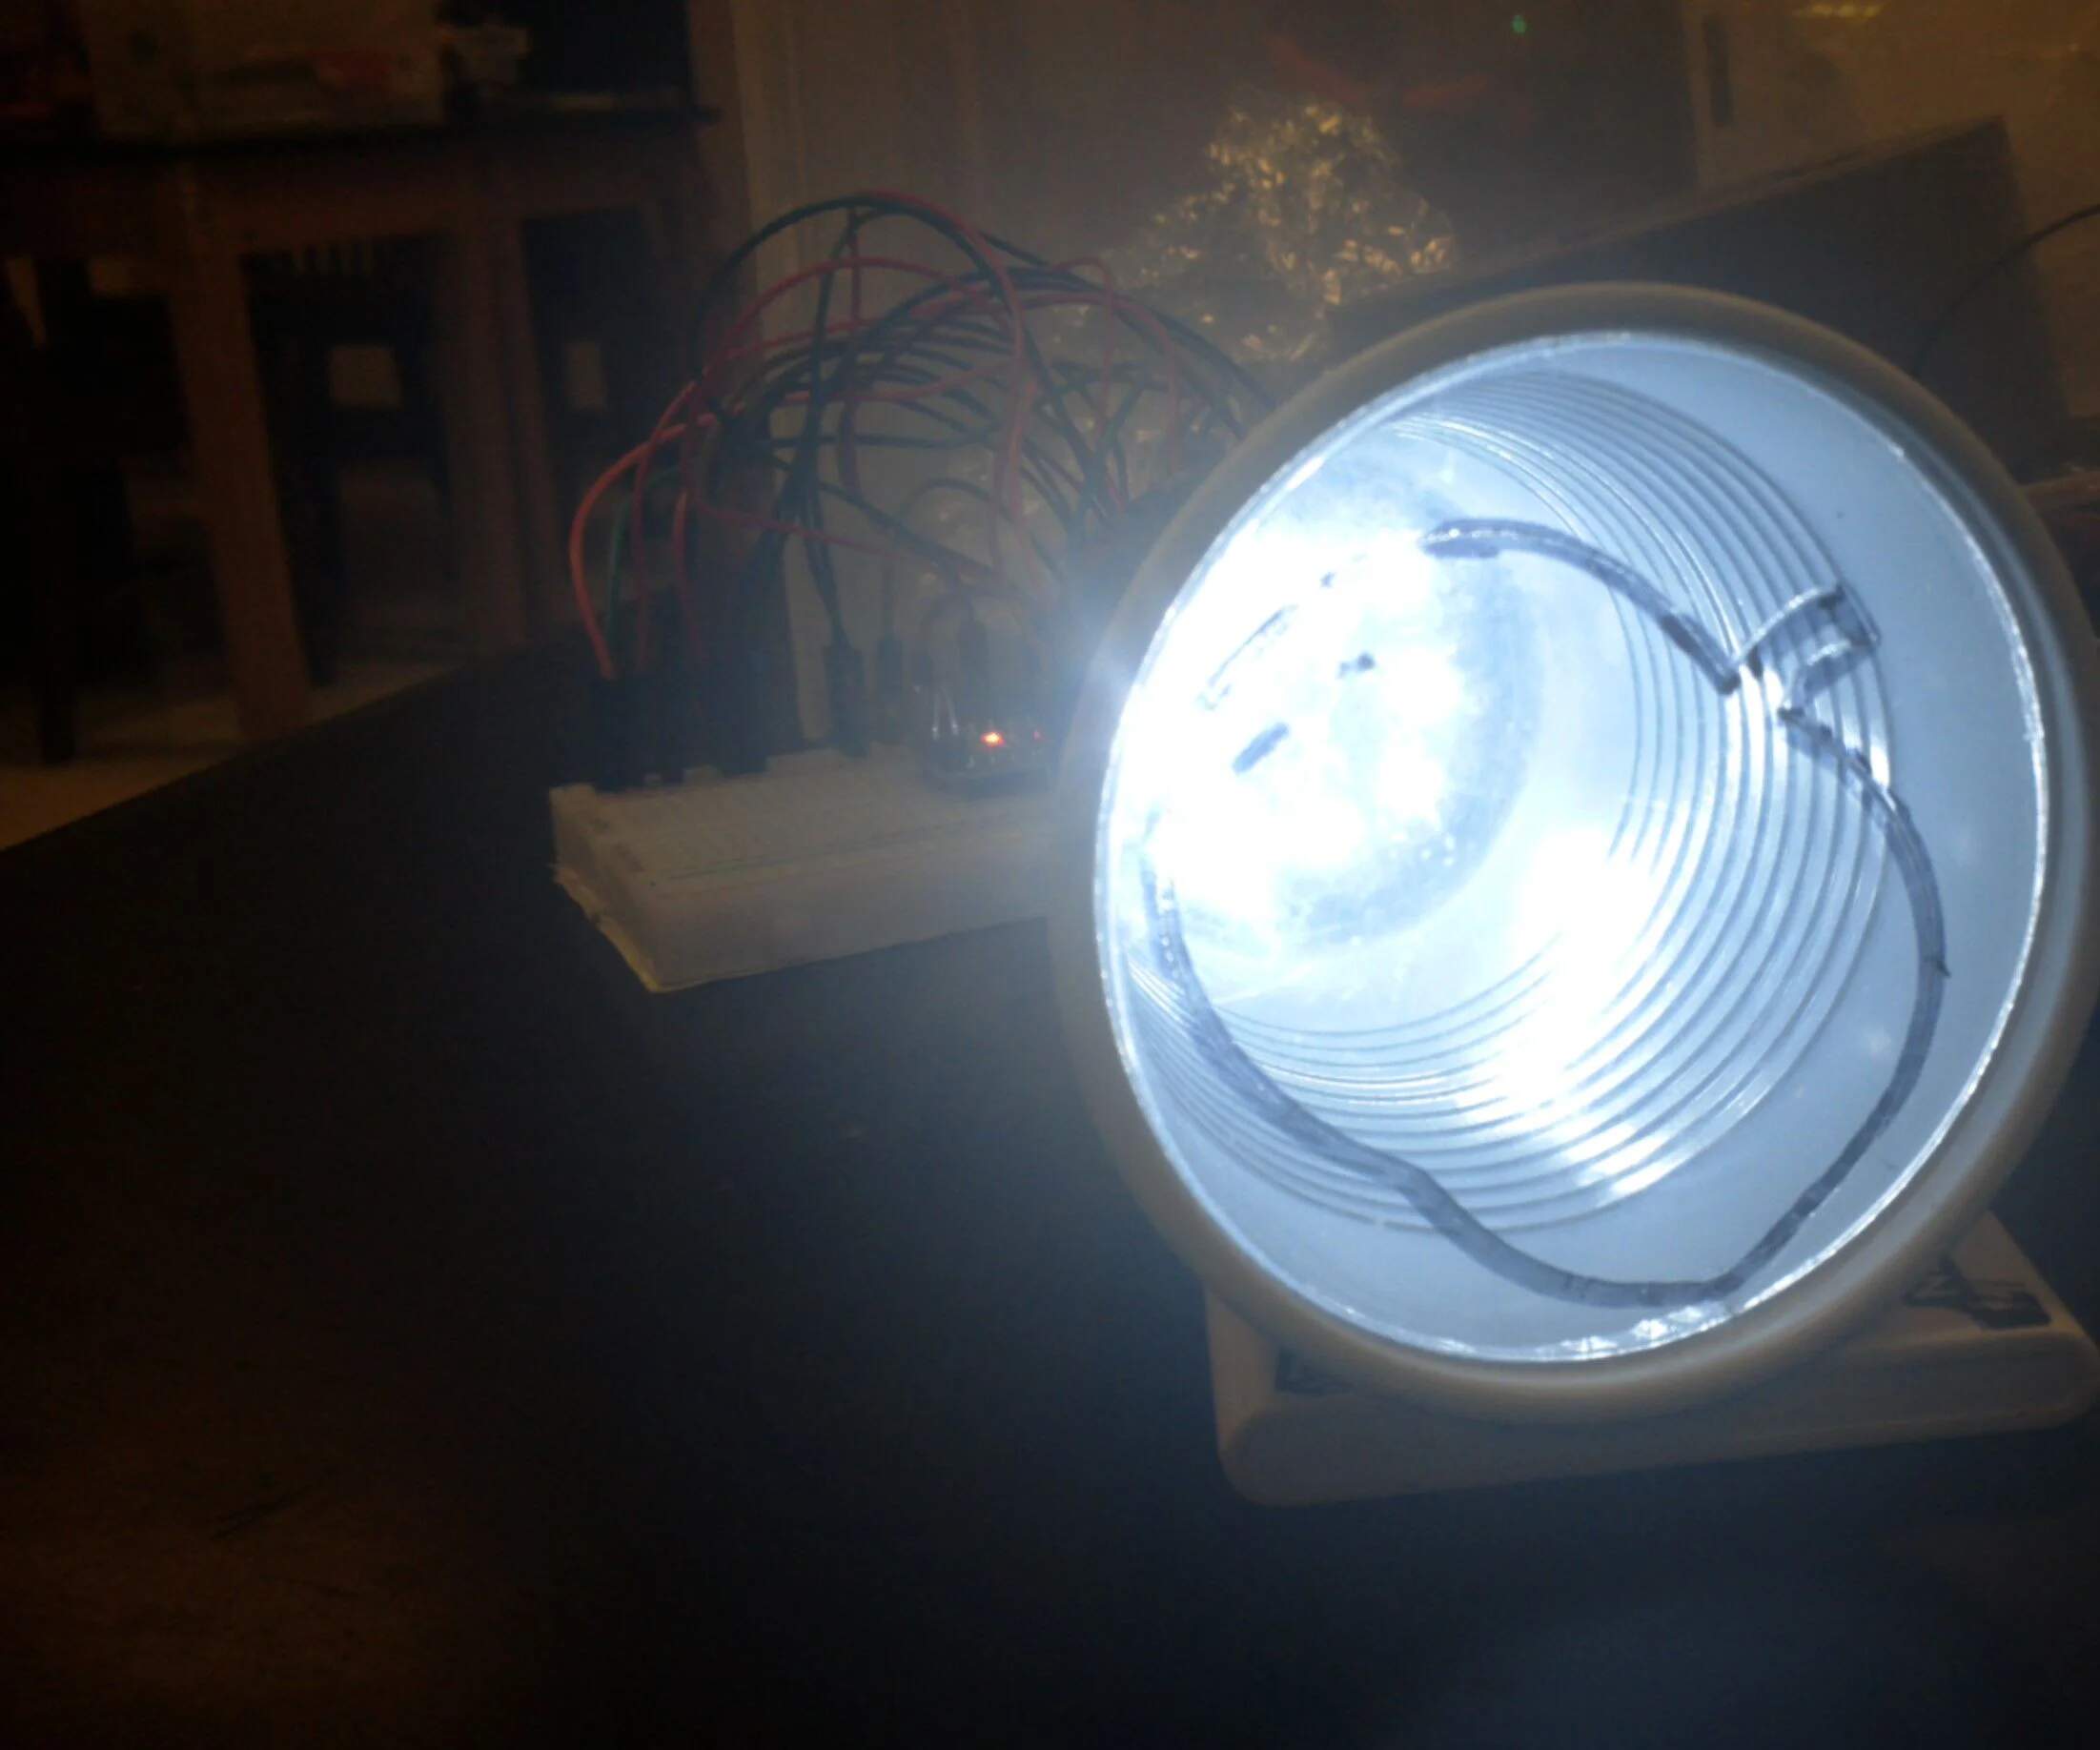
By positioning the magnifying glass in front of the iPhone’s flashlight and directing the light through the box, the lens helps to enlarge and focus the projected image. This setup essentially acts as a simple projector, magnifying the light emitted from the flashlight onto the chosen surface.
It’s important to note that the quality of the projected image will depend on factors such as the brightness of your iPhone’s flashlight, the stability of the setup, and the clarity of the magnifying glass. Experimenting with different angles and distances can help you achieve the best possible results.
Now that you have a basic understanding of how the iPhone flashlight can work as a projector, let’s move on to the preparations needed to set up the projected image.
Preparing Your iPhone for Projection
Before you start using your iPhone’s flashlight as a projector, there are a few preparations you need to make to ensure optimal results.
1. Clean your iPhone’s flashlight: Over time, dust and dirt can accumulate on the lens of your iPhone’s flashlight, affecting the quality of the projected image. Take a soft microfiber cloth and gently wipe the lens to ensure it is clean and free from any smudges or marks.
2. Adjust the brightness settings: Open the Control Center on your iPhone by swiping down from the top-right corner (iPhone X and newer) or up from the bottom of the screen (iPhone 8 and older). Long press on the “Flashlight” icon to reveal a brightness slider. Slide it to adjust the brightness according to your preference or the lighting conditions of the environment where you plan to project.
3. Set the screen lock: To prevent any accidental touches or interruptions during the projection, it is advisable to set your iPhone’s screen lock. You can either activate the auto-lock feature in the Settings app to lock the screen after a specific duration of inactivity or manually lock the screen by pressing the sleep/wake button on the side or top of your iPhone.
4. Stabilize your iPhone: To avoid any camera shake or movement during the projection, it is essential to stabilize your iPhone using a stand or tripod. There are a variety of options available on the market, ranging from simple portable phone holders to professional smartphone tripods with adjustable legs and mounts. Choose one that meets your needs and ensures the stability of your iPhone throughout the projection.
By following these simple steps, you can ensure that your iPhone is ready for projection and that you have created an optimal setup for projecting images and videos onto a larger surface.
Next, let’s move on to setting up the projected image using your iPhone’s flashlight.
Setting Up the Projected Image
Now that you have prepared your iPhone for projection, it’s time to set up the projected image. Follow these steps to ensure a clear and focused projection:
- Find a suitable surface: Choose a flat and white surface to project the image onto, such as a blank wall or a projector screen. Avoid surfaces that are textured or have patterns, as they can interfere with the clarity of the projected image.
- Position the box or shoebox: Place the box or shoebox with the cutout side facing the projection surface. Ensure that the box is stable and well-positioned.
- Position your iPhone: Mount your iPhone on the stand or tripod inside the box, facing towards the cutout side. Adjust the height and angle of the iPhone to align it with the projection surface.
- Turn on the flashlight: Open the Control Center on your iPhone and tap the flashlight icon to turn it on. Adjust the brightness if needed to achieve the desired lighting for your projection.
- Hold the magnifying glass: Hold the magnifying glass in front of the iPhone’s flashlight, maintaining a slight distance between the lens and the flashlight. Experiment with different distances to focus and enlarge the projected image.
- Project the image: Direct the projected light through the cutout side of the box onto the chosen surface. Move the box or adjust the distance and focus of the projected image until you achieve the desired size and clarity.
Take your time to fine-tune the setup and experiment with different angles and distances to optimize the quality of the projected image. Remember to keep the environment as dark as possible to enhance the visibility of the projection.
Once you have successfully set up the projected image, you can enjoy watching videos, presenting slides, or sharing photos on a larger scale using just your iPhone’s flashlight.
Now that you know how to set up the projected image, let’s explore some tips for using your iPhone flashlight as a projector.
Tips for Using iPhone Flashlight as a Projector
Using your iPhone’s flashlight as a projector can be a fun and convenient way to share images and videos with others. To make the most of this DIY projector setup, consider the following tips:
- Use a dark environment: For the best results, ensure that the projection area is as dark as possible. Ambient light can interfere with the clarity and visibility of the projected image. Close curtains, dim the lights, or perform the projection in a darkened room.
- Maximize your iPhone’s brightness: To enhance the brightness of the projected image, increase the brightness level of your iPhone’s screen to the maximum. This will allow the flashlight to emit a more intense light, resulting in a clearer and more vibrant projection.
- Choose high-contrast images or videos: Opt for images or videos with high contrast to ensure better visibility and clarity in the projected image. Darker backgrounds or images with vibrant colors tend to stand out more when projected.
- Experiment with different distances: Try adjusting the distance between the iPhone, magnifying glass, and the projection surface to find the optimal distance for the clearest and most focused projection. Minor adjustments can make a significant difference in the image quality.
- Test different angles: Explore different angles for projecting the image onto the surface. Tilting the box slightly or adjusting the position of the iPhone can help eliminate any distortions or unevenness in the projected image.
- Use a remote control or timer: To avoid disturbing the projected image by touching your iPhone, use a remote control or set a timer to control the playback of videos or slideshows. This will allow you to maintain a steady projection without any accidental interruptions.
- Consider external speakers: While your iPhone’s built-in speaker can produce sound, it may not be sufficient for a larger audience. Consider connecting external speakers to your iPhone for better audio quality and a more immersive experience.
By following these tips, you can enhance your overall experience when using your iPhone’s flashlight as a projector. Remember, the quality of the projection may vary depending on the equipment and the environment, so don’t be afraid to experiment and make adjustments as needed.
Now that you have some valuable tips, let’s take a look at alternative methods for creating a projector effect with your iPhone.
Alternative Methods for Creating a Projector Effect with Your iPhone
While using your iPhone’s flashlight as a projector can be a creative and convenient solution, there are alternative methods you can explore to achieve a projector effect with your iPhone. Here are a few options:
- Use a phone projector accessory: There are various phone projector accessories available in the market that can attach to your iPhone and project images or videos onto a larger surface. These accessories typically include a lens system that magnifies the screen and projects it onto a wall or screen.
- Invest in a portable mini projector: Consider purchasing a portable mini projector specifically designed for use with smartphones. These compact projectors can connect to your iPhone via HDMI or wirelessly and provide a larger projection display wherever you go.
- Explore wireless screen mirroring: If you have a smart TV or a projector with screen mirroring capabilities, you can wirelessly connect your iPhone and mirror your screen to project your videos, photos, or presentations on a bigger scale. Look for features like AirPlay or Google Cast on your TV or projector.
- Try interactive projector apps: There are several interactive projector apps available for download on the App Store that allow you to transform your iPhone screen into an interactive projection. These apps utilize augmented reality (AR) technology to create virtual projections on any flat surface.
- DIY smartphone projector box: Another DIY option is to create a smartphone projector box using materials such as a shoebox, magnifying glass, and a reflective surface like aluminum foil. By following online tutorials, you can construct a simple projector box to amplify the image from your smartphone onto a larger screen.
These alternative methods offer different levels of convenience, portability, and image quality. Depending on your needs and preferences, you can choose the method that best suits your requirements and budget.
With these alternative methods, you have more flexibility when it comes to projecting images or videos from your iPhone onto a larger surface. Explore these options and experiment to find the one that works best for you.
Now that we have explored alternative methods, let’s summarize what we have learned about using your iPhone flashlight as a projector.
Conclusion
In conclusion, using your iPhone’s flashlight as a projector can be a brilliant and resourceful solution when you need to project images or videos onto a larger surface. By harnessing the power of light refraction and a few simple materials, you can transform your iPhone into a makeshift projector.
Through the steps outlined in this article, you have learned how to prepare your iPhone, set up the projected image, and utilize some tips for optimizing the projection. Cleaning your iPhone’s flashlight, adjusting brightness settings, stabilizing your device, and experimenting with distance and angles are crucial factors in ensuring a clear and focused projection.
Additionally, we explored alternative methods for creating a projector effect with your iPhone, such as using phone projector accessories, portable mini projectors, wireless screen mirroring, interactive projector apps, or even constructing a DIY smartphone projector box. These options provide different levels of convenience and versatility to suit various needs and preferences.
Whether you’re delivering a presentation, organizing a movie night, or simply looking to add some fun to your everyday life, the iPhone flashlight projector technique offers a creative and budget-friendly solution. Just remember to create a dark environment for the projection, choose high-contrast content, and experiment to find the optimal setup for your desired results.
So, the next time you find yourself in need of a quick and easy projector, grab your iPhone, follow the steps outlined here, and enjoy the magic of projecting your favorite content onto a larger screen.