Introduction
Welcome to the world of Nvme SSDs! If you’re a tech enthusiast or someone who relies heavily on high-speed storage, then you’ve probably heard about Nvme SSDs. But what exactly are they and why should you consider partitioning them?
NVMe (Non-Volatile Memory Express) SSDs are the latest generation of solid-state drives that offer lightning-fast performance and exceptional reliability. With their advanced controller technology and PCIe interface, they outperform traditional SSDs in terms of speed and responsiveness.
Now, you might be wondering, “Why do I need to partition my Nvme SSD?” Well, partitioning your Nvme SSD can bring several benefits. First and foremost, it allows you to organize your data more efficiently. By dividing your SSD into multiple partitions, you can separate your operating system, applications, and personal files, making it easier to manage and access them.
Additionally, partitioning can help you protect your data. If one partition becomes corrupt or infected, it won’t affect the other partitions, reducing the risk of complete data loss. Partitioning can also provide better performance. By placing frequently accessed files on a separate partition, you can optimize read and write speeds and improve overall system responsiveness.
Now that you understand the importance of partitioning your Nvme SSD, let’s dive into the steps you need to follow to effectively partition your drive. But before we proceed, make sure to prepare yourself by gathering all the necessary tools and backing up your data. Failure to do so may result in data loss or unintended consequences.
What is Nvme SSD?
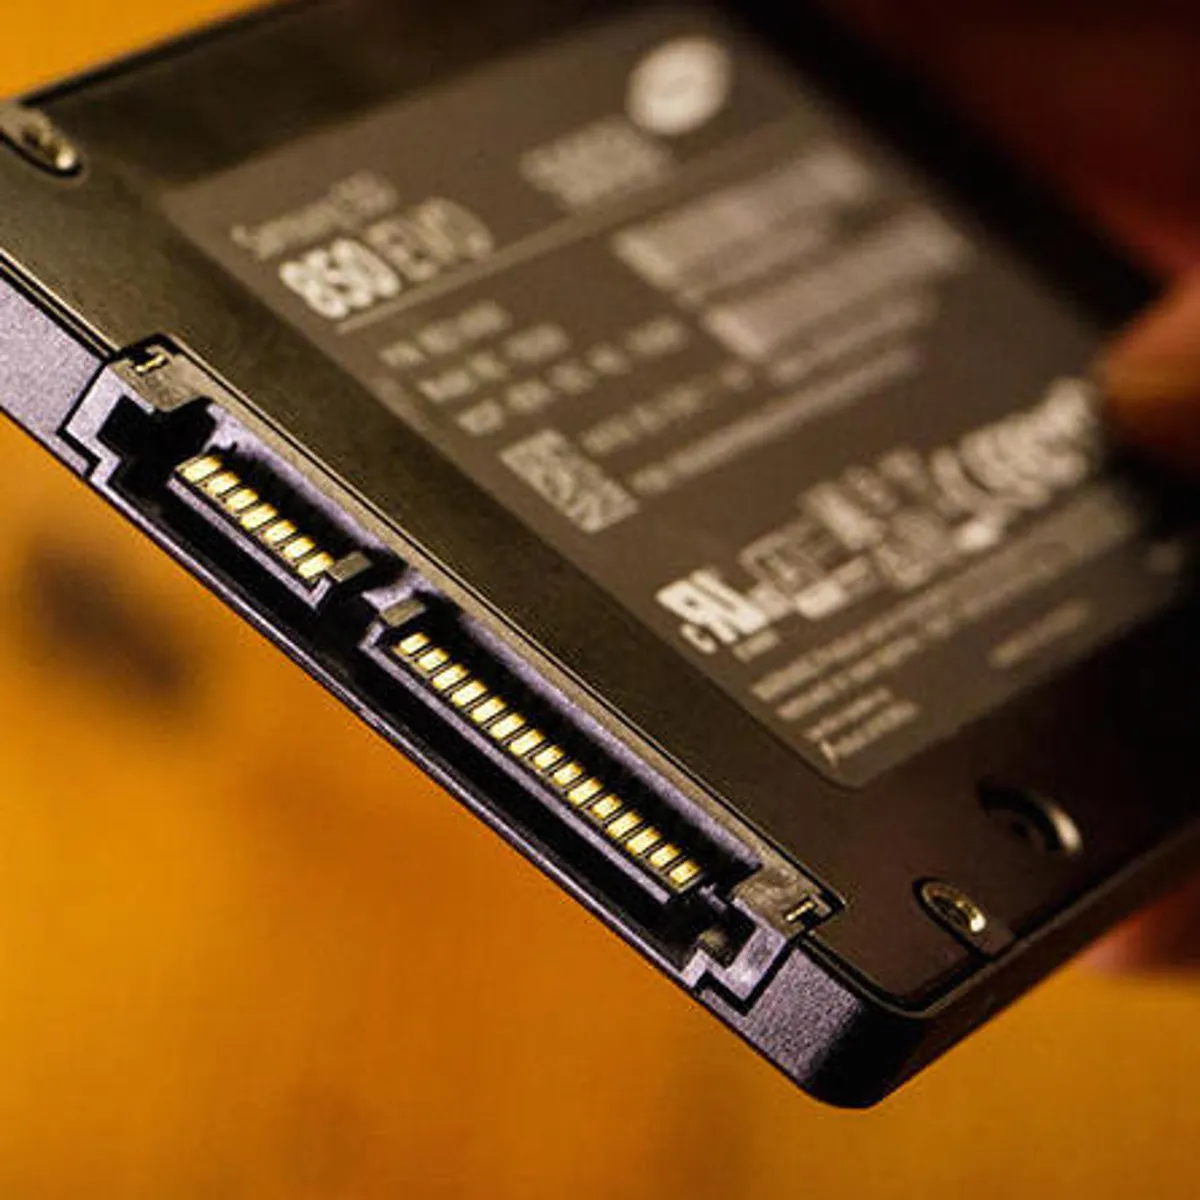
Nvme SSD stands for Non-Volatile Memory Express Solid-State Drive. It is a type of storage device that utilizes a high-speed PCIe (Peripheral Component Interconnect Express) interface to deliver lightning-fast performance and enhance data transfer rates. Unlike traditional hard disk drives (HDDs) or SATA-based SSDs, Nvme SSDs offer significant advantages in terms of speed, efficiency, and reliability.
One of the key features of Nvme SSDs is their ability to leverage the parallelism and low latency of the PCIe interface, resulting in blazing-fast data transfer rates and reduced latency. This makes them ideal for applications that require rapid access to large amounts of data, such as gaming, content creation, and data-intensive tasks like video editing and rendering.
In addition to their speed, Nvme SSDs also boast high endurance and durability. They are built using flash memory technology that retains data even when powered off, hence the term “non-volatile.” This makes them more resistant to shocks and vibrations, unlike traditional HDDs that rely on mechanical spinning disks.
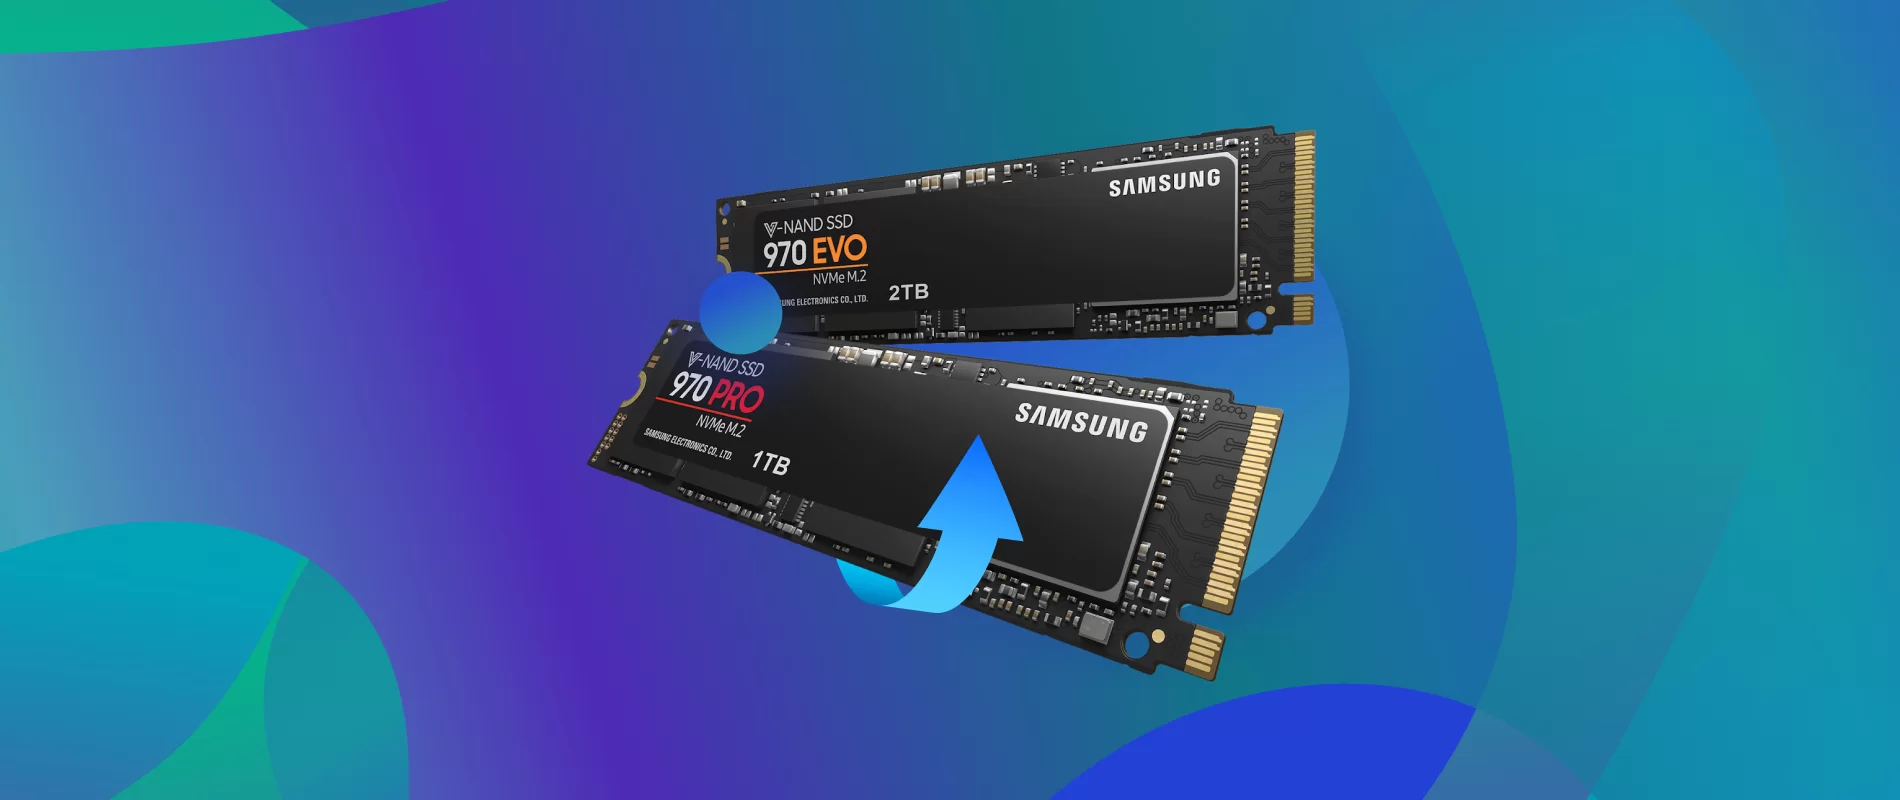
Furthermore, Nvme SSDs come in various storage capacities, ranging from a few hundred gigabytes to several terabytes, allowing users to choose the size that best suits their needs. Whether you’re a casual user who needs fast boot times and snappy application launches or a professional who requires massive storage capacity for their multimedia projects, there is an Nvme SSD available to meet your requirements.
It’s also worth mentioning that Nvme SSDs are designed to be compact and energy-efficient. They consume significantly less power than traditional HDDs, resulting in lower energy bills and reduced environmental impact. Their compact form factor also makes them perfect for laptops and compact desktop systems where space is limited.
In summary, Nvme SSDs are a game-changer in the storage industry, offering unparalleled speed, reliability, and efficiency. Whether you’re a power user, gamer, or creative professional, upgrading your system with an Nvme SSD will undoubtedly transform your computing experience by providing lightning-fast performance and quicker access to your data.
Why partition an Nvme SSD?
Partitioning your Nvme SSD brings several advantages and benefits that enhance the organization, protection, and performance of your data.
Efficient Data Organization: Partitioning allows you to divide your Nvme SSD into multiple logical drives, which helps you organize your data more efficiently. You can separate your operating system, applications, personal files, and any other data into different partitions. This separation makes it easier to manage your data and locate specific files quickly without sifting through a large, cluttered storage space.
Data Protection: When you partition your Nvme SSD, you create independent storage areas that act as separate entities. If one partition becomes corrupted or infected by a virus, it won’t automatically affect the other partitions. This isolation helps prevent complete data loss and allows you to recover or repair a specific partition without affecting the rest of your data.
Better Performance: By strategically placing your data on different partitions, you can optimize the performance of your Nvme SSD. For example, you can allocate a separate partition specifically for your operating system and applications. This dedicated partition ensures that your system’s critical files are stored in a location that allows for faster access and improves overall system responsiveness.
Flexibility and Versatility: Partitioning offers you the flexibility to experiment with different operating systems or allocate specific partitions for multi-boot setups. If you’re a developer or IT professional, this enables you to test different operating systems or run multiple instances of an OS without interfering with each other. Additionally, you can easily resize and adjust partition sizes as your storage needs evolve over time.
Data Backup and Recovery: Partitioning also simplifies the process of backing up and recovering your data. When your data is spread across multiple partitions, it becomes easier to selectively back up the critical files and folders you value the most. This targeted backup approach saves time and storage space while ensuring the safety of your most important data.
Partitioning an Nvme SSD might seem like an extra step, but the benefits it brings in terms of data organization, protection, performance, flexibility, and backup make it well worth the effort. Whether you’re a casual computer user or a professional with demanding storage needs, partitioning your Nvme SSD allows you to unleash the full potential of this high-speed storage device.
Step 1: Prepare for Partitioning
Before you begin partitioning your Nvme SSD, it’s crucial to properly prepare yourself and gather the necessary tools. Taking these preparatory steps ensures a smooth and successful partitioning process.
1. Backup Your Data: Partitioning involves making changes to the disk structure, which carries a slight risk of data loss. To protect your valuable files and documents, it’s essential to create a backup before starting the partitioning process. Store the backup on an external storage device or cloud-based storage for an extra layer of security.
2. Determine Partitioning Requirements: Assess your storage needs and determine how many partitions you’ll require and the sizes of each partition. Consider factors like the operating system, applications, and types of data you’ll be storing. Having a clear understanding of your requirements helps you allocate sufficient space to each partition and ensure efficient data organization.
3. Choose a Reliable Partitioning Tool: Selecting the right partitioning tool is crucial for a successful partitioning process. There are several reliable disk partitioning software options available, both free and paid. Do some research and choose a tool that suits your requirements and has positive reviews regarding compatibility with Nvme SSDs.
4. Ensure Power and Connectivity: Partitioning requires a stable power supply to avoid any unforeseen disruptions during the process. Make sure your computer or laptop is plugged into a reliable power source. Additionally, ensure that your Nvme SSD is securely connected to the system. Loose connections can lead to data loss or errors during partitioning.
5. Familiarize Yourself with the Partitioning Process: Spend some time familiarizing yourself with the partitioning process and understanding the options and features provided by your chosen partitioning tool. Read the user guide or tutorial to get acquainted with the steps involved, what to expect during the process, and any precautions you should take.
6. Have Patience: Partitioning can take some time depending on the size of your Nvme SSD and the complexity of the partitioning scheme you have in mind. Be patient during the process and avoid interrupting or cancelling it abruptly, as this could lead to data corruption or incomplete partitioning.
By following these preparation steps, you ensure a solid foundation for the partitioning process and minimize the risk of data loss or errors. Taking the time to back up your data, choose the right partitioning tool, and familiarize yourself with the process will set you up for a successful and hassle-free partitioning experience.
Step 2: Choose the Right Partitioning Tool
When it comes to partitioning your Nvme SSD, selecting the right partitioning tool is critical to ensure a smooth and successful process. The choice of partitioning tool will impact the ease of use, compatibility with Nvme SSDs, and the range of features available to you. Here are some key factors to consider when choosing the appropriate partitioning tool:
1. Compatibility: Ensure that the partitioning tool you choose is compatible with Nvme SSDs. Not all partitioning tools can handle the unique characteristics of Nvme drives, so it’s important to check the tool’s specifications and compatibility before proceeding.
2. User-Friendliness: Look for a partitioning tool that offers an intuitive and user-friendly interface. A tool with a clear and easy-to-navigate interface will make the partitioning process less daunting, especially for users who have limited technical knowledge.
3. Features and Functionality: Consider the features and functionality provided by the partitioning tool. Look for options such as the ability to resize partitions, create new partitions, merge or split partitions, convert partition formats, and more. The tool should offer the necessary features to meet your specific partitioning requirements.
4. Reliability and Reputation: Research the reliability and reputation of the partitioning tool. Look for reviews and ratings from other users to ensure that the tool is reputable and has a history of successful partitioning processes. A reliable tool will minimize the risk of data loss or system errors during partitioning.
5. Support and Updates: Check if the partitioning tool receives frequent updates and provides adequate technical support. Regular updates ensure that the tool stays compatible with the latest operating systems and hardware. Additionally, having access to technical support can be beneficial if you encounter any issues during the partitioning process.
6. Cost: Consider the cost of the partitioning tool. While some tools are available for free, others may require a one-time purchase or a subscription. Assess your budget and determine whether the features and functionality provided by the tool justify the cost.
7. Recommendations and Expert Opinions: Seek recommendations from experts or fellow users who have experience with partitioning Nvme SSDs. Their insights and feedback can help you make an informed decision and select a reliable partitioning tool.
By considering these factors, you can choose a partitioning tool that meets your specific requirements, provides a user-friendly experience, and ensures compatibility with your Nvme SSD. Remember, selecting the right partitioning tool is crucial for a successful partitioning process and can greatly influence the outcome of your data organization and system performance.
Step 3: Back up Your Data
Before you embark on partitioning your Nvme SSD, it is absolutely critical to back up your data. While partitioning is generally a safe process, there is always a slim chance of data loss or unforeseen errors. Taking the time to back up your important files ensures that you have a copy of your data in case anything goes wrong during the partitioning process. Here are some important considerations for backing up your data:
1. Identify Critical Data: Determine which files and folders are most important to you and need to be backed up. These typically include personal documents, photos, videos, music, and any other irreplaceable files. It’s advisable to create a checklist or make a note of the specific data that you want to back up.
2. Choose a Backup Method: Decide on the backup method that suits your needs. Some common options include external hard drives, network-attached storage (NAS), cloud-based storage services, or even a combination of these methods for added redundancy. Evaluate the pros and cons of each method and choose the one that provides the best balance of convenience, security, and storage capacity for your backup needs.
3. Select a Reliable Backup Software or Service: If you opt for cloud-based or automated backups, choose a reliable backup software or service that fits your requirements. Look for features such as encryption, automatic scheduling, and versioning for added data protection. Research the reputation and user reviews of the backup software or service to ensure that it is reliable and trustworthy.
4. Perform the Backup: Start the backup process by copying your important files and folders to the chosen backup destination. Ensure that you have sufficient storage space and have organized your data in a way that facilitates easy restoration after the partitioning process. Follow any specific instructions provided by the backup software or service for the most efficient and secure backup.
5. Verify the Backup: After completing the backup, perform a verification process to ensure that your data has been successfully copied. Check a few randomly selected files or folders from the backup location to confirm that they match the original files. This step provides peace of mind and ensures that you have a reliable backup to rely on if needed.
6. Keep the Backup Safe: Store your backup in a safe and secure location, away from potential threats such as physical damage or data breaches. If you have an offsite backup, make sure it is stored in a separate physical location to protect against events like fire, theft, or natural disasters.
Backing up your data is a crucial step that cannot be overlooked before partitioning your Nvme SSD. It provides a safety net in case anything goes wrong during the partitioning process. By taking the time to back up your data, you can proceed with confidence, knowing that your valuable files and documents are protected and can be easily restored if needed.
Step 4: Create Partitions
Once you have adequately prepared and backed up your data, it’s time to create partitions on your Nvme SSD. Partitioning allows you to divide your SSD into separate sections, each serving a specific purpose. Follow these steps to create partitions on your Nvme SSD:
1. Launch the Partitioning Tool: Open the partitioning tool that you have chosen for the process. Ensure that it recognizes and displays your Nvme SSD as the target disk for partitioning.
2. Select the Nvme SSD: Identify your Nvme SSD in the partitioning tool’s interface and select it as the disk where the new partitions will be created. Take extra care not to accidentally select the wrong disk, as it can lead to unintended consequences and data loss.
3. Choose the Partitioning Method: Decide on the partitioning method that best suits your needs. You can opt for a simple division of the SSD into primary partitions, or you can create extended partitions with logical partitions within them for added flexibility.
4. Determine Partition Sizes: Specify the sizes for your partitions according to your requirements. Consider the amount of space you need for your operating system, applications, personal files, and any other data you want to allocate to separate partitions. Adjust the sizes accordingly, keeping in mind the need for future expansions or changes.
5. Set Partition Labels: Assign descriptive labels to each partition to make it easier to identify them later. Use labels that reflect the purpose or contents of the partition, such as “Operating System,” “Applications,” or “Media Files.”
6. Create the Partitions: Once you have determined the partition sizes and labels, proceed to create the partitions. Follow the instructions provided by the partitioning tool to create each partition separately. Ensure that you have reviewed your choices and are satisfied with the configuration before finalizing the partition creation.
7. Verify the Partitioning: After creating the partitions, double-check the partition layout displayed in the partitioning tool. Make sure that the sizes and labels match the intended configuration. This verification step helps prevent mistakes and ensures that your partitions have been created as planned.
8. Apply the Changes: Once you are confident that the partitioning is correct, apply the changes. The partitioning tool will initiate the process of creating the partitions on your Nvme SSD. Depending on the size of the drive and the number of partitions, this process may take some time. Remain patient and avoid interrupting the operation to prevent any potential data corruption.
By carefully following these steps, you can successfully create partitions on your Nvme SSD. Partitioning allows you to organize your data more efficiently, allocate space for different purposes, and manage your files with ease. With the partitions in place, you can move on to the next step of formatting each partition to make them accessible and ready for use.
Step 5: Format Partitions
After creating the partitions on your Nvme SSD, the next step is to format them. Formatting prepares the partitions for use by setting up the necessary file system and structure. Follow these steps to format each partition:
1. Open the File Explorer or Disk Management: Locate the newly created partitions in the file explorer or disk management tool of your operating system. You should see the partitions listed separately.
2. Right-click on the First Partition: Right-click on the first partition that you want to format and select the “Format” option from the context menu. This will open the formatting settings for that specific partition.
3. Choose the File System: Select the appropriate file system for the partition. The most common file systems are NTFS (New Technology File System) for Windows and HFS+ (Hierarchical File System Plus) for macOS. Consider the compatibility with your operating system and any specific requirements you have for the partition.
4. Enter a Volume Label: Optionally, you can enter a descriptive volume label for the partition. This label will be used to identify the partition in the file explorer or disk management tool.
5. Select Quick Format (Optional): If you want to speed up the formatting process, you can check the “Quick Format” option. This will skip the step of checking the entire partition for bad sectors, but keep in mind that it may not detect potential disk errors.
6. Start the Formatting Process: Once you have selected the file system and made any necessary adjustments, click the “Start” or “Format” button to initiate the formatting process. Depending on the size of the partition and the speed of your system, formatting may take some time. Be patient and avoid interrupting the process.
7. Repeat for Remaining Partitions: Repeat the same steps for each of the remaining partitions you have created, formatting them one by one with the desired file system.
8. Verify the Formatting: After formatting each partition, verify that the process has been completed successfully. Ensure that the partitions are listed as formatted and ready to use in the file explorer or disk management tool.
By following these steps, you can successfully format each partition on your Nvme SSD. Formatting prepares the partitions for storing data and ensures compatibility between your operating system and the file systems used. With the partitions formatted, you can proceed to the next step of mounting the partitions to make them accessible within your operating system.
Step 6: Mount Partitions
After formatting the partitions on your Nvme SSD, the next step is to mount them. Mounting makes the partitions accessible within your operating system, allowing you to interact with the data stored on each partition. Follow these steps to mount the partitions:
1. Open the File Explorer or Disk Management: Launch the file explorer or disk management tool in your operating system. Locate the newly formatted partitions in the list of available drives.
2. Right-click on the First Partition: Right-click on the first formatted partition that you want to mount and select the “Mount” or “Assign Drive Letter” option from the context menu. This will assign a drive letter to the partition and make it accessible within the operating system.
3. Choose a Drive Letter: Select an available drive letter from the list provided. Ideally, choose a letter that is not already assigned to another drive to prevent conflicts. Assigning a drive letter creates a reference point to access the partition’s data.
4. Confirm the Mounting Process: After selecting the drive letter, confirm the mounting process by clicking “OK” or a similar confirmation button. This will activate the partition and make it visible in the file explorer or disk management tool.
5. Repeat for Remaining Partitions: Repeat the same steps for each of the remaining formatted partitions. Assign a unique drive letter to each partition to distinguish them and make them easily accessible.
6. Verify the Mounting: After mounting all the partitions, verify that they appear as separate drives or volumes in the file explorer or disk management tool. Ensure that you can access the data stored within each mounted partition.
7. Optionally, Set Automatic Mounting on System Startup: If you want the partitions to be automatically mounted every time you start your computer, you can set up automatic mounting. This can usually be done through the settings of the partitioning tool or with the built-in features of your operating system.
8. Safely Eject or Unmount the Partitions: When you are finished working with the mounted partitions, make sure to properly eject or unmount them before physically disconnecting the Nvme SSD. This ensures that any pending write operations are completed and prevents data corruption or loss.
By following these steps, you can successfully mount the partitions on your Nvme SSD, making them accessible within your operating system. Mounting enables you to interact with the data stored on each partition, allowing for easy file management, data transfer, and utilization of the storage space available.
Step 7: Adjust Partition Sizes
After creating and mounting the partitions on your Nvme SSD, you may find the need to adjust their sizes. Adjusting partition sizes allows you to optimize the allocation of storage space based on your changing needs. Follow these steps to easily adjust the sizes of the partitions:
1. Launch the Partitioning Tool: Open the partitioning tool that you have used previously to create the partitions and select the Nvme SSD.
2. Identify the Target Partition: Identify the partition that you want to resize or adjust. Take note of the current size and available free space on the partition.
3. Locate the Resize or Adjust option: In the partitioning tool, look for the option to resize or adjust the partition. This may be labeled as “Resize,” “Adjust Size,” or a similar term.
4. Modify the Partition Size: Enter the desired size for the partition. You can specify the size in gigabytes (GB) or as a percentage of the available free space on the disk.
5. Confirm the Resize: After specifying the new size, confirm the resize operation by clicking “OK” or a similar confirmation button. The partitioning tool will begin the process of resizing the partition.
6. Wait for the Resizing Process: Depending on the size of the partition and the amount of data stored on it, the resizing process may take some time. Be patient and avoid interrupting the operation to prevent data corruption or loss.
7. Verify the Resized Partition: Once the resizing process is complete, verify that the partition has been resized to the desired size. You can review the new partition size in the partitioning tool or check the updated size in the file explorer or disk management tool of your operating system.
8. Repeat for other Partitions: If you need to adjust the sizes of other partitions on your Nvme SSD, repeat the same steps for each partition, modifying the sizes according to your requirements.
Note: It’s important to make sure that you have a backup of your data before resizing partitions. While resizing is generally a safe process, there is always a slim chance of data loss or errors. Taking the precaution of backing up your data ensures that you have a copy in case anything goes wrong during the resizing process.
By following these steps, you can easily adjust the sizes of the partitions on your Nvme SSD. This flexibility allows you to allocate storage space efficiently and adapt to changing storage needs over time.
Step 8: Verify Partitioning
After performing the steps to create, format, mount, and adjust the partitions on your Nvme SSD, it is essential to verify the partitioning process to ensure its accuracy and success. Verification helps confirm that the partitions have been set up correctly and are functioning as intended. Follow these steps to verify the partitioning:
1. Check Partition Labels and Sizes: Open the file explorer or disk management tool of your operating system and confirm that the partition labels and sizes match the configurations you planned during the partitioning process.
2. Access Partition Contents: Enter each mounted partition and navigate through the directory structure to confirm that the expected files and folders are present. This step ensures that the data was successfully transferred to the allocated partitions.
3. Test Read and Write Operations: Perform read and write operations on each partition to test their functionality. Copy some files into the partitions and then check if you can read and modify them without any errors. This verification step ensures that the partitions are accessible and functioning properly.
4. Verify System Booting: Restart your computer and verify that the system boots correctly from the operating system partition. Make sure that the system recognizes each partition and that you can access the data stored on them after boot-up.
5. Run Disk Health Checks: Use disk health check tools or utilities to assess the overall health and condition of your Nvme SSD. These tools can scan for potential issues, bad sectors, or disk errors that may affect the performance or reliability of the partitions. Address any identified issues promptly.
6. Test Partition Resizing: If you have resized any partitions, verify that the resizing process was successful and that the partitions now reflect the desired sizes. Perform read and write operations on the resized partitions to confirm their functionality.
7. Seek Feedback and Assistance: If you have any doubts or concerns about the partitioning process or the functionality of the partitions, reach out to the partitioning tool’s support team or consult with experienced users. Their insights and feedback can help address any issues and provide further validation of the partitioning process.
Verifying the partitioning of your Nvme SSD is a crucial step to ensure the accuracy and integrity of the partition configuration. By performing these verification checks, you can gain confidence in the successful completion of the partitioning process and the functionality of your partitions.
Conclusion
Partitioning your Nvme SSD is a valuable process that allows you to organize your data, enhance data protection, optimize performance, and adapt to changing storage needs. By following the step-by-step guide outlined in this article, you can confidently partition your Nvme SSD and unlock its full potential.
We began by understanding what an Nvme SSD is and why partitioning is beneficial. Nvme SSDs provide lightning-fast performance and exceptional reliability, making them the preferred choice for storage enthusiasts. Partitioning allows you to efficiently organize your data, provide better data protection, and optimize performance by separating the different components of your system.
We then explored the crucial steps involved in partitioning an Nvme SSD. Preparing for partitioning by backing up data, choosing the right partitioning tool, and ensuring a stable power supply are essential for a smooth process. Creating partitions, formatting them with the appropriate file system, mounting them for accessibility, and adjusting their sizes according to needs provide flexibility and efficiency in storage management.
Lastly, we emphasized the importance of verifying the partitioning process. Checking partition labels, sizes, data accessibility, system booting, and performing disk health checks ensures that the partitions are properly set up and functioning as intended.
Remember, partitioning is a process that should always be approached with caution. It is essential to back up your data before beginning and to thoroughly verify the results after partitioning is complete. With careful planning and execution, partitioning your Nvme SSD can greatly enhance your storage experience and make it easier to manage and access your data.
So, go ahead and take full advantage of the speed and reliability of your Nvme SSD by partitioning it today. Enjoy the efficient organization, enhanced data protection, and optimized performance that partitions bring to your storage solution.