Introduction
Are you looking to upgrade your computer’s storage capacity and speed? The Samsung 970 Evo NVMe Series 1TB M.2 PCIe 3.0 x4 Solid State Drive (V-NAND) is a high-performance SSD that can revolutionize the way you use your computer. With lightning-fast read and write speeds, this SSD can significantly improve your system’s overall performance and reduce loading times for applications, games, and files.
In this guide, we will walk you through the step-by-step process of installing the Samsung 970 Evo NVMe Series 1TB M.2 SSD into your computer. Whether you are a computer enthusiast or a casual user, this installation is relatively straightforward and can be done with basic tools and minimal technical knowledge.
Before we dive into the installation process, it is essential to understand the benefits of using an M.2 PCIe SSD like the Samsung 970 Evo. Compared to traditional hard drives or even SATA-based SSDs, NVMe SSDs offer significant performance advantages. This is due to their direct connection to the motherboard via the PCIe bus, which allows for faster data transfer rates and lower latency.
By utilizing the PCIe 3.0 x4 interface, the Samsung 970 Evo can achieve read speeds of up to 3,500MB/s and write speeds of up to 2,500MB/s. This immense speed boost not only improves your system’s overall responsiveness but also enhances your gaming experience, reduces rendering times for content creation, and allows for seamless multitasking.
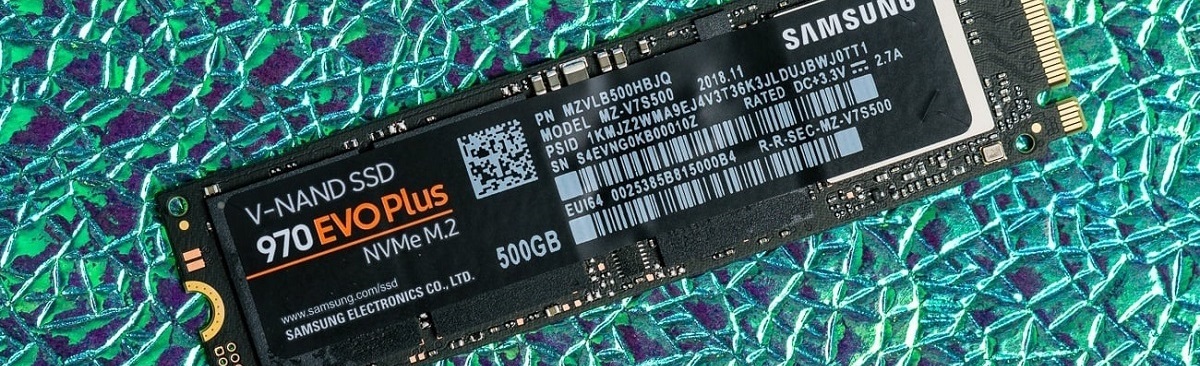
Furthermore, the Samsung 970 Evo SSD utilizes V-NAND, a type of NAND flash memory that offers higher endurance, improved performance, and enhanced power efficiency compared to traditional 2D NAND. This means that your data will be more secure, and you can expect a longer lifespan for your drive.
Now that we’ve covered the basics, let’s move on to the step-by-step installation guide. By the end of this guide, you’ll be enjoying the lightning-fast speeds and improved performance that the Samsung 970 Evo NVMe Series 1TB M.2 SSD has to offer.
Step 1: Gather the necessary tools and materials
Before you begin the installation process, it’s essential to gather all the tools and materials you’ll need for a smooth and successful installation of the Samsung 970 Evo NVMe Series 1TB M.2 SSD.
Here’s a list of the items you’ll need:
- A screwdriver (typically a Phillips or a small flathead screwdriver)
- An antistatic wrist strap (optional, but recommended to prevent static discharge that can damage the SSD)
- The Samsung 970 Evo NVMe Series 1TB M.2 SSD
- The user manual or installation guide that comes with the SSD (for reference)
Be sure to choose a screwdriver that fits the screws used to secure the SSD to the motherboard. You may need to consult the user manual for your specific motherboard to determine the type of screws required.
An antistatic wrist strap is not mandatory but is highly recommended. It helps discharge any static electricity from your body, preventing it from damaging sensitive electronic components, such as the SSD or your motherboard.
Finally, make sure you have the Samsung 970 Evo NVMe Series 1TB M.2 SSD at hand. It’s important to verify that you have the correct model and capacity before proceeding with the installation.
By gathering all the necessary tools and materials, you’ll be better prepared for a seamless installation process. With everything in place, you can now move on to the next step, which is preparing your computer for the SSD installation.
Step 2: Prepare your computer
Before you can install the Samsung 970 Evo NVMe Series 1TB M.2 SSD, you need to prepare your computer by following a few simple steps. These steps will ensure that your computer is ready for the installation process and that everything goes smoothly.
Here’s what you need to do:
- Power off your computer: Shut down your computer completely and disconnect the power cable from the wall outlet. This step is crucial to prevent any electrical accidents and ensure your safety while working on the system.
- Open the computer case: Depending on the type of computer case you have, you may need to remove screws, slide a panel, or use a latch to open it. Refer to your computer’s user manual for specific instructions on how to access the internal components.
- Locate the M.2 slot: The M.2 slot is a small rectangular socket on the motherboard where the SSD will be installed. It is usually located near the CPU socket or the PCIe slots. Again, consult your motherboard’s user manual to find the exact location of the M.2 slot.
- Read the motherboard manual: It is highly recommended to read the motherboard’s manual before proceeding with the installation. The manual will provide specific instructions and guidance on how to install an M.2 SSD and any other considerations or precautions that you should be aware of.
- Ground yourself: To prevent any static discharge that could damage the SSD or other components, it’s important to ground yourself. You can do this by touching a grounded metal object or wearing an antistatic wrist strap.
By preparing your computer properly, you ensure that you have access to the internal components and can locate the M.2 slot without difficulty. Taking the time to read the motherboard manual and grounding yourself will help protect your computer and prevent any damage during the installation process.
Now that you’ve prepared your computer, you’re ready to move on to the next step: installing the Samsung 970 Evo NVMe Series 1TB M.2 SSD into the M.2 slot.
Step 3: Install the SSD in the M.2 slot
Now that you have prepared your computer, it’s time to install the Samsung 970 Evo NVMe Series 1TB M.2 SSD into the M.2 slot. This step is crucial as it ensures proper physical connection and allows the SSD to communicate with the motherboard for data transfer.
Follow these steps to install the SSD:
- Locate the M.2 slot on the motherboard: Refer to the motherboard manual or manufacturer’s website to find the exact location of the M.2 slot. It is typically labeled as an M.2 or NVMe slot and may have one or more slots on the motherboard.
- Remove the protective cover or heatsink (if applicable): Some motherboards may come with a protective cover or heatsink pre-installed on the M.2 slot. If present, carefully unscrew or remove these components before proceeding.
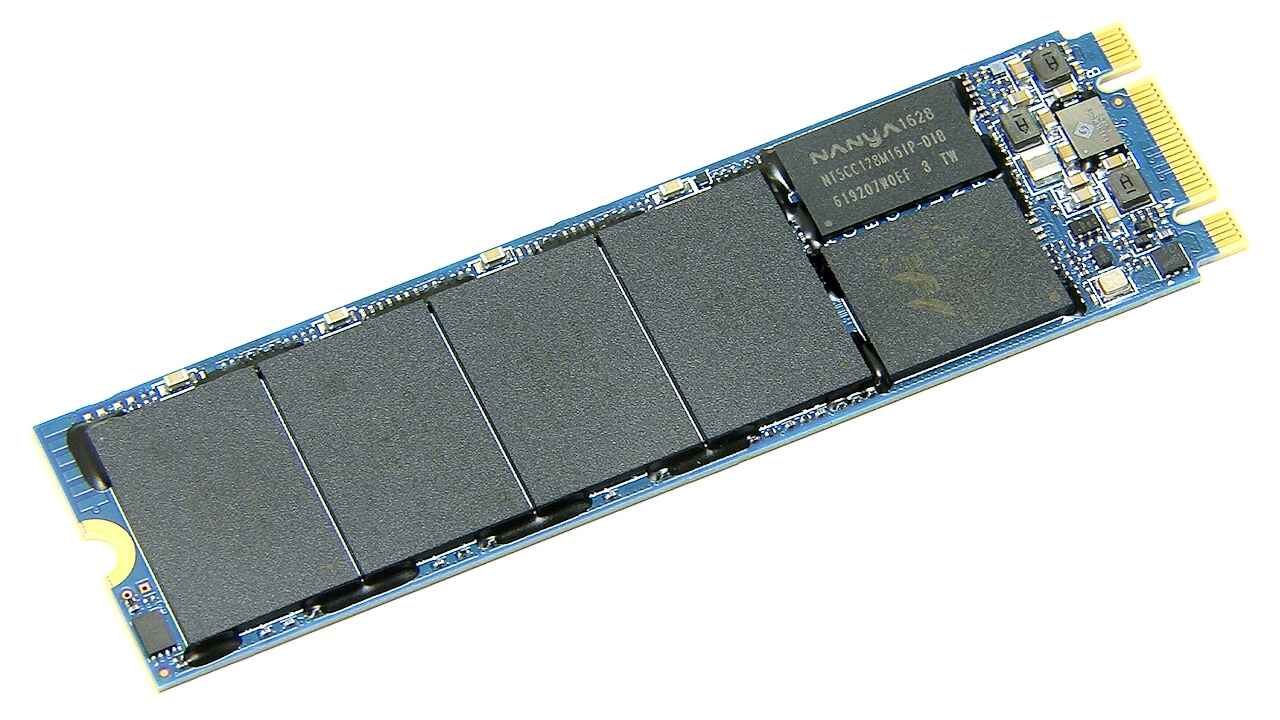
- Insert the Samsung 970 Evo SSD into the M.2 slot: Align the notches on the SSD with the keying slot on the M.2 slot. Gently slide the SSD into the slot at a slight angle, applying light pressure, until it is fully seated.
- Secure the SSD in place: If your motherboard provides a screw or standoff for securing the SSD, attach it to the designated mounting hole on the SSD. Use a screwdriver to tighten the screw until the SSD is firmly secured in place.
It’s important to handle the SSD with care, avoiding excessive force or bending. Take note of the orientation of the SSD and make sure it aligns with the M.2 slot to prevent any damage.
Once the Samsung 970 Evo SSD is properly inserted and secured in the M.2 slot, you are ready to move on to the next step: connecting the SSD to the motherboard.
Step 4: Secure the SSD with a screw
After installing the Samsung 970 Evo NVMe Series 1TB M.2 SSD in the M.2 slot, the next step is to secure the SSD in place using a screw. This ensures that the SSD remains firmly attached to the motherboard and prevents any accidental dislodging or movement during regular use.
Follow these steps to secure the SSD with a screw:
- Locate the designated mounting hole: On most motherboards, there will be a small mounting hole near the M.2 slot specifically designed for securing the SSD. Refer to the motherboard manual or manufacturer’s instructions to identify the exact location of this mounting hole.
- Place the screw in the mounting hole: Insert the provided screw into the mounting hole, aligning it with the hole on the SSD. Gently tighten the screw using a screwdriver until it is securely fastened. Take care not to overtighten, as it may damage the SSD or strip the threads in the mounting hole.
It’s crucial to use the screw provided by the motherboard or SSD manufacturer. Using the wrong screw size or type may result in improper fitting or damage to the components.
Once the SSD is securely fastened with the screw, you can proceed to the next step: connecting the SSD to the motherboard.
With the SSD properly secured, you can be confident that it will remain in place, allowing for stable performance and preventing any potential issues that may arise from loose connections.
Now that the SSD is securely attached, you’re ready to move on to the next step: connecting the SSD to the motherboard.
Step 5: Connect the SSD to the motherboard
After securing the Samsung 970 Evo NVMe Series 1TB M.2 SSD in the M.2 slot and securing it with a screw, the next step is to connect the SSD to the motherboard. This step establishes the necessary data and power connections for the SSD to communicate with the rest of the system.
Follow these steps to connect the SSD to the motherboard:
- Locate the M.2 slot on the motherboard: Identify the M.2 slot where you installed the SSD. It should be labeled and positioned near the other storage connectors on the motherboard.
- Take note of the keying slot on the M.2 slot: The M.2 slot has one or more keying slots that correspond to the notches on the SSD. These keying slots ensure that the SSD is inserted correctly into the slot.
- Insert the SSD connector into the M.2 slot: Align the notches on the SSD with the keying slot on the M.2 slot. With the beveled edge of the SSD connector facing the M.2 slot, carefully insert the SSD at a slight angle into the slot.
- Apply gentle pressure to seat the SSD: Push the SSD down and towards the motherboard until it is fully seated in the M.2 slot. You should feel a firm connection, and the SSD should be level with the motherboard.
It’s essential to handle the SSD with care when connecting it to the motherboard. Avoid excessive force or bending, and ensure that the SSD is properly aligned with the keying slot.
Once the SSD is securely connected to the motherboard, you can proceed to the final steps of the installation process. Now that the SSD is properly connected, you’re ready to close up your computer and prepare for the next steps.
Step 6: Close up your computer
With the Samsung 970 Evo NVMe Series 1TB M.2 SSD securely installed and connected to the motherboard, the next step is to close up your computer. This involves carefully reassembling the computer case and ensuring that all components are properly seated and secured.
Follow these steps to close up your computer:
- Place the computer case panel back on: If you removed any screws, latches, or panels to access the internal components, now is the time to put them back in place. Gently align the panel with the appropriate slots or holes and secure it using the original screws or latches.
- Tighten all screws and connections: Check all the screws and connections inside the computer case, ensuring that they are securely tightened. Carefully inspect the area around the SSD to make sure there are no loose cables or connectors that could interfere with the SSD’s operation.
- Reconnect any peripheral devices: If you disconnected any peripheral devices, such as monitors, keyboards, or mice, reconnect them to the appropriate ports on the computer.
- Reconnect the power cable: Plug the power cable back into the power supply unit and ensure it is securely fastened. Double-check that the cable is connected to a reliable power source.
When closing up your computer, it’s important to be gentle and cautious to avoid damaging any components. Take your time and ensure that everything is properly aligned and securely fastened.
Once you have closed up your computer and all connections are secure, you are ready to move on to the next step: powering on your computer and configuring the SSD.
By following these steps and double-checking all connections, you can ensure that your computer is properly closed up and ready for the final steps of the installation process.
Step 7: Power on your computer and configure the SSD
Now that your computer is closed up and all the hardware components are securely in place, it’s time to power on your computer and configure the Samsung 970 Evo NVMe Series 1TB M.2 SSD. This step ensures that your computer recognizes the SSD and allows you to utilize its full potential.
Follow these steps to power on your computer and configure the SSD:
- Connect the power cable: Plug the power cable back into the wall outlet and ensure it is securely connected to the power supply unit on your computer.
- Press the power button: Turn on your computer by pressing the power button located on the front or top panel of your computer case.
- Access the BIOS/UEFI settings: During the computer’s startup process, you may need to press a specific key (such as F2, Del, or Esc) to access the BIOS or UEFI settings. Refer to your computer or motherboard manual for the specific key or combination of keys to press.
- Navigate to the boot menu: Once inside the BIOS/UEFI settings, navigate to the boot menu. Look for an option related to M.2 or NVMe devices. Here, you need to ensure that the Samsung 970 Evo SSD is listed as a bootable device.
- Save and exit the BIOS/UEFI settings: After confirming that the SSD is recognized in the boot menu, save the changes and exit the BIOS/UEFI settings. The computer will restart.
Upon restart, your computer will recognize the Samsung 970 Evo SSD and allow you to access its full potential. The SSD should now be ready for use, and you can proceed to the next step: formatting and partitioning the SSD.
Powering on your computer and configuring the SSD is a crucial step in the installation process. By ensuring that the SSD is recognized and properly configured, you can fully utilize its high-performance capabilities and take advantage of its storage capacity.
Step 8: Format and partition the SSD
After successfully configuring the Samsung 970 Evo NVMe Series 1TB M.2 SSD in your computer, the final step is to format and partition the drive. This step allows you to prepare the SSD for storing data and organizing it into logical sections.
Follow these steps to format and partition the SSD:
- Open the Disk Management utility: In Windows, you can access the Disk Management utility by right-clicking the Start button and selecting “Disk Management” from the context menu. This utility allows you to manage and control various aspects of your computer’s storage devices.
- Locate the Samsung 970 Evo SSD: In the Disk Management window, locate the Samsung 970 Evo SSD. It should be listed as a new, unallocated drive.
- Right-click on the SSD and select “New Simple Volume”: Right-click on the unallocated space of the SSD and choose the “New Simple Volume” option from the context menu.
- Follow the on-screen instructions: The New Simple Volume wizard will guide you through the process of formatting and partitioning the SSD. You will have the option to choose a drive letter, file system, and volume label. Select the desired options based on your preferences and needs.
- Confirm the formatting and partitioning: Review the summary of the selected options and click “Finish” to proceed with the formatting and partitioning process.
- Wait for the process to complete: The Disk Management utility will format and partition the SSD according to your specifications. The time required for this process may vary depending on the size of the drive.
- Verify the formatted and partitioned SSD: Once the process is complete, the Samsung 970 Evo SSD will be formatted and partitioned as a new drive. You can verify this by checking the Disk Management utility, where the SSD should now be listed with the assigned drive letter and the specified file system.
By formatting and partitioning the SSD, you can optimize its storage capabilities and organize your data in a way that suits your needs. This step ensures that the SSD is ready for use, and you can start storing files, installing applications, or transferring data to take full advantage of its high-speed performance and ample storage capacity.
Congratulations! You have successfully completed the installation process and formatted the Samsung 970 Evo SSD. Enjoy the improved performance and increased storage capacity that this high-performance solid-state drive brings to your computer.
Conclusion
Congratulations on successfully installing the Samsung 970 Evo NVMe Series 1TB M.2 PCIe 3.0 x4 Solid State Drive (V-NAND) into your computer! By following the step-by-step guide, you have enhanced your computer’s storage capacity and performance with this high-speed and reliable SSD.
We began by gathering the necessary tools and materials and preparing your computer for the installation. Then, we walked through the installation process, including securing the SSD in the M.2 slot, connecting it to the motherboard, and closing up your computer. After powering on your computer and configuring the SSD in the BIOS/UEFI settings, we proceeded to format and partition the SSD using the Disk Management utility.
Now that the installation is complete, you can experience the benefits of the Samsung 970 Evo SSD firsthand. With its lightning-fast read and write speeds, your system’s overall performance will improve, reducing loading times and enhancing your productivity and gaming experience.
The Samsung 970 Evo SSD’s V-NAND technology ensures higher endurance and improved power efficiency, providing you with reliable and energy-efficient storage for your files, applications, and games.
Remember to regularly back up your data and keep your SSD firmware up to date to ensure optimal performance and reliability. With proper care and maintenance, your Samsung 970 Evo SSD will provide you with years of exceptional performance and storage capabilities.
We hope that this installation guide has been helpful in successfully installing the Samsung 970 Evo NVMe Series 1TB M.2 PCIe 3.0 x4 Solid State Drive (V-NAND) into your computer. Enjoy the improved speed, responsiveness, and storage capacity that this SSD brings to your computing experience.
Thank you for choosing the Samsung 970 Evo SSD and happy computing!