Introduction
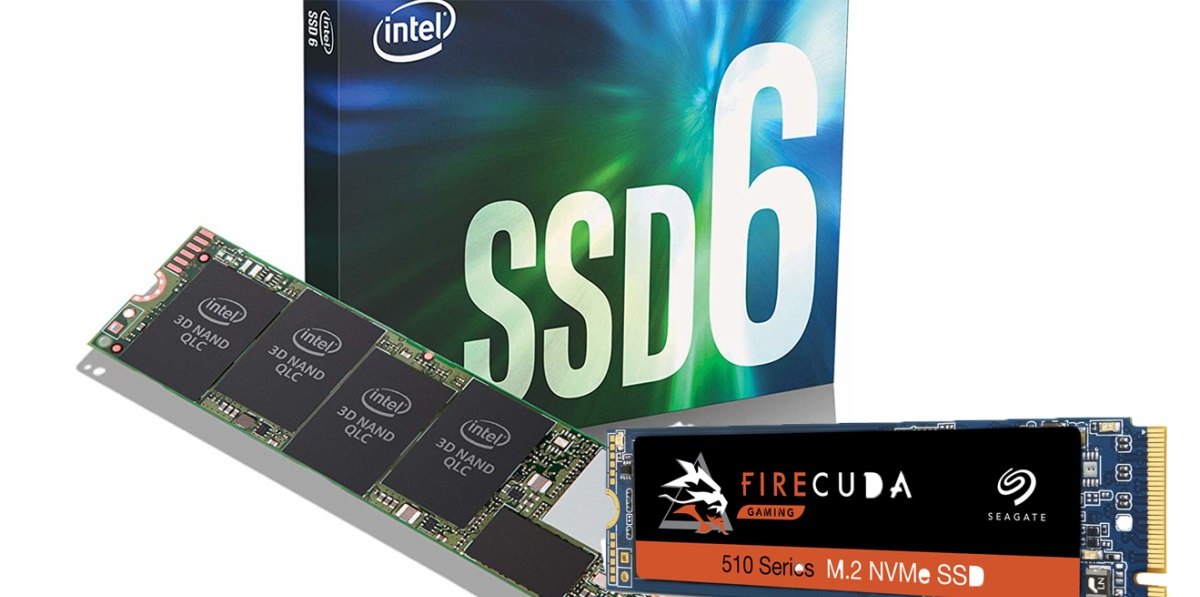
When it comes to upgrading your computer’s storage capacity, upgrading to a faster and more efficient solid-state drive (SSD) is always a wise choice. And among the various types of SSDs available, the NVMe (Non-Volatile Memory Express) SSDs stand out as the cream of the crop. With their lightning-fast performance and impressive read and write speeds, NVMe SSDs have revolutionized data storage in modern computing.
However, there might come a time when you need to transfer or duplicate the contents of your NVMe SSD to another drive. Whether you are upgrading to a larger NVMe SSD or simply need to create a backup, the process of cloning your NVMe SSD can save you a lot of time and effort. Cloning allows you to create an exact replica of your existing drive, including the operating system, applications, and files, which can be seamlessly transferred to the new drive.
In this article, we will explore the different methods and steps to clone your NVMe SSD. Whether you prefer using software or hardware solutions, we have got you covered. By the end of this guide, you will have a clear understanding of how to successfully clone your NVMe SSD, preserving all your valuable data and settings.
What is NVMe SSD?
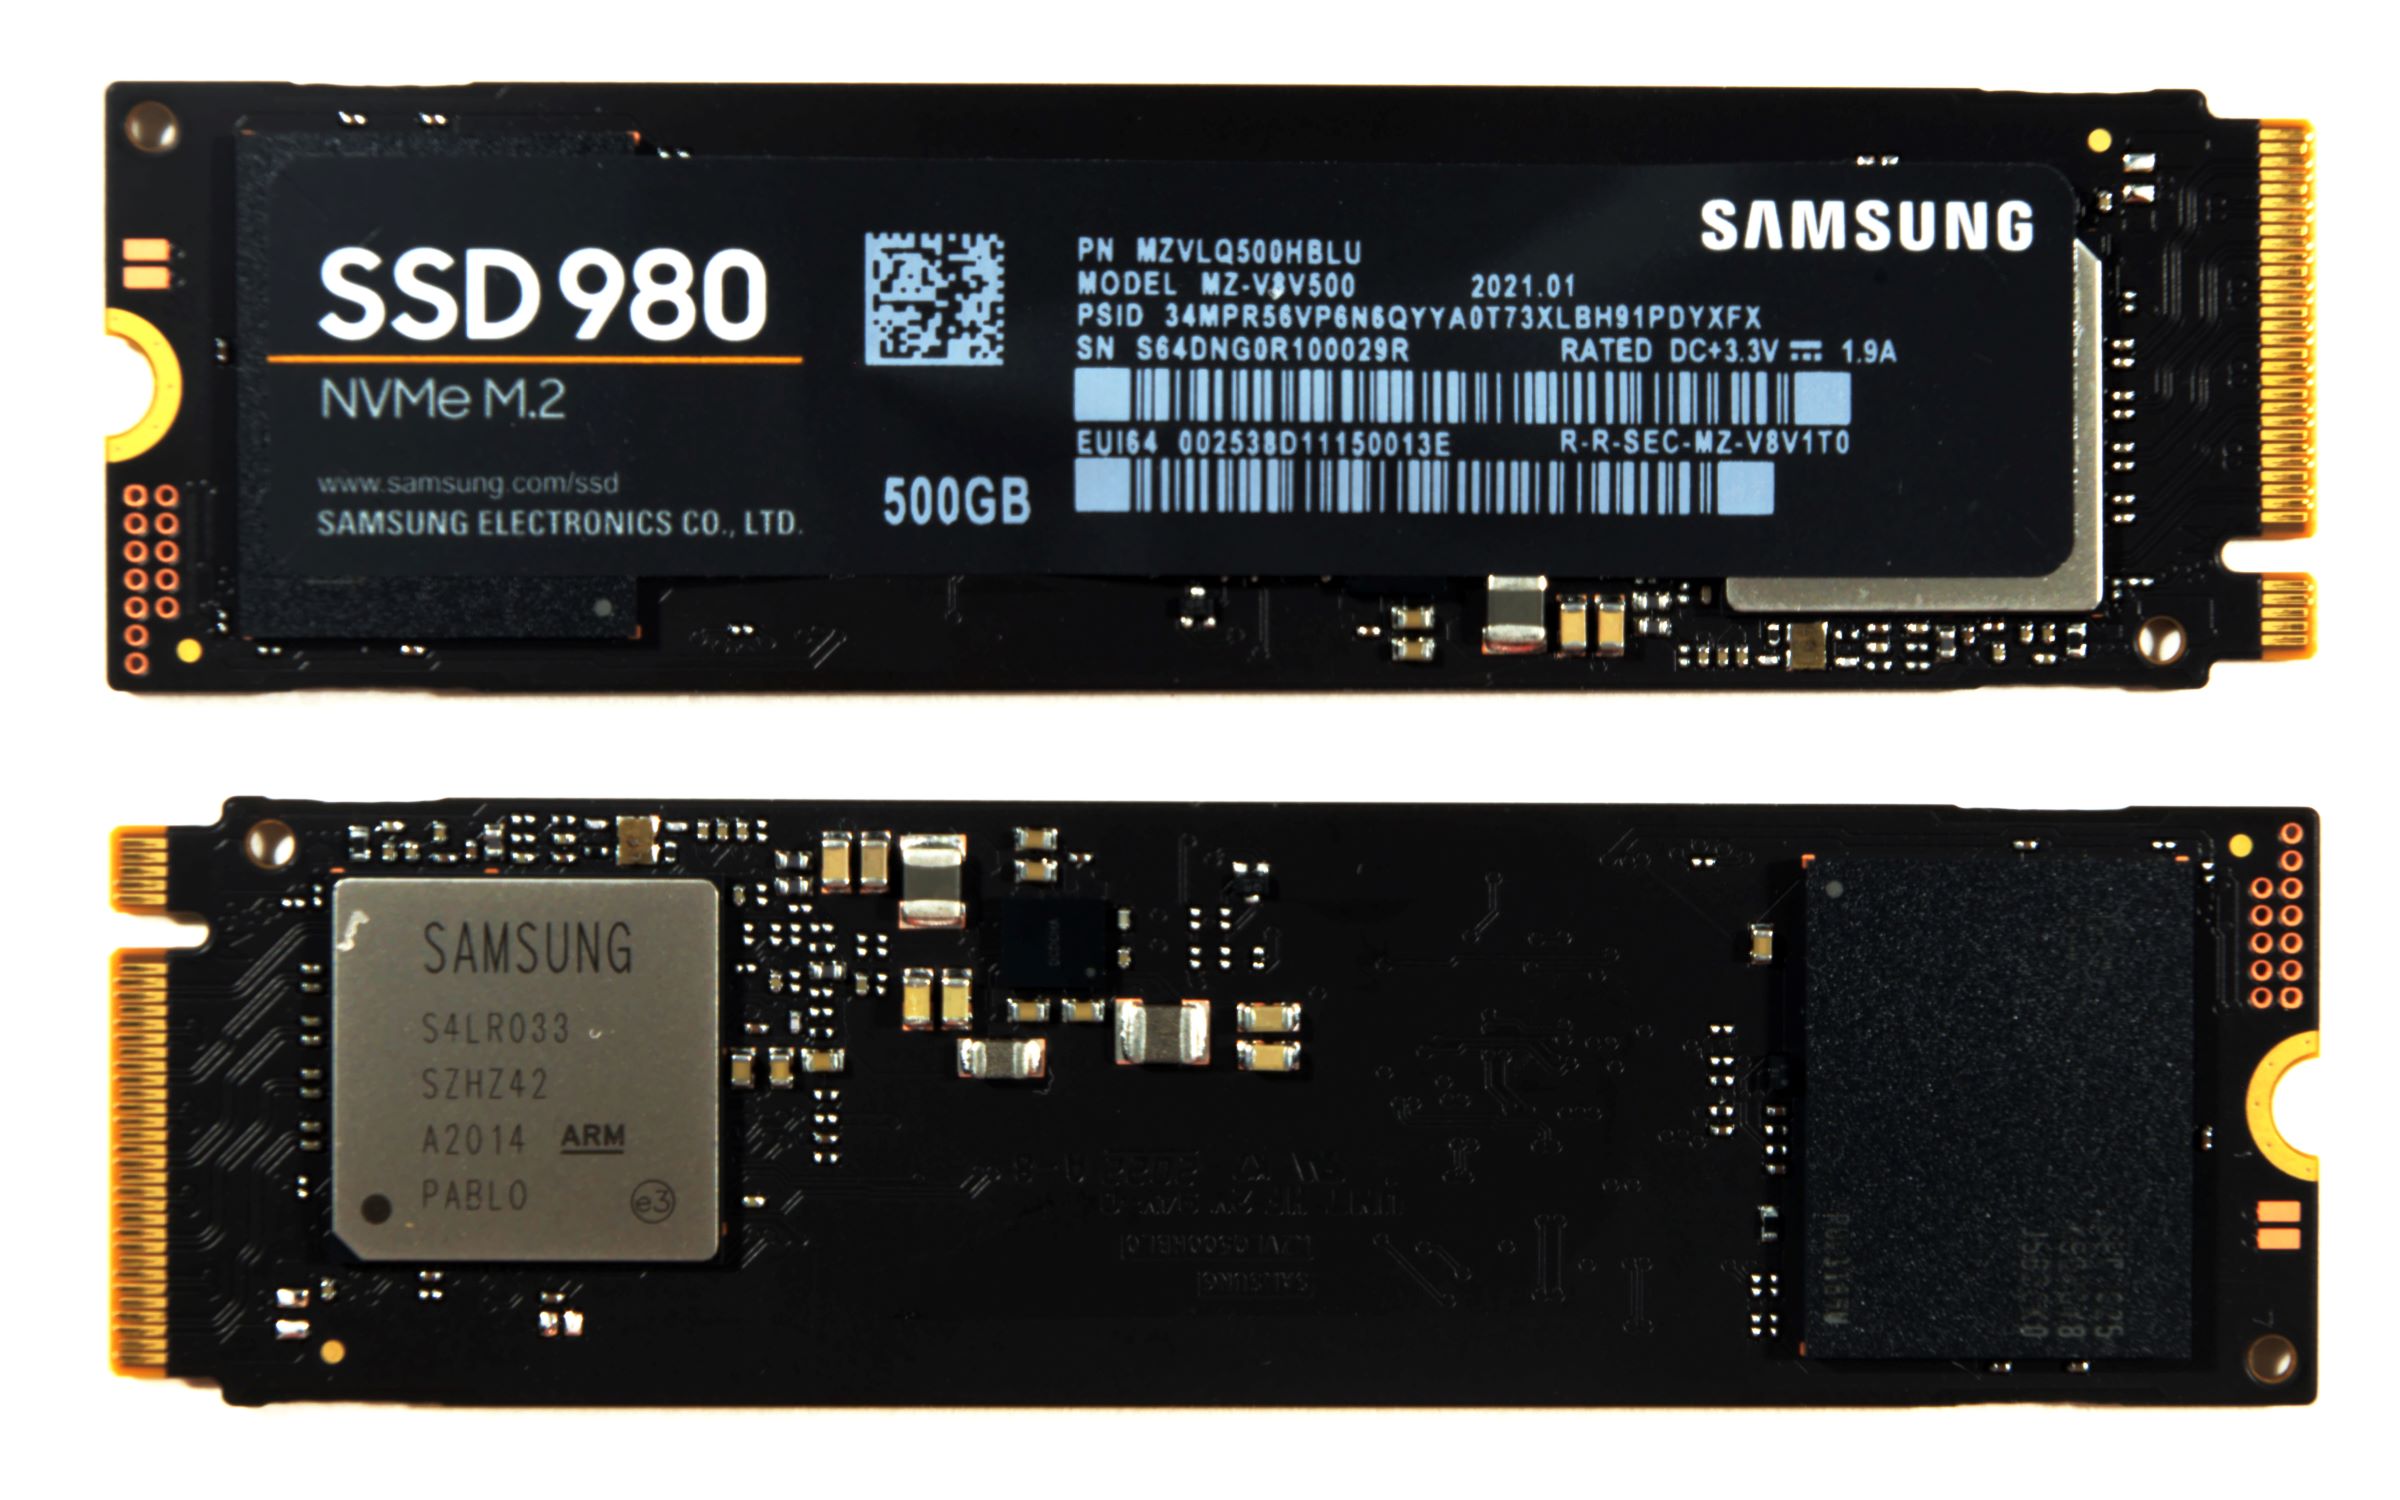
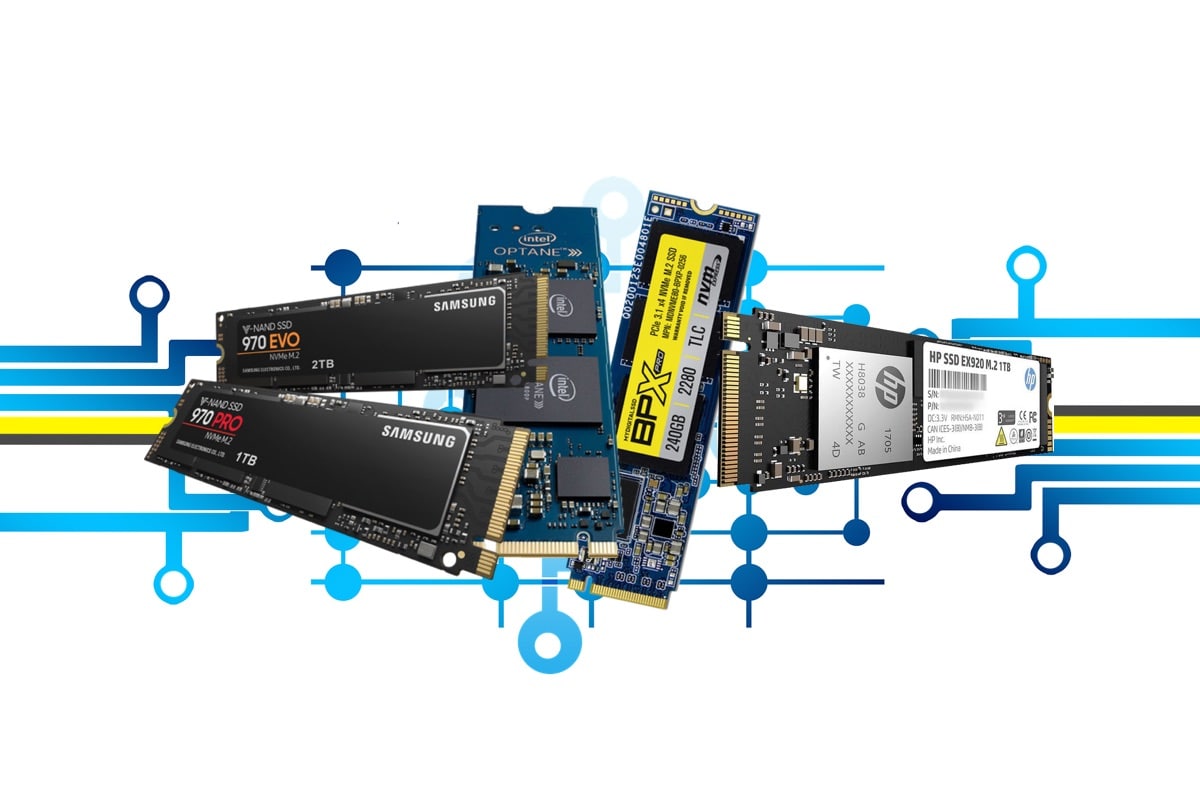
NVMe (Non-Volatile Memory Express) SSD is a type of solid-state drive that uses the NVMe protocol to connect to the computer’s motherboard. It offers significant advantages over traditional storage devices, such as hard disk drives (HDDs) and even older generation SSDs.
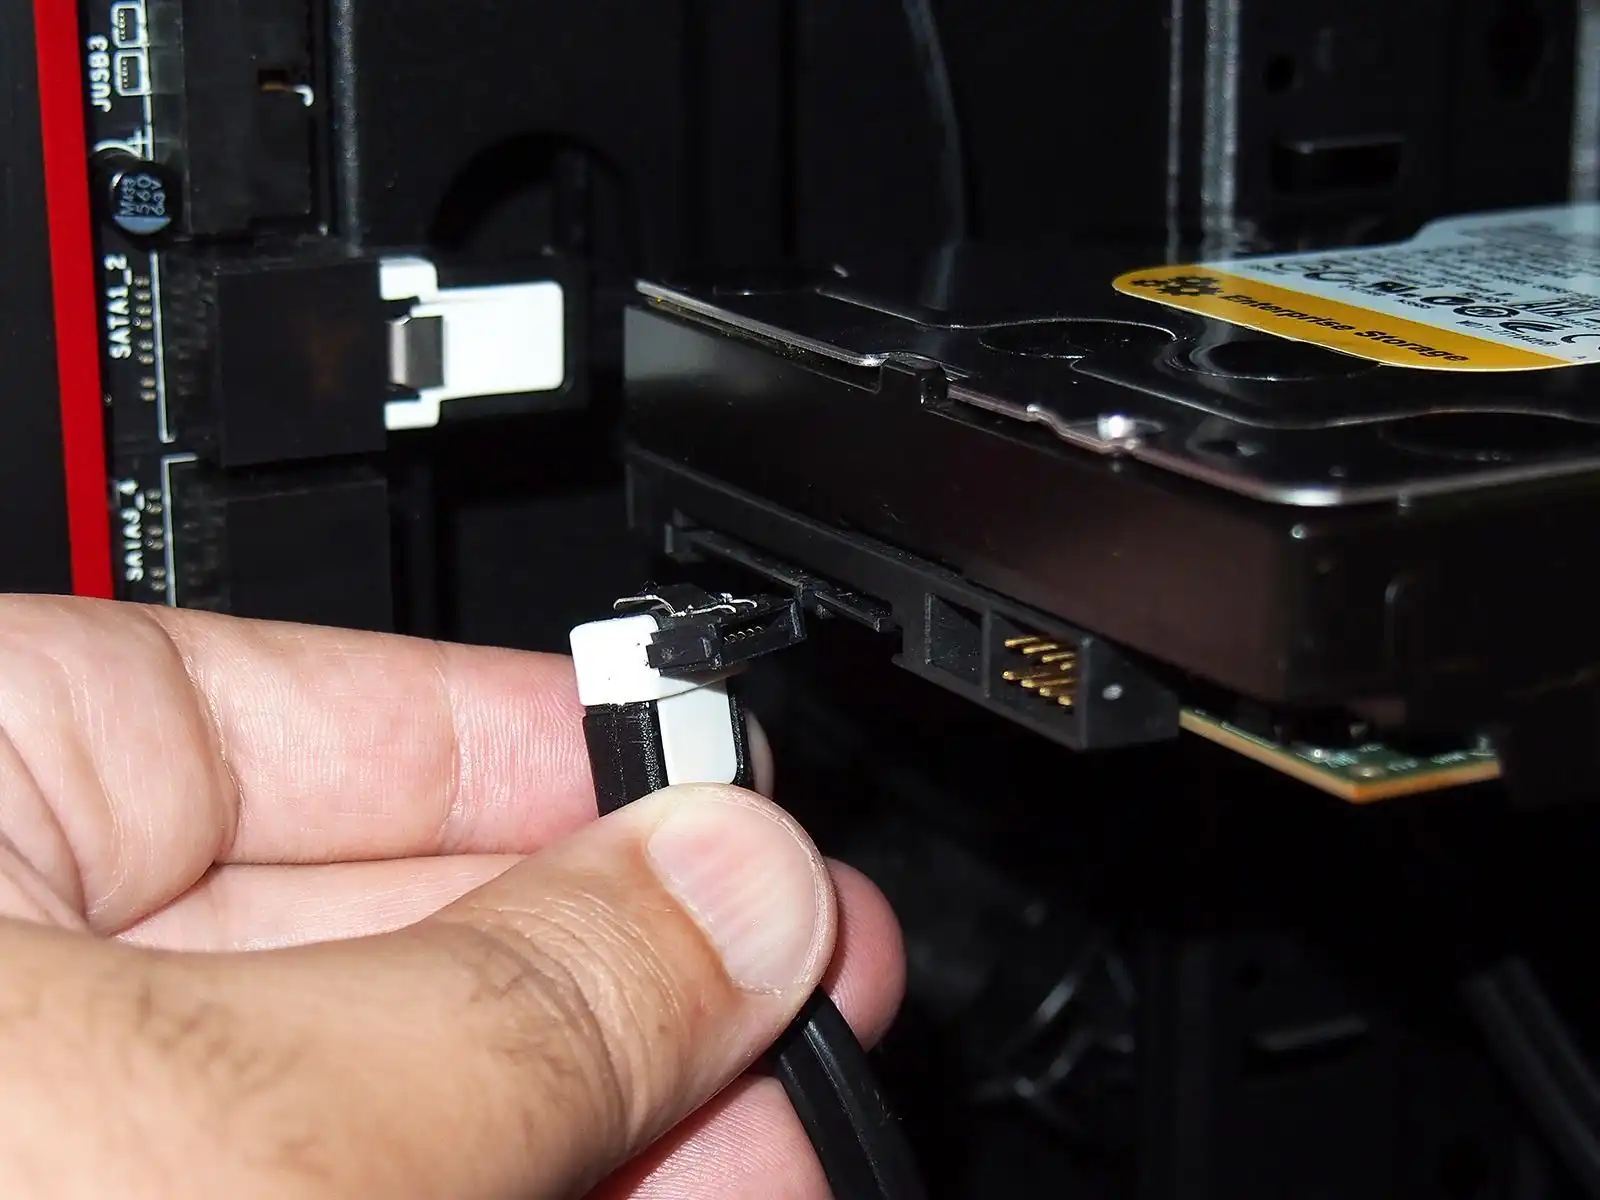
The NVMe protocol is specifically designed for flash-based memory, like SSDs, and utilizes the PCIe (Peripheral Component Interconnect Express) interface to deliver high-speed data transfers. This results in dramatically faster performance and reduced latency compared to SATA (Serial ATA) SSDs.
One of the key features of NVMe SSDs is their exceptionally high data transfer rates. Unlike SATA SSDs, which have a maximum transfer rate of around 600 MB/s, NVMe SSDs can achieve speeds of several gigabytes per second. This makes them ideal for tasks that require quick access to large amounts of data, such as video editing, gaming, and running resource-intensive applications.
Additionally, NVMe SSDs offer superior random read and write speeds, which are crucial for tasks involving small file transfers, like operating system boot times and application launches. With NVMe SSDs, you can experience near-instantaneous loading times and snappy responsiveness, creating a smoother and more efficient computing experience.
Furthermore, NVMe SSDs are known for their enhanced power efficiency, thanks to their ability to enter lower power states when not in use. This not only helps to extend the overall battery life in laptops but also reduces energy consumption in desktop systems.
Overall, NVMe SSDs have revolutionized the storage industry by delivering unparalleled speed and performance. Whether you are a professional video editor, a serious gamer, or a casual computer user looking to optimize your system, upgrading to an NVMe SSD is a surefire way to boost performance and improve overall computing experience.
Reasons to Clone NVMe SSD
There are several reasons why you might need to clone your NVMe SSD. Cloning allows you to create an exact replica of your existing drive, preserving all your data and settings. Here are some common scenarios where cloning your NVMe SSD can be useful:
1. Upgrading to a Larger NVMe SSD: If you find that your current NVMe SSD is running out of storage space, cloning it to a larger capacity drive can help you retain all your data and applications without the need for a fresh installation.
2. Creating a Backup: It’s important to have a backup of your data in case of drive failure, accidental deletion, or system crashes. Cloning your NVMe SSD provides a reliable backup solution that you can quickly restore from.
3. Migrating to a New Computer: When getting a new computer, you may want to transfer your entire system, including the operating system, applications, and files, to the new machine. Cloning your NVMe SSD enables you to seamlessly migrate your system to a new computer, saving you the hassle of reinstalling everything.
4. Testing New Software or Configurations: Before making significant changes to your existing setup, such as installing a new operating system or experimenting with software configurations, cloning your NVMe SSD allows you to create a backup copy that you can revert to if anything goes wrong.
5. Retrieving Data: In the unfortunate event that your NVMe SSD becomes inaccessible or fails, cloning it using specialized software or hardware can be an effective method to recover your valuable data.
Cloning your NVMe SSD provides a convenient and efficient way to transition to a new storage device or create reliable backups. It eliminates the need for tedious file transfers and reinstallations, saving you time and effort while ensuring the continuity and integrity of your data.
Pre-requisites for Cloning NVMe SSD
Before you can clone your NVMe SSD, there are a few pre-requisites that you need to consider. These ensure a smooth and successful cloning process. Here are the important factors to keep in mind:
1. Compatible NVMe SSD: Ensure that the target NVMe SSD, to which you will be cloning your data, is compatible with your computer’s motherboard and supports the NVMe protocol. Check the specifications of both the source and target drives to ensure compatibility.
2. Sufficient Storage Space: The target NVMe SSD must have enough storage capacity to accommodate the data from your source NVMe SSD. It’s essential to calculate the total size of the data you want to clone, including the operating system, applications, and files, to determine if the target drive has enough space.
3. Cloning Software or Hardware: Depending on your preferred method, you will need either cloning software or hardware. Software solutions, such as cloning applications or disk imaging tools, are widely available. Hardware solutions, like external NVMe drive enclosures or docking stations, may be required for certain situations.
4. Backup of Important Data: It’s always a good practice to create a backup of your important files and data before starting the cloning process. While cloning is generally a safe procedure, having a backup provides an extra layer of protection and ensures you have a copy of your data in case of any unforeseen issues.
5. Stable Power Source: Cloning a NVMe SSD requires a stable power source to avoid any interruptions or data corruption. Connect your computer to a reliable power outlet or use a battery backup system to ensure a continuous power supply during the cloning process.
6. Knowledge of Cloning Process: Familiarize yourself with the cloning process and understand the steps involved. Read the user manuals or guides provided with the cloning software or hardware to ensure you are following the correct procedures.
By fulfilling these pre-requisites, you can minimize the risk of potential issues and ensure a successful cloning process. Taking the time to prepare adequately will help you clone your NVMe SSD smoothly and efficiently, without any data loss or system instabilities.
Method 1: Cloning NVMe SSD using Software
Cloning your NVMe SSD using software offers a straightforward and user-friendly approach. The following steps outline the general process of cloning your NVMe SSD using software:
1. Choose Cloning Software: Select cloning software that is compatible with NVMe SSDs. Some popular options include Acronis True Image, EaseUS Todo Backup, and Macrium Reflect. Download and install the software on your computer.
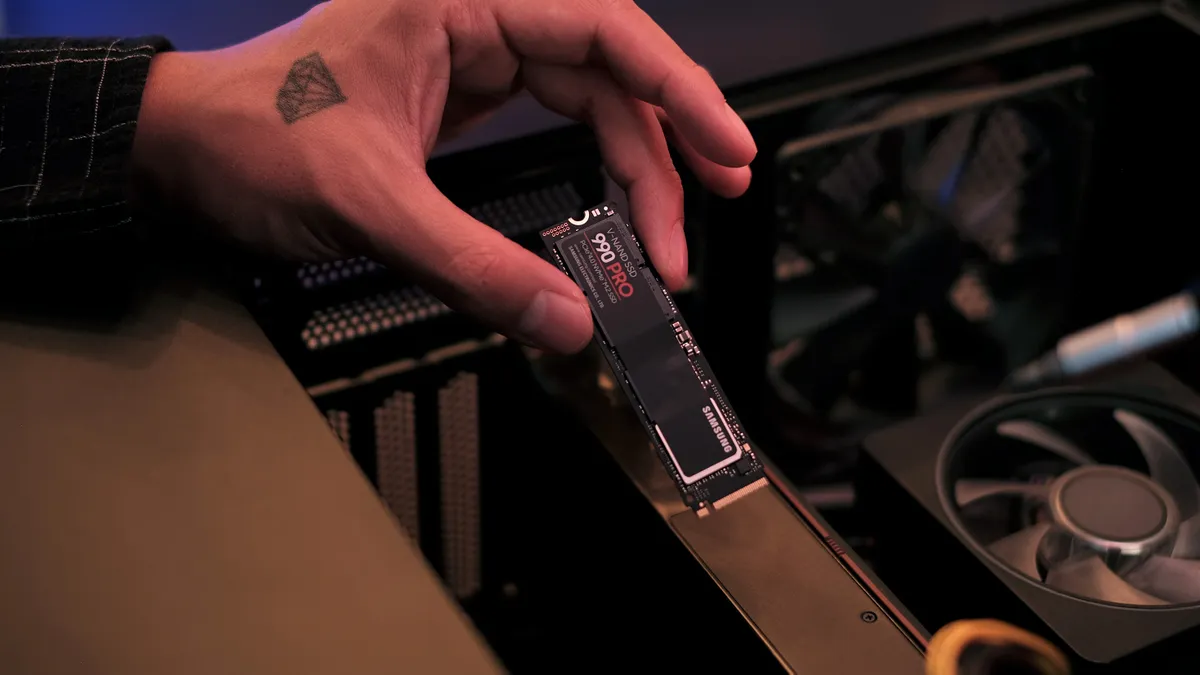
2. Connect the Target NVMe SSD: Install the target NVMe SSD in your computer, ensuring it is properly connected to the motherboard via an available NVMe slot. Make sure to power off your computer and follow the manufacturer’s instructions for installing and securing the drive.
3. Launch the Software: Open the cloning software you installed and navigate to the cloning or disk imaging feature. The interface may differ based on the software you choose, but the general steps remain the same.
4. Select Source and Target Drives: Choose your source NVMe SSD (the one you want to clone) and the target NVMe SSD (where you want to clone the data). Verify the selections to ensure you’ve chosen the correct drives.
5. Configure Cloning Options: Depending on the software you are using, you may have additional options to adjust, such as selecting the partition scheme, resizing partitions, or enabling sector-by-sector cloning. Adjust these settings according to your requirements or keep the default settings if you’re unsure.
6. Initiate the Cloning Process: Start the cloning process by clicking the appropriate button in the software. The cloning software will begin copying all the data from the source NVMe SSD to the target NVMe SSD. This process may take some time, depending on the size of the data being cloned.
7. Verify Successful Cloning: Once the cloning process is complete, the software will notify you. Double-check the target NVMe SSD to ensure that all data has been successfully cloned.
8. Test the Cloned NVMe SSD: To ensure that the cloned NVMe SSD is functioning correctly, you can connect it as the primary drive in your computer and boot into the operating system. Verify that all applications, settings, and files are intact.
Cloning your NVMe SSD using software provides a convenient and efficient way to duplicate your data onto a new drive. It eliminates the need for manual file transfers and ensures that everything, including the operating system and applications, is replicated accurately.
Method 2: Cloning NVMe SSD using Hardware
If you prefer a hardware-based approach or if you don’t have access to specific cloning software, you can clone your NVMe SSD using certain hardware devices or accessories. The following steps outline the general process of cloning your NVMe SSD using hardware:
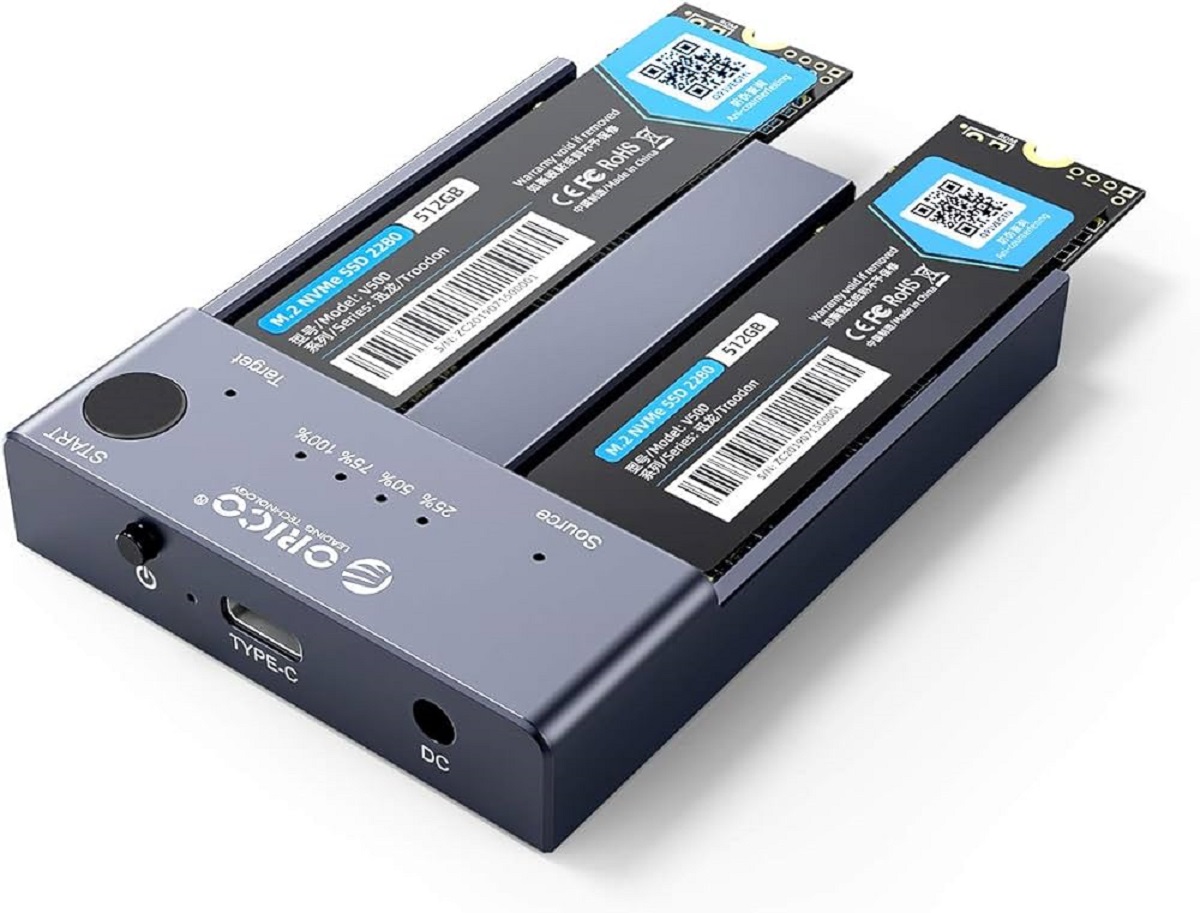
1. Obtain a NVMe Drive Enclosure or Docking Station: Purchase a NVMe drive enclosure or docking station that supports NVMe SSDs. Ensure that the enclosure has the appropriate connectors for your NVMe SSD and the necessary compatibility with your computer.
2. Open the Enclosure or Docking Station: Remove the cover of the NVMe drive enclosure or docking station to access the interior compartments. Follow the manufacturer’s instructions to properly open the enclosure or docking station without damaging any components.
3. Insert the Source and Target NVMe SSDs: Insert the source NVMe SSD (the one you want to clone) and the target NVMe SSD (the drive where you want to clone the data) into their respective slots within the enclosure or docking station. Ensure that the SSDs are properly aligned and seated securely.
4. Connect the Hardware to Your Computer: Connect the NVMe drive enclosure or docking station to your computer using the provided USB or Thunderbolt cable. Ensure that both ends of the cable are securely connected to the hardware and your computer.
5. Power on the Hardware: Power on the NVMe drive enclosure or docking station by pressing the power button or following the manufacturer’s instructions. Check the device’s indicator lights to verify that it is receiving power.
6. Launch Disk Cloning Software: Open disk cloning software on your computer that is compatible with NVMe SSDs. Examples include Clonezilla, Apricorn EZ Gig IV, or StarTech Hard Drive Duplicator. Follow the software’s instructions to initiate the cloning process.
7. Configure Cloning Options: In the disk cloning software, select the appropriate source and target drives (the NVMe SSDs within the enclosure or docking station). Adjust any additional settings, such as the partition scheme or cloning method, according to your preferences.
8. Initiate the Cloning Process: Start the cloning process within the disk cloning software. The software will begin copying all the data from the source NVMe SSD to the target NVMe SSD via the hardware device. The duration of the cloning process may vary depending on the size of the data being cloned.
9. Verify Successful Cloning: Once the cloning process is complete, the software will notify you. Remove the NVMe SSDs from the enclosure or docking station and inspect the target NVMe SSD to ensure that all data has been successfully cloned.
10. Test the Cloned NVMe SSD: Connect the cloned NVMe SSD as the primary drive in your computer and boot into the operating system. Verify that all applications, settings, and files have been replicated accurately, ensuring that the cloned NVMe SSD functions as expected.
Cloning your NVMe SSD using hardware provides an alternative solution if you don’t have access to cloning software or prefer a more physical approach. Using a NVMe drive enclosure or docking station, you can easily duplicate your data onto a new NVMe SSD.
Step-by-Step Guide to Cloning NVMe SSD using Software
Cloning your NVMe SSD using software is a relatively simple process. Follow these step-by-step instructions to successfully clone your NVMe SSD:
1. Choose the Right Cloning Software: Select a cloning software that supports NVMe SSDs. Popular options include Acronis True Image, EaseUS Todo Backup, and Macrium Reflect. Download and install the software on your computer.
2. Connect the Target NVMe SSD: Install the target NVMe SSD into your computer, ensuring it is properly connected and recognized by the system. Use an available NVMe slot on your motherboard and follow the manufacturer’s instructions for installation.
3. Launch the Cloning Software: Open the cloning software you installed and locate the cloning or disk imaging feature. The interface may vary depending on the software, but the general steps are similar.
4. Select Source and Target Drives: Choose the source NVMe SSD (the one you want to clone) and the target NVMe SSD (where you want to clone the data). Verify that you have correctly selected the drives before proceeding.
5. Configure Cloning Options: Depending on the software, you may have additional options to adjust during the cloning process. This can include selecting the partition scheme, resizing partitions, or enabling sector-by-sector cloning. Customize these settings according to your requirements or use the default settings if you are unsure.
6. Start the Cloning Process: Initiate the cloning process by clicking the appropriate button in the software interface. The software will begin cloning all data from the source NVMe SSD to the target NVMe SSD. The duration of the process will depend on the size of the data being cloned.
7. Monitor the Cloning Process: Keep an eye on the progress of the cloning process. The software will provide a progress bar or estimated time remaining. Avoid interrupting the process or shutting down your computer to prevent any data loss or corruption.
8. Verify Successful Cloning: Once the cloning process is complete, the software will notify you. Double-check the target NVMe SSD to ensure that all data has been successfully cloned. Compare the files, applications, and folders to ensure everything has been replicated accurately.
9. Test the Cloned NVMe SSD: Connect the cloned NVMe SSD as the primary drive in your computer and boot into the operating system. Test various applications, files, and settings to verify that everything has been cloned successfully. Ensure the cloned NVMe SSD functions as expected.
By following these step-by-step instructions, you can clone your NVMe SSD using software and ensure that all data and applications are successfully replicated onto the target drive. Remember to choose reliable and compatible software and carefully follow the instructions to guarantee a smooth and error-free cloning process.
Step-by-Step Guide to Cloning NVMe SSD using Hardware
Cloning your NVMe SSD using hardware provides an alternative method for duplicating your data onto a new drive. Follow these step-by-step instructions to clone your NVMe SSD using hardware:
1. Obtain a NVMe Drive Enclosure or Docking Station: Purchase a NVMe drive enclosure or docking station that supports NVMe SSDs. Make sure it is compatible with your NVMe SSD and your computer’s interface (USB or Thunderbolt).
2. Open the Enclosure or Docking Station: Open the NVMe drive enclosure or docking station according to the manufacturer’s instructions. Be careful not to damage any components while accessing the interior compartments.
3. Insert the Source NVMe SSD: Insert the source NVMe SSD, the drive you want to clone, into the appropriate slot or connector within the enclosure or docking station. Ensure that it is securely connected and properly aligned.
4. Insert the Target NVMe SSD: Insert the target NVMe SSD, the drive where you want to clone the data, into another slot or connector within the enclosure or docking station. Ensure it is securely connected and properly aligned as well.
5. Connect the Hardware to Your Computer: Connect the NVMe drive enclosure or docking station to your computer using the provided USB or Thunderbolt cable. Ensure that both ends of the cable are securely inserted into their respective ports.
6. Power on the Hardware: Power on the NVMe drive enclosure or docking station by following the manufacturer’s instructions. Check the device’s indicator lights to verify that it is receiving power.
7. Launch Disk Cloning Software: Open disk cloning software on your computer that is compatible with NVMe SSDs. Popular options include Clonezilla, Apricorn EZ Gig IV, or StarTech Hard Drive Duplicator. Follow the software’s instructions to initiate the cloning process.
8. Select Source and Target Drives: In the disk cloning software, select the source NVMe SSD (within the enclosure or docking station) and the target NVMe SSD (where you want to clone the data). Double-check your selections to ensure accuracy.
9. Configure Cloning Options: Adjust any additional settings within the disk cloning software, such as the partition scheme or cloning method, according to your preferences or use the default settings provided by the software.
10. Initiate the Cloning Process: Start the cloning process within the disk cloning software. The software will begin copying all data from the source NVMe SSD to the target NVMe SSD via the hardware device. The duration of the cloning process will depend on the size of the data being cloned.
11. Monitor the Cloning Process: Keep an eye on the progress of the cloning process in the disk cloning software. Make sure not to interrupt or turn off your computer during the process to avoid data corruption or loss.
12. Verify Successful Cloning: Once the cloning process is complete, the disk cloning software will notify you. Disconnect the NVMe SSDs from the enclosure or docking station and inspect the target NVMe SSD to ensure that all data has been successfully cloned.
13. Test the Cloned NVMe SSD: Connect the cloned NVMe SSD as the primary drive in your computer and boot into the operating system. Test various applications, files, and settings to ensure that everything has been cloned accurately. Make sure the cloned NVMe SSD functions as expected.
By following these step-by-step instructions, you can clone your NVMe SSD using hardware and ensure that all data and applications are successfully duplicated onto the target drive. Remember to use compatible hardware and follow the instructions of the disk cloning software for a successful cloning process.
Tips for Successful NVMe SSD Cloning
Cloning your NVMe SSD can be a straightforward process, but it’s important to follow a few tips to ensure a successful outcome. Here are some useful tips to keep in mind when cloning your NVMe SSD:
1. Choose Reliable Cloning Software: Select a reputable and reliable cloning software that is specifically designed for NVMe SSDs. Look for software that offers good customer reviews, regular updates, and a user-friendly interface.
2. Ensure Compatibility: Verify the compatibility of your target NVMe SSD with your computer’s motherboard and the cloning software. Ensure that your computer’s firmware and drivers are up to date to support NVMe SSD cloning.
3. Backup Your Data: Always create a backup of your important files and data before attempting to clone your NVMe SSD. This serves as a fail-safe in case the cloning process encounters any issues or if data loss occurs.
4. Close Unnecessary Applications: Close all running applications and processes that are not essential during the cloning process. This helps to prevent any interference and ensures a smoother cloning experience.
5. Use High-Quality Cables and Connections: Make sure to use reliable and high-quality cables and connections when connecting your NVMe SSD to the computer or the cloning hardware. Poor-quality cables can cause data transfer issues or interruptions during the cloning process.
6. Choose the Right Cloning Method: Depending on your cloning software, you may have different cloning methods available, such as file-level cloning or sector-by-sector cloning. Understand the differences between these methods and choose the one that best suits your needs.
7. Be Patient: Cloning an NVMe SSD can take some time, especially if you are transferring a large amount of data. Be patient and allow the cloning process to complete without interruptions. Avoid interrupting the process as it may lead to data corruption or incomplete cloning.
8. Verify Cloning Results: After the cloning process is complete, double-check the cloned NVMe SSD to ensure that all data and applications have been successfully transferred. Test various files and applications on the cloned drive to ensure accuracy.
9. Update Drivers and Firmware: After successfully cloning your NVMe SSD, update the drivers and firmware for your new drive. This ensures optimal performance and compatibility with your system.
10. Keep the Source Drive as a Backup: Once you have confirmed that the cloning process was successful, keep your original source NVMe SSD as a backup. This offers an additional layer of protection in case any issues arise with the cloned drive.
By following these tips, you can increase your chances of a successful NVMe SSD cloning process. Remember to take your time, ensure compatibility, and monitor the process closely to ensure the integrity of your data throughout the cloning process.
Conclusion
Cloning your NVMe SSD is a valuable process that allows you to duplicate your data onto another drive seamlessly. Whether you choose to use software or hardware, the cloning process offers several benefits such as upgrading to a larger NVMe SSD, creating backups, migrating to a new computer, testing new configurations, and retrieving data from a failed drive.
When utilizing software for NVMe SSD cloning, it is crucial to select reliable cloning software specifically designed for NVMe SSDs. Following the proper steps, including selecting the source and target drives, configuring the cloning options, and verifying the successful cloning, ensures a smooth process and accurate replication of your data.
If you prefer a hardware-based approach, obtaining a NVMe drive enclosure or docking station can provide an alternative method for cloning your NVMe SSD. Following the step-by-step instructions, which involve inserting the source and target NVMe SSDs into the hardware, connecting it to your computer, and initiating the cloning process through disk cloning software, allows for a successful duplication of your data.
To maximize your chances of success, it is recommended to keep a few tips in mind, such as choosing reliable software, ensuring compatibility, backing up your data, using high-quality cables, being patient, and verifying the cloning results.
By following these guidelines, you can confidently clone your NVMe SSD and enjoy the benefits of a seamless transition to a new drive, quick data replication, and efficient storage management. Remember to always exercise caution, double-check your actions, and refer to the specific instructions provided by your cloning software or hardware for a successful cloning process.