Introduction
Welcome to the world of Nvme SSDs! In this fast-paced digital era, where time is of utmost value, having a high-performance storage solution is essential. Nvme SSDs, or Non-Volatile Memory Express Solid State Drives, have emerged as the new standard in storage technology, offering incredible speed and reliability.
With Nvme SSDs, you can experience lightning-fast boot times, instant application launches, and seamless data transfers. Whether you are a gamer, a content creator, or simply someone who demands maximum efficiency from their computer, Nvme SSDs are the answer to your storage needs.
In this article, we will explore the world of Nvme SSDs, their benefits, and how to enable them on your system. From checking compatibility to configuring your BIOS settings, we will guide you through the process of installing and optimizing your Nvme SSD.
But before we delve into the details, let’s take a moment to understand what exactly Nvme SSDs are and why they have become the go-to choice for storage enthusiasts worldwide.
What is Nvme SSD?
Nvme SSD, which stands for Non-Volatile Memory Express Solid State Drive, is a type of high-performance storage device that utilizes the Nvme interface protocol. Unlike traditional hard disk drives (HDDs), which rely on mechanical components to read and write data, Nvme SSDs leverage flash memory technology to deliver superior speed and reliability.
The Nvme interface protocol was specifically designed to take full advantage of the speed and low latency offered by SSDs. It allows for faster data transfer rates, lower power consumption, and higher input/output (I/O) operations per second (IOPS) compared to traditional storage interfaces like SATA.
One of the key factors that contribute to the superior performance of Nvme SSDs is the use of PCIe (Peripheral Component Interconnect Express) connectivity. By connecting directly to the computer’s PCIe bus, Nvme SSDs can bypass the limitations of SATA interfaces and deliver blazing-fast speeds.
Furthermore, Nvme SSDs are built with advanced flash memory technologies such as 3D NAND, which allow for larger storage capacities and increased durability. This means that you can enjoy both high-speed performance and ample storage space, making Nvme SSDs an ideal choice for power users, gamers, and professionals who require fast and reliable storage.
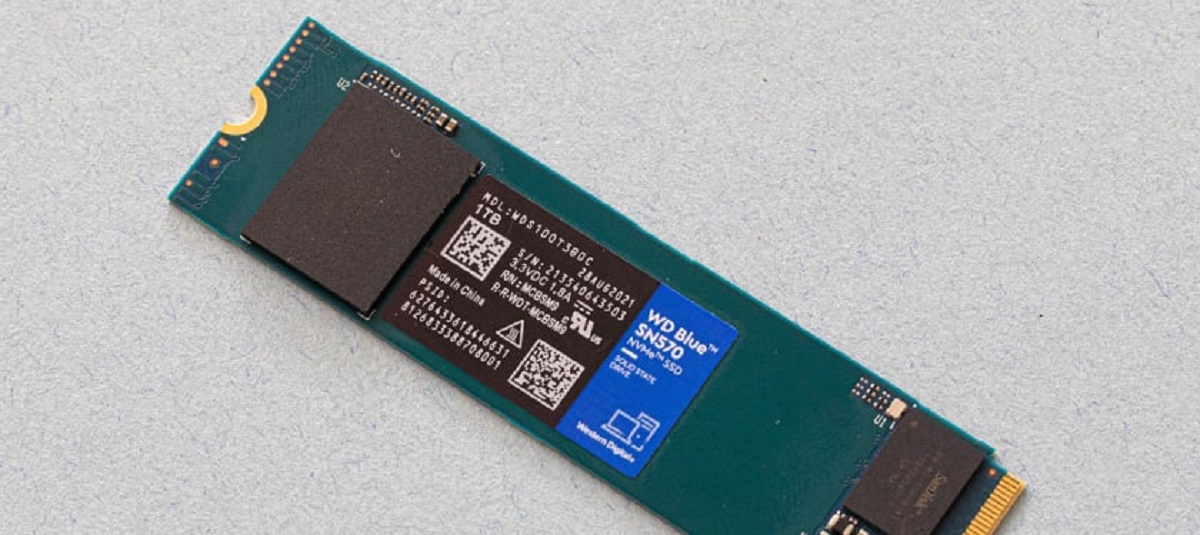
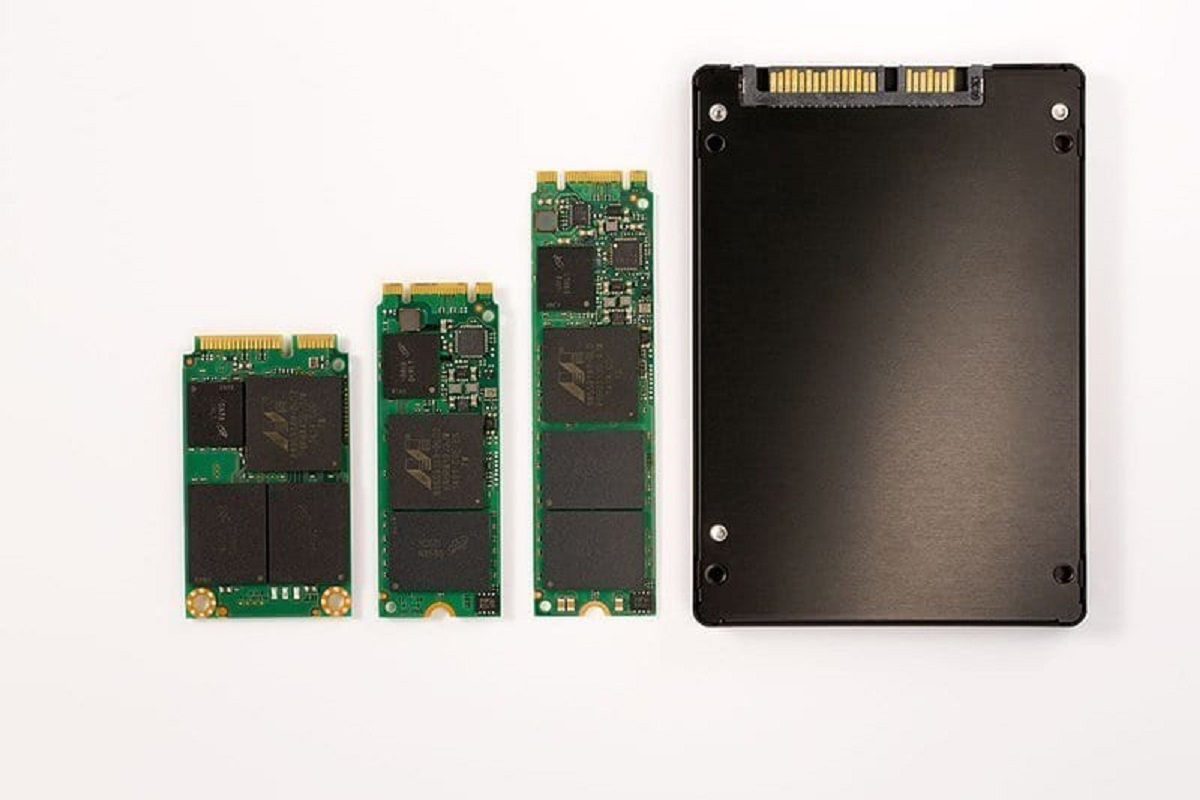
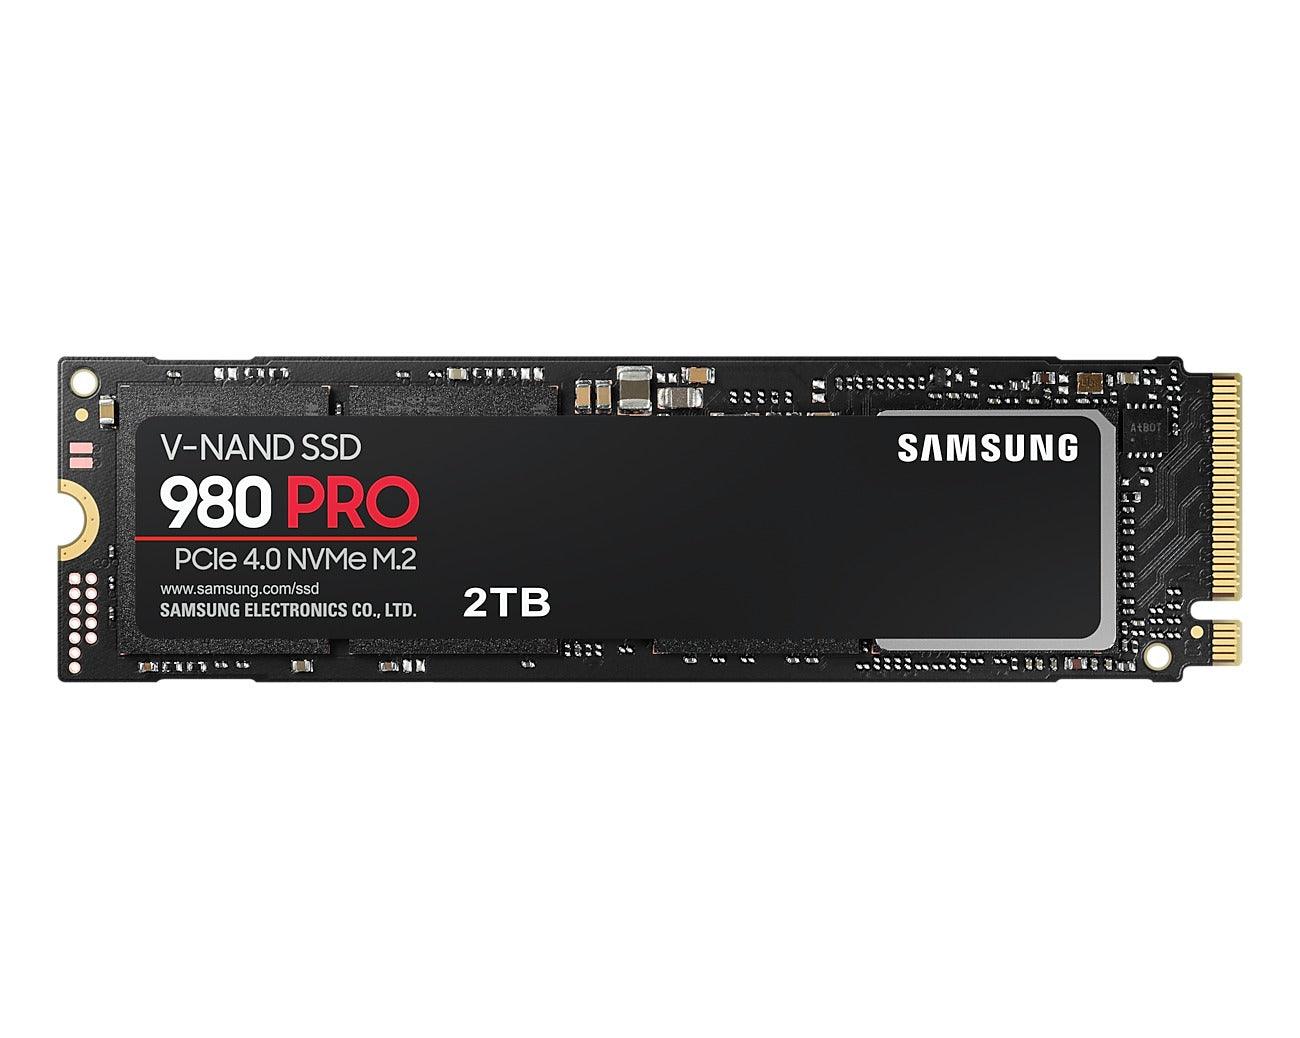
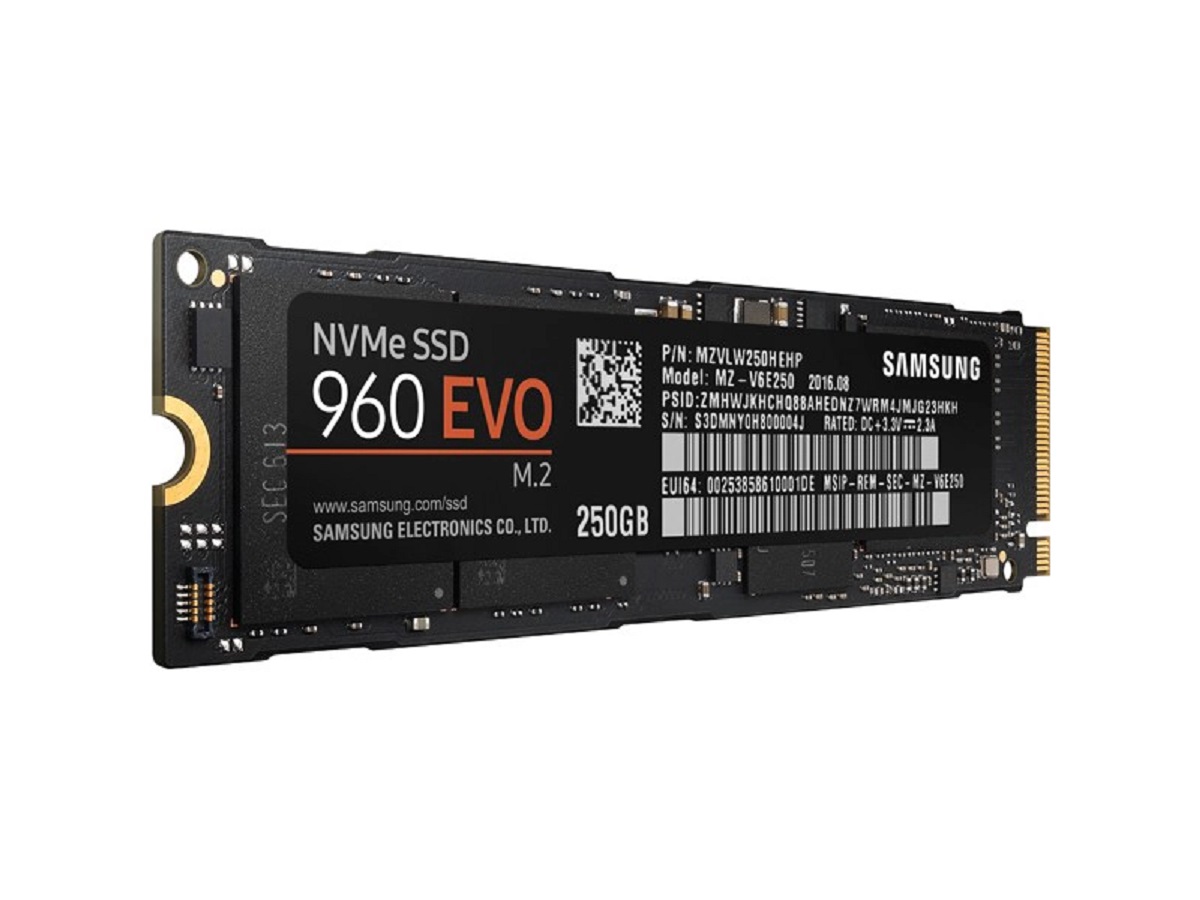
It is worth mentioning that Nvme SSDs come in various form factors, including M.2 and PCIe add-in cards. The M.2 form factor, in particular, has gained popularity due to its compact size and compatibility with a wide range of devices, including laptops, desktops, and even some ultrabooks.
In summary, Nvme SSDs are cutting-edge storage devices that utilize the Nvme interface protocol and PCIe connectivity to deliver lightning-fast speeds, high IOPS, and increased storage capacity. With their superior performance and reliability, Nvme SSDs have revolutionized the storage industry and are a must-have for anyone seeking optimal performance from their computer.
Benefits of using Nvme SSD
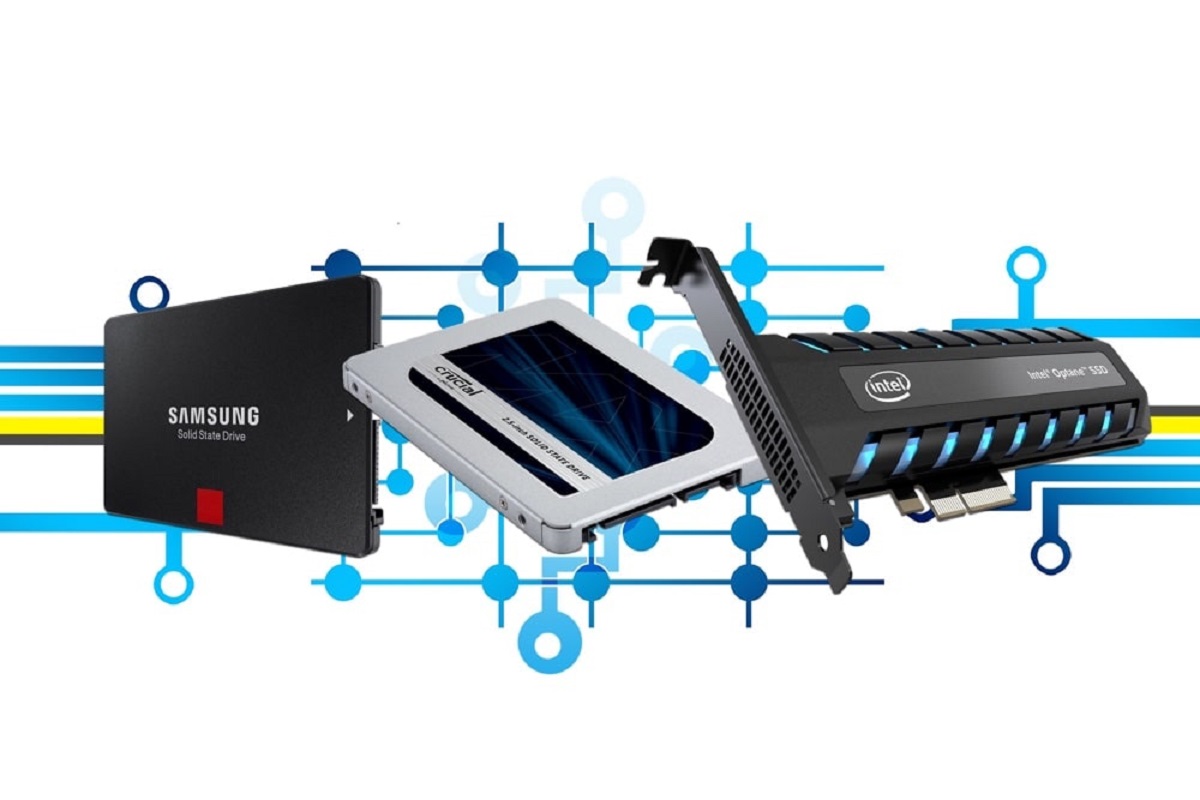
Choosing an Nvme SSD over a traditional HDD or even a SATA SSD comes with numerous benefits. Let’s explore some of the key advantages that make Nvme SSDs the preferred choice for storage enthusiasts:
- Lightning-fast speed: Nvme SSDs offer significantly faster read and write speeds compared to traditional storage options. With sequential read and write speeds reaching several gigabytes per second, you can experience near-instant boot times, faster application launches, and snappy system performance.
- Low latency and quick response times: The Nvme interface minimizes latency, resulting in faster data access and reduced waiting times. This leads to a more responsive computing experience, especially when multitasking or running resource-intensive applications.
- Enhanced gaming experience: Gamers can benefit greatly from Nvme SSDs. In addition to quicker game load times, Nvme SSDs ensure smoother gameplay with reduced texture pop-ins and faster asset streaming. This allows gamers to fully immerse themselves in their favorite games without experiencing slowdowns or lag.
- Improved productivity and workflow: Whether you are a content creator, a professional working with large files, or a multitasker who frequently switches between applications, Nvme SSDs can significantly enhance your productivity. With fast data transfer rates and quick access to files, you can efficiently handle demanding tasks and complete projects in less time.
- Energy efficiency: Nvme SSDs consume less power compared to traditional HDDs. This not only helps reduce your electricity bill but also results in longer battery life for laptops and portable devices.
- Reliability and durability: Nvme SSDs are built with advanced flash memory technologies, such as 3D NAND, which provide greater endurance and reliability. They are more resistant to physical shocks, vibrations, and temperature variations, ensuring your data remains safe and accessible even in challenging environments.
These are just a few of the many benefits of using Nvme SSDs. Whether you are a power user, a gamer, or someone who simply values speed and efficiency, upgrading to an Nvme SSD can greatly enhance your computing experience and future-proof your storage needs.
Checking if your system supports Nvme SSD
Before diving into the installation process, it is crucial to ensure that your system is compatible with Nvme SSDs. Here are a few methods to check if your system supports Nvme SSD:
- Check your motherboard specifications: The first step is to identify your motherboard model and check its specifications. Visit the manufacturer’s website or refer to the motherboard manual to find information about supported storage interfaces. Look for mentions of Nvme or M.2 support to confirm compatibility.
- Check BIOS/UEFI settings: Access your computer’s BIOS/UEFI settings by restarting your system and pressing the designated key during startup (usually Del, F2, or Esc). Navigate to the storage configuration or advanced settings section and look for options related to storage devices. If you find settings specifically mentioning Nvme or M.2 drives, it indicates support for Nvme SSDs.
- Check the physical slots: If your motherboard supports M.2 drives, visually inspect the motherboard for M.2 slots. They typically resemble small rectangular sockets labeled as M.2 with varying lengths. Keep in mind that there may be different M.2 slots with different interfaces, so ensure you have the correct type (preferably M.2 Nvme).
- Consult the manufacturer: If you are uncertain about your system’s compatibility, you can reach out to the manufacturer’s support team for clarification. Provide them with your system details, including the motherboard model, and inquire about Nvme SSD support.
It is worth noting that even if your system doesn’t support Nvme SSDs, there may be workarounds or additional components, such as PCIe adapter cards, that can enable Nvme functionality. However, it is recommended to check official specifications and consult with experts to avoid potential compatibility issues or performance limitations.
By confirming the compatibility of your system with Nvme SSDs, you can proceed with the installation process with confidence, knowing that your hardware is capable of harnessing the full potential of these high-performance storage devices.
Configuring your BIOS settings
After ensuring that your system supports Nvme SSDs, the next step is to configure your BIOS settings to enable proper detection and utilization of the drive. Here’s a step-by-step guide to help you through the process:
- Restart your computer and access BIOS: Start by restarting your system. During the startup process, look for the key to access the BIOS settings, which is typically displayed on the screen. Common keys include Del, F2, or Esc. Press the designated key to enter BIOS.
- Navigate to the storage configuration: Once in the BIOS, navigate to the storage configuration or advanced settings section. The exact location may vary depending on your motherboard make and model.
- Enable Nvme support: Look for an option to enable Nvme or M.2 support. This setting may be labeled differently depending on your BIOS interface. Enable the Nvme or M.2 functionality to ensure the proper detection and utilization of the Nvme SSD.
- Set the Nvme SSD as the primary boot option (optional): If you’re planning to use the Nvme SSD as your system boot drive, navigate to the boot settings section and set the Nvme SSD as the primary boot option. This will ensure that your system boots directly from the Nvme SSD, maximizing the speed and performance benefits.
- Save and exit: After making the necessary changes, save the settings and exit the BIOS interface. Your system will restart, and the changes will take effect.
It’s important to note that the exact steps and options within the BIOS may vary depending on your motherboard manufacturer and BIOS version. Refer to your motherboard’s manual or the manufacturer’s support website if you encounter any difficulties or need further assistance.
By properly configuring your BIOS settings, you can ensure that your system is ready to utilize the full potential of the Nvme SSD. This step is crucial in enabling the proper detection and performance of the drive, so take your time and double-check the settings before proceeding to the next steps.
Installing the Nvme SSD into your system
Now that you have confirmed compatibility and configured your BIOS settings, it’s time to install the Nvme SSD into your system. Follow these steps to ensure a smooth installation process:
- Power off your system: Before opening your computer case, make sure to power off your system and unplug it from the power source. This will prevent any potential electrical damage and ensure your safety.
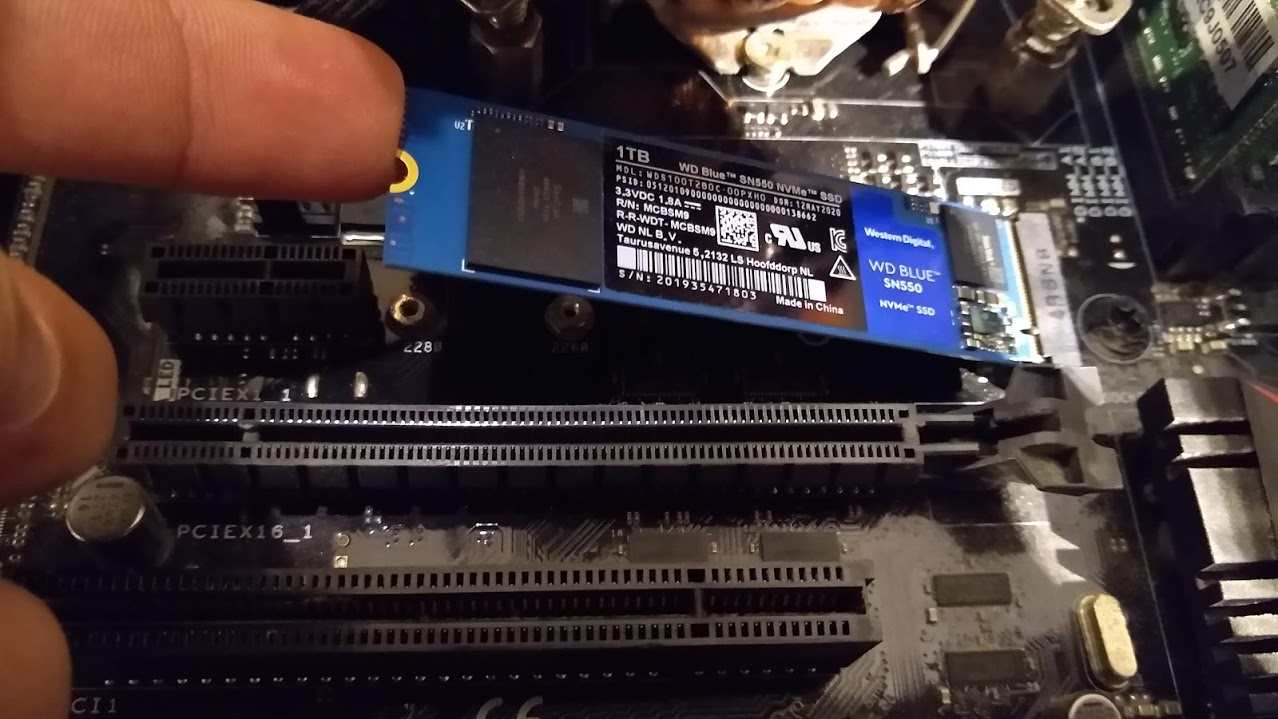
- Locate the M.2 slot: Identify the M.2 slot on your motherboard where the Nvme SSD will be installed. This slot is typically labeled and can usually be found near the CPU socket or along the edge of the motherboard.
- Prepare the SSD: If your Nvme SSD is an M.2 stick type, align the notches on the SSD connector with the keying or socket on the M.2 slot. Gently insert the drive at an angle and press it down until it is firmly seated. If your Nvme SSD is in the form of a PCIe card, locate an available PCIe slot on your motherboard and insert the card into the slot, making sure it is properly aligned.
- Secure the SSD: If your motherboard has a standoff screw for securing M.2 drives, find the corresponding screw hole on the SSD and secure it with the standoff screw. If you’re installing a PCIe card, use a screw to secure the card to the case or to any available PCIe slot bracket.
- Close the computer case: Once the Nvme SSD is securely installed, carefully close your computer case and fasten any screws or latches to secure it.
- Connect cables: If you are installing an M.2 SSD, there is no need to connect any cables as they will interface directly with the motherboard. However, if you’re using a PCIe card, make sure to connect any required power cables or data cables specified by your SSD and motherboard documentation.
- Power on your system: After everything is properly installed and connected, plug your system back into the power source and power it on. The Nvme SSD should now be recognized by your system.
It’s essential to consult your motherboard’s manual or manufacturer’s documentation for any specific instructions or precautions regarding the installation of Nvme SSDs. Following the correct installation procedure will ensure that your Nvme SSD is properly installed and ready for use.
Checking if the Nvme SSD is recognized
After installing the Nvme SSD into your system, it’s important to verify that it is properly recognized by your computer. Here are a few steps to check if your Nvme SSD is recognized:
- Boot into your operating system: Power on your computer and allow it to boot into the operating system.
- Open Disk Management: In Windows, you can open Disk Management by right-clicking the Start button and selecting “Disk Management” from the menu. This will display a list of all the storage devices connected to your computer.
- Locate the Nvme SSD: In Disk Management, look for the newly installed Nvme SSD. It should be listed as a separate disk, possibly labeled with its capacity. If you can see the Nvme SSD in the list, it means that the drive is recognized by your system.
- Verify the drive information: Right-click on the Nvme SSD disk and select “Properties” from the menu. This will display information about the drive, including its capacity, file system, and health status. Ensure that the drive information matches the specifications of your Nvme SSD.
- Confirm drive functionality: To further confirm that the Nvme SSD is functioning correctly, you can perform a quick read/write test. Copying a small file to or from the Nvme SSD and verifying its speed and responsiveness can help verify its performance.
If you cannot see the Nvme SSD in Disk Management or encounter any errors, ensure the drive is properly installed and connected. Check the BIOS settings again to ensure the Nvme SSD is enabled. If the drive is still not recognized, try updating your motherboard’s BIOS firmware or consulting the manufacturer’s support for further assistance.
It’s important to note that some operating systems may require additional drivers for Nvme SSDs to function correctly. If your Nvme SSD is not recognized, check the manufacturer’s website for any available drivers or firmware updates that may be required.
By confirming that your Nvme SSD is recognized and functioning correctly, you can proceed with the next steps of initializing and formatting the drive to make it ready for use.
Initializing and formatting the Nvme SSD
Once your system recognizes the Nvme SSD, the next step is to initialize and format the drive to make it usable. Here’s how you can initialize and format the Nvme SSD:
- Open Disk Management: In Windows, right-click the Start button and select “Disk Management” from the menu. This will open the Disk Management tool, which displays all the connected storage devices.
- Identify the Nvme SSD: Look for the Nvme SSD in the list of disks. It should be labeled with its capacity and display as “Unallocated” or “Not Initialized”.
- Initialize the Nvme SSD: Right-click on the unallocated Nvme SSD and select “Initialize Disk” from the menu. In the Initialize Disk dialog box, choose the partition style (either MBR or GPT) and click “OK”.
- Create a new partition: Right-click on the newly initialized Nvme SSD and select “New Simple Volume” from the menu. Follow the on-screen instructions to create a new partition, specify the partition size, assign a drive letter, and choose the file system (typically NTFS for Windows).
- Format the partition: After creating the partition, right-click on it and select “Format” from the menu. Choose the desired file system, and optionally provide a volume label and allocation unit size. Click “OK” to start the formatting process.
- Wait for the formatting to complete: The formatting process may take some time, depending on the size of the Nvme SSD. Once completed, the Nvme SSD will be formatted and ready for use.
It’s important to note that initializing and formatting the Nvme SSD will erase any existing data, so be sure to back up any important files or data before proceeding.
If you encounter any issues during the initialization or formatting process, double-check that you have selected the correct disk and chosen the appropriate settings. If the Nvme SSD is not formatting correctly or displaying errors, you may need to consult the manufacturer’s documentation or support for further assistance.
Once the Nvme SSD is successfully initialized and formatted, you can start using it as a high-speed storage device to install your operating system, applications, and store your valuable data.
Adjusting Windows settings for optimal performance
After initializing and formatting your Nvme SSD, you can further optimize its performance by adjusting some Windows settings. These settings will allow your operating system to take full advantage of the speed and capabilities of the Nvme SSD. Here are some recommended adjustments:
- Enable TRIM: TRIM is a feature that helps maintain the performance and lifespan of SSDs by allowing the operating system to inform the drive which blocks of data are no longer in use. To enable TRIM, open the Command Prompt as an administrator and type in the command
fsutil behavior set disabledeletenotify 0. Press Enter to execute the command. - Disable defragmentation: Since Nvme SSDs are flash-based storage devices, defragmentation is unnecessary and can actually reduce the lifespan of the drive. To disable automatic defragmentation, right-click on the Nvme SSD drive in File Explorer, go to Properties, and then click on the “Tools” tab. Under “Optimize and defragment drive,” click on “Optimize” and uncheck the option to “Run on a schedule.”
- Disable hibernation: If you do not frequently use the hibernation feature, disabling it can free up valuable storage space on your Nvme SSD. Open the Command Prompt as an administrator and type in the command
powercfg /h off. Press Enter to disable hibernation. - Change the power plan settings: Modify the power plan settings to prevent your system from entering sleep mode or turning off the Nvme SSD after a period of inactivity. This ensures that the drive remains continuously available for quick access. Go to the Power Options in the Control Panel or the Settings app, and customize the power plan settings accordingly.
- Enable write caching: Enabling write caching can enhance the write performance of your Nvme SSD. To do this, open the Device Manager, expand the “Disk drives” category, right-click on your Nvme SSD, select “Properties,” go to the “Policies” tab, and check the option for “Enable write caching on the device.”
- Disable indexing: Indexing is a feature that allows Windows to quickly search for files on your computer. However, it can consume system resources and slow down performance. To disable indexing for your Nvme SSD, go to the properties of the drive in File Explorer, uncheck the box for “Allow files on this drive to have contents indexed,” and apply the changes.
By adjusting these settings, you can optimize your Windows configuration and ensure that your Nvme SSD operates at its full potential. It is important to note that while these settings can improve performance, they may have different impacts depending on your specific use case and system configuration. It is always recommended to monitor the performance and make adjustments that best suit your needs.
Conclusion
Congratulations! You have successfully learned about Nvme SSDs, their benefits, and how to enable them on your system. Nvme SSDs offer lightning-fast speeds, low latency, and improved productivity, making them the preferred choice for storage enthusiasts.
In this article, we explored the process of checking system compatibility, configuring BIOS settings, installing the Nvme SSD, and ensuring its recognition by the system. We also discussed how to initialize and format the drive, as well as adjust Windows settings for optimal performance.
By following these steps, you can unlock the full potential of your Nvme SSD and experience enhanced performance and responsiveness in your computing tasks, whether you are gaming, multimedia editing, or simply working on day-to-day activities.
Remember, always consult your motherboard’s manual or the manufacturer’s documentation for specific instructions and guidelines. Additionally, keep your system and drivers up to date to ensure compatibility and enjoy the latest enhancements and features for your Nvme SSD.
With the blazing speed and reliability of Nvme SSDs, you can transform your computing experience and witness the true power of modern storage technology. So, go ahead and embrace the future of storage with Nvme SSDs.