Introduction
Welcome to this guide on how to initialize an SSD in Windows 10. If you’ve recently purchased a new solid-state drive (SSD) or are planning to upgrade your existing storage solution, it’s important to properly initialize and configure your SSD to ensure optimal performance and compatibility with your Windows 10 operating system.
SSDs have gained popularity in recent years due to their faster data transfer speeds, lower power consumption, and overall reliability compared to traditional hard disk drives (HDDs). However, before you can start using your new SSD, you need to initialize it, which involves preparing the drive for use and formatting it to the appropriate file system.
Throughout this guide, we will walk you through the process of initializing an SSD in Windows 10, step by step. We will cover important considerations like checking compatibility, backing up your data, and ensuring a smooth transition from your old storage device.
Initializing an SSD requires some caution as it involves modifying the drive’s partition structure and formatting it to the desired file system. It’s crucial to back up your data before proceeding, especially if you have important files and documents stored on your current drive. This will help you prevent any data loss during the initialization process.
Whether you’re upgrading your primary storage or adding an additional SSD, this guide will provide you with all the necessary information to successfully initialize your SSD in Windows 10. So, let’s get started!
Understanding the Basics of SSDs
Before diving into how to initialize an SSD in Windows 10, it’s essential to have a basic understanding of what an SSD is and how it differs from traditional hard disk drives (HDDs).
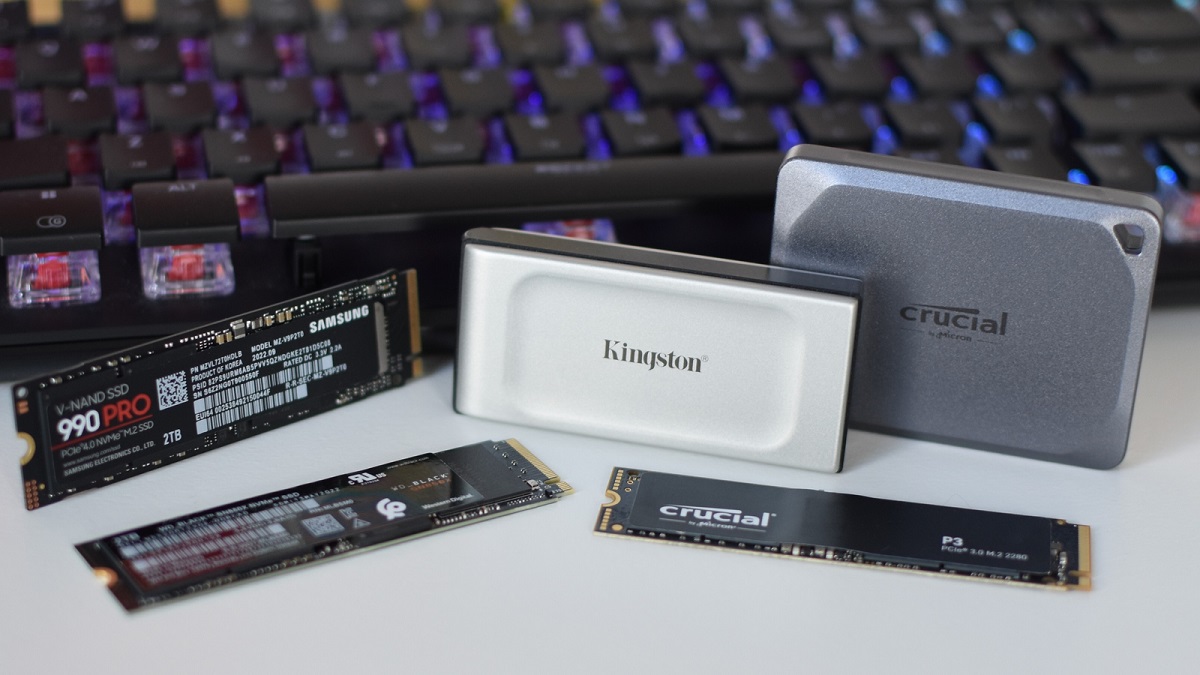
An SSD, or solid-state drive, is a storage device that uses flash memory to store data. Unlike HDDs, which utilize spinning disks and mechanical components, SSDs have no moving parts. This lack of moving parts results in faster data access and transfer speeds, increased durability, and reduced power consumption.
SSDs offer several advantages over HDDs. Firstly, they provide significantly faster read and write speeds, which can greatly enhance the overall performance of your computer. This means that programs and files will load quicker, improving your productivity and reducing waiting times.
Furthermore, SSDs are more resistant to physical shocks and vibrations since there are no mechanical components that can be damaged. This makes SSDs ideal for portable devices like laptops, as they can withstand bumps and jolts during transportation.
In terms of power consumption, SSDs use less energy than HDDs, resulting in longer battery life for laptops and lower electricity bills for desktop computers. Additionally, since there are no moving parts to generate noise, SSDs operate silently, making your computing experience more peaceful.
It’s important to note that SSDs have a limited number of write cycles before they start to degrade. This means that frequent and intensive write operations can ultimately affect the lifespan of the drive. However, modern SSDs come equipped with technologies like wear leveling and TRIM, which help to distribute write operations evenly across the drive and optimize performance over time.
Overall, SSDs offer a significant performance boost and improved reliability compared to HDDs. Understanding these fundamental differences will allow you to make an informed decision when it comes to upgrading your storage solution and initializing your new SSD in Windows 10.
Checking SSD Compatibility
Before you begin the process of initializing your SSD in Windows 10, it’s important to ensure that your new SSD is compatible with your system. Checking compatibility will help you avoid any potential compatibility issues and ensure a smooth installation process.
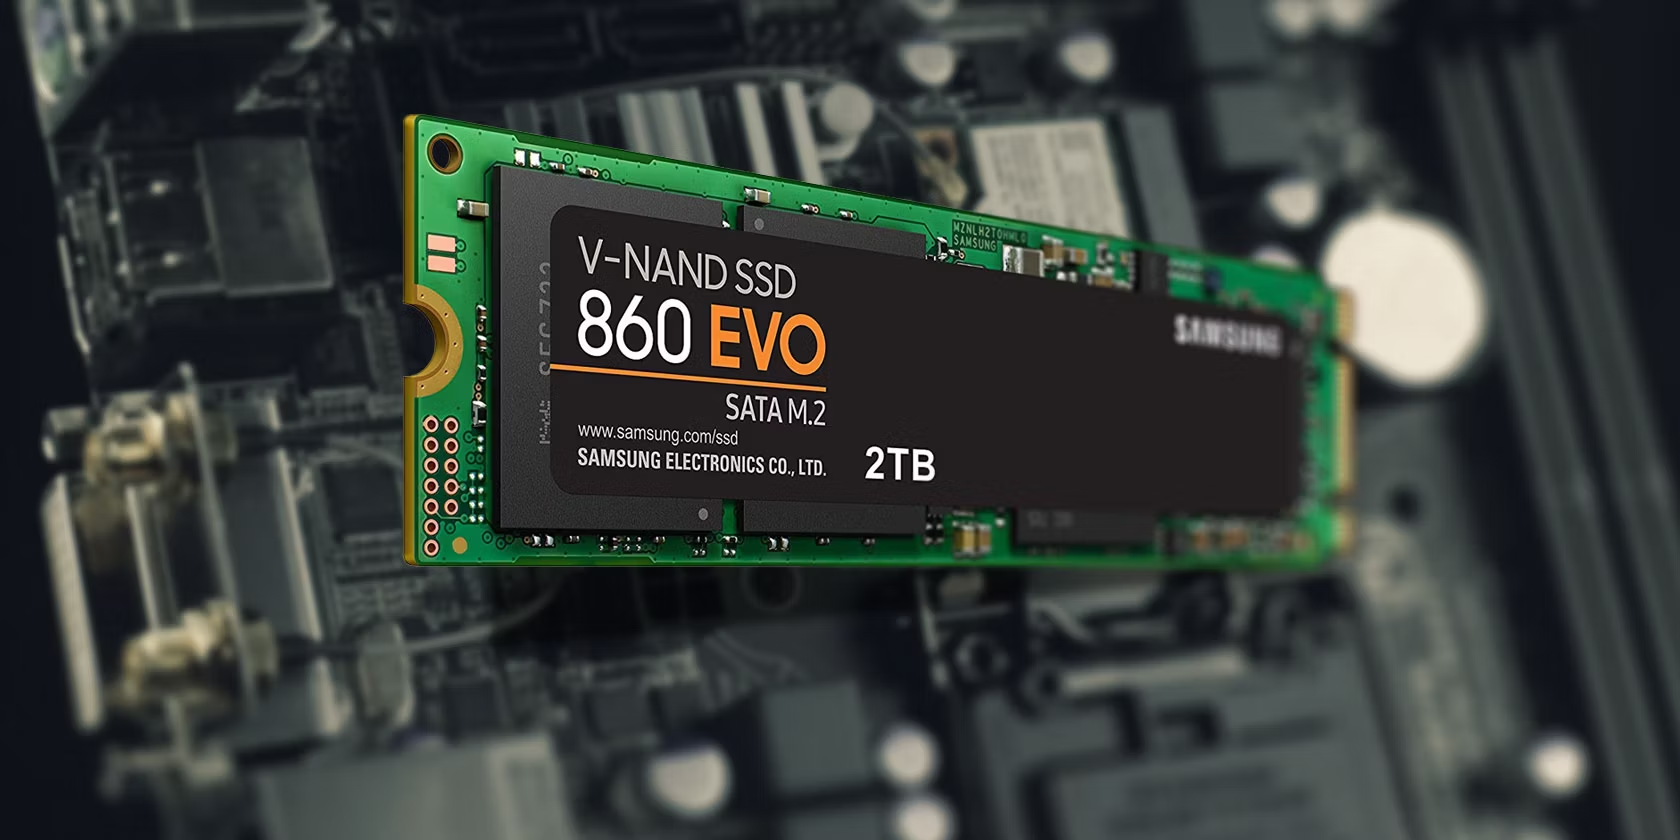
The first step in checking SSD compatibility is to determine the physical form factor of your SSD. SSDs come in different form factors, such as 2.5-inch, M.2, and U.2. It’s crucial to choose an SSD that matches the available slots and connectors on your motherboard or laptop. Check your system specifications or consult the manufacturer’s documentation to determine which form factor is compatible.
Next, you need to verify if your system supports the appropriate interface for your SSD. The most common interface for SSDs is SATA (Serial ATA). SATA SSDs offer good performance and are widely supported by older systems. However, if you have a newer motherboard, it may support the faster NVMe (Non-Volatile Memory Express) interface. NVMe SSDs can provide significantly faster speeds, so if your system supports NVMe, it’s advisable to opt for an NVMe SSD.
Aside from physical compatibility, it’s important to ensure that your system meets the software requirements for an SSD. Windows 10 is generally compatible with most SSDs, but it’s recommended to check for firmware updates for your SSD to ensure optimal performance and compatibility.
It’s also worth checking if your computer’s BIOS or UEFI firmware is up to date. The BIOS/UEFI provides the necessary instructions for your computer to communicate with the SSD. Updating the firmware can ensure that your SSD is recognized and compatible with your system.
Finally, double-check that your power supply unit (PSU) has enough power and the required connectors for your SSD. Some high-end SSDs may require additional power connectors, so make sure your PSU can accommodate these requirements.
By thoroughly checking the compatibility of your SSD, you can avoid any potential issues that may arise during the initialization process. This will ensure a smooth installation and enable your SSD to perform at its best, delivering the speed and reliability you expect.
Backing Up Data
Prior to initializing your SSD in Windows 10, it is crucial to back up your data to prevent any potential loss or damage. Data backup ensures that you have a secure copy of all your important files, documents, and personal data before proceeding with the initialization process.
There are several methods you can use to back up your data. One option is to manually copy your files to an external storage device, such as an external hard drive or a USB flash drive. This method is straightforward but can be time-consuming, especially if you have a large amount of data to back up.
Alternatively, you can use backup software to automate the process. There are various backup tools available, both free and paid, that can create a full system backup or selectively back up specific files and folders. These software options often provide scheduling features, allowing you to set up regular automatic backups to ensure your data is always protected.
If you prefer a cloud-based solution, consider utilizing online backup services. These services allow you to store your data securely in the cloud, providing an extra layer of protection against physical damage or loss of your external backup devices. Some popular cloud storage providers include Google Drive, Dropbox, and Microsoft OneDrive.
Regardless of the backup method you choose, it’s essential to verify that your backup files are accessible and complete before proceeding with the initialization process. Take the time to double-check your backup and ensure that all your important data is successfully backed up and ready to be restored.
By taking the necessary steps to back up your data, you can have peace of mind knowing that your files are safe and secure. In the event of any unforeseen issues during the initialization process, you can easily restore your data and continue using your computer without any data loss or inconvenience.
Preparing for Initialization
Before you can initialize your SSD in Windows 10, it’s important to prepare your system and gather the necessary tools and information. By following these preparation steps, you can ensure a smooth and hassle-free initialization process.
The first step is to shut down your computer and disconnect any external devices or peripherals connected to it. This includes USB drives, external hard drives, printers, and other accessories. Removing these devices eliminates the risk of accidentally formatting or initializing the wrong drive during the process.
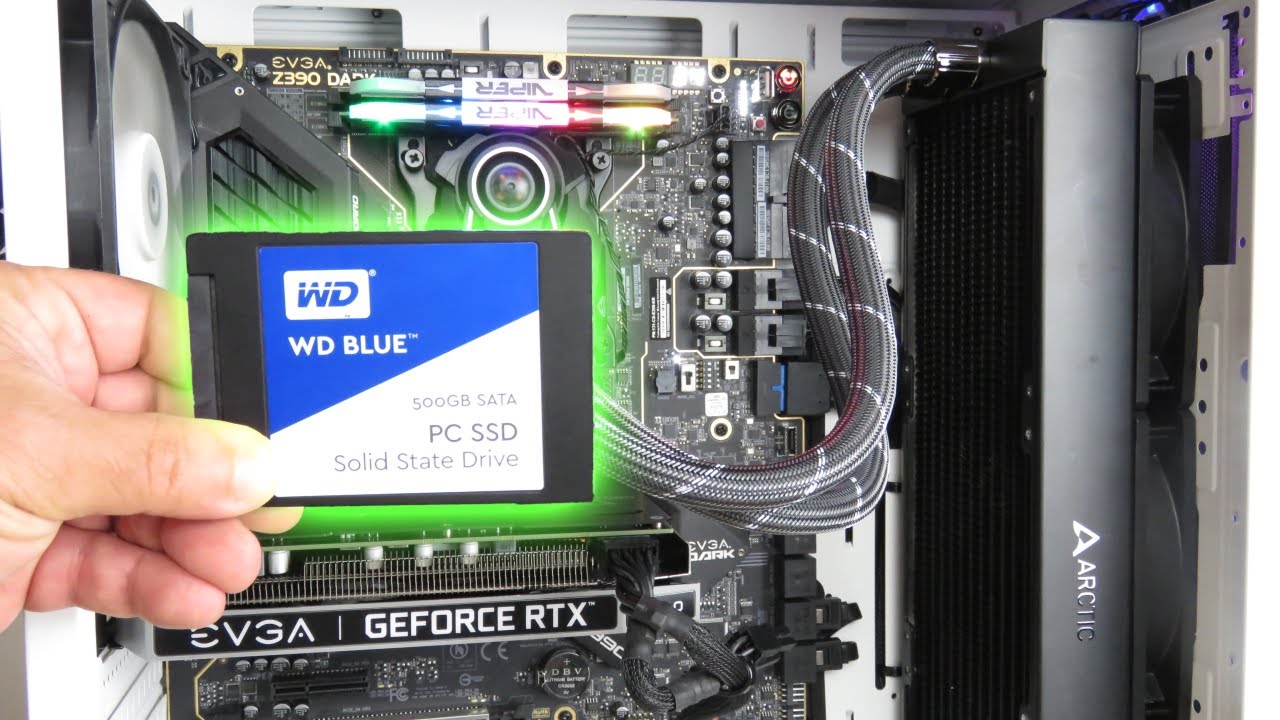
Next, you need to identify the correct SSD that you want to initialize. If you’re adding a new SSD to your system, ensure that it is properly installed and securely connected to your motherboard or installed in the appropriate slot. If you’re upgrading your existing storage solution to an SSD, it’s important to identify which drive will be replaced or cloned.
Once you have identified the correct SSD, you can access the BIOS or UEFI settings of your computer. Restart your computer and enter the BIOS/UEFI by pressing the designated key during the startup process (usually, it’s the Delete or F2 key). In the BIOS/UEFI settings, ensure that the SSD is detected and recognized by the system. If necessary, update the firmware of your SSD using the manufacturer’s provided software or instructions.
While you’re in the BIOS/UEFI settings, take note of the boot order. Ensure that the boot sequence is set to prioritize the correct drive where your operating system is installed. Adjust the boot order if needed to ensure that the SSD will be the primary boot device.
Before proceeding with the initialization, gather any necessary software or drivers that may be required for the process. Some SSD manufacturers provide specific initialization tools or software that can enhance the performance or management of your SSD. Additionally, make sure you have the latest drivers and updates for your SSD installed.
Lastly, refer to the manufacturer’s instructions or website to familiarize yourself with any specific initialization procedures or requirements for your SSD model. Some SSDs may have specific recommendations or settings that need to be configured before initializing. Being aware of these instructions will help you ensure a proper initialization according to the manufacturer’s guidelines.
By properly preparing your system and gathering the necessary tools and information, you can set yourself up for a successful SSD initialization process. Take the time to follow these steps, as they will help you avoid any potential issues or complications during the initialization of your SSD in Windows 10.
Initializing an SSD in Windows 10
Now that you have prepared your system, it’s time to initialize your SSD in Windows 10. Follow these step-by-step instructions to ensure a successful initialization process:
- Start by connecting the SSD to your computer. If you’re replacing an existing drive, disconnect the old drive and connect the SSD to the same SATA port and power cable. If you have a laptop, consult your laptop’s user manual or manufacturer’s instructions for guidance on accessing and replacing the drive.
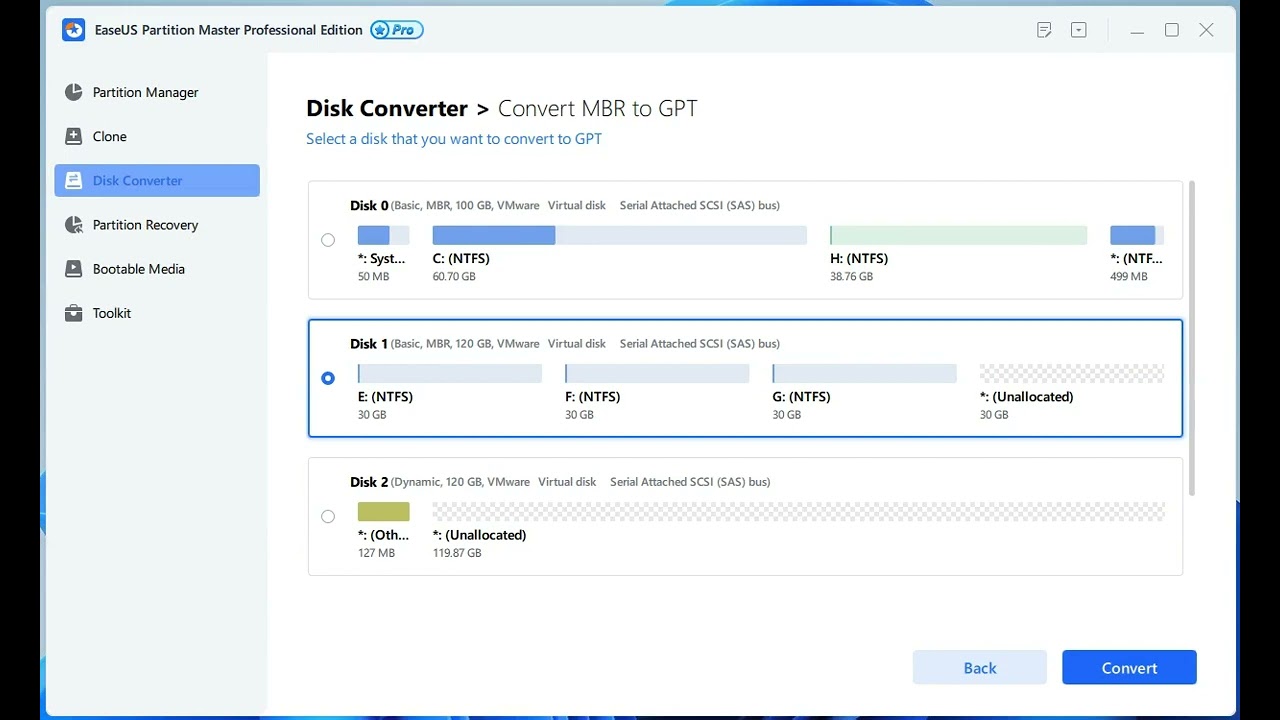
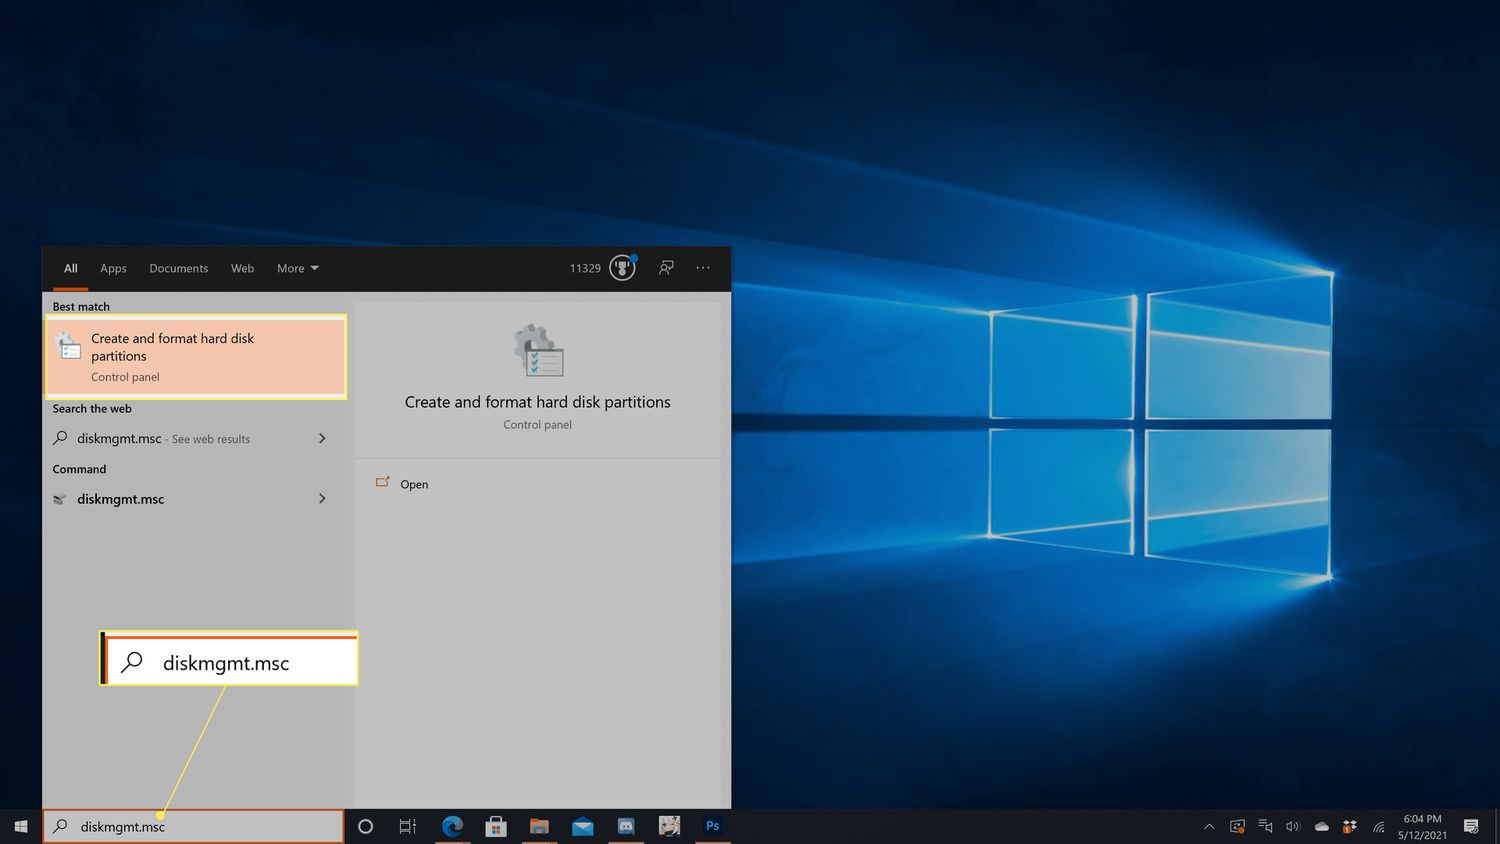
- Power on your computer and wait for Windows 10 to load. Once you’re on the desktop, press the “Windows” key + “X” key on your keyboard to open the Power User menu. From the menu, select “Disk Management.”
- In the Disk Management window, you will see a list of all connected drives. Locate your SSD in the list; it should be labeled as “Unknown” or “Unallocated.”
- Right-click on the unallocated space of your SSD and select “New Simple Volume.” This will launch the New Simple Volume Wizard.
- Follow the steps in the wizard to create a new volume. You can choose the desired size for the partition, assign a drive letter, and select the file system (NTFS is recommended for Windows 10).
- Complete the wizard by following the on-screen instructions. Once the process is finished, your SSD will be initialized, and you will have a new partition that is ready to be used.
- To ensure that your SSD is properly recognized by Windows and optimized for performance, it’s recommended to restart your computer after initialization.
After completing these steps, your SSD is now initialized and ready to be utilized in Windows 10. You can start moving files and installing applications onto your newly initialized SSD to take advantage of its fast and reliable performance.
Remember to regularly check for firmware updates for your SSD and keep your drivers up to date to ensure optimal performance and compatibility. You can visit the manufacturer’s website or utilize their provided software to check for updates and install them if necessary.
Initializing an SSD in Windows 10 is a straightforward process, and by following these steps, you can ensure a successful and seamless initialization of your SSD, leading to improved performance and efficiency for your computer.
Formatting the SSD
Once your SSD has been initialized, the next step is to format it in order to prepare it for use in Windows 10. Formatting the SSD involves configuring the file system and structure that will be used to store and organize data on the drive.
Follow these steps to format your SSD in Windows 10:
- Open the File Explorer by pressing the “Windows” key + “E” key on your keyboard.
- In the File Explorer, locate your newly initialized SSD. It should be listed under “This PC” or “Computer” along with your other drives.
- Right-click on your SSD and select “Format” from the context menu.
- A Format window will appear with various formatting options. Choose the desired file system for your SSD, such as NTFS or exFAT. NTFS is the recommended option for Windows 10, as it supports larger file sizes and provides better security features.
- If desired, you can also change the volume label, which is the name displayed for your SSD in Windows.
- Ensure that the “Quick Format” option is selected if you want the formatting process to complete quickly. However, if you want a more thorough format that checks for bad sectors on the SSD, leave this option unchecked.
- Click on the “Start” button to begin the formatting process.
- Windows will display a warning message indicating that all data will be erased during formatting. Make sure you have backed up any important data from the SSD before proceeding.
- Once the formatting process is complete, Windows will notify you. You can then click “OK” to close the Format window.
After formatting your SSD, it is now ready for use. You can start using it to store files, install programs, and enjoy the improved performance and speed that an SSD provides.
Remember to keep your SSD well-maintained by regularly performing disk checks and scans for errors. Windows provides built-in tools, such as the CHKDSK utility, that can be used to scan and fix any potential issues with your SSD.
Formatting your SSD in Windows 10 is a simple process that ensures your drive is properly configured for storage and provides optimal performance. By following these steps, you can easily format your SSD and utilize it to its fullest potential in your Windows 10 system.
Verifying the Initialization
After initializing and formatting your SSD in Windows 10, it’s important to verify that the initialization process was successful. Verifying the initialization ensures that your SSD is properly recognized by the system and ready for use.
Follow these steps to verify the initialization of your SSD:
- Open the File Explorer by pressing the “Windows” key + “E” key on your keyboard.
- In the File Explorer, locate your SSD under “This PC” or “Computer”.
- Double-click on the SSD to open it and make sure you can access its contents. You should see an empty drive as it has just been initialized and formatted.
- Create a new folder or copy some files onto your SSD to ensure that data can be written and read from the drive without any issues.
- If you have installed any specific SSD management software provided by the manufacturer, open the software and check for any notifications or messages regarding the initialization and health of your SSD.
- Monitor the performance of your SSD during regular usage to ensure that it functions properly and delivers the expected speed and responsiveness.
- If you encounter any issues accessing or writing data on your SSD, double-check that you have followed the initialization and formatting steps correctly. It’s also recommended to check for any firmware updates for your SSD and install them if necessary.
Verifying the initialization process helps ensure that your SSD is functioning as intended and ready for use. By following these steps and confirming that your SSD is recognized, accessible, and performing adequately, you can have confidence in its reliability and enjoy the benefits of improved storage performance.
Remember to regularly maintain and optimize your SSD by keeping the firmware and drivers up to date. This will help ensure that your SSD continues to function optimally and remain compatible with your Windows 10 system.
If you face any persistent issues or encounter errors with your SSD even after verifying the initialization, it is advisable to consult the manufacturer’s support resources or seek technical assistance to troubleshoot and resolve the problem.
Restoring Data from Backup
After successfully initializing and formatting your SSD in Windows 10, it’s time to restore your data from the backup you created earlier. Restoring your data ensures that you have all your important files and documents transferred to your new SSD, allowing you to continue seamlessly from where you left off.
Follow these steps to restore your data from the backup:
- Connect the device or storage medium that contains your data backup, such as an external hard drive or USB flash drive, to your computer.
- Open the File Explorer by pressing the “Windows” key + “E” key on your keyboard.
- Navigate to the location where your data was backed up. This could be on the external drive or in a cloud storage folder, depending on the backup method you used.
- Select the files and folders you want to restore by either dragging and dropping them to the desired location on your SSD or using the copy-paste function.
- If you used backup software that creates a specific restore process, follow the instructions provided by the software to initiate the data restoration.
- Wait for the data transfer process to complete. The time it takes will depend on the size and number of files being restored.
- Double-check that all the restored files and folders are accessible and intact on your SSD. Verify that they can be opened and used without any errors or issues.
- If you encounter any errors or discrepancies during the restoration process, refer to your backup software’s documentation or seek support from the backup service provider for troubleshooting assistance.
Restoring your data from the backup ensures that your important files, documents, and personal data are safely transferred to your newly initialized and formatted SSD. Double-check that all your important files have been restored and are accessible before continuing to use your computer.
Additionally, it’s a good practice to keep your backup files organized and readily accessible in case you need to access them in the future. Regularly updating and maintaining your backups will provide you with peace of mind knowing that your data is protected.
By successfully restoring your data from the backup, you can resume your work or use your computer as before, now benefiting from the improved performance and speed offered by your new SSD.
Conclusion
Congratulations! You have successfully initialized, formatted, and restored data to your SSD in Windows 10. By following the step-by-step instructions provided in this guide, you have ensured that your SSD is compatible, configured, and ready for optimal performance.
Initializing and formatting your SSD allows it to be recognized by the system, and configuring the appropriate file system ensures efficient data storage and retrieval. Additionally, restoring your data from the backup provides you with the peace of mind that your important files are securely transferred to your new SSD.
Utilizing an SSD in your Windows 10 system offers numerous benefits, including improved speed, reliability, and energy efficiency. You can now experience faster boot times, reduced program loading times, and increased productivity with your new storage solution.
Remember to regularly update your SSD’s firmware and drivers to ensure ongoing compatibility and optimal performance. Regular backups and maintenance of your data will also help protect against unforeseen issues and data loss.
We hope this guide has been helpful in guiding you through the process of initializing and formatting your SSD in Windows 10. By following these steps and best practices, you can make the most of your investment in an SSD and enjoy a seamless computing experience.
Thank you for reading, and may your new SSD bring a significant boost to your system’s performance and storage capabilities!