Introduction
Welcome to the world of solid state drives (SSDs)! If you’re looking to upgrade your computer’s storage for faster performance and improved reliability, initializing your new SSD is a crucial step. In this guide, we’ll walk you through the process of initializing a solid state drive, ensuring that it is ready to be used to its full potential.
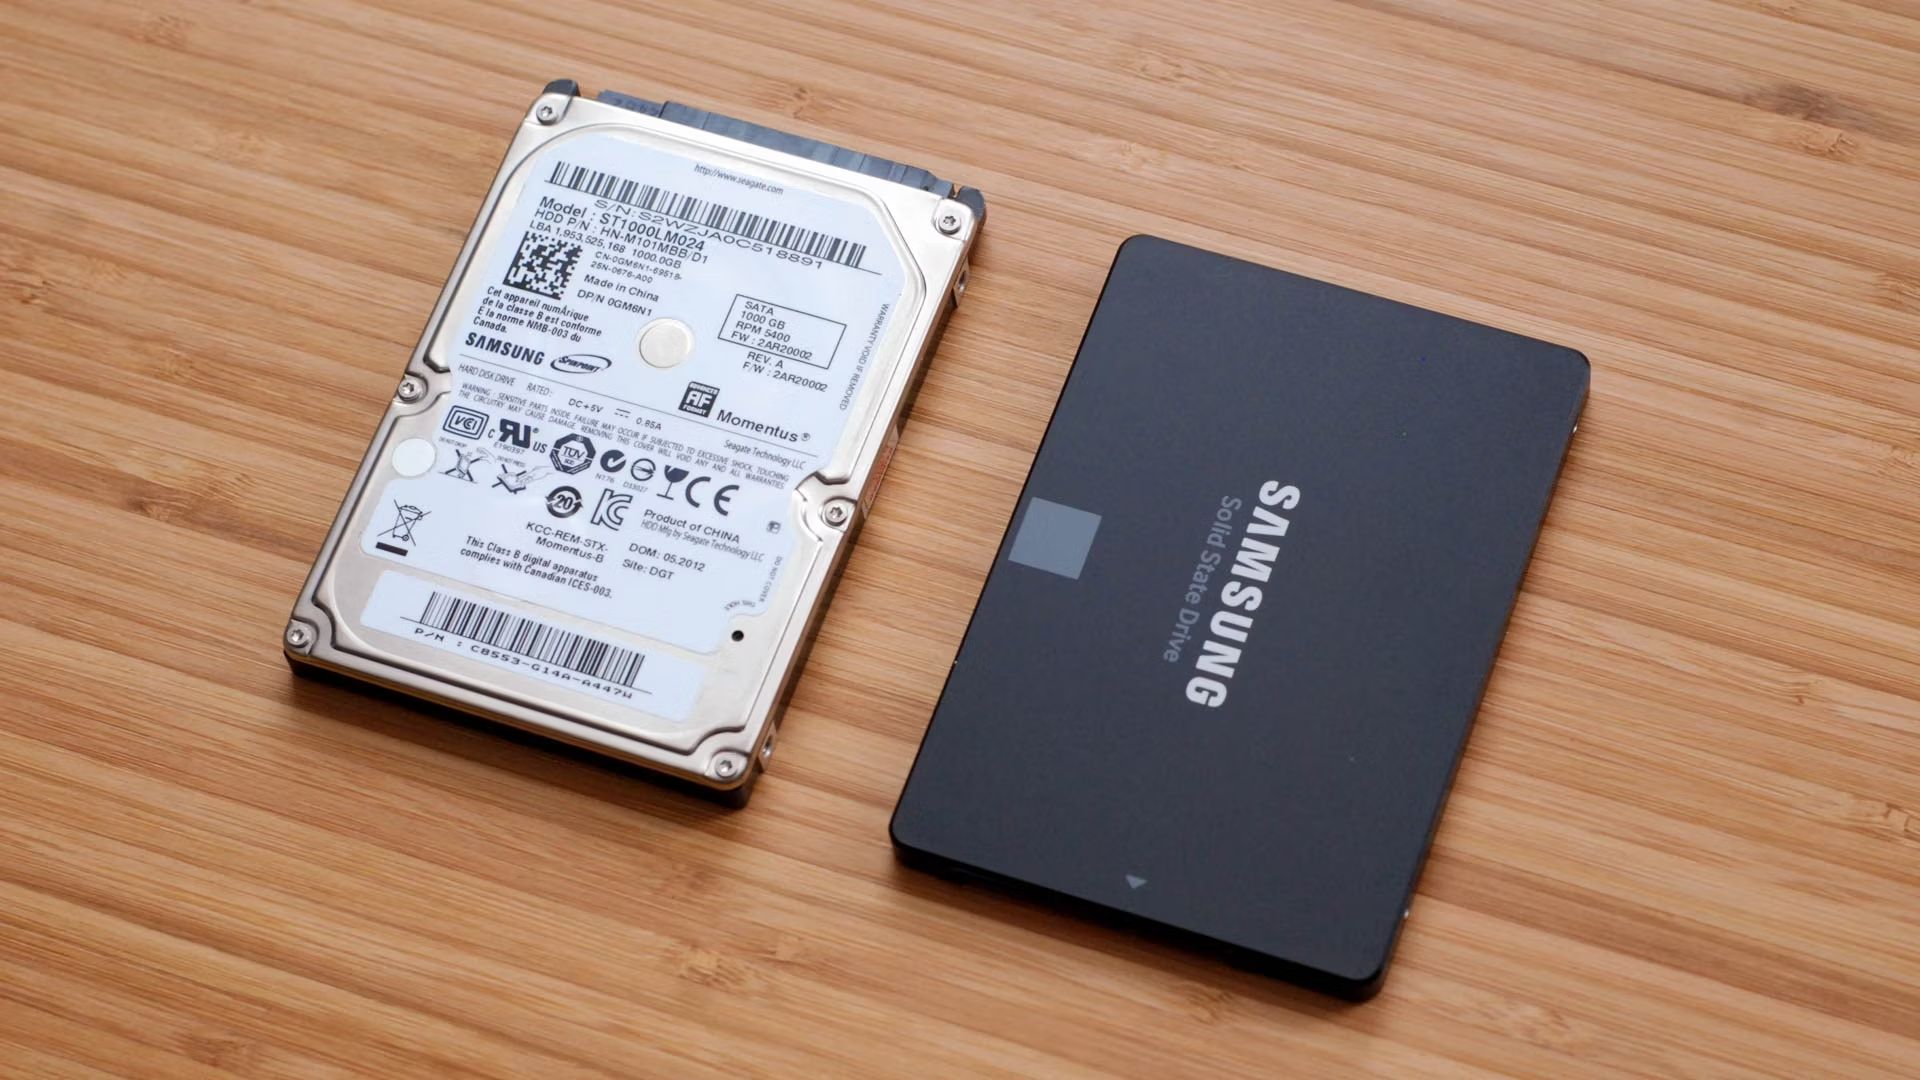
SSDs have revolutionized the storage industry with their lightning-fast speeds and impressive durability. Unlike traditional hard disk drives (HDDs) that use spinning disks, SSDs rely on flash memory chips to store and retrieve data. This difference in technology brings a myriad of benefits, such as faster boot times, quicker file transfers, and increased resistance to physical shock.
However, before you can fully enjoy the advantages of an SSD, you need to initialize it. The initialization process involves formatting the new drive and preparing it for use with your operating system. While it may sound daunting, with the guidance provided here, you’ll be up and running in no time!
In the following sections, we’ll cover the necessary steps to initialize your SSD properly. From connecting it to your computer to checking its health, we’ve got you covered. But before we dive into the technical details, let’s take a quick look at why initializing your SSD is so important.
What is a Solid State Drive?
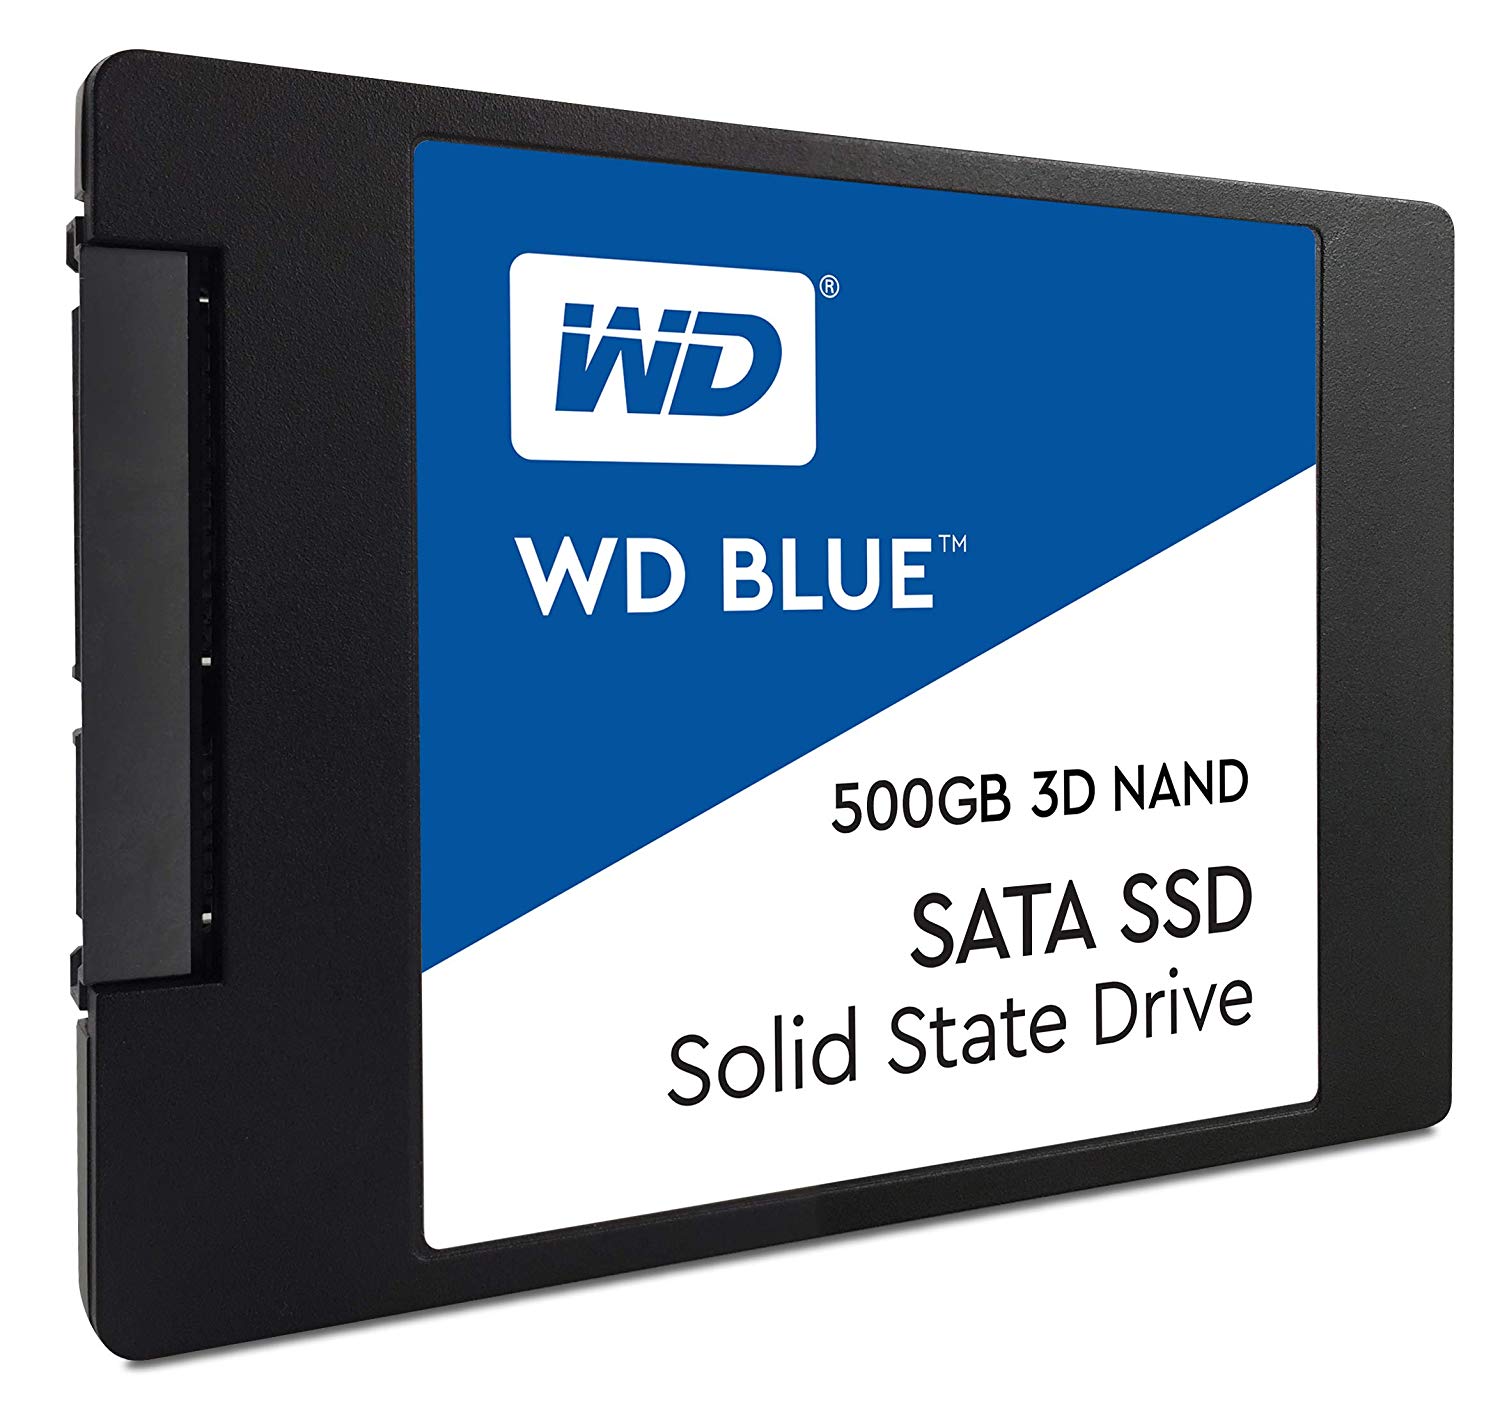
A solid state drive, commonly referred to as an SSD, is a type of storage device that uses flash memory to store and retrieve data. Unlike traditional hard disk drives (HDDs) that use mechanical components, such as spinning platters and read/write heads, SSDs rely on integrated circuits to perform their functions.
At the heart of an SSD are NAND flash memory chips, which store data electronically. This technology allows for faster access times, lower power consumption, and increased durability compared to HDDs. Without any moving parts, SSDs are not susceptible to mechanical failure, making them a reliable option for storing important data.
One of the main reasons why SSDs have gained popularity is their incredible speed. Unlike HDDs that spin at a fixed speed, SSDs can access data almost instantaneously. This means that your operating system will boot up faster, applications will launch in a blink of an eye, and file transfers will be quicker than ever.
Another advantage of SSDs is their compact size. Due to the absence of mechanical components, SSDs can be designed to be much smaller and lighter than HDDs. This makes them ideal for laptops and portable devices where space is at a premium.
Furthermore, SSDs excel in handling random read and write operations. This makes them perfect for tasks that require quick access to various files, such as gaming or video editing. SSDs also have a lower latency, which translates to a snappier and more responsive user experience.
With the falling prices of NAND flash memory, SSDs have become more affordable and accessible to a wider range of users. Whether you’re a demanding gamer, a creative professional, or simply someone who wants to increase their computer’s performance, upgrading to an SSD is a wise investment.
In the next section, we will explore why initializing your SSD is essential before you can start using it.
Why Initialize a Solid State Drive?
Initializing a solid state drive (SSD) is a crucial step before you can start using it. This process prepares the SSD for integration with your computer’s operating system and ensures optimal performance. Here are a few key reasons why initializing an SSD is necessary:
- Partitioning: When you initialize an SSD, you have the opportunity to partition the drive. Partitioning allows you to divide the SSD into multiple logical sections, each with its own assigned drive letter. This can be useful for organizing your data, separating your operating system from your personal files, or creating a backup partition.
- Formatting: Initializing an SSD involves formatting it to a specific file system. Formatting prepares the drive to store and retrieve data, ensuring compatibility with your operating system. It also removes any existing data or partitions, giving you a clean slate to work with.
- Alignment: During the initialization process, the SSD’s partitions are aligned with the physical blocks of the flash memory. This alignment improves performance and extends the lifespan of the SSD. Misaligned partitions can result in reduced read and write speeds, increasing the wear and tear on the drive.
- Trim Support: By initializing an SSD, you enable the TRIM command, which helps maintain the drive’s performance over time. TRIM allows the operating system to inform the SSD which blocks of data are no longer in use, allowing the drive to efficiently manage and optimize its storage resources.
- Health Monitoring: Many SSDs come with software utilities that allow you to monitor the health and performance of the drive. By initializing the SSD, you gain access to these tools, enabling you to keep an eye on factors such as temperature, lifespan, and potential drive failures.
By properly initializing your solid state drive, you ensure that it is configured for optimal performance, compatibility, and reliability. It sets the foundation for a seamless and efficient computing experience. Now that we understand the importance of initializing an SSD, let’s move on to checking compatibility and the requirements necessary for the initialization process.
Checking Compatibility and Requirements
Before diving into the process of initializing your solid state drive (SSD), it’s important to ensure that your system is compatible and meets the necessary requirements. Here are a few things to consider:
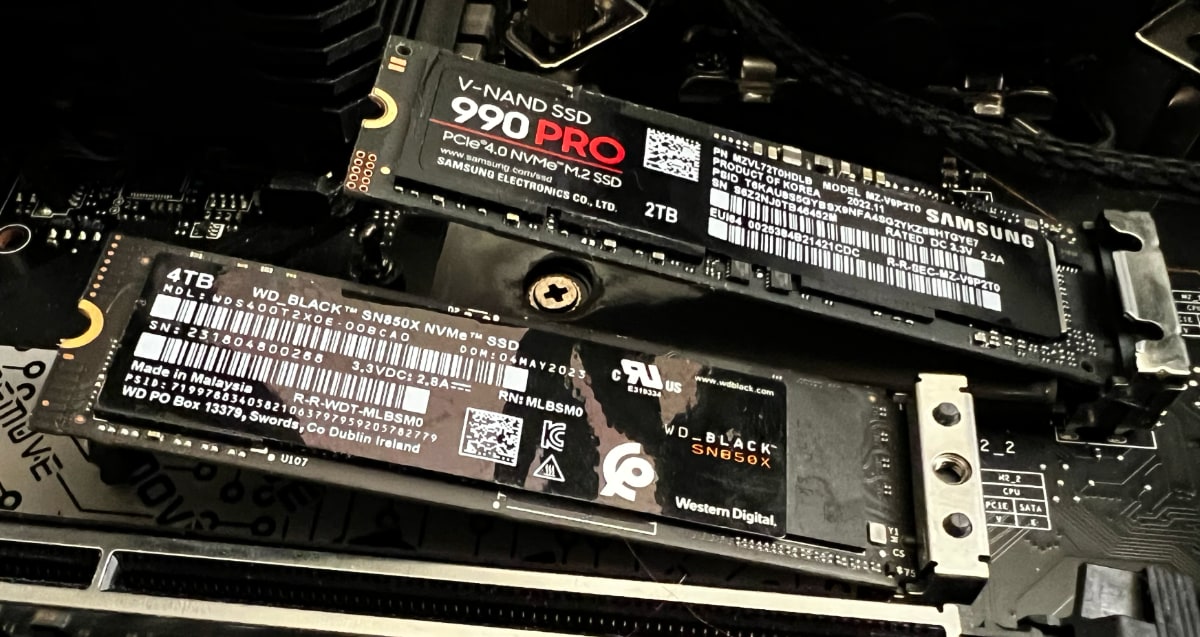
- Interface Compatibility: Make sure that your motherboard or laptop supports the interface of your SSD. Most modern SSDs use the SATA III (6 Gbps) interface, but there are also NVMe (Non-Volatile Memory Express) SSDs that utilize the faster PCIe interface. Consult your computer’s documentation or manufacturer’s website to determine the supported interfaces.
- Available Power and Data Cables: Check if you have the required power and data cables for connecting the SSD to your computer. SATA SSDs typically require a SATA data cable and a SATA power cable. NVMe SSDs, on the other hand, generally require an M.2 slot with PCIe support.
- Operating System Compatibility: Ensure that your operating system is compatible with your SSD. Most modern operating systems, such as Windows 10, macOS, and Linux, have built-in support for SSDs. However, it’s good practice to verify compatibility and update your operating system to the latest version.
- Available Storage Space: Check if you have sufficient storage space on your existing drive to accommodate the data that will be transferred to the SSD. If your SSD is larger than your current drive, you may need to free up space by deleting unnecessary files or programs. Alternatively, you can choose to clone your existing drive onto the SSD.
- Backup: It’s always a good idea to create a backup of your important data before initializing an SSD. While the initialization process is generally safe, it’s better to be prepared for any unforeseen issues. External hard drives, cloud storage, or dedicated backup software can help safeguard your data.
By ensuring compatibility and meeting the requirements, you’ll be well-prepared to proceed with the initialization of your SSD. Now that we have covered the necessary checks, let’s move on to the step-by-step process of connecting and formatting the SSD.
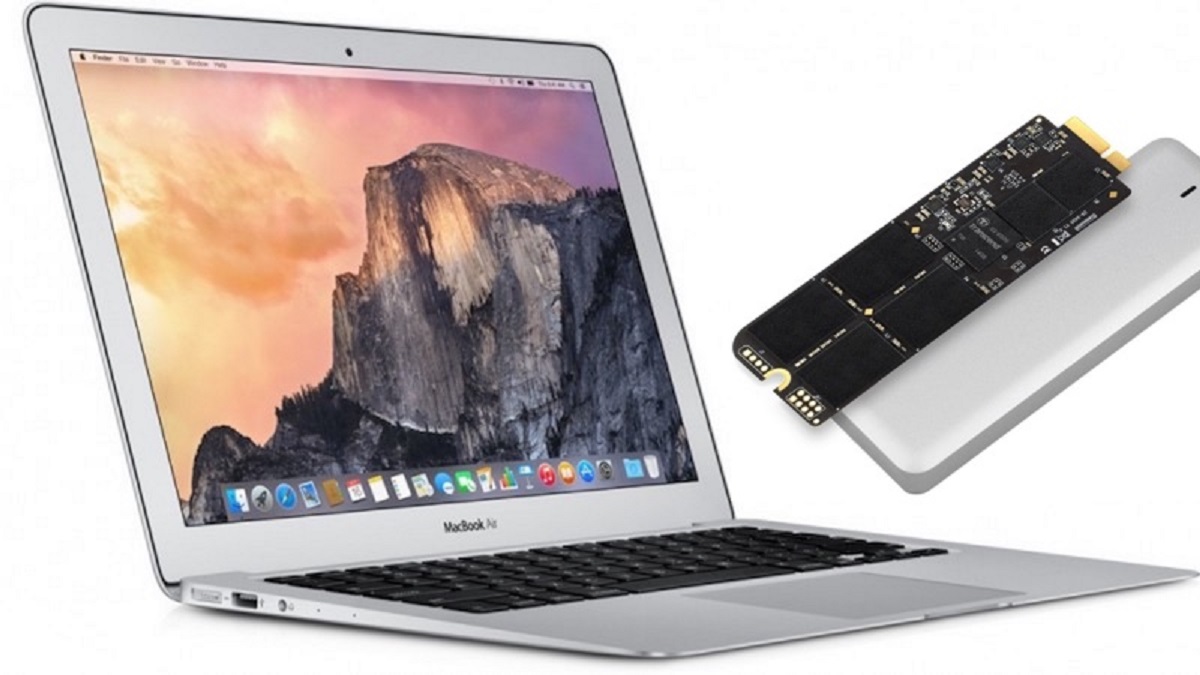
Step 1: Connect the SSD to your computer
The first step in initializing your solid state drive (SSD) is to physically connect it to your computer. Depending on the type of SSD you have, the connection process may vary slightly. Here’s a general guide to help you get started:
- Shutdown your computer: Before you begin, ensure that your computer is powered off. This will prevent any accidental damage to your hardware while connecting the SSD.
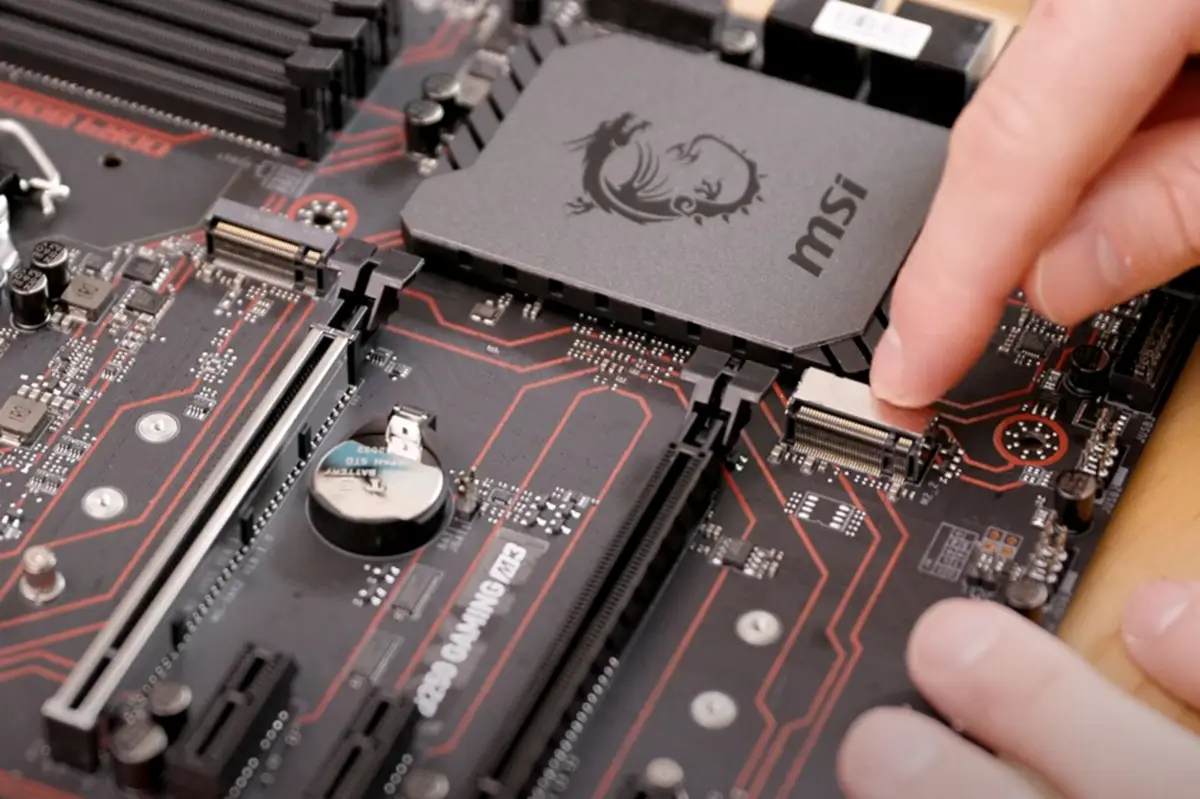
- Locate an available slot or port: Determine the type of SSD you have – whether it’s a SATA or NVMe SSD. If it’s a SATA SSD, locate an available SATA data port and a SATA power connector on your motherboard or power supply, respectively. If it’s an NVMe SSD, find an available M.2 slot on your motherboard.
- Connect the SATA SSD: If you have a SATA SSD, connect one end of the SATA data cable to the SSD and the other end to an available SATA port on your motherboard. Then, plug the SATA power cable into the SSD, ensuring a secure connection.
- Install the NVMe SSD: If you have an NVMe SSD, locate the M.2 slot on your motherboard. Carefully insert the NVMe SSD into the slot at a slight angle, aligning the connector pins with the slot. Gently push the SSD down until it is fully seated, and secure it with the mounting screw provided with your motherboard.
- Fasten the SSD: If necessary, secure the SSD using any available mounting brackets or screws to ensure a stable connection. Double-check that all connections are secure before proceeding.
- Power on your computer: With the SSD properly connected, power on your computer. The BIOS or UEFI firmware should detect the newly connected SSD. You may need to access the BIOS or UEFI settings to configure the boot order if you plan to use the SSD as your primary operating system drive.
Once the SSD is successfully connected and detected by your computer, you are ready to proceed to the next step: formatting the SSD. Properly connecting the SSD is a crucial first step in the initialization process, ensuring that the drive is recognized and ready for use. Now that you’ve completed Step 1, let’s move on to Step 2: formatting the SSD.
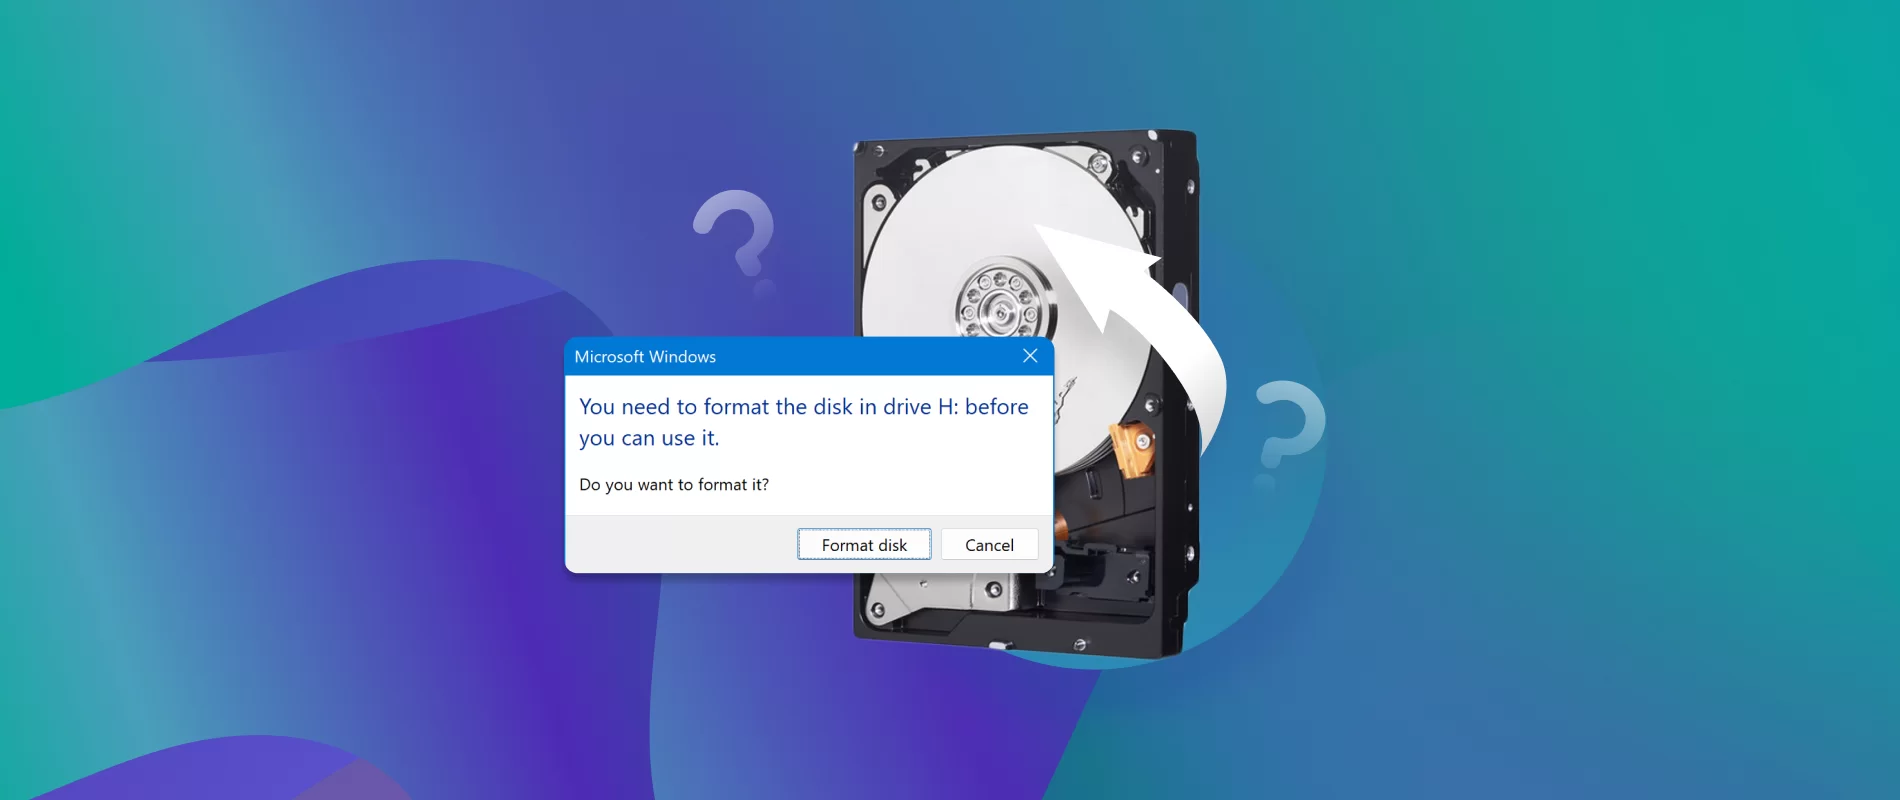
Step 2: Format the SSD
After successfully connecting your solid state drive (SSD) to your computer, the next step in initializing the SSD is to format it. Formatting the SSD prepares the drive for use by creating a file system that your operating system can recognize. Here’s a step-by-step guide on how to format your SSD:
- Open Disk Management: In Windows, you can access the Disk Management utility by right-clicking on the Start menu and selecting “Disk Management” from the menu. This utility allows you to manage your computer’s storage devices.
- Locate your SSD: In the Disk Management window, look for your SSD among the list of drives. It should be labeled as “Unallocated” or “Not Initialized”.
- Initialize the SSD: Right-click on the SSD and select “Initialize Disk”. In the initialization dialog box, select the partition style you want to use. For most modern systems, the GUID Partition Table (GPT) is the recommended option.
- Create a new partition: Right-click on the unallocated space of the initialized SSD and select “New Simple Volume”. Follow the on-screen instructions to set the partition size, assign a drive letter, and format the SSD with a file system (such as NTFS).
- Customize partition settings (optional): If desired, you can customize advanced settings such as the partition label, allocation unit size, and volume format in the wizard. These settings can be adjusted according to your preferences or specific requirements.
- Complete the formatting process: Once you’ve configured the partition settings, click “Finish” to begin the formatting process. This may take a few moments, depending on the size of your SSD.
- Verify the formatted SSD: After the formatting process is complete, your SSD should now be listed in the Disk Management window with a assigned drive letter and a file system. You can also check its status in the “Computer” or “This PC” section of Windows Explorer.
Once you have successfully formatted the SSD, it is now ready for use. The formatting process ensures that the SSD can store and retrieve data, and is compatible with your operating system. It’s an essential step in initializing the SSD and setting it up for optimal performance. In the next step, we’ll cover how to partition the SSD to further organize your data and maximize its usage.
Step 3: Partition the SSD
Once you have formatted your solid state drive (SSD), the next step in initializing the drive is to partition it. Partitioning allows you to divide the SSD into separate sections, each with its own drive letter, to organize and manage your data more efficiently. Here’s how you can partition your SSD:
- Open Disk Management: In Windows, right-click on the Start menu and select “Disk Management” from the menu. This will open the Disk Management utility, which allows you to manage your computer’s storage devices.
- Select the SSD: In the Disk Management window, locate your SSD among the list of drives. Right-click on the SSD and select “Shrink Volume”.
- Specify the shrink size: In the Shrink dialog box, specify the amount of space you want to allocate for the new partition. The available size is displayed and calculated in megabytes (MB).
- Create a new partition: After shrinking the volume, you will see unallocated space on your SSD. Right-click on the unallocated space and select “New Simple Volume”. Follow the on-screen instructions to set the partition size, assign a drive letter, and format the partition with a file system (such as NTFS).
- Repeat for additional partitions (optional): If you want to create additional partitions on your SSD, repeat the previous step for each desired partition. Adjust the size and settings accordingly.
- Verify the partitioned SSD: Once you have created the desired partitions, the SSD will now show multiple volumes in the Disk Management window, each with its own assigned drive letter. These partitions can be accessed and used independently to store different types of data.
Partitioning your SSD helps you effectively manage your data, separate your operating system from personal files, or create dedicated backup partitions. It allows for improved organization, easy access, and efficient storage utilization. With your SSD now properly partitioned, you can move on to assigning drive letters in the next step of the initialization process.
Step 4: Assign a Drive Letter
After partitioning your solid state drive (SSD), the next step in initializing the drive is to assign drive letters to each of the partitions. Drive letters help identify and differentiate the partitions when accessing them through the operating system. Here’s how you can assign drive letters to your SSD partitions:
- Open Disk Management: In Windows, right-click on the Start menu and select “Disk Management” from the menu. This will launch the Disk Management utility, where you can manage your storage devices.
- Locate the SSD partitions: In the Disk Management window, find the partitions you created on your SSD. They will be listed as separate volumes without a drive letter assigned to them.
- Right-click on the partition: For each partition, right-click on it and select “Change Drive Letter and Paths”.
- Assign a drive letter: In the Change Drive Letter and Paths dialog box, click on the “Add” button. Choose a drive letter from the drop-down menu or click on “Assign the following drive letter” and enter a specific letter.
- Confirm the drive letter assignment: After assigning a drive letter, click “OK” to confirm the changes. The assigned drive letter will be displayed for the respective partition in the Disk Management window.
- Repeat for other partitions (if applicable): If you have multiple partitions on your SSD, repeat the previous steps to assign drive letters to each partition accordingly. Ensure that each partition has a unique drive letter.
By assigning drive letters to your SSD partitions, you can easily access them through File Explorer or any other file management software. The drive letters make it convenient to identify and locate specific partitions within your SSD. With all the drive letters assigned, your SSD is now ready for use. In the next step, we’ll cover the final formatting process to optimize the SSD’s performance.
Step 5: Format the SSD
After assigning drive letters to the partitions on your solid state drive (SSD), the final step in initializing the drive is to format it. Formatting the SSD ensures that it is properly configured for data storage and compatible with your operating system. Here’s how you can format your SSD:
- Open File Explorer or Disk Management: In Windows, you can either right-click on the Start menu and select “Disk Management” or open File Explorer and navigate to “This PC” to access the drive management tools.
- Locate the SSD partitions: In either Disk Management or File Explorer, locate the partitions on your SSD that you want to format. Ensure that you select the correct partition before proceeding.
- Right-click on the partition: For each partition, right-click on it and select “Format”. This will open the format options for the selected partition.
- Choose the format settings: In the format options, choose the desired file system for the partition, such as NTFS, FAT32, or exFAT. You can also assign a volume label to identify the partition if desired.
- Enable quick format (optional): If you want to expedite the formatting process, you can select the “Quick Format” option. Note, however, that a quick format may not thoroughly scan for existing errors on the disk.
- Start the formatting process: Once you have selected the desired format settings, click “Start” or “OK” to initiate the formatting process. The time it takes to format the SSD will depend on the size of the partition and the speed of your computer.
- Repeat for other partitions (if applicable): If you have multiple partitions on your SSD that need to be formatted, repeat the previous steps for each partition.
After formatting your SSD partitions, they will be ready for storing and accessing data. The formatting process sets up the file system and prepares the partitions for optimal performance with your operating system. With the SSD formatted, you can now take additional steps to ensure the SSD’s long-term health and durability, which we’ll cover in the next step.
Step 6: Check the SSD’s Health
Once you have formatted your solid state drive (SSD) and it is ready for use, it’s important to periodically check and monitor its health. Checking the SSD’s health allows you to identify any potential issues early on and take appropriate actions to maintain its performance and longevity. Here are a few steps you can take to check the health of your SSD:
- Use SSD management software: Many SSD manufacturers provide dedicated software for monitoring the health and performance of their drives. Check the manufacturer’s website for any available programs specific to your SSD model and install the software onto your computer.
- Run diagnostic tests: Once you have the SSD management software installed, use it to run diagnostic tests on your SSD. These tests can assess the overall health, performance, and specific attributes of the drive, such as temperature, wear level, and error rates.
- Check SMART attributes: SMART (Self-Monitoring, Analysis, and Reporting Technology) is a feature built into most modern SSDs that monitors various drive attributes. Use the SSD management software or third-party utilities to view the SMART attributes and look for any warnings or indicators of potential issues.
- Update firmware: Check if there are any firmware updates available for your SSD model. Firmware updates can address bugs, improve performance, and enhance compatibility with the latest operating systems. Follow the manufacturer’s instructions to update the firmware of your SSD if necessary.
- Monitor temperature and airflow: Keep an eye on the temperature of your SSD and ensure that there is adequate airflow in your computer case. An excessive temperature can contribute to premature wear and reduce the lifespan of the drive.
- Regularly back up your data: Even with a healthy SSD, it’s always a good practice to regularly back up your important data. In the event of an unforeseen failure, having a recent backup ensures that you don’t lose any critical files or documents.
Checking your SSD’s health on a regular basis helps you identify and address any issues before they escalate into major problems. By monitoring the drive’s performance and taking necessary precautions, you can prolong its lifespan and ensure optimal performance over time. With these steps completed, your SSD is now fully initialized, healthy, and ready to deliver fast and reliable storage for your computer.
Conclusion
Congratulations! You have successfully initialized your solid state drive (SSD) and prepared it for optimal performance and reliability. By following the step-by-step process outlined in this guide, you have connected the SSD to your computer, formatted the drive, partitioned it, assigned drive letters, and ensured its health. Your SSD is now ready to provide you with lightning-fast speeds, improved responsiveness, and secure data storage.
Initializing an SSD is a crucial step that allows you to unleash the full potential of this modern storage technology. With faster boot times, quicker file transfers, and increased durability, SSDs offer a significant upgrade over traditional hard disk drives (HDDs). Not only do they improve the overall performance of your computer, but they also enhance your computing experience by providing a snappier and more responsive system.
Remember, along with initializing your SSD, it’s essential to periodically check its health using manufacturer-provided software or third-party utilities. Monitoring the health of your SSD, updating firmware, and maintaining proper temperature and airflow can help prolong its lifespan and ensure efficient operation.
Now that your SSD is initialized, take full advantage of its capabilities by utilizing it for your operating system, frequently used programs, and important data. Enjoy faster boot times, shorter application launch times, and quick file transfers that will enhance your productivity and overall computing experience.
With the right care and maintenance, your SSD will continue to perform at its best, keeping your data safe and ensuring a smooth and enjoyable computing experience for years to come.