Introduction
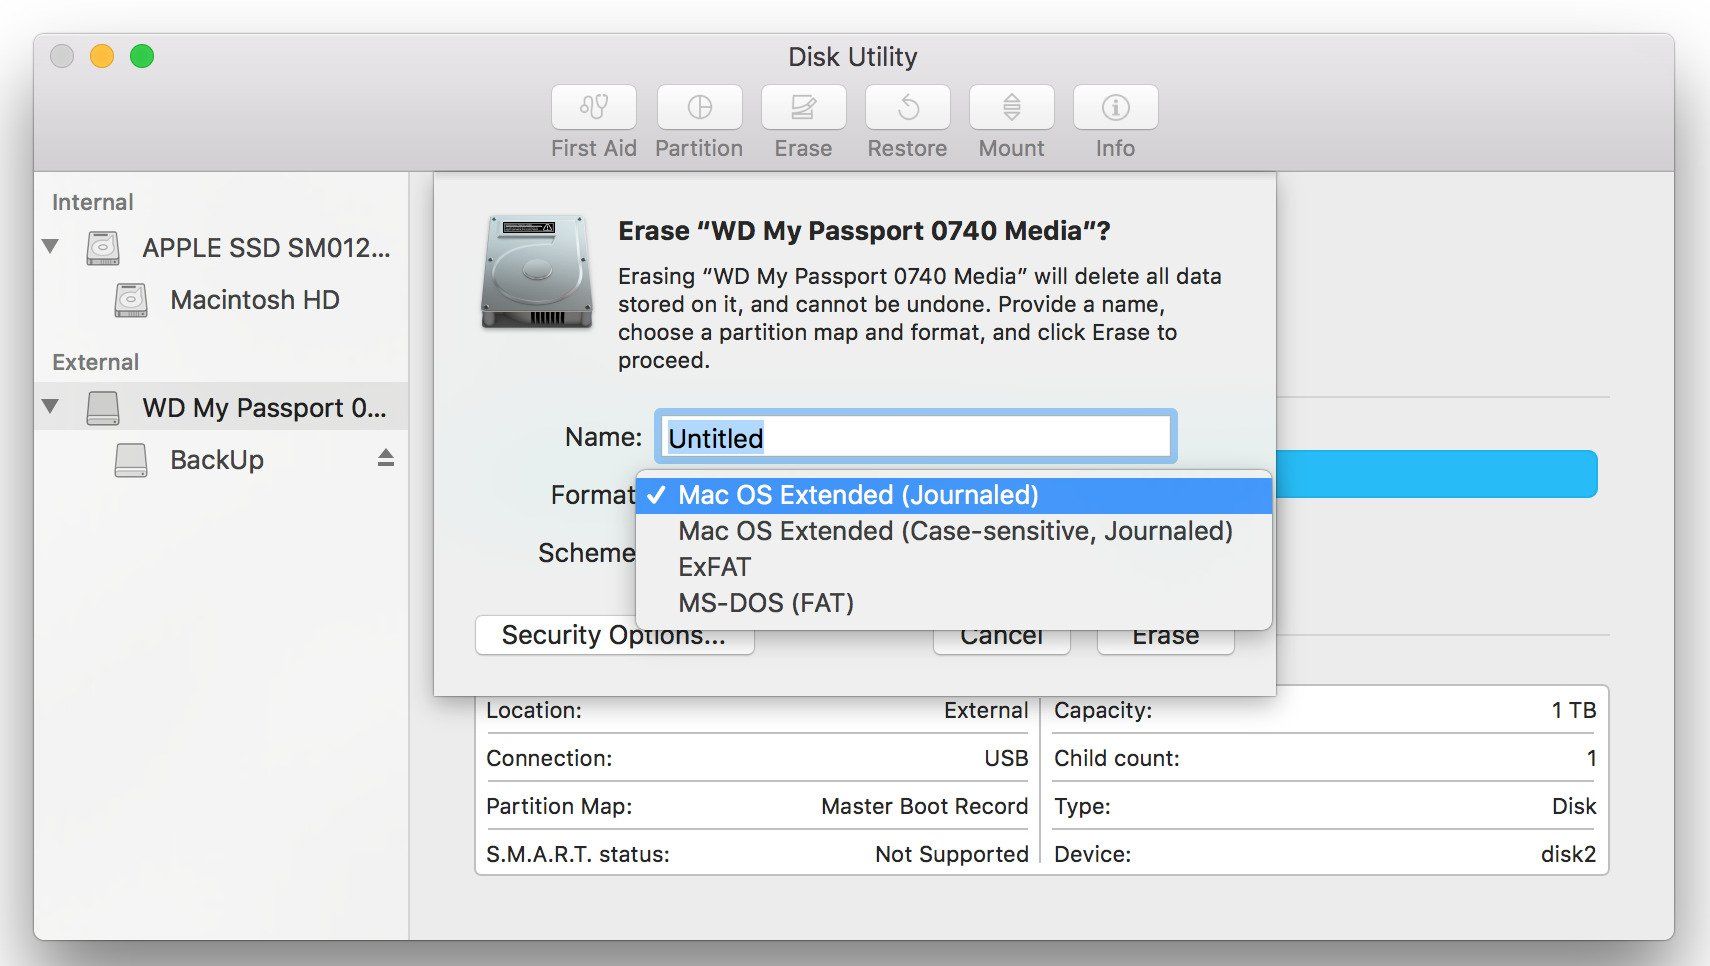
When you reformat your computer, you may notice that the hard disk drive is no longer named after its original manufacturer or model. This can be confusing, especially if you have multiple drives connected to your computer. However, the good news is that you can easily rename your hard disk drive to something more personalized and memorable.
Renaming a hard disk drive not only allows you to easily identify it among other drives, but it also adds a personal touch to your computer setup. Whether you want to give your hard disk drive a unique name or want to label it after your own name, the process of renaming it is straightforward.
In this guide, we will walk you through the steps to rename a hard disk drive after you have reformatted your computer. By following these steps, you’ll be able to customize the name of your hard disk drive and make it easier for you to access and organize your files. So, let’s get started!
Step 1: Connect the hard disk drive
The first step in renaming your hard disk drive is to ensure that it is properly connected to your computer. If you have an external hard drive, make sure it is plugged into the appropriate port on your computer. If it’s an internal hard drive, make sure it is securely connected to your computer’s motherboard.
Once your hard disk drive is connected, ensure that your computer recognizes it. You can do this by going to the “This PC” or “My Computer” section on your computer and checking if the drive is listed.
If the hard disk drive is not recognized, you may need to troubleshoot the connection or install the necessary drivers for it to be detected. Consult the manufacturer’s instructions or seek technical support to resolve any issues with the connection.
It’s important to have a properly connected hard disk drive to proceed with the renaming process. Once you have confirmed that the drive is recognized by your computer, you can move on to the next step.
Step 2: Open Disk Management
After ensuring that your hard disk drive is connected to your computer, the next step is to open Disk Management. Disk Management is a built-in utility in Windows that allows you to manage and modify the disk partitions on your computer.
To open Disk Management, you can follow these steps:
- Right-click on the “Start” button or press the “Windows” key + “X” key on your keyboard to open the Power User Menu.
- From the list of options, select “Disk Management”.
Alternatively, you can also open Disk Management by typing “Disk Management” in the search bar next to the “Start” button, and selecting the “Create and format hard disk partitions” option from the search results.
Once Disk Management is open, you will see a list of all the connected disk drives on your computer. This includes your main hard drive, any external hard drives, and any additional internal hard drives that are connected.
Take a moment to ensure that you have selected the correct disk drive that you want to rename in Disk Management. This will prevent any accidental changes to other drives on your computer. Once you have double-checked and confirmed the correct drive, you can proceed to the next step.
Step 3: Locate the hard disk drive
Now that you have Disk Management open, the next step is to locate the specific hard disk drive that you want to rename. Disk Management provides an overview of all the connected disk drives, making it easy to identify and modify the correct drive.
In Disk Management, you will see a list of all the drives along with their corresponding information such as size, status, and file system. Take a moment to carefully examine this list and locate the drive that you want to rename.
The drives are usually labeled with a letter, such as “C:”, “D:”, or “E:”. The drive you are looking for may have a different letter depending on the configuration of your computer. However, you can also identify the drive by its size or other specific details if it is not immediately apparent from the drive letters alone.
If you have trouble identifying the correct drive, make sure to cross-reference it with the drive letter and size shown in Disk Management with the physical connections of your computer. You can also check the Total Size and Status columns in Disk Management, as these can help you confirm the correct drive.
Once you have located the correct hard disk drive that you want to rename, you are ready to move on to the next step and change its name to something more personalized.
Step 4: Change the disk name
Now that you have located the hard disk drive you want to rename in Disk Management, you can proceed with changing its name. Renaming a disk drive in Windows is a simple process and can be done with just a few clicks.
To change the name of your hard disk drive, follow these steps:
- Right-click on the drive you want to rename in the Disk Management window.
- Select the “Change Drive Letter and Paths” option from the context menu.
- In the new window that appears, click on the “Change” button.
- In the “Change Drive Letter and Paths” window, you will see the current drive letter assigned to the drive. Click on the “Remove” button to remove the current drive letter.
- Click on the “Add” button to assign a new drive letter or path to the drive.
- In the “Assign Drive Letter or Path” window, select the “Mount in the following empty NTFS folder” option and click the “Browse” button.
- Choose the location where you want the drive to be mounted and click “OK”. Alternatively, you can select the “Assign the following drive letter” option and choose a letter from the drop-down menu.
- Once you have assigned a new letter or path to the drive, click “OK”.
By following these steps, you have successfully changed the name of your hard disk drive in Windows. The new name will now be reflected whenever you access the drive in Windows Explorer.
Remember to choose a name that is meaningful and easily identifiable. This will help you keep track of your drives and make it easier to locate specific files or folders within the drive.
Once you have changed the disk name, you can proceed to the next step to confirm the name change and ensure that it has been applied successfully.
Step 5: Confirm the name change
After you have changed the name of your hard disk drive in Disk Management, it’s important to confirm that the name change has been applied successfully. This step ensures that the new name is properly displayed and recognized by your computer.
To confirm the name change, follow these steps:
- Open Windows Explorer or File Explorer on your computer.
- Locate the drive that you have renamed in the navigation pane on the left-hand side.
- Click on the drive to access its contents.
- Verify that the new name you assigned to the drive is displayed at the top of the Windows Explorer or File Explorer window.
- Browse through the folders and files within the drive to ensure that everything is accessible and the new name is applied consistently throughout the drive.
If you see the new name displayed correctly and are able to access the contents of the drive without any issues, then congratulations, the name change has been successfully applied!
However, if you encounter any problems or inconsistencies with the name change, double-check the steps you followed in Disk Management and try reapplying the new name. If the issue persists, you may need to seek further assistance or troubleshoot any potential underlying issues with your computer’s configuration.
By confirming the name change, you can ensure that the drive is properly labeled and that the new name is accurately displayed in Windows Explorer or File Explorer. This will make it easier for you to identify and access your hard disk drive in the future.
Step 6: Restart your computer
After making changes to your hard disk drive’s name in Disk Management, it is recommended to restart your computer. Restarting allows the system to update and apply the changes made, ensuring that the new disk name is fully recognized and accessible.
To restart your computer, follow these simple steps:
- Save any open files and close all running programs.
- Click on the “Start” button or press the Windows key on your keyboard.
- From the Start menu, click on the “Power” option.
- Select “Restart” from the drop-down menu.
- Your computer will shut down and start up again, applying any pending updates and changes.
Once your computer has restarted, log back in and check the name of your hard disk drive. It should now be displayed with the new name you assigned in Disk Management.
Restarting your computer ensures that the changes made to your hard disk drive’s name are properly applied throughout the system. It also helps refresh the system configuration, allowing for smooth and consistent operation.
If, after restarting, you still encounter any issues with the disk name not being displayed correctly or other related problems, you may need to repeat the previous steps or seek further assistance from technical support.
By following this final step and restarting your computer, you can ensure that the name change you made to your hard disk drive is fully implemented and recognized by the system, providing you with a personalized and easily identifiable disk name.
Conclusion
Renaming your hard disk drive after reformatting your computer is a simple process that allows you to add a personal touch to your computer setup. By following the steps outlined in this guide, you can easily change the name of your hard disk drive and make it more personalized and identifiable.
Throughout this guide, we covered the necessary steps to rename your hard disk drive:
- Connect the hard disk drive to your computer.
- Open Disk Management.
- Locate the hard disk drive.
- Change the disk name.
- Confirm the name change.
- Restart your computer.
By following these steps, you can customize the name of your hard disk drive to something that is meaningful to you. This makes it easier to identify and organize your files, allowing for a more efficient workflow.
Remember to choose a name that is easily recognizable and meaningful to you. This can be your name, a descriptive label, or any other name that helps you differentiate your hard disk drive from others.
After successfully renaming your hard disk drive, it’s advisable to confirm the name change in Windows Explorer or File Explorer. Additionally, restarting your computer ensures that the changes are properly applied throughout the system.
By following these steps and taking the time to customize the name of your hard disk drive, you can enhance your computing experience and make it truly your own.


