Introduction
Upgrading your computer’s storage by moving Windows 10 to a solid-state drive (SSD) can substantially improve its performance and drastically reduce boot times. An SSD uses flash memory, resulting in faster read and write speeds compared to traditional hard disk drives (HDDs). In this guide, we will walk you through the process of transferring Windows 10 to an SSD.
Before we dive into the steps, it’s important to note that moving Windows 10 to an SSD is a technical process that requires careful planning and execution. It is recommended to have intermediate to advanced computer knowledge and familiarity with working inside your computer’s hardware. If you are not confident in doing this yourself, it is advised to seek assistance from a professional or a knowledgeable friend.
Moving Windows 10 to an SSD involves several stages, including preparing your system, choosing the right SSD, backing up your data, physically installing the SSD, preparing it for Windows installation, transferring your data, and optimizing your SSD’s performance. Don’t worry; we will break down each step and provide you with clear guidance.
Why should you consider moving to an SSD? Well, besides the noticeable improvement in boot times, an SSD can significantly enhance the overall responsiveness of your computer. You will experience faster application launches, quicker file transfers, and smoother multitasking. Additionally, SSDs are more durable and less susceptible to physical damage from drops or shocks since they lack moving parts.
Throughout this guide, we will make sure to explain each step thoroughly and provide tips along the way. Please ensure that you read and understand each step before proceeding. It’s crucial to back up your important files and data before starting the process, as there is a risk of data loss during the migration. Taking these precautions will help ensure a smooth and successful transition to your new SSD.
Now, let’s get started by preparing your system for the move to an SSD. Remember, patience and attention to detail are key. Let’s make your Windows 10 experience even better!
Preparing Your System
Before diving into the process of moving Windows 10 to an SSD, it’s essential to ensure that your system is ready for the upgrade. Taking the necessary steps to prepare your system will help prevent any issues or complications during the migration. Here’s what you need to do:
1. Check System Requirements: Before proceeding, make sure your computer meets the minimum system requirements for Windows 10 and the SSD. Check the manufacturer’s specifications for both Windows 10 and the SSD to ensure compatibility.
2. Update Windows: It’s crucial to have the latest updates for your current Windows 10 installation. Check for updates by going to Settings > Update & Security > Windows Update and click on “Check for updates”. Install any available updates before proceeding.
3. Uninstall Unnecessary Programs: Take the time to identify and uninstall any unnecessary programs or applications from your current Windows 10 installation. Removing unnecessary software will not only free up space on your current drive but also make the migration process smoother by reducing the amount of data that needs to be transferred.
4. Clean up Your Drive: Use the built-in Disk Cleanup utility in Windows 10 to remove temporary files, system files, and unnecessary data. Simply search for “Disk Cleanup” in the Start menu, select the drive you want to clean, and let the utility scan and calculate the amount of space you can free up. Select the files you want to delete and click “OK”.
5. Disable Hibernation and Fast Startup: Hibernation and Fast Startup features can interfere with the migration process. Open the Command Prompt as an administrator and type in the following commands: “powercfg /h off” to disable hibernation and “powercfg /fastoff” to disable Fast Startup.
6. Update Drivers: Visit your computer manufacturer’s website and download the latest drivers for your hardware components, such as graphics card, chipset, and network adapter. Having up-to-date drivers will ensure maximum compatibility and performance with the new SSD.
7. Gather Product Keys and License Information: Make a list of all the software and applications that require product keys or license information. This will come in handy when reinstalling your programs on the new SSD.
8. Create a System Restore Point: Before proceeding with any changes or installations, create a system restore point as a precautionary measure. In case anything goes wrong during the migration process, you can easily revert back to the previous state.
By following these steps and thoroughly preparing your system, you will ensure a smooth and successful transition to your new SSD. Take the time to double-check everything before moving on to the next phase. In the next section, we will guide you through the process of choosing the right SSD for your needs.
Choosing an SSD
When it comes to choosing an SSD for your Windows 10 migration, there are a few key factors to consider. The right SSD will not only provide a significant boost in performance but also meet your storage needs and budget. Here’s what to keep in mind:
1. Storage Capacity: Evaluate your storage needs and determine the amount of space you require for your applications, files, and operating system. SSDs come in various capacities, ranging from 128GB to several terabytes. Choose a size that provides ample storage for your current usage and allows for future expansion.
2. Performance: Look for SSDs with high read and write speeds. This will ensure faster data transfers, quicker boot times, and improved overall system responsiveness. Consider SSDs with NVMe (Non-Volatile Memory Express) technology, as they offer superior performance compared to traditional SATA-based SSDs.
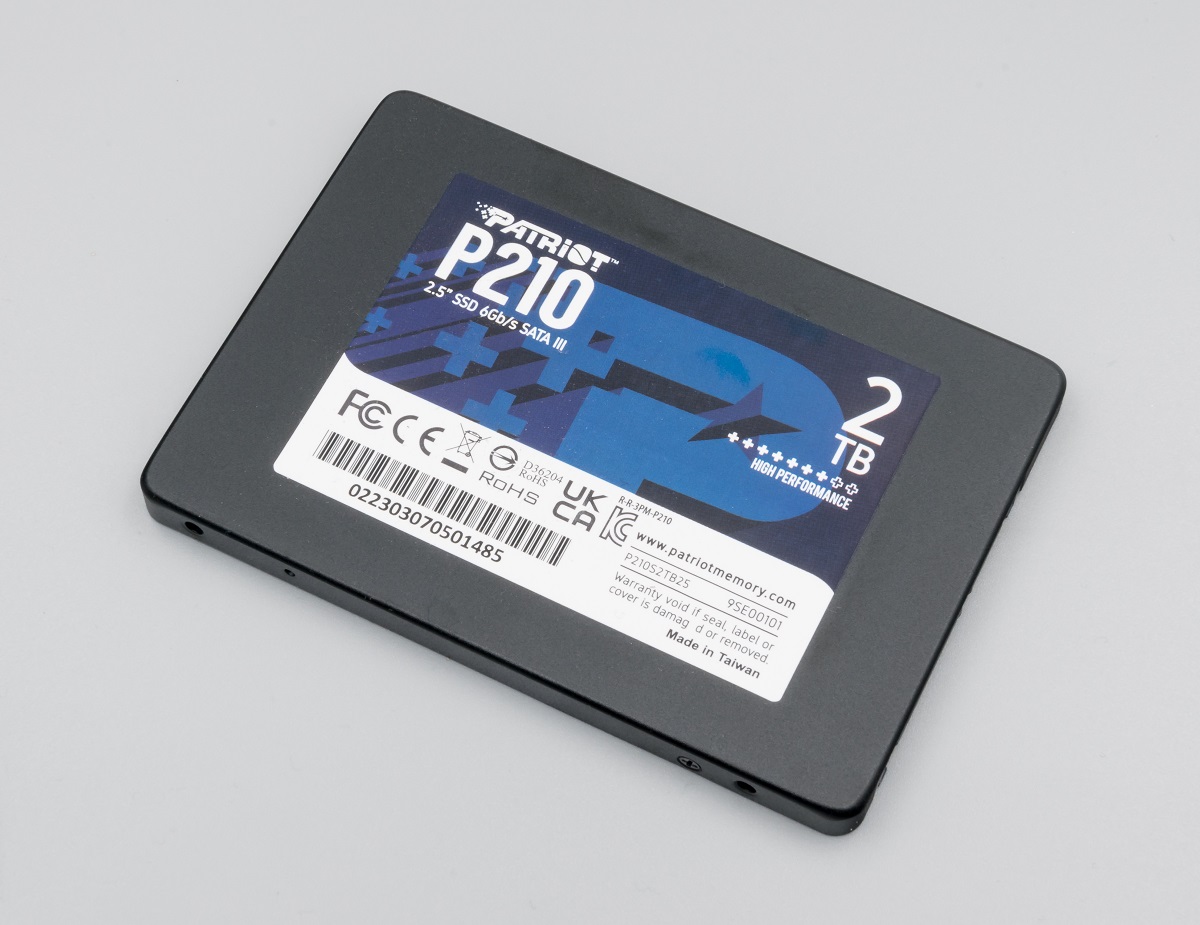
3. Form Factor: Determine the appropriate form factor for your system. Most SSDs come in the standard 2.5-inch form factor, which is compatible with laptops and desktops. However, if you have a desktop with available M.2 or PCIe slots, consider an M.2 or PCIe SSD for even faster performance.
4. Endurance and Warranty: Check the endurance rating of the SSD, which indicates its lifespan and the amount of data that can be written to the drive. Look for SSDs with a higher endurance rating, especially if you perform frequent read/write operations. Additionally, consider the warranty period offered by the manufacturer to ensure long-term reliability.
5. Budget: Set a budget for your SSD purchase. Prices of SSDs have become more affordable in recent years, but higher-capacity and faster SSDs typically come at a higher cost. Balance your storage and performance needs with your budget to make an informed decision.
6. Read User Reviews: Do some research and read user reviews on different SSD models. Feedback from other users can provide valuable insights into the performance, reliability, and compatibility of specific SSDs. Make sure to consider reviews from reputable sources.
7. Brand Reputation: Opt for SSDs from reputable brands known for their quality and reliability. Brands such as Samsung, Crucial, Western Digital, Kingston, and SanDisk have a good track record in the SSD market.
8. Compatibility: Ensure that the SSD you choose is compatible with your system’s interface, whether it’s SATA, M.2, or PCIe. Check your motherboard or laptop specifications to confirm compatibility before making a purchase.
By considering these factors, you can select an SSD that meets your needs and provides a significant performance boost for your Windows 10 system. In the next section, we will guide you through the process of backing up your data before the migration.
Backing up Your Data
Before proceeding with the migration process, it is crucial to back up your data to ensure that no important files or documents are lost during the transition. Here are some essential steps to back up your data:
1. Identify Important Files: Take the time to identify the important files, documents, photos, videos, and any other data that you cannot afford to lose. These may include personal documents, work files, media files, and application data.
2. External Storage: Prepare an external storage device, such as an external hard drive or a USB flash drive, with enough capacity to store your backup files. Ensure that it is properly formatted and ready to use.
3. Manual File Backup: The simplest method is to manually copy and paste your important files from their current locations to the external storage device. Organize your files into relevant folders to make it easier to restore them later.
4. Use Backup Software: Consider using backup software to automate the process and ensure that all essential files are backed up. There are various backup solutions available, such as EaseUS Todo Backup, Acronis True Image, and Macrium Reflect. Choose one that suits your needs and follow the software’s instructions.
5. Cloud Storage: Utilize cloud storage services like Google Drive, Dropbox, or Microsoft OneDrive to back up your files online. This provides an additional layer of protection, as your data remains safe even if the external storage device gets misplaced or damaged.
6. Verify Your Backup: Once the backup process is complete, double-check your backup files to ensure they are intact and accessible. Open and preview a few files to confirm that everything has been backed up successfully.
7. Create a Backup Schedule: To avoid data loss in the future, create a backup schedule and regularly update your backup files. This will ensure that your important data is consistently protected.
8. Keep Your Backups Secure: Remember to keep your backup storage device or cloud storage account secure. Use strong passwords and enable encryption if available. If you are using an external storage device, store it in a safe place to prevent loss or theft.
By following these steps, you can safely back up your important files and ensure their availability in case of any issues during the migration process. With your data securely backed up, you can proceed with confidence to the next stage of creating a recovery drive.
Creating a Recovery Drive
Before you begin the process of moving Windows 10 to an SSD, it’s crucial to create a recovery drive. This will serve as a safety net in case anything goes wrong during the migration process. Here’s how to create a recovery drive:
1. Prepare a USB Drive: Obtain a USB flash drive with a capacity of at least 16GB. Ensure that it is empty or contains no important data, as the process will erase all existing data on the drive.
2. Open the Recovery Drive Utility: Type “Create a recovery drive” in the Windows search bar and select the matching result. Make sure you have administrative privileges for this process.
3. Launch the Recovery Drive Tool: When the Recovery Drive utility opens, make sure the “Back up system files to the recovery drive” option is checked. This option will create a recovery drive that includes the necessary system files to troubleshoot and restore your computer.
4. Select the USB Drive: Connect the USB flash drive to your computer and select it from the list of available drives in the Recovery Drive tool. Double-check to ensure that you have selected the correct drive, as the process will erase all data on it.
5. Begin the Creation Process: Click “Next” and then “Create” to start creating the recovery drive. The process may take a few minutes, depending on the speed of your computer and the USB drive.
6. Wait for the Process to Complete: Leave the computer undisturbed while the recovery drive is being created. Do not remove the USB drive or turn off the computer during this process.
7. Verify the Recovery Drive: Once the creation process is complete, the Recovery Drive utility will display a message indicating that the drive has been successfully created. Feel free to explore the contents of the recovery drive to ensure that it contains the necessary system files.
8. Label and Store the Recovery Drive: It’s essential to label the recovery drive and store it in a safe place. Make sure to note that it is a recovery drive and keep it separate from other USB drives to avoid confusion.
With the recovery drive successfully created, you now have a backup of the system files needed to restore your computer in case of any issues during the migration process. It’s always better to be prepared for the unexpected. In the next section, we will cover the physical installation of the SSD.
Physical Installation of the SSD
Now that you have prepared your system and created a recovery drive, it’s time to physically install the SSD into your computer. Follow these steps for a smooth installation process:
1. Power Off and Unplug: Shut down your computer and unplug the power cable. It’s essential to disconnect all power sources to avoid any electrical shock or damage during the installation.
2. Open the Computer Case: Depending on your computer’s form factor, remove the side panel or any screws holding the case together. Refer to your computer manufacturer’s instructions or online resources for guidance on how to access the internal components.
3. Locate the Drive Bays: Identify the drive bays in your computer where the SSD will be installed. These are usually located near the front or bottom of the case.
4. Mount the SSD: If you are using a 2.5-inch SSD, secure it to the drive bay using screws or mounting brackets. Ensure that it is firmly attached and aligned properly. If you are installing an M.2 SSD, locate the M.2 slot on your motherboard and insert the SSD into the slot at a slight angle. Gently push it down and screw it into place if necessary.
5. Connect the Data Cable: If you are using a SATA SSD, connect one end of a SATA data cable to the SSD and the other end to an available SATA port on the motherboard. Ensure a secure connection by pressing the connectors in until they click into place.
6. Connect the Power Cable: Connect one end of a SATA power cable to the SSD and the other end to an available SATA power connector from the power supply unit (PSU). Again, ensure a secure connection by pushing the connectors in until they are firmly seated.
7. Close the Computer Case: Once the SSD is securely installed and the cables are connected, carefully close the computer case. Make sure all screws are tightened, and the side panel is correctly secured.
8. Power On and Verify: Plug in the power cable, and power on your computer. Enter the BIOS or UEFI settings by pressing the appropriate key during startup (usually F2, Delete, or F12). Verify that the SSD is detected in the system and listed as one of the connected drives.
With the physical installation of the SSD complete, you are one step closer to enjoying the benefits of faster storage. In the next section, we will guide you through the process of preparing the SSD for Windows installation.
Preparing the SSD for Windows Installation
After successfully installing the SSD into your computer, the next step is to prepare it for the installation of Windows 10. Here’s what you need to do:
1. Boot Priority: Access the BIOS or UEFI settings by pressing the appropriate key during startup (usually F2, Delete, or F12). Set the SSD as the primary boot device to ensure that your computer boots from it during the installation process.
2. Secure Erase (Optional): If you are using a brand-new SSD or want to delete all data on the drive, consider performing a secure erase. This will wipe all existing data and prepare the SSD for a clean installation. Not all SSDs support secure erase, so refer to the manufacturer’s instructions or use specialized software for this process.
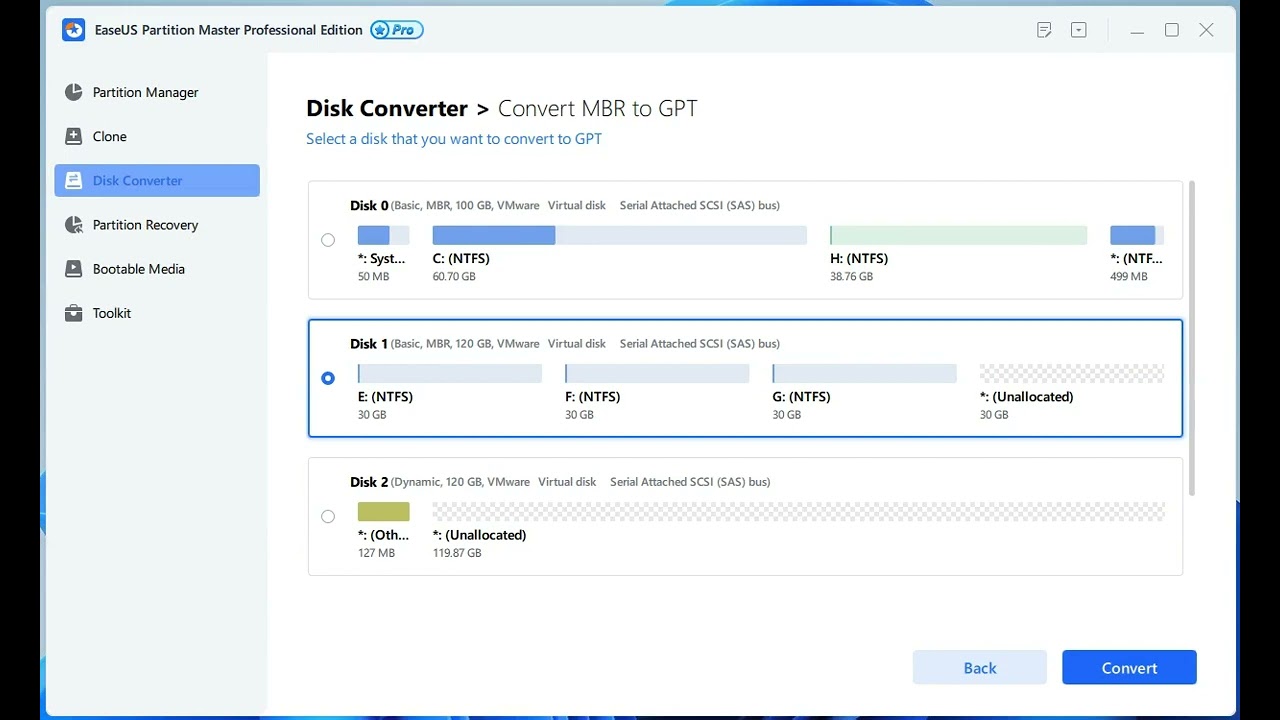
3. Format the SSD: Before installing Windows, you need to format the SSD. To do this, open Disk Management by right-clicking on the Start menu, selecting “Disk Management,” and locating the SSD in the list of drives. Right-click on the SSD and select “Format.” Follow the on-screen prompts to complete the formatting process.
4. Partition the SSD: After formatting, you will need to create partitions on the SSD. Right-click on the unallocated space of the SSD and select “New Simple Volume.” Follow the wizard to set the partition size and assign a drive letter.
5. Drive Alignment (Optional): Some older SSDs may require drive alignment for optimal performance. To check if alignment is needed, open Command Prompt as an administrator and type “wmic partition list brief.” Look for your SSD in the list and check the “StartingOffset” value. If it is not divisible by 4096, alignment is necessary. Use third-party software like AOMEI Partition Assistant or MiniTool Partition Wizard to align the SSD.
6. Firmware Update (Optional): Check the SSD manufacturer’s website or software for any available firmware updates. Updating the firmware can improve performance and compatibility with the latest technologies.
7. Create Installation Media: If you don’t already have a Windows 10 installation media, you will need to create one on a USB flash drive or DVD. Microsoft provides a Media Creation Tool that guides you through the process of creating the installation media.
8. Boot from Installation Media: Connect the Windows 10 installation media to your computer. Restart your computer and access the BIOS or UEFI settings again. Set the installation media as the primary boot device and save the changes. Your computer will then boot from the installation media.
By following these steps, you will ensure that the SSD is properly prepared for the installation of Windows 10. In the next section, we will guide you through the process of installing Windows 10 on the SSD.
Installing Windows 10 on the SSD
Now that you have prepared the SSD, it’s time to install Windows 10. Follow these steps to ensure a successful installation:
1. Boot from Installation Media: Restart your computer and make sure the Windows 10 installation media (USB flash drive or DVD) is connected. Go into the BIOS or UEFI settings and set the installation media as the primary boot device. Save the changes and restart your computer.
2. Select Language and Region: Once your computer boots from the installation media, you will be prompted to select your preferred language, time format, and keyboard layout. Choose the appropriate options and click “Next.”
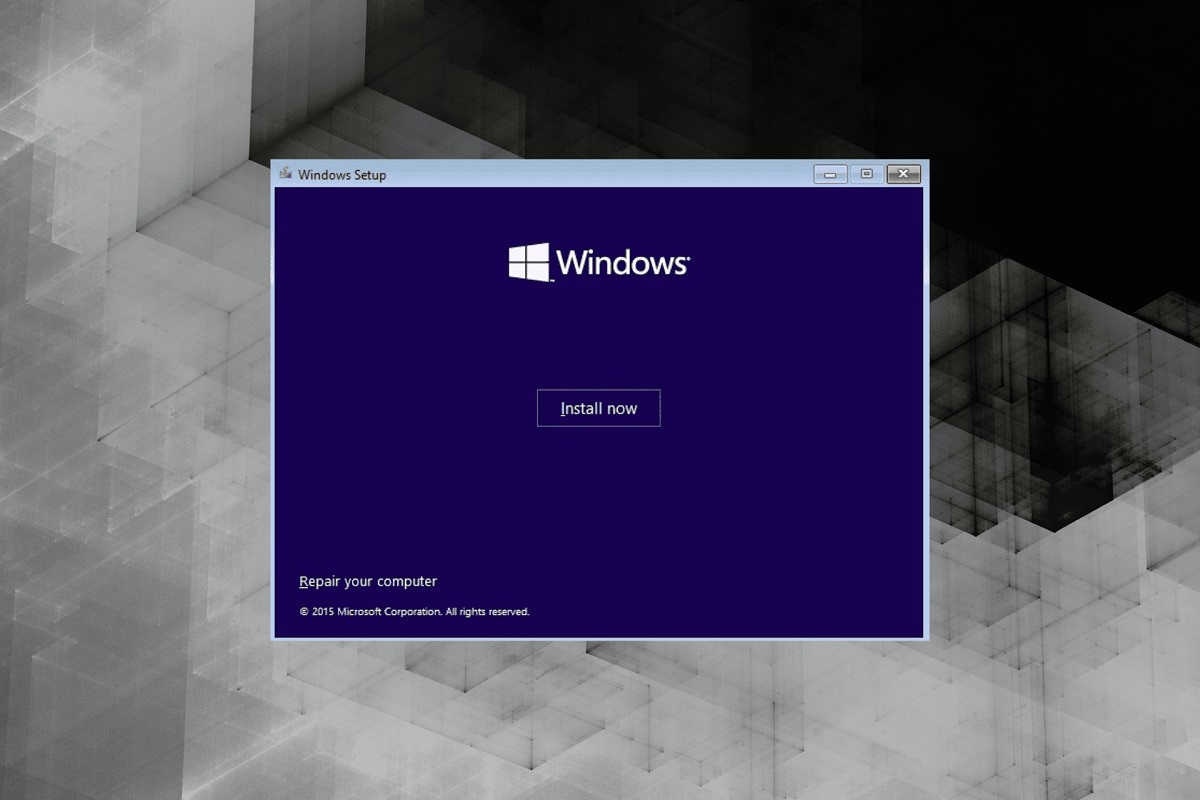
3. Install Now: On the next screen, click on the “Install Now” button to begin the installation process.
4. Enter Product Key (If Required): If prompted, enter your Windows 10 product key. If you don’t have a key, you can proceed with the installation by clicking on the “I don’t have a product key” option.
5. Accept License Terms: Read and accept the license terms by checking the box and clicking “Next.”
6. Choose Custom Installation: On the next screen, select the “Custom: Install Windows only (advanced)” option. This allows you to choose the SSD as the installation location.
7. Select the SSD: You will see a list of available drives. Select the partition on your SSD that you created earlier and click on the “Next” button. If you need to create a new partition, follow the prompts to do so.
8. Begin Installation: Windows 10 will now begin the installation process. Follow the on-screen instructions, which may require you to select additional settings like language preferences and time zone.
9. Restart Your Computer: Once the installation is complete, your computer will restart. Remove the installation media to boot directly from the SSD.
10. Set Up Windows 10: On the initial setup screen, follow the prompts to personalize your Windows 10 settings, including signing in with a Microsoft account, configuring privacy settings, and choosing a computer name.
Congratulations! You have successfully installed Windows 10 on your SSD. In the next section, we will guide you through the process of configuring Windows 10 on the SSD.
Configuring Windows 10 on the SSD
Now that you have installed Windows 10 on your SSD, it’s time to configure the operating system to optimize your experience. Follow these essential steps to get started:
1. Windows Updates: After the installation, ensure that your Windows 10 system is up to date by checking for and installing any available updates. This will help ensure compatibility, stability, and security.
2. Update Drivers: Install the latest drivers for your hardware components to ensure optimal compatibility and performance. Visit the manufacturer’s website for your computer or individual components and download and install the latest drivers available.
3. Activate Windows: If you haven’t already done so during the installation process, activate your Windows 10 installation using a valid product key. Open the Settings app, go to “Update & Security,” and click on “Activation.” Follow the prompts to enter your product key and activate Windows.
4. Personalize Settings: Customize your Windows 10 experience by personalizing various settings. This includes selecting a desktop background, configuring a lock screen, adjusting display settings, setting up a screensaver, and more. Open the Settings app and explore the available options under “Personalization.”
5. Install Essential Software: Install the necessary software applications that you regularly use, such as web browsers, productivity suites, media players, and antivirus software. Download them from trusted sources and follow the installation instructions.
6. Set Up User Accounts: Create user accounts or sign in with existing Microsoft accounts to personalize your Windows 10 experience and enforce user-specific settings and preferences. Open the Settings app, go to “Accounts,” and follow the prompts to create or sign in to user accounts.
7. Configure System Settings: Adjust various system settings to optimize performance and security. Customize settings related to power management, system updates, security and privacy, notifications, and more. Explore the options available under the Settings app to configure your system to your preferences.
8. Install Productivity and Media Apps: Install additional software applications that suit your specific needs, such as word processors, video editors, photo organizers, and media players. Visit the Microsoft Store or trusted third-party sources to download and install these apps.
9. Set Up Backup and Recovery: Consider setting up a backup and recovery solution to protect your data and system from potential loss or damage. Explore built-in Windows backup options or third-party software solutions for an added layer of protection.
10. Test and Optimize: Take the time to test your system, ensure that everything is functioning correctly, and fine-tune settings as needed. Adjust performance settings, disable unnecessary startup programs, and optimize your Windows 10 experience to suit your specific needs.
By following these steps, you can configure and personalize your Windows 10 installation on the SSD to ensure optimal performance and usability. In the next section, we will guide you through the process of transferring data from the HDD to the SSD.
Transferring Data from the HDD to the SSD
Now that you have Windows 10 installed on your SSD, it’s time to transfer your data from the old HDD to the new SSD. Follow these steps to successfully migrate your files and folders:
1. Identify Important Data: Determine which files and folders you want to transfer from the HDD to the SSD. This may include documents, photos, videos, music, and any other personal files.
2. Use File Explorer: Open File Explorer and locate the files and folders you want to transfer. You can find them in various locations on your HDD, such as the Documents, Pictures, and Videos folders.
3. Copy and Paste: Select the files and folders you want to transfer by clicking and dragging the mouse or using Ctrl+click to select multiple items. Right-click on the selected items, choose “Copy,” then navigate to the SSD location (e.g., Documents, Pictures folders on the SSD), right-click, and choose “Paste” to transfer the files.
4. Transfer User Data: To transfer user-specific data, such as browser bookmarks, email settings, and application preferences, use built-in migration tools or third-party software. Examples include the Windows Easy Transfer tool or dedicated migration software provided by your applications.
5. Reinstall Applications: For applications installed on the HDD, you will need to reinstall them on the SSD. Use the original installation media or download the latest version from trusted sources. During the installation process, choose the SSD location as the installation directory.
6. Update File Paths (if necessary): If you have any files or folders linked to specific programs or shortcuts, you may need to update the file paths to point to the new location on the SSD. This ensures that programs can access the necessary files without issues.
7. Verify Data Transfer: After the transfer is complete, double-check that all files, folders, and user data have successfully migrated to the SSD. Open and test different files to confirm their accessibility and integrity.
8. Clean Up Old Files: Once you have verified the successful transfer of your data, you can choose to delete the corresponding files from the HDD to free up space. Be cautious and ensure that you have backed up all essential data before deleting anything.
By following these steps, you can efficiently transfer your important files and folders from the HDD to the SSD. Enjoy the improved performance and responsiveness of your new storage solution. In the next section, we will explore optimizing your SSD’s performance.
Optimizing Your SSD’s Performance
To ensure optimal performance and longevity of your SSD, it’s important to take a few steps to optimize its performance. Follow these recommendations to get the most out of your SSD:
1. Enable TRIM: TRIM is a feature that helps maintain SSD performance over time by optimizing the way data is written and deleted. To enable TRIM, open the Command Prompt as an administrator and type “fsutil behavior set DisableDeleteNotify 0” and press Enter.
2. Disable Disk Defragmentation: SSDs do not require disk defragmentation like traditional hard drives. In fact, defragmenting an SSD can cause unnecessary wear on the drive. Windows 10 should automatically detect an SSD and disable defragmentation, but it’s worth double-checking to ensure it’s disabled.
3. Disable Superfetch and Prefetch: Superfetch and Prefetch are Windows services designed to speed up the launch of frequently used applications. However, they can impact SSD performance and are best disabled. Open the Run dialog (Win + R), type “services.msc,” and navigate to Superfetch and Prefetch services. Right-click on each service, select Properties, and set the Startup Type to Disabled.
4. Optimize Power Settings: Adjust your power settings to optimize SSD performance. Go to Control Panel > Hardware and Sound > Power Options. Select the “High performance” power plan or customize the existing power plan to set the hard drive sleep time to a longer duration to minimize unnecessary read/write operations.
5. Update SSD Firmware: Check the SSD manufacturer’s website for firmware updates. Updating the firmware can improve performance and resolve any known issues. Follow the manufacturer’s instructions on how to update the SSD firmware.
6. Enable AHCI Mode: Advanced Host Controller Interface (AHCI) mode allows for improved performance and features specifically designed for SSDs. Switching to AHCI mode requires changing a setting in the BIOS or UEFI firmware. Consult your computer’s documentation or the manufacturer’s website for instructions specific to your system.
7. Regularly Back Up Your SSD: Despite their reliability, SSDs can still fail. It’s crucial to regularly back up your important files and data stored on the SSD. Use reliable backup software or cloud storage solutions to create regular backups to protect your data.
8. Check for Firmware and Driver Updates: Periodically check for firmware and driver updates for your SSD. Manufacturers may release updates that improve overall performance, reliability, and compatibility.
By following these optimization steps, you can enhance the performance and lifespan of your SSD, ensuring a smoother and more efficient computing experience. Enjoy the benefits of faster data access and improved system responsiveness.
Conclusion
Congratulations on successfully moving Windows 10 to an SSD! By following the steps outlined in this guide, you have significantly improved the performance and responsiveness of your computer. The combination of faster read/write speeds, reduced boot times, and enhanced overall system performance is sure to enhance your computing experience.
During the process, you prepared your system for the migration, chose the right SSD for your needs, backed up your data, created a recovery drive, physically installed the SSD, and prepared it for Windows installation. After installing and configuring Windows 10 on the SSD, you transferred your data from the HDD, optimized your SSD’s performance, and ensured the reliability and longevity of your new storage solution.
Remember, proper maintenance and regular updates are crucial to keeping your SSD running smoothly. Keep an eye out for firmware updates and driver updates from the manufacturer to ensure that you are utilizing the latest features and improvements. Additionally, regular backups of your important data will provide an extra layer of protection against potential data loss.
Enjoy the improved speed and performance of your Windows 10 system on the SSD. Experience faster boot times, quicker application launches, and smoother multitasking. Embrace the new possibilities that come with the enhanced storage solution, and make the most of your computing experience.
Thank you for following this guide, and we hope it has been helpful on your journey to an optimized and efficient Windows 10 system on an SSD. If you have any further questions or need assistance, don’t hesitate to seek guidance from professionals or forums specializing in SSD maintenance and optimization. Here’s to a faster and more enjoyable computing experience!