How to connect your Sony Bravia to Wi-Fi
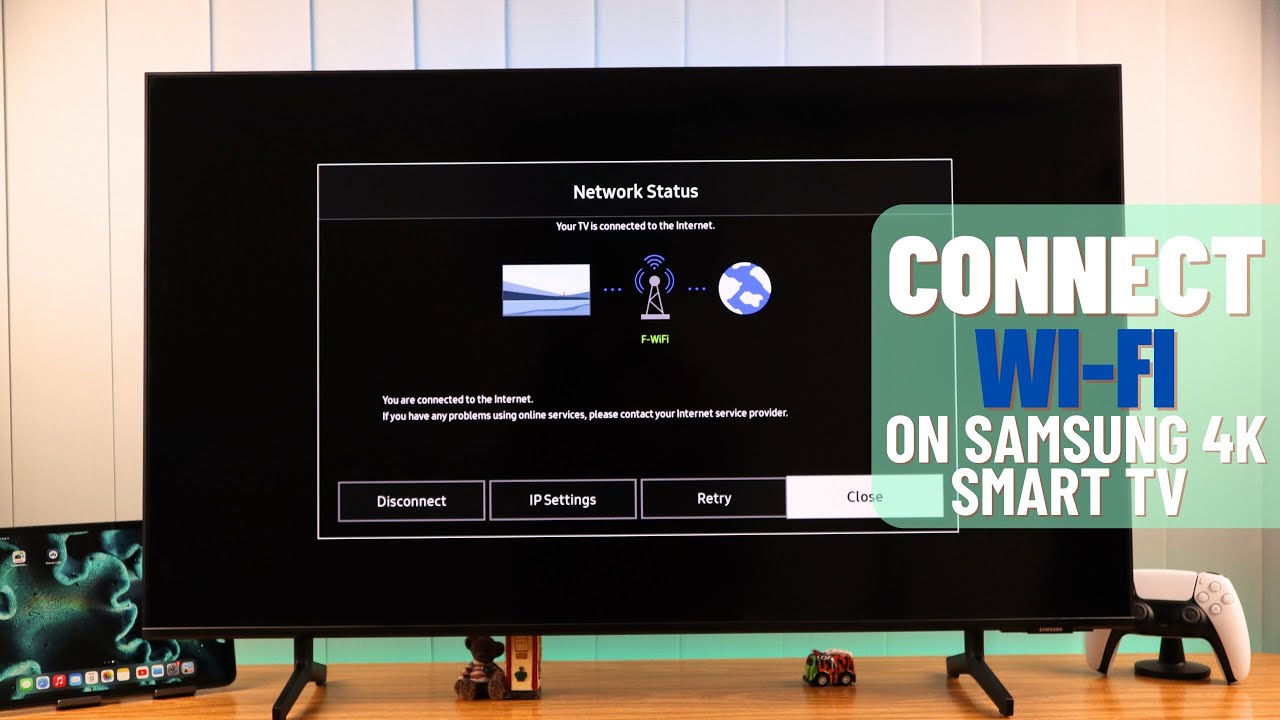
To connect your Sony Bravia to Wi-Fi, you need to access the TV's network settings and select your wireless network. The exact menu path varies by model year, but the core process remains the same: open Settings, find the Network menu, choose Wi-Fi, and enter your password.
Connecting to Wi-Fi on Android TV models (2020 and later)
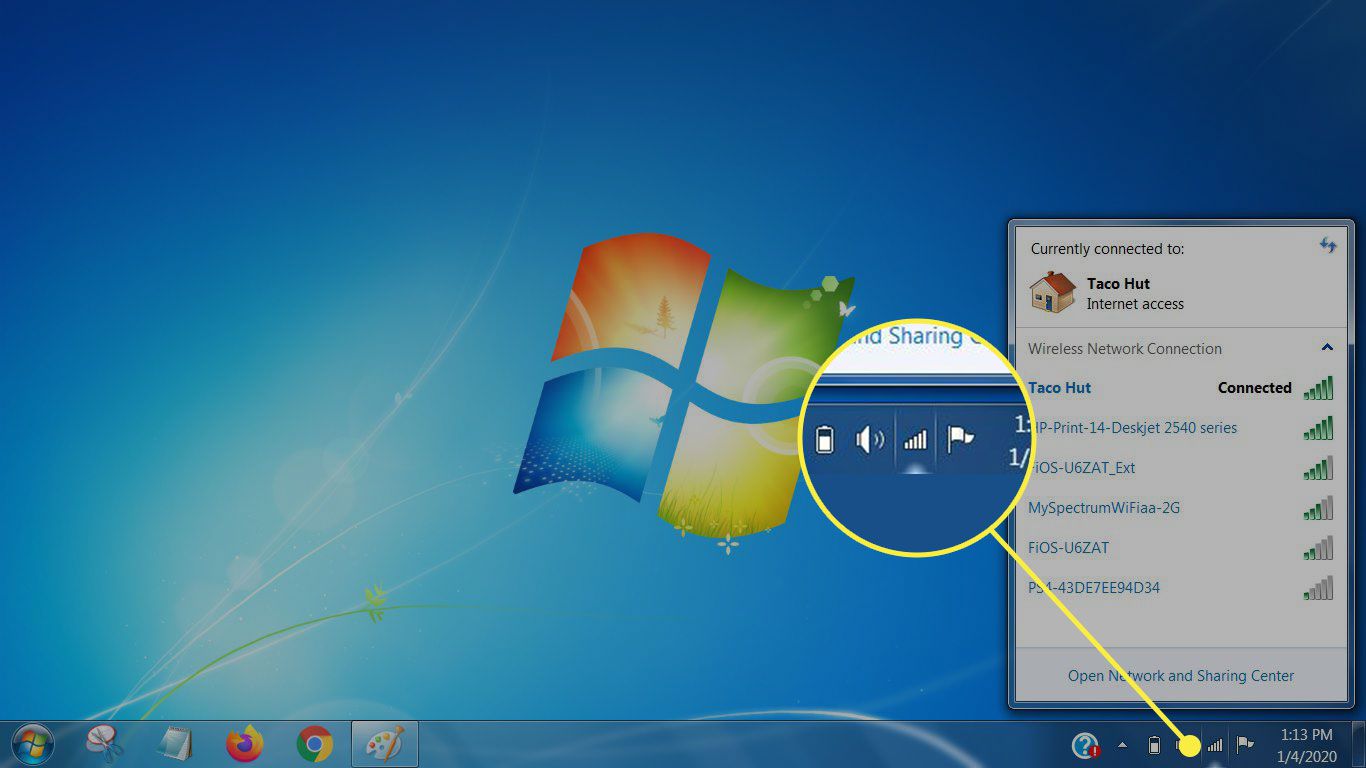
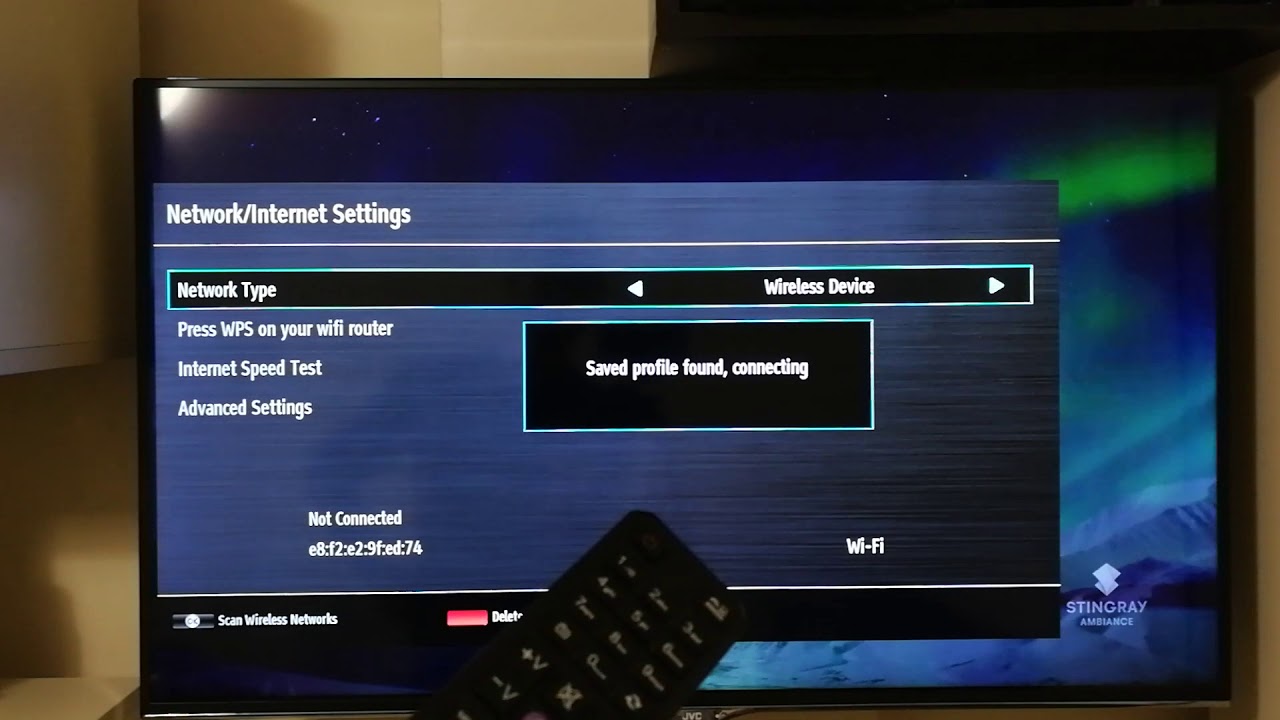
From there, navigate to Network & Internet and choose Wi-Fi. Your TV will scan for available networks; select your network name from the list. When prompted, use the on-screen keyboard to enter your Wi-Fi password, remember that passwords are case-sensitive. After entering the password, select Connect or OK. The TV will verify the connection and display a confirmation message once successful.
Connecting to Wi-Fi on Android TV models (2019 and earlier)
Older Android TV models use a slightly different menu structure. For Android 9, press HOME, go to Settings, then select Network & Internet → Easy setup → Wireless LAN. For Android 8.0 or earlier, the path is Settings → Network → Network setup → Easy → Wireless LAN. In both cases, select your Wi-Fi network from the list and enter the password when prompted. The TV will attempt to connect and show a success message once the connection is established. If you see a "Wired LAN" option instead of wireless, look for a "Wireless" or "Wi-Fi" alternative in the same menu, some models label it differently.
Connecting to Wi-Fi on other Sony Bravia models
Non-Android Sony Bravia models, such as those from 2014, use a more traditional setup process. Press HOME on your remote, then navigate to Settings → Network → Network setup. Select "Set up network connection" and choose "Easy" or "Auto" when prompted. The TV will ask you to select the connection type, choose "Wireless LAN" or "Wireless" from the options. Your TV will scan for available networks; select yours from the list and enter the password. After confirming, the TV will test the connection and display a success screen.
Using a wired Ethernet connection
For the most stable and fastest connection, use a wired Ethernet setup. Connect one end of an Ethernet cable to your router and the other end to the LAN jack on the back of your Sony Bravia TV. The TV will automatically detect the wired connection and configure the network settings without requiring a password. If your router has no open LAN ports, you may need a hub device to expand the number of available ports. Once plugged in, go to Settings → Network → Network setup and select "Wired LAN" or "Ethernet" to confirm the connection. Wired connections eliminate Wi-Fi interference and are ideal for streaming high-resolution content or gaming.
Alternative connection methods: WPS and AOSS
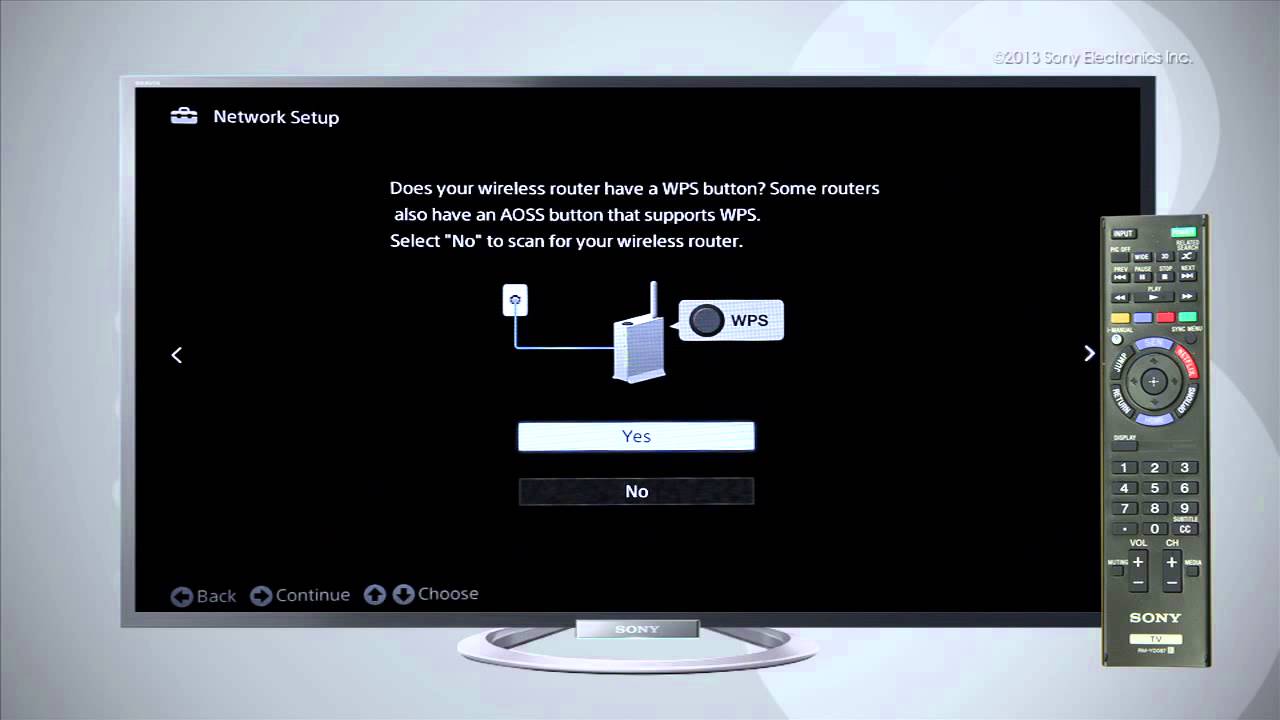
Many Sony Bravia TVs support Wi-Fi Protected Setup (WPS) and AirStation One-Touch Secure System (AOSS) for quick connections without typing a password. The TV and router will automatically pair within two minutes. For WPS PIN mode, select "WPS PIN" on the TV screen, a PIN code will appear. Enter this PIN into your router's web interface to complete the pairing. AOSS works similarly for Buffalo routers: press the AOSS button on the router and select the corresponding option on the TV. Note that many modern routers do not support WPS PIN due to security vulnerabilities, so check your router specifications before selecting this method.
After connecting: refresh content and update software
Once your TV is connected to Wi-Fi, you may need to select "Refresh Internet Content" from the Network Menu screen. This step ensures that all built-in apps and widgets load the latest data and content. After refreshing, strongly recommend updating your TV's system software to the latest version. Go to Settings → System → Software Update (or System Update) and select "Check for updates." Your TV will connect to Sony's servers and download any available updates. Software updates include bug fixes, security patches, and performance improvements that enhance smart feature functionality, and once updated you can make YouTube full screen on Samsung smart TV with smoother playback. If you ever need to switch back to your cable box or antenna, you can get back to regular TV on my Samsung smart TV by changing the input source. Keep your TV connected to the internet during the update process and avoid turning it off until the update completes.
Troubleshooting connection issues
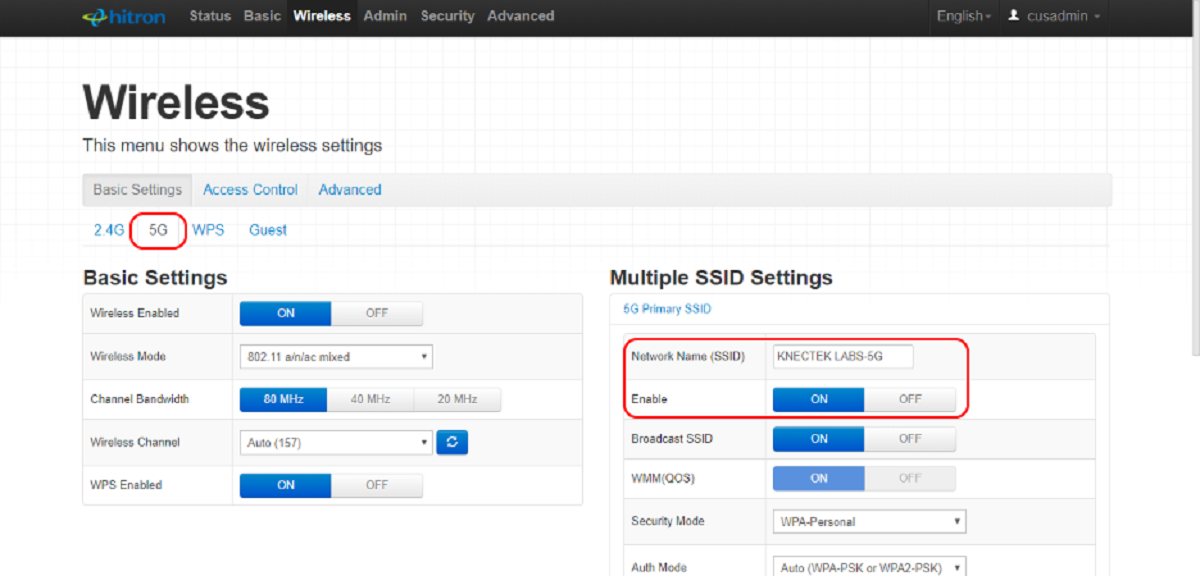
If your Sony Bravia won't connect to Wi-Fi, start by double-checking the password, Wi-Fi passwords are case-sensitive and often contain special characters. Ensure your TV is within range of your router; walls and large objects can weaken the signal. If you're still having issues, try forgetting the network and re-entering the password. For persistent problems, check if your router's firmware is up to date or try a different frequency band (2.4GHz vs 5GHz). Note that an internet browser is not available on all Sony Bravia models, so if you can't find a browser app, it simply isn't supported on your TV. For unresolved issues, consult your TV's user manual or contact Sony customer support with your specific model number.
For the wider topic, see watching live TV on a smart TV.