Introduction
Welcome to this guide on how to make messages say iMessage. With the growing popularity of messaging apps, Apple’s iMessage has become the go-to choice for iPhone, Mac, iPad, and iPod Touch users. iMessage offers a seamless messaging experience with its rich features, including read receipts, end-to-end encryption, and the ability to send multimedia content.
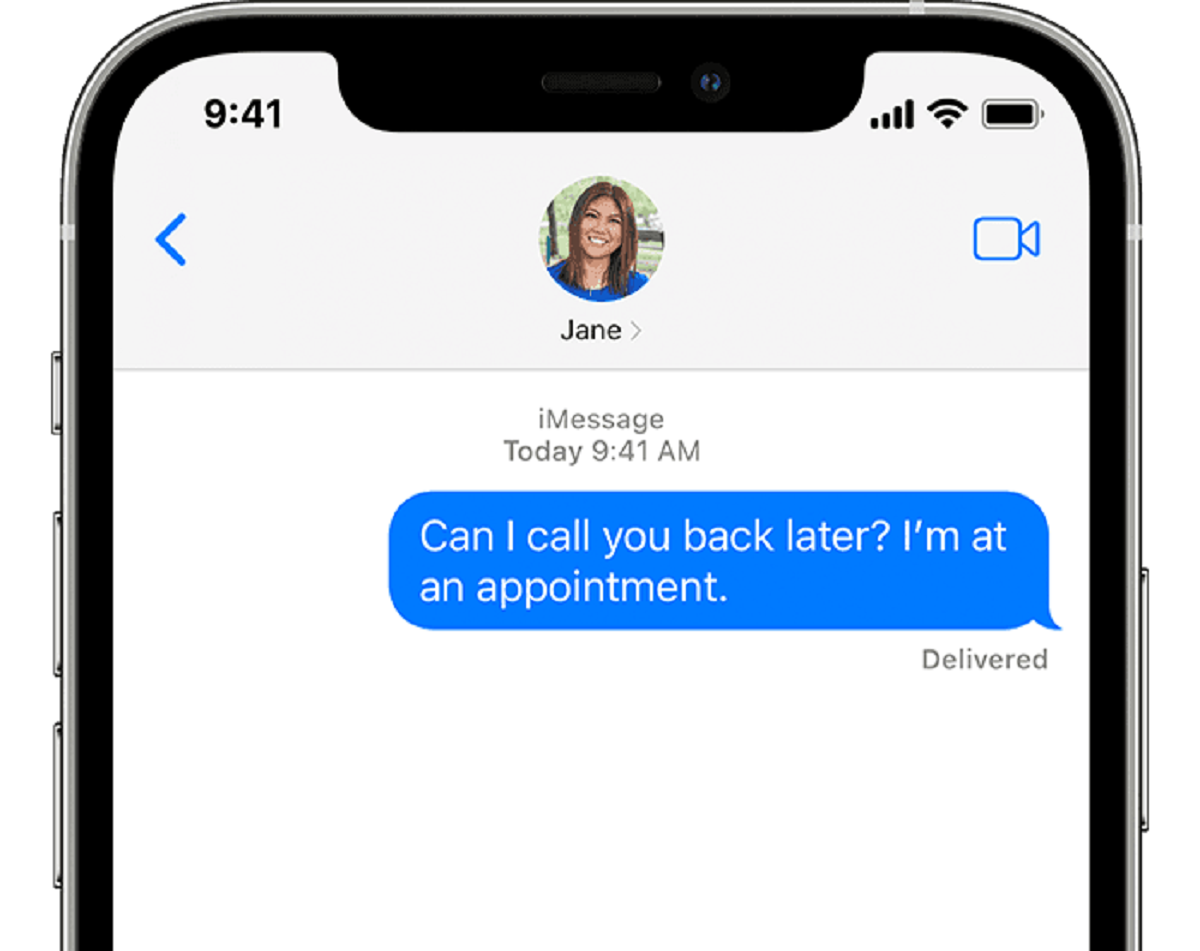
However, some users may find that their messages don’t display the desired “iMessage” label in conversations. Instead, they may see a plain “Message” label, indicating that the message is being sent as a regular SMS or MMS. The good news is that you can easily enable iMessage and ensure that your messages are sent using this feature.
In this guide, we will walk you through the step-by-step process of enabling iMessage on your iPhone, Mac, iPad, and iPod Touch. We will also cover other troubleshooting steps you can take if you encounter any issues with iMessage.
So, let’s dive in and learn how to make messages say iMessage on your Apple devices!
What is iMessage?
iMessage is a messaging service developed by Apple that allows users to send text messages, photos, videos, and other multimedia content to other Apple device users. It is an integral part of the Messages app on iPhone, Mac, iPad, and iPod Touch.
Unlike traditional SMS or MMS messages, iMessage utilizes an internet connection to send and receive messages. This enables users to avoid incurring SMS fees and allows them to send messages to other Apple device users anywhere in the world, as long as they have an internet connection.
One of the key features of iMessage is end-to-end encryption, which ensures that only the intended recipients can read the messages. This enhances privacy and security, making iMessage a preferred choice for users who value their data protection.
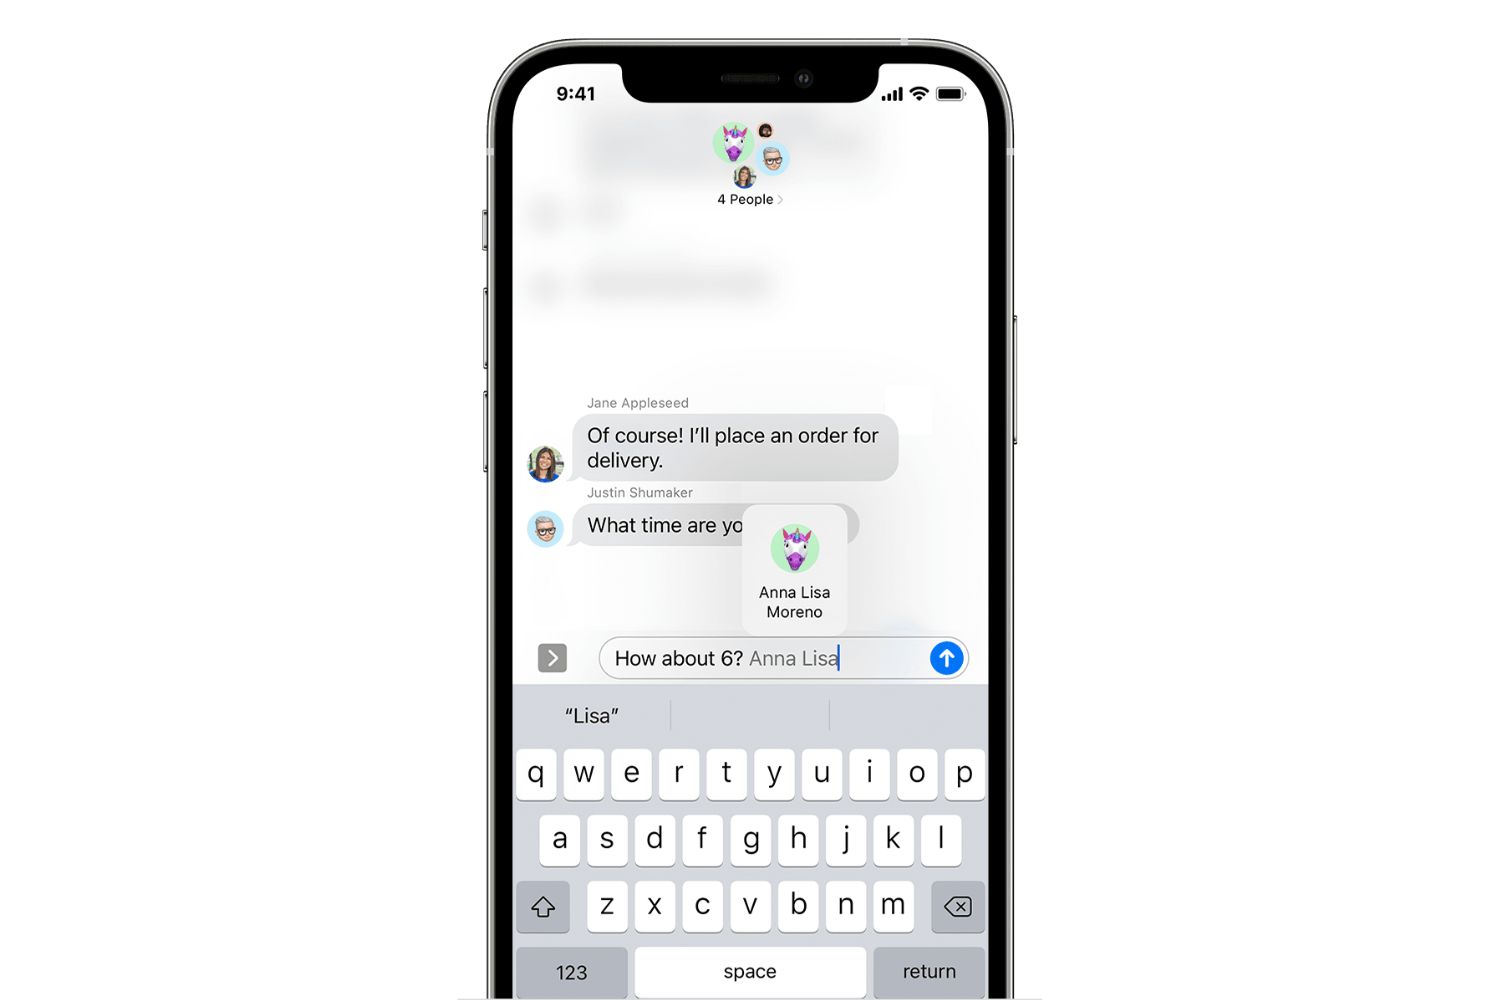
iMessage also offers additional functionalities such as read receipts, which indicate when a message has been delivered and read by the recipient. It supports group messaging, allowing users to create group chats and communicate with multiple people simultaneously. Furthermore, iMessage supports the sending of rich media content, including photos, videos, documents, and even animated stickers.
Moreover, iMessage seamlessly syncs across all Apple devices. This means that you can start a conversation on your iPhone and continue it on your Mac or iPad without any interruption. It also allows you to send and receive messages from your phone number or email address, giving you flexibility in choosing how you want to be contacted.
Overall, iMessage provides a convenient and feature-rich messaging experience for Apple device users. By leveraging the power of the internet, it enables seamless communication across devices and offers a range of functionalities that enhance the messaging experience.
Why do Messages not say iMessage?
If you are experiencing the issue where your messages do not display the “iMessage” label, there could be a few reasons behind it. Here are some common reasons why messages don’t say iMessage:
1. Not enabled on the device: The most common reason is that iMessage is not enabled on your device. By default, messages are sent as regular SMS or MMS when iMessage is not enabled.
2. Invalid Apple ID or iCloud settings: Another reason could be that your Apple ID or iCloud settings are incorrect or outdated. iMessage requires a valid Apple ID and proper iCloud configuration to function properly.
3. Outdated iOS or macOS: If you are using an older version of iOS on your iPhone or macOS on your Mac, it is possible that iMessage may not work correctly. Updating to the latest software version can often resolve such issues.
4. Network or connectivity problems: Sometimes, network or connectivity issues may prevent iMessage from working as expected. Poor Wi-Fi or cellular data connection can affect the proper functioning of iMessage.
5. Temporary server issues: At times, Apple’s iMessage servers may experience temporary issues or maintenance, causing messages to be sent as regular SMS or MMS.
If you are facing the issue where your messages do not display the iMessage label, don’t worry. In the following sections, we will guide you through the steps to enable iMessage on your iPhone, Mac, iPad, and iPod Touch, as well as provide troubleshooting steps to resolve any potential issues you may encounter.
Enable iMessage on iPhone
To enable iMessage on your iPhone, follow these simple steps:
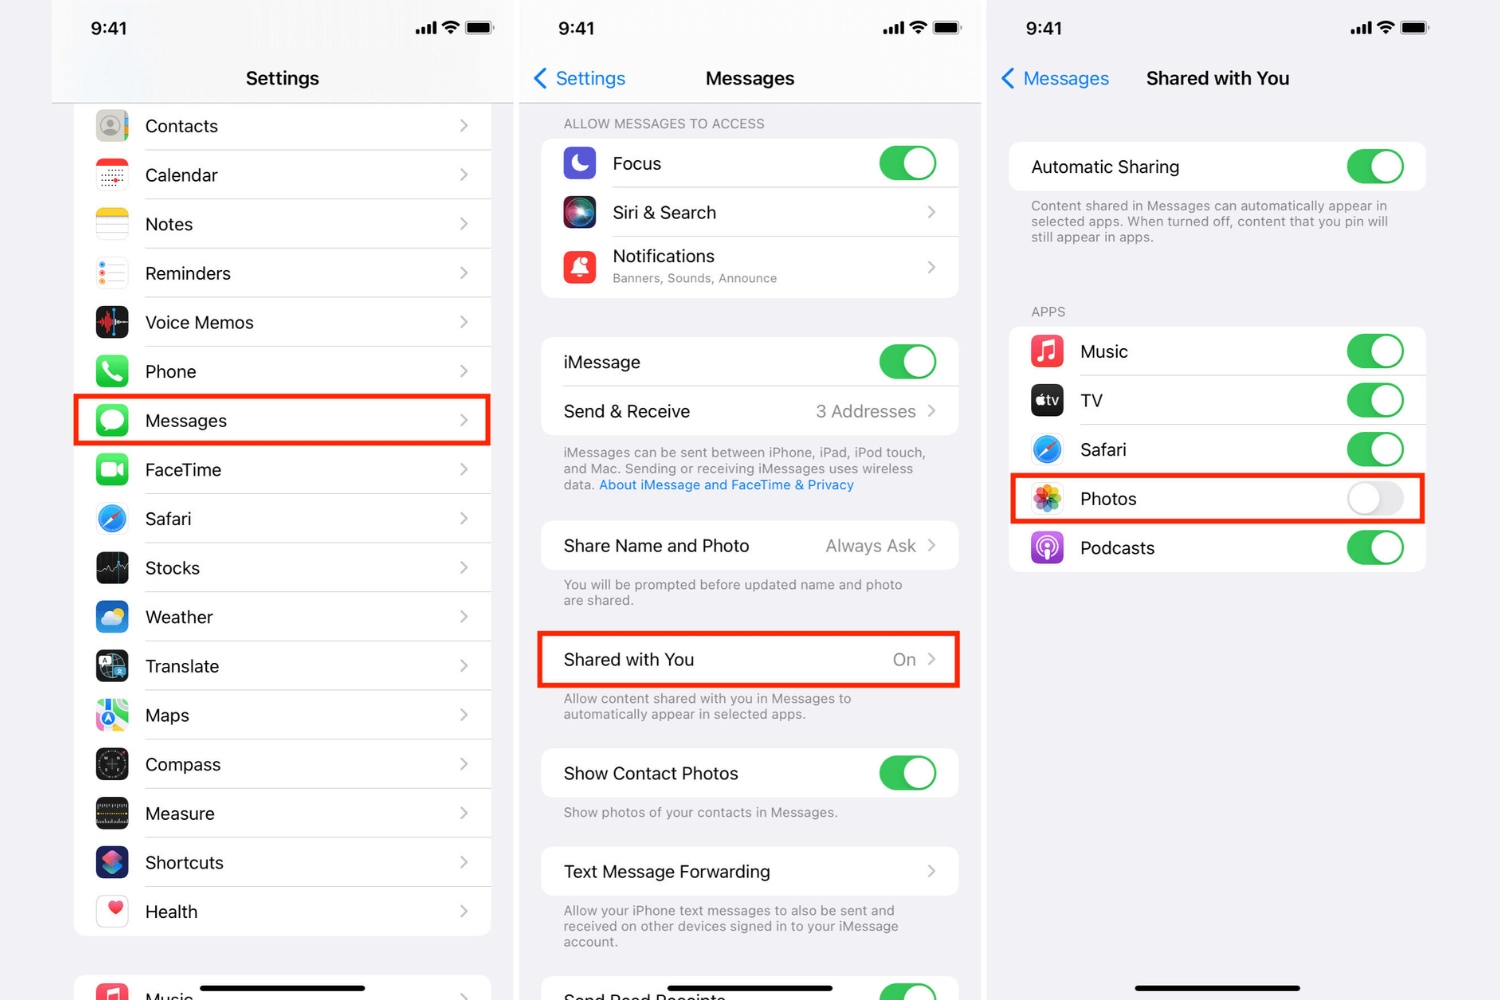
- Open the “Settings” app on your iPhone.
- Scroll down and tap on “Messages”.
- Toggle the switch next to “iMessage” to turn it on. It will turn green when enabled.
- If prompted, sign in with your Apple ID. Make sure you are using the correct Apple ID associated with your devices.
- You may also need to verify your phone number by entering the verification code sent to your device.
- Once enabled, your iPhone will display the “iMessage” label when sending and receiving messages within the iMessage service.
If you are still experiencing issues with iMessage, there are a few additional troubleshooting steps you can try:
- Check your network connection: Ensure that you have a stable internet connection, either through Wi-Fi or cellular data. iMessage requires an internet connection to function properly.
- Update your iOS: Make sure that your iPhone is running the latest version of iOS. Software updates often include bug fixes and improvements that can help resolve iMessage issues.
- Toggle iMessage off and on: Go back to the “Messages” settings and toggle the switch next to iMessage off, wait for a few seconds, and then turn it back on. This can refresh the connection and resolve any temporary issues.
- Reset network settings: If you are still experiencing problems, you can try resetting your network settings. Go to “Settings” > “General” > “Reset” > “Reset Network Settings”. Keep in mind that this will reset your Wi-Fi networks and passwords, so make sure to have them handy.
- Contact Apple Support: If none of the above methods work, you can reach out to Apple Support for further assistance. They can provide personalized guidance and troubleshoot any specific issues you may be facing.
By following these steps, you should be able to enable iMessage on your iPhone and resolve any potential issues that may prevent it from displaying the iMessage label.
Enable iMessage on Mac
Enabling iMessage on your Mac allows you to seamlessly send and receive messages from your Apple devices. Here’s how you can enable iMessage on your Mac:
- Open the “Messages” app on your Mac. You can find it in the Applications folder or by using Spotlight search.
- If you haven’t signed in with your Apple ID, you will be prompted to do so. Enter your Apple ID and password.
- In the menu bar at the top of the screen, click on “Messages” and select “Preferences”.
- In the preferences window, click on the “Accounts” tab.
- Ensure that your Apple ID is selected on the left-hand side. If it’s not listed, click on the “+” button and sign in with your Apple ID.
- Under the “Enable this account” section, make sure the checkbox next to “Enable this account” is checked.
- You can also customize the settings for your iMessage account, such as choosing the email address or phone number associated with it.
- Close the preferences window.
Once you have enabled iMessage on your Mac, you will be able to send and receive messages using your Apple ID. Your iMessages will sync across all your Apple devices, allowing you to continue conversations seamlessly from your Mac to your iPhone and vice versa.
If you encounter any issues with iMessage on your Mac, here are some additional troubleshooting steps you can try:
- Update your macOS: Keeping your Mac up to date is important for the smooth functioning of iMessage. Go to the Apple menu, click on “System Preferences”, then select “Software Update” to check for and install any available updates.
- Sign out and sign back into iMessage: Open the Messages app, go to “Messages” > “Preferences” > “Accounts”, select your Apple ID on the left, and click on the “-” button to remove it. Then click on the “+” button to sign back in with your Apple ID.
- Reset the iMessage app: Quit the Messages app, open Finder, go to the “Go” menu, select “Go to Folder”, and enter “~/Library/Preferences/”. Locate the file called “com.apple.iChat.plist” and move it to the Trash. Then relaunch the Messages app.
- Contact Apple Support: If you are still experiencing issues, don’t hesitate to reach out to Apple Support for further assistance. They will be able to provide you with specific guidance to resolve the problem.
By following these steps and troubleshooting suggestions, you should be able to enable iMessage on your Mac and resolve any issues that may arise during the process.
Enable iMessage on iPad
iMessage on iPad allows you to send and receive messages using your Apple ID, just like on your iPhone and Mac. To enable iMessage on your iPad, follow these steps:
- Open the “Settings” app on your iPad.
- Scroll down and tap on “Messages”.
- Toggle the switch next to “iMessage” to turn it on. It will turn green when enabled.
- If prompted, sign in with your Apple ID. Ensure that you use the same Apple ID that you use on your other Apple devices.
- Under the “You can be reached by iMessage at” section, make sure that your phone number and email address are selected. You can also choose to remove any unwanted email addresses.
- Close the Settings app.
Once iMessage is enabled on your iPad, you can start sending and receiving messages with other Apple device users. Your conversations will sync across all your devices, making it easy to continue chatting wherever you are.
If you encounter any issues while enabling iMessage on your iPad, you can try the following troubleshooting steps:
- Update your iPad: Make sure your iPad is running the latest version of iOS. You can check for updates by going to “Settings” > “General” > “Software Update”. Install any available updates if necessary.
- Toggle iMessage off and on: Go back to the “Messages” settings and toggle the switch next to iMessage off, wait for a few seconds, and then turn it back on. This can help refresh the connection and resolve any temporary issues.
- Reset network settings: If you’re still experiencing problems, you can try resetting your network settings. Go to “Settings” > “General” > “Reset” > “Reset Network Settings”. Keep in mind that this will remove Wi-Fi networks and passwords from your device, so make sure to have them handy.
- Contact Apple Support: If the issue persists, you can reach out to Apple Support for further assistance. They will be able to provide you with personalized guidance to help resolve your iMessage issues.
By following these steps and troubleshooting suggestions, you should be able to enable iMessage on your iPad and ensure a seamless messaging experience across your Apple devices.
Enable iMessage on iPod Touch
iMessage is a valuable feature that lets iPod Touch users send and receive messages using their Apple ID. To enable iMessage on your iPod Touch, follow these steps:
- Open the “Settings” app on your iPod Touch.
- Scroll down and tap on “Messages”.
- Toggle the switch next to “iMessage” to turn it on. The switch will turn green when enabled.
- If prompted, sign in with your Apple ID. Ensure that you sign in with the same Apple ID used on your other Apple devices.
- Under the “You can be reached by iMessage at” section, select the phone number and email address from which you want to send and receive iMessages.
- Close the Settings app.
Once iMessage is enabled on your iPod Touch, you can start messaging with other Apple device users using iMessage. Your conversations will sync seamlessly across all your Apple devices, allowing you to continue discussions uninterrupted.
If you encounter any issues while enabling iMessage on your iPod Touch, try the following troubleshooting steps:
- Update your iPod Touch: Ensure that your iPod Touch is running the latest version of iOS. You can check for updates by going to “Settings” > “General” > “Software Update”. Install any available updates if necessary.
- Toggle iMessage off and on: Go back to the “Messages” settings and toggle the switch next to iMessage off, wait for a few seconds, and then turn it back on. This can refresh the connection and resolve any temporary issues.
- Reset network settings: If you’re still experiencing problems, you can try resetting your network settings. Go to “Settings” > “General” > “Reset” > “Reset Network Settings”. Keep in mind that by doing this, you will remove Wi-Fi networks and passwords from your device.
- Contact Apple Support: If the issue persists, you can reach out to Apple Support for further assistance. Their support team can provide you with specific guidance to help troubleshoot and resolve any iMessage-related problems you may be facing.
By following these steps and troubleshooting suggestions, you should be able to enable iMessage on your iPod Touch and enjoy the benefits of this convenient messaging service.
Check Apple ID and iCloud settings
When your messages don’t say iMessage, it’s essential to ensure that your Apple ID and iCloud settings are correctly configured. Here are the steps to check and verify your Apple ID and iCloud settings:
- Open the “Settings” app on your device.
- Tap on your name or Apple ID banner at the top of the settings menu.
- In the Apple ID settings section, check that your name, email address, and phone number are correct and up to date.
- Scroll down and tap on “iCloud”.
- Verify that the toggle switch next to “Messages” is turned on. This ensures that your iMessage conversations are synced with iCloud.
- Check that your preferred email address and phone number are selected under “You can be reached by iMessage at”.
- Close the Settings app once you have verified and made any necessary changes.
By checking your Apple ID and iCloud settings, you can ensure that your messaging services are properly linked and configured. It is important to have the correct contact information associated with your Apple ID, as this information is used for sending and receiving iMessages.
If you find that your Apple ID or iCloud settings are incorrect or outdated, follow these steps to update them:
- Go back to the Apple ID settings by following the first two steps mentioned above.
- Tap on “Name, Phone Numbers, Email”.
- Click on “Edit” to make changes to your contact information.
- Make any necessary updates or corrections to your name, email address, and phone numbers.
- Tap on “Done” to save the changes.
Verifying and updating your Apple ID and iCloud settings can help ensure that iMessage functions properly and that your messages display as iMessages instead of regular SMS or MMS. If you are still experiencing issues, consider following the troubleshooting steps provided in earlier sections of this guide, or contact Apple Support for further assistance.
Update iOS and macOS
If your messages are not displaying as iMessage, it’s crucial to ensure that your iOS (for iPhone, iPad, and iPod Touch) or macOS (for Mac) is up to date. Apple regularly releases software updates that include bug fixes, security enhancements, and improvements to various features, including iMessage. Here’s how you can update your iOS and macOS:
Update iOS:
- Open the “Settings” app on your device.
- Tap on “General” and select “Software Update”.
- If an update is available, tap on “Download and Install”.
- Follow the on-screen instructions to complete the update process.
Update macOS:
- Click on the Apple menu in the top-left corner of the screen.
- Select “System Preferences” and click on “Software Update”.
- If an update is available, click on “Update Now”.
- Follow the on-screen instructions to download and install the update.
It’s recommended to back up your device before performing any software updates to prevent data loss. Once you have updated to the latest iOS or macOS version, it can help resolve any compatibility issues or bugs that may be affecting iMessage.
By keeping your operating system up to date, you ensure that your device is running the latest software and can take advantage of the latest features and improvements. This includes updates to the messaging app, which can help fix any issues and enhance the functionality of iMessage.
If updating your iOS or macOS doesn’t resolve the issue, continue with the troubleshooting steps provided in earlier sections or consider reaching out to Apple Support for further assistance.
Sign out and sign back into iMessage
If you are experiencing issues with iMessage not displaying as expected, signing out and signing back into iMessage can often resolve the problem. This process can refresh the connection and help resolve any temporary issues. Here’s how you can sign out and sign back into iMessage on your Apple device:
- On iPhone, iPad, and iPod Touch:
- Open the “Settings” app on your device.
- Scroll down and tap on “Messages”.
- Tap on your Apple ID at the top of the screen.
- Select “Sign Out” from the options that appear.
- Once signed out, tap on “Sign In” and enter your Apple ID credentials to sign back into iMessage.
- On Mac:
- Open the “Messages” app on your Mac.
- In the menu bar at the top of the screen, click on “Messages” and select “Preferences”.
- Click on the “Accounts” tab.
- Select your Apple ID on the left-hand side and click on the “-” button to sign out.
- Click on the “+” button and sign back in with your Apple ID credentials.
By signing out and signing back into iMessage, you refresh the connection and reestablish the necessary authentication with Apple servers. This process can help resolve any issues that may be causing iMessage to not display as expected.
If you are still facing issues with iMessage after signing out and signing back in, try the additional troubleshooting steps mentioned in earlier sections or consider reaching out to Apple Support for further assistance. They can provide you with personalized guidance to troubleshoot and resolve any issues specific to your device.
Reset network settings
If you are experiencing persistent issues with iMessage not displaying correctly, resetting your network settings can help resolve any connectivity-related problems. This process will remove all saved Wi-Fi networks, passwords, and cellular settings on your device, so make sure to have them handy. Here’s how you can reset network settings on your Apple device:
- On iPhone, iPad, and iPod Touch:
- Open the “Settings” app on your device.
- Scroll down and tap on “General”.
- Scroll to the bottom and select “Reset”.
- Tap on “Reset Network Settings”.
- Confirm the action by entering your passcode when prompted.
- Your device will restart, and the network settings will be reset to their default state.
- On Mac:
- Click on the Apple menu in the top-left corner of the screen.
- Select “System Preferences” and click on “Network”.
- In the left-hand sidebar, select the network interface you are using (such as Wi-Fi or Ethernet).
- Click on the “Advanced” button at the bottom-right corner of the window.
- Go to the “TCP/IP” tab.
- Click on the “Renew DHCP Lease” button.
- After renewing the DHCP lease, click on the “OK” button to save the changes.
Resetting network settings can resolve connectivity issues that may be affecting iMessage. This process clears any corrupted network configurations and resets them to default, allowing you to establish a fresh connection.
After resetting the network settings, you will need to reconnect to Wi-Fi networks and re-enter any passwords you had saved. Make sure to test iMessage again to see if the issue persists. If it does, consider following the additional troubleshooting steps discussed earlier or contacting Apple Support for further assistance.
Contact Apple Support
If you have followed the troubleshooting steps mentioned earlier and are still facing issues with iMessage, it may be time to reach out to Apple Support for further assistance. Apple’s support team is equipped to help you resolve any specific issues you may be experiencing with iMessage on your Apple device.
Here are a few ways to contact Apple Support:
- Apple Support Website: Visit the Apple Support website and navigate to the relevant section for iMessage support. From there, you can explore articles, guides, and troubleshooting resources specific to your device and iMessage.
- Apple Support App: Download the official Apple Support app from the App Store. The app provides easy access to support resources and allows you to initiate a chat or phone call with an Apple Support representative.
- Phone Support: Call Apple Support directly using the phone number associated with your region. You can find the appropriate phone number on the Apple Support website.
- Apple Store: Visit an Apple Store near you and speak to an Apple Specialist in person. They can provide guidance and assistance with iMessage-related issues.
When reaching out to Apple Support, make sure to explain the problem in detail and provide any relevant information about your device, iOS or macOS version, and steps you have already taken to troubleshoot the issue. This will help the support team better understand your situation and provide you with more targeted assistance.
Apple Support representatives are knowledgeable and experienced in resolving various technical issues, including iMessage-related problems. They will be able to guide you through additional troubleshooting steps specific to your situation or escalate the issue if required.
By seeking support from Apple, you can tap into their expertise and resources to resolve any persistent issues with iMessage and ensure that it works flawlessly on your Apple device.


