Introduction
For many smartphone users, privacy is of utmost importance. The ability to control how much information is displayed on your device’s lock screen can greatly contribute to your sense of security. One area where this is particularly relevant is with the iMessage app on iOS devices.
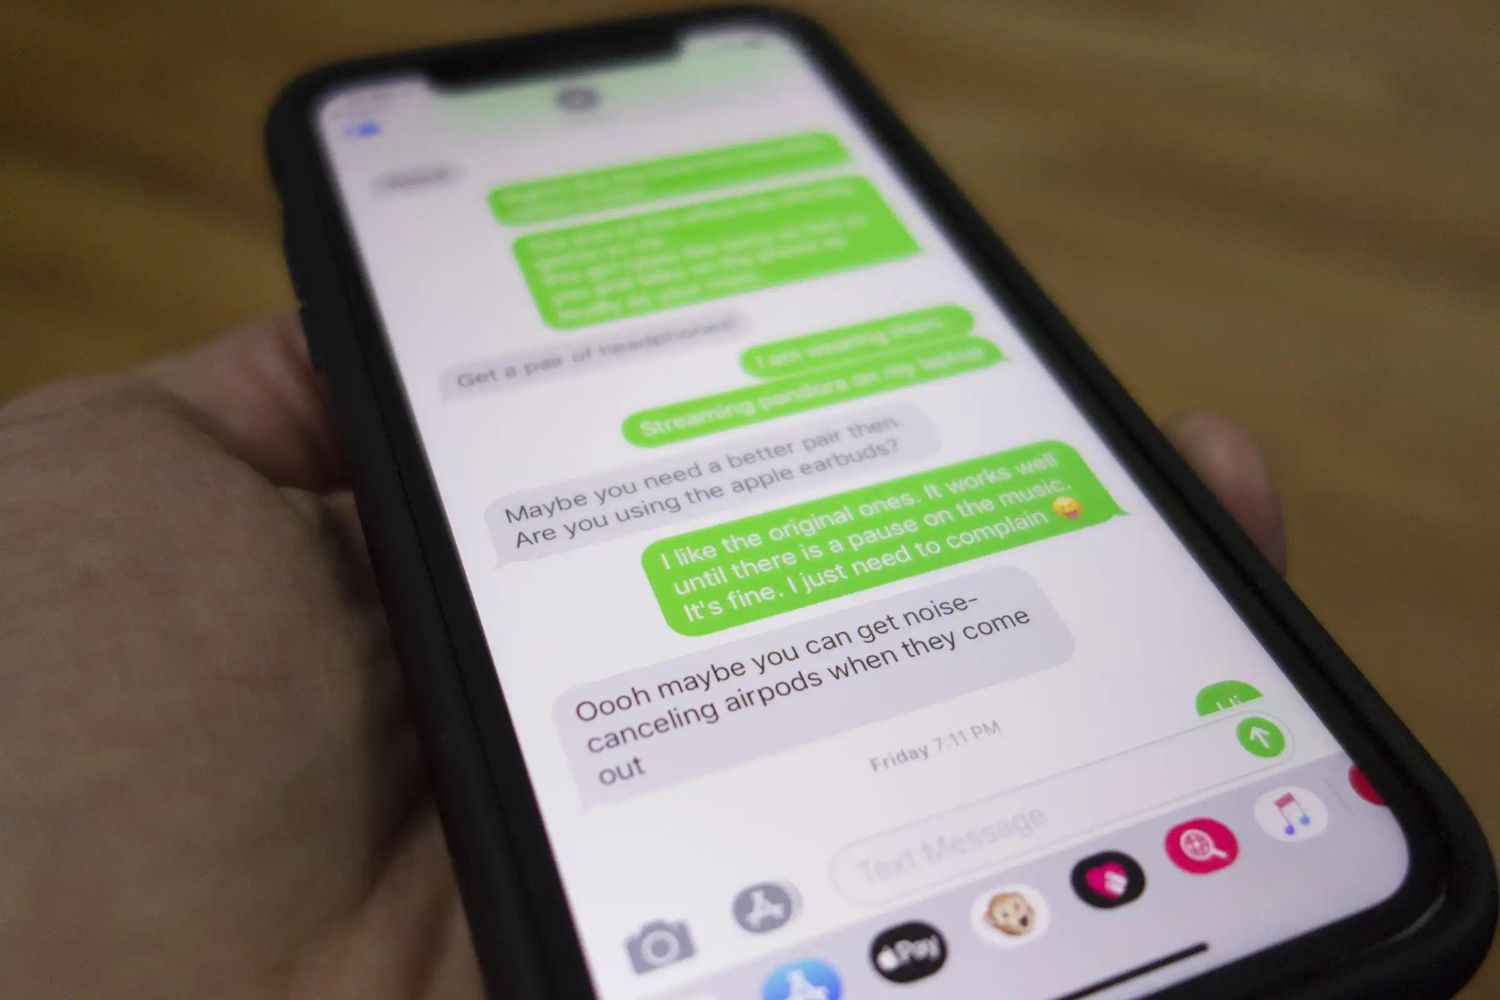
By default, when you receive a message on iMessage, the name of the sender is displayed prominently on your device’s lock screen along with a preview of the message. While this may be convenient for some, it can also potentially expose your private conversations to prying eyes.
Fortunately, Apple understands the need for privacy and has provided a way for users to hide the sender’s name on iMessage notifications. By following a few simple steps, you can ensure that your incoming messages remain discreet, allowing you to maintain your privacy without compromising convenience.
In this article, we will guide you through the process of hiding the sender’s name on iMessage notifications on your iOS device. Whether you’re concerned about nosy coworkers, curious family members, or simply prefer to keep your conversations private, these steps will help you achieve the desired level of security.
Step 1: Open the Settings App
The first step in hiding the sender’s name on iMessage notifications is to open the Settings app on your iOS device. This is where you can customize various settings to personalize your device’s behavior.
To open the Settings app, locate the app on your home screen. It is represented by an icon with gears. Tap on the app icon to launch it.
If you can’t find the Settings app on your home screen, you can swipe down on your home screen and use the search bar at the top. Type “Settings” and the app should appear in the search results. Tap on it to open the app.
Once the Settings app is open, you will see a list of different categories and options. This is where you can configure various settings for your iOS device. We will be focusing on the “Notifications” settings for iMessage notifications.
Now that you have successfully accessed the Settings app, let’s move on to the next step.
Step 2: Tap on Notifications
After opening the Settings app, the next step is to tap on the “Notifications” option. This will allow you to configure the notification settings for various apps on your iOS device, including iMessage.
To locate the “Notifications” option, scroll down the list of categories in the Settings app. It is typically located in the section labeled “General” or “System.” Once you find it, tap on it to access the notification settings.
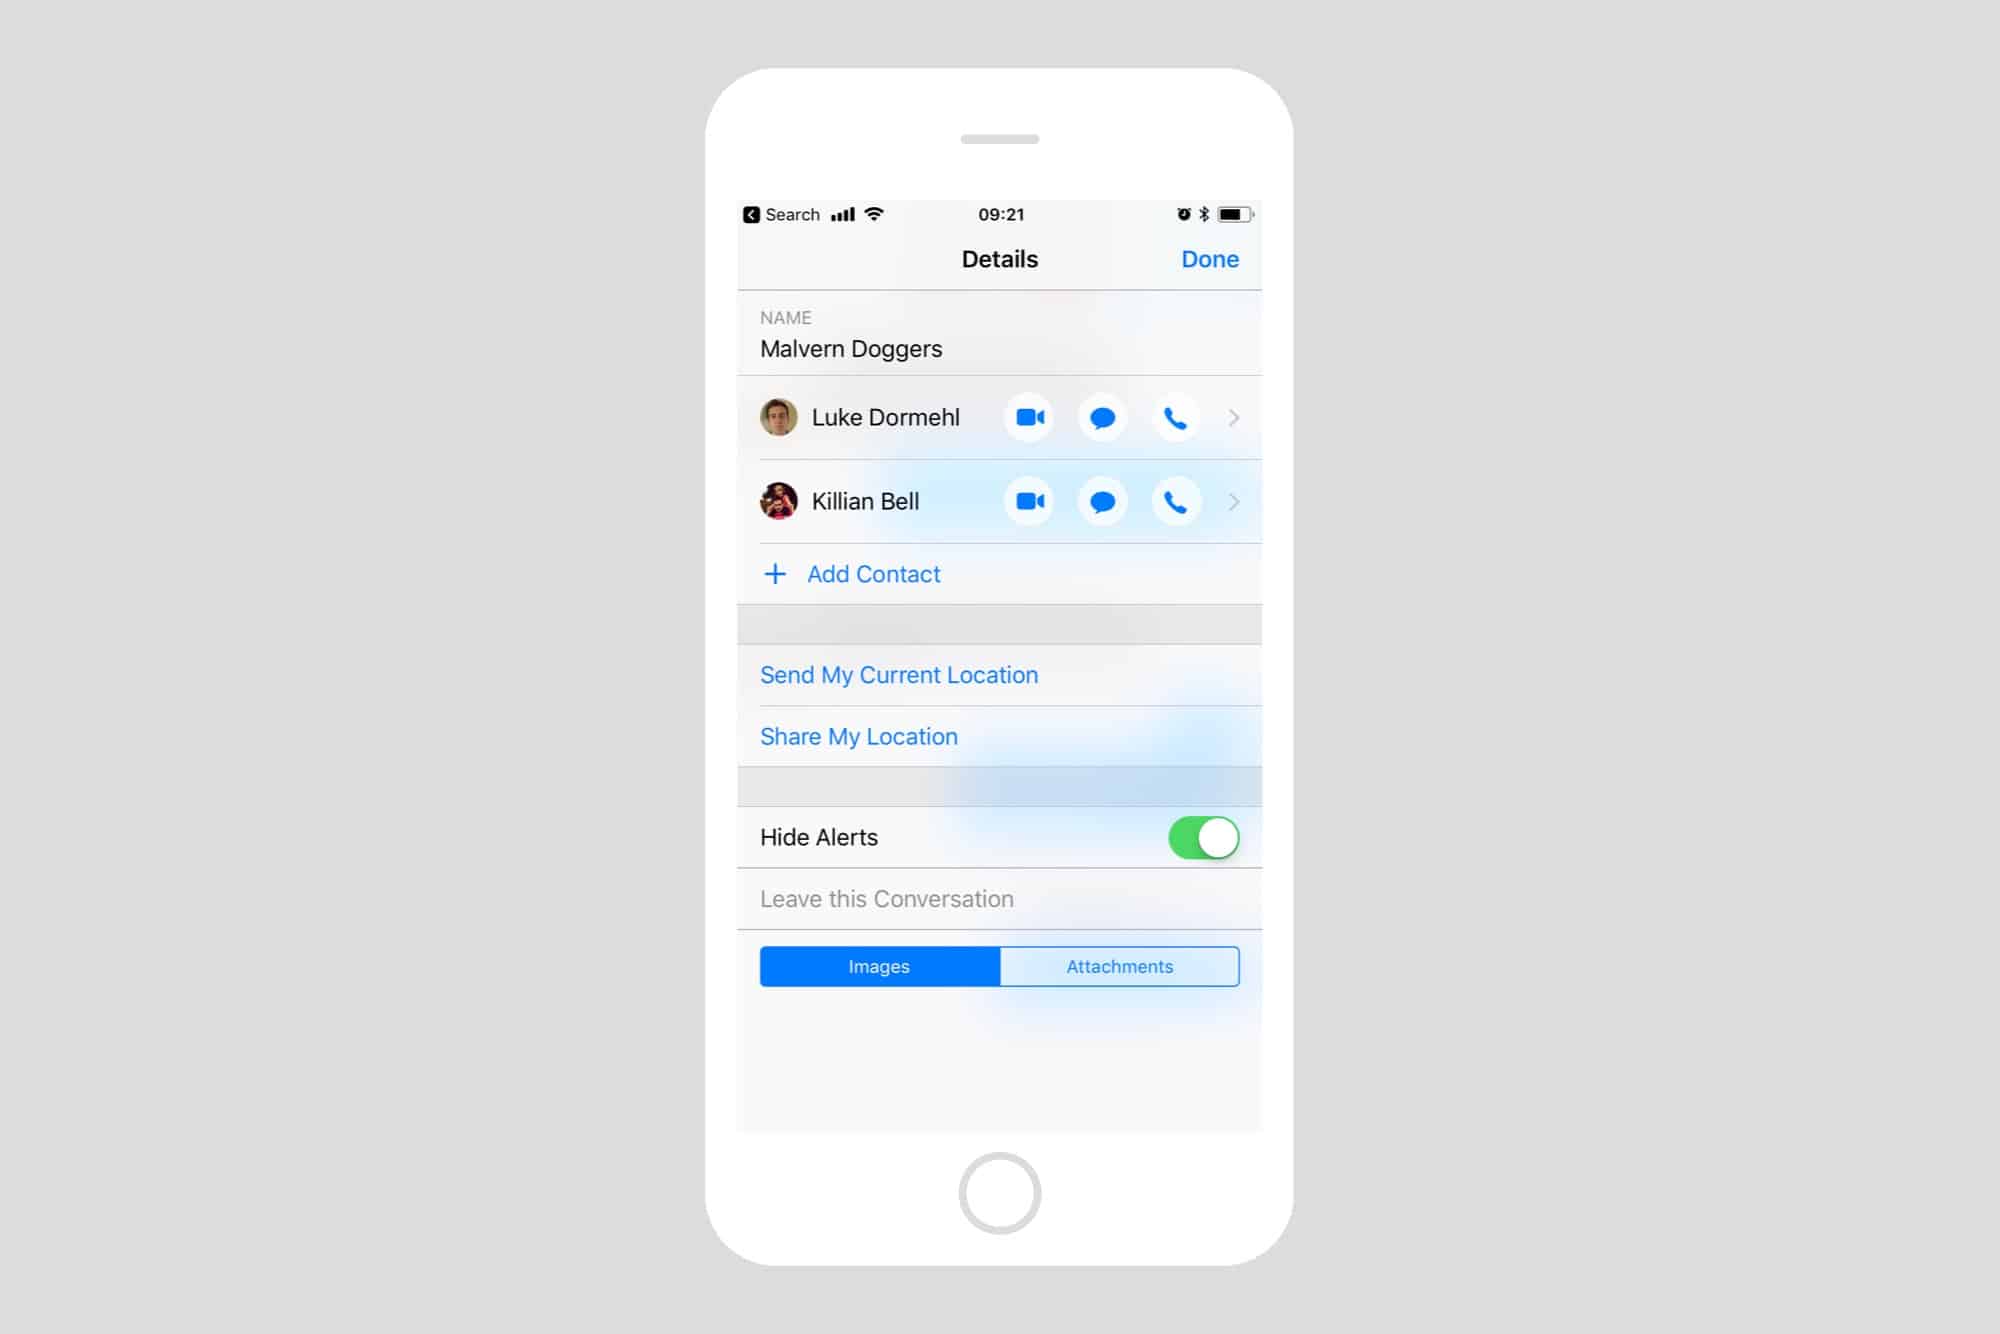
Once you enter the “Notifications” settings, you will see a list of all the apps installed on your device. This list allows you to customize the notification settings for each individual app. Scroll down until you find the “Messages” option, which represents the iMessage app.
Tap on the “Messages” option to proceed to the next step.
By tapping on the “Notifications” option, you are now one step closer to customizing the notification settings specifically for the iMessage app. Let’s move on to the next step to continue the process.
Step 3: Select Messages from the List
After tapping on the “Notifications” option in the Settings app, you will now be presented with a list of all the apps installed on your iOS device. This list allows you to customize the notification settings for each individual app.
Scroll through the list until you find the “Messages” option, which represents the iMessage app. Once you locate it, tap on it to access the specific notification settings for iMessage.
Upon selecting the “Messages” option, you will be taken to a new screen that allows you to configure the notification preferences for iMessage. This is where you can make changes to how your device displays notifications for incoming messages.
By selecting the “Messages” option from the list, you are now ready to proceed to the next step and disable the preview of incoming messages on your device’s lock screen. Read on to find out how to accomplish this.
Step 4: Disable Show Previews
Once you have selected the “Messages” option from the list of apps in the Notifications settings, you can now proceed to disable the preview of incoming messages on your iOS device’s lock screen.
On the screen where the notification settings for iMessage are displayed, you will find various options to customize how notifications are shown for this app. Look for the “Show Previews” option, which controls whether or not the content of the message is visible on the lock screen.
By default, “Show Previews” is set to “Always.” This means that when you receive a new message on iMessage, both the sender’s name and a preview of the message content will be displayed on your device’s lock screen. However, we want to hide the sender’s name, so we need to change this setting.
To disable the preview of incoming messages, tap on the “Show Previews” option and select the “When Unlocked” or “Never” option. Choosing “When Unlocked” will display the message content only when your device is unlocked, while selecting “Never” will completely hide the message content from the lock screen.
Once you have made your selection, you can exit the Settings app and your changes will be saved. From now on, when you receive a message on iMessage, only a generic notification will be displayed on the lock screen, ensuring that the sender’s name remains hidden.
By following this step, you have successfully disabled the preview of incoming messages on your device’s lock screen. However, there is one more step to complete in order to apply this setting effectively. Read on to find out what you need to do.
Step 5: Return to the Home Screen
After disabling the preview of incoming messages in the notification settings for iMessage, the next step is to return to the home screen of your iOS device. This will ensure that the changes you made are applied and the sender’s name on iMessage notifications remains hidden.
To return to the home screen, press the home button on your device or swipe up from the bottom of the screen if you are using an iPhone X or later model. This will minimize the Settings app and take you back to the main interface of your iOS device.
Once you are on the home screen, you can lock your device to test if the changes you made in the notification settings have taken effect. Simply press the power button on the side or top of your device to lock the screen.
With the new settings in place, when you receive a message on iMessage, you will notice that only a generic notification appears on the lock screen. The sender’s name will no longer be displayed, providing an extra layer of privacy for your conversations.
Returning to the home screen is the final step in the process of hiding the sender’s name on iMessage notifications. By following these steps, you have successfully customized the notification settings for iMessage to ensure that your conversations remain discreet and private.
Congratulations! You can now enjoy a heightened level of privacy whenever you receive a message on iMessage. Remember, if you ever want to revert back to the default settings, you can simply follow the same steps and enable the “Show Previews” option once again.
Conclusion
In this guide, we have walked you through the process of hiding the sender’s name on iMessage notifications, helping you enhance your privacy and protect your confidential conversations. By following the simple steps outlined above, you can customize the notification settings on your iOS device to ensure that the sender’s name remains hidden on the lock screen.
Privacy is essential, especially when it comes to our personal conversations. With iMessage being one of the most popular messaging apps on iOS devices, it is crucial to have control over how much information is displayed on the lock screen. By disabling the preview of incoming messages, you can maintain the privacy of your conversations even when your device is locked.
Remember, once you disable the show previews option, you will only see a generic notification on your device’s lock screen when you receive a message on iMessage. This means that even if someone looks at your device, they won’t be able to see the sender’s name, keeping your conversations discreet.
Whether it’s to prevent nosy coworkers from peering into your private messages or to maintain a sense of security within your personal life, customizing the notification settings for iMessage allows you to take control of your privacy.
So, take a moment to follow the steps outlined in this article and adjust the settings to your preference. With the sender’s name hidden, you can feel confident in the knowledge that your conversations are between you and the recipient alone.
Enjoy your newfound privacy, and remember that you can always modify these settings to suit your needs or revert back to the default settings if desired. Your iOS device is a powerful tool, and taking control of its settings empowers you to have a more personalized and secure experience.