Introduction
Welcome to the world of fast and efficient computing with an SSD boot drive! If you’re tired of waiting for your computer to start up, an SSD (Solid State Drive) can significantly reduce boot times, making your system more responsive and improving overall performance. In this article, we will guide you through the process of creating an SSD boot drive, helping you unleash the full potential of your computer.
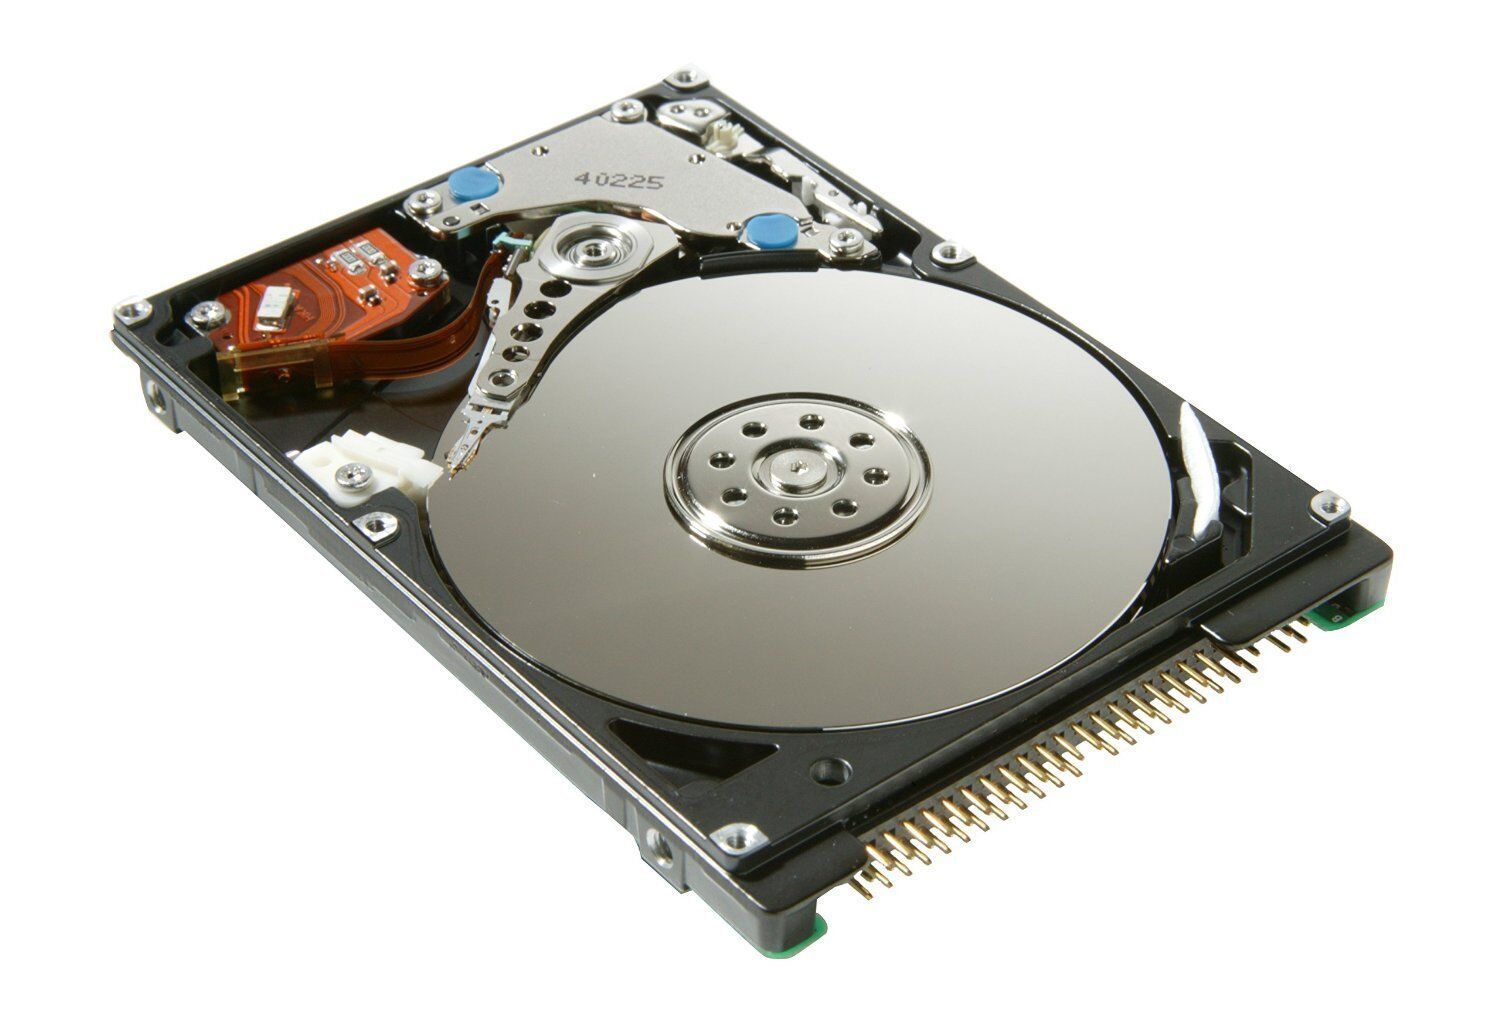
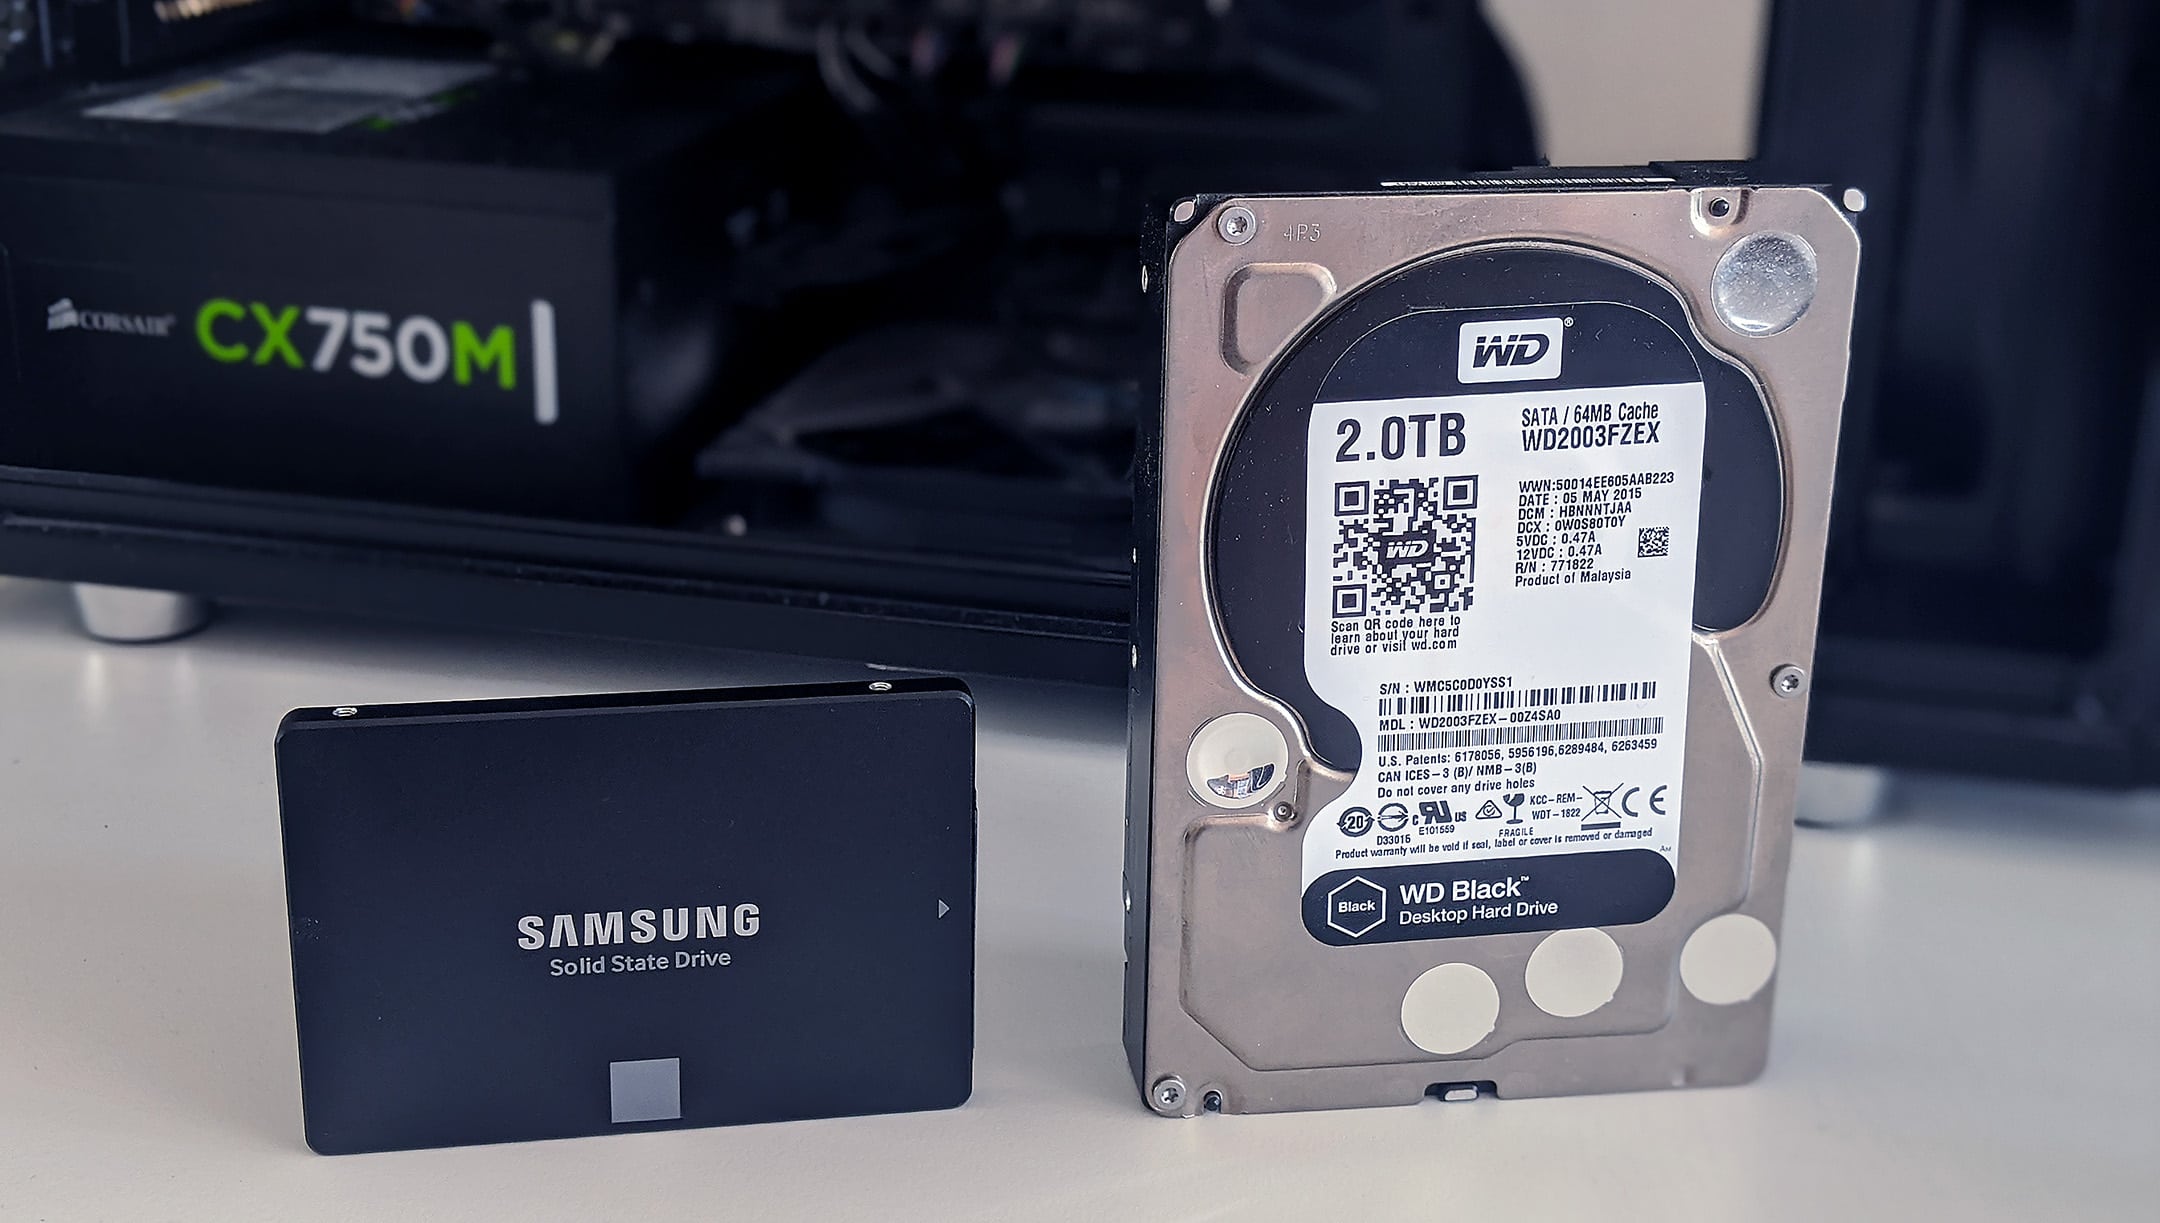
SSDs have revolutionized the storage industry with their lightning-fast read and write speeds, thanks to their lack of moving parts. Unlike traditional hard drives, which use spinning disks to store and retrieve data, SSDs store information on flash memory chips, resulting in faster data access and improved system responsiveness.
By making an SSD your boot drive, you’ll experience a noticeable improvement in computer startup times. Instead of waiting for minutes, your computer will be up and running in a matter of seconds. Additionally, file transfers, program launches, and overall system performance will be significantly enhanced, transforming your computing experience.
Before jumping into the process of creating an SSD boot drive, there are a few things you should consider. First, ensure that your computer’s hardware supports SATA (Serial ATA) connections, as SSDs utilize this interface for data transfer. If you’re unsure, consult your computer’s specifications or reach out to the manufacturer for guidance.
Secondly, assess your storage needs. While an SSD boot drive will greatly improve performance, it may not offer the same storage capacity as a traditional hard drive. In such cases, you might consider using a combination of an SSD for the operating system and frequently used programs, and a secondary hard drive for data storage.
Once you’ve determined that your computer is compatible and you understand the trade-offs, it’s time to embark on the journey of creating your SSD boot drive. In the following sections, we will provide step-by-step instructions to guide you through the process, ensuring a seamless and successful transition to a faster, more efficient computing experience.
Benefits of an SSD Boot Drive
Upgrading to an SSD boot drive offers a wide range of benefits that go beyond just faster boot times. Let’s explore some of the advantages you can expect to enjoy:
- Improved Performance: By installing your operating system on an SSD, you’ll experience significantly faster load times for applications and files. Whether you’re launching a program, opening a document, or accessing your files, the speed improvement will be noticeable and enhance your overall productivity.
- Reduced Boot Times: One of the primary reasons people opt for an SSD boot drive is to eliminate the frustratingly long startup time. With an SSD, your computer will start up in a matter of seconds, allowing you to get to work or play without any unnecessary delays.
- Enhanced System Responsiveness: An SSD boot drive not only improves boot times but also increases overall system responsiveness. Everyday tasks such as browsing the web, multitasking, and running resource-intensive applications will feel smoother and more fluid, giving you a more enjoyable computing experience.
- Faster File Transfers: SSDs are known for their lightning-fast read and write speeds, which translate to faster file transfers. Whether you’re copying large multimedia files, moving documents between folders, or backing up your data, the speed improvement can save you valuable time.
- Reduced Power Consumption: SSDs are more energy-efficient than traditional hard drives as they lack moving parts. This can lead to longer battery life in laptops and reduced power consumption in desktop systems, contributing to a greener and more sustainable computing setup.
- Improved Reliability and Durability: Unlike mechanical hard drives, SSDs are less prone to failures caused by shock, vibration, and physical wear. This means your data is better protected, and the risk of losing important files due to drive failure is minimized.
Overall, upgrading to an SSD boot drive offers a multitude of benefits that can transform your computing experience. The speed, responsiveness, and efficiency improvements will not only save you time but also enhance productivity, whether you’re using your computer for professional or personal purposes.
Requirements
Before you begin the process of creating an SSD boot drive, it’s important to ensure that you have the necessary requirements in place. Here’s what you’ll need:
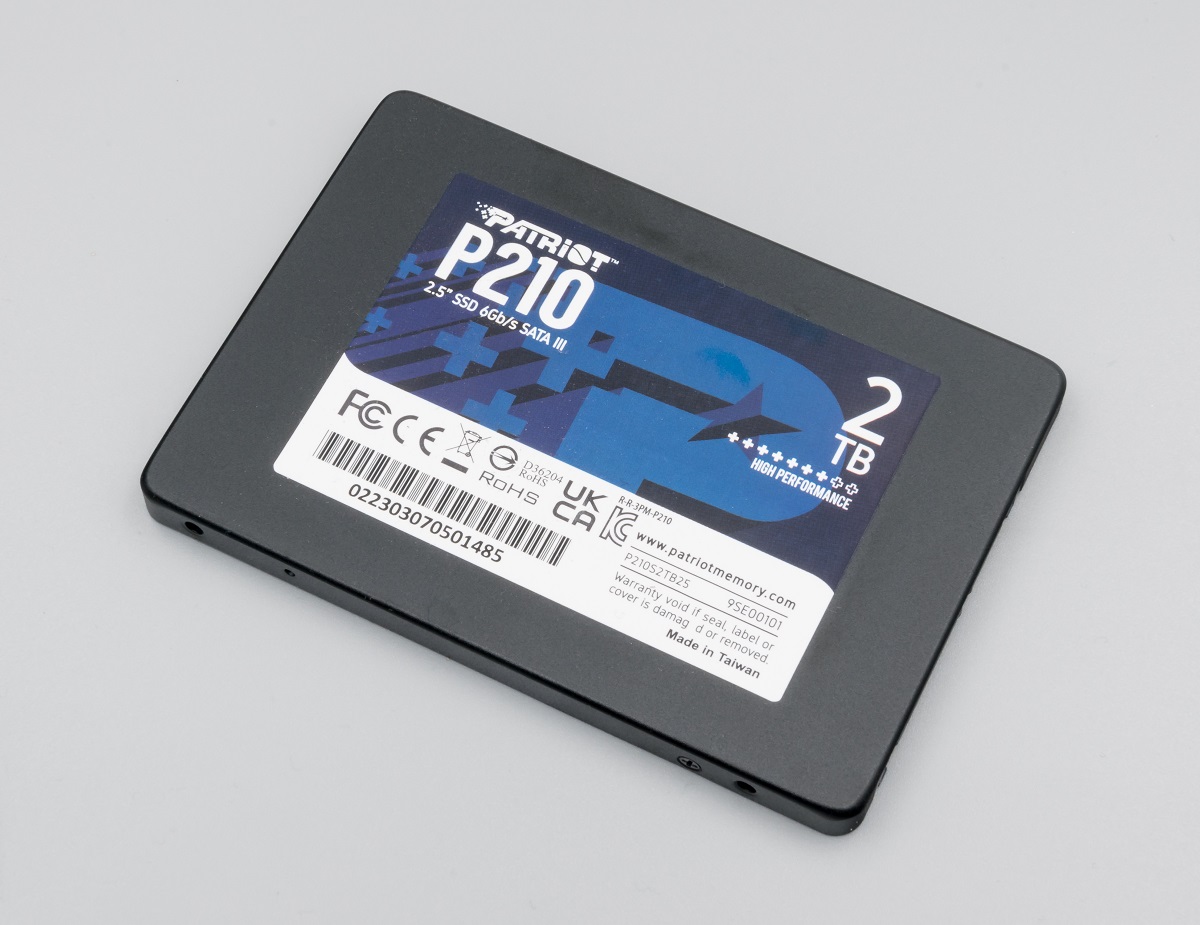
- An SSD: The most crucial component of this upgrade is, of course, the SSD itself. Make sure to choose a reputable brand and select an SSD with sufficient capacity to meet your needs. Consider factors such as the size of your operating system, the number of applications you’ll be installing, and any additional files you want to keep on the SSD.
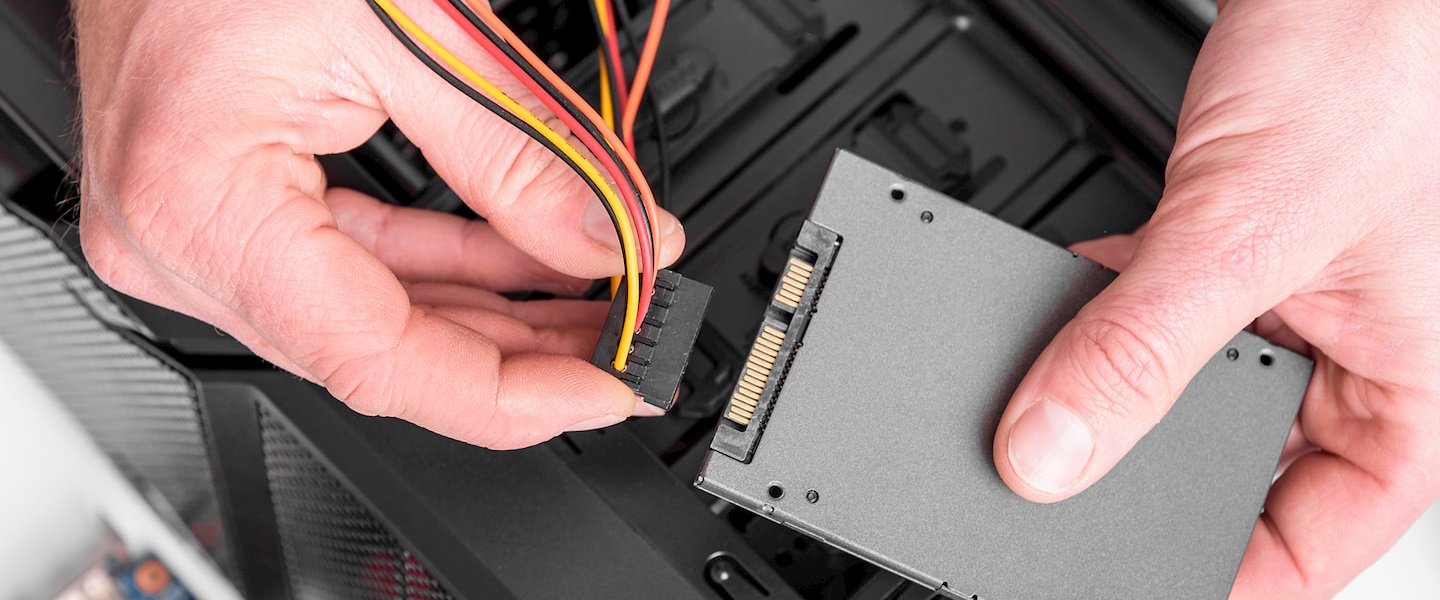
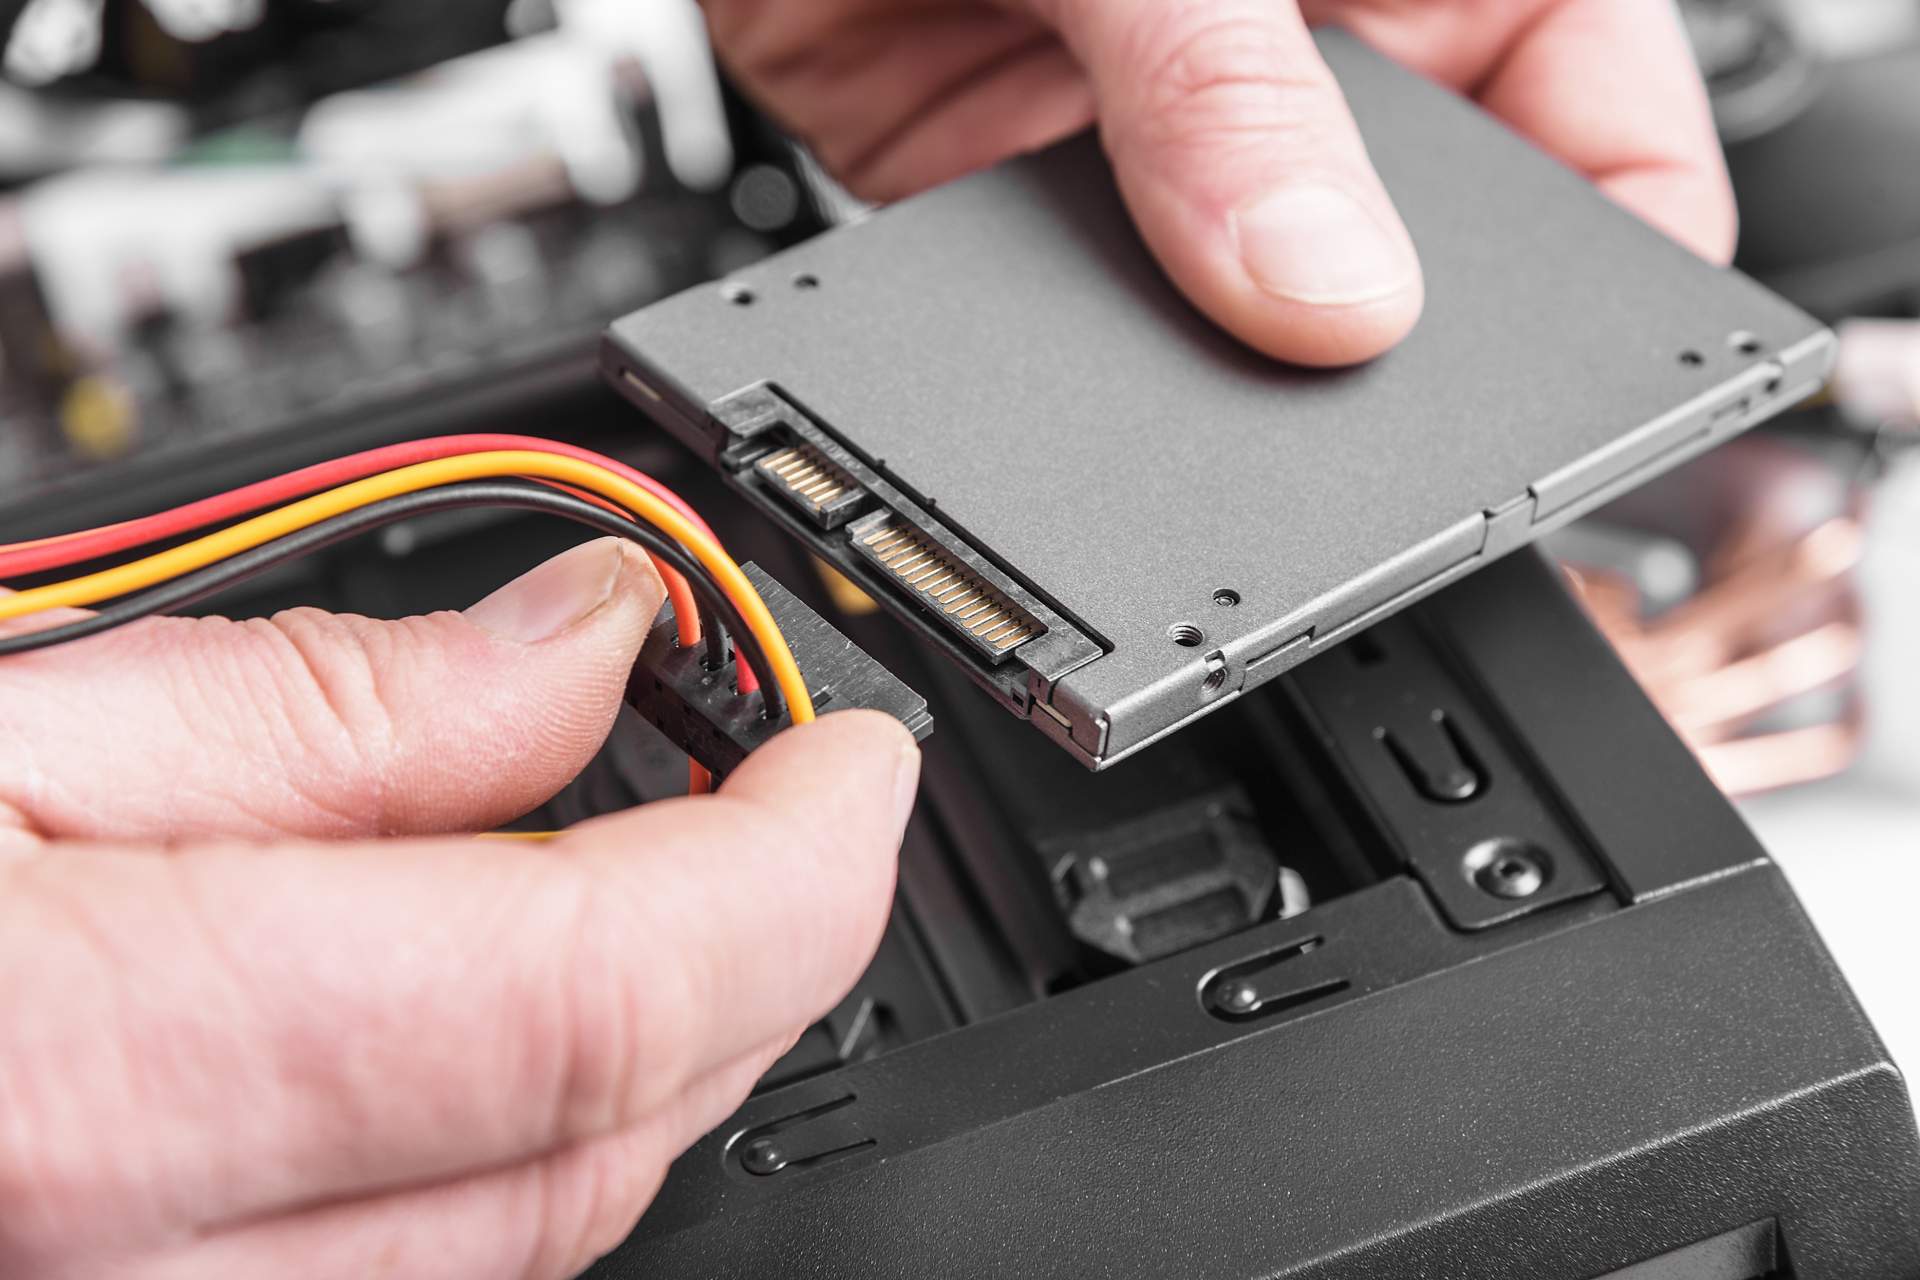
- SATA Cable and Power Connector: SSDs typically use SATA (Serial ATA) connections for data transfer. Ensure that you have a SATA cable to connect the SSD to your computer’s motherboard. In addition, ensure you have a spare power connector from your power supply unit to provide power to the SSD.
- A Screwdriver: Depending on your computer’s chassis, you may need a screwdriver to open the case and securely mount the SSD. Check the documentation for your specific computer or consult online resources to determine the type of screws and tools you’ll need.
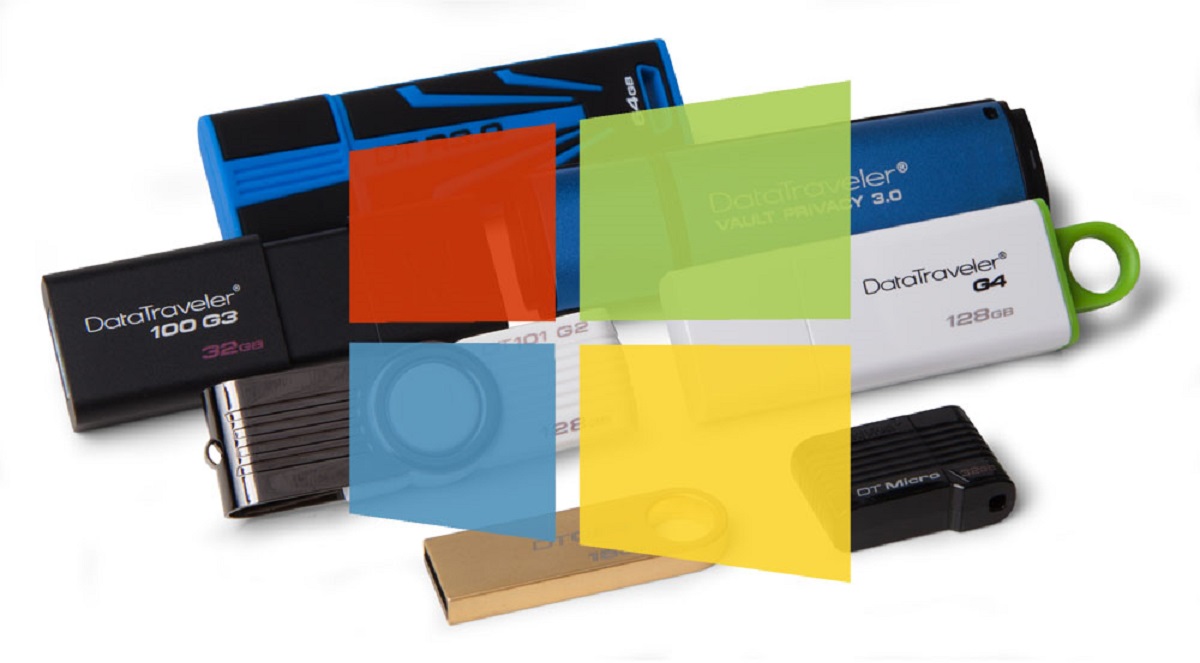
- Operating System Installation Media or USB Drive: To install the operating system on your new SSD boot drive, you’ll need a copy of the installation media or a USB drive with the necessary files. This can be a physical DVD or a digital ISO file that you’ll need to create a bootable USB drive from.
- Backup Storage: Before proceeding with the installation of the SSD boot drive, it’s crucial to back up your data. This ensures that if anything goes wrong during the process, your files will remain safe. Use an external hard drive, cloud storage, or any other backup solution you’re comfortable with.
- Basic Computer Knowledge: While creating an SSD boot drive is not overly complex, having some basic computer knowledge will be beneficial. Familiarize yourself with your computer’s hardware and consult the documentation specific to your system to ensure a smooth installation process.
By ensuring you have the necessary requirements, you’ll be well-prepared to proceed with the creation of your SSD boot drive. Take the time to gather all the required components and tools, backup your data, and familiarize yourself with the installation process to avoid any complications and ensure a successful upgrade.
Step 1: Choose the Right SSD
The first step in creating an SSD boot drive is to select the right solid-state drive (SSD) for your needs. Consider the following factors when choosing an SSD:
- Capacity: Determine how much storage space you require for your operating system, applications, and files. SSDs come in a variety of capacities, ranging from 120GB to multiple terabytes. Choose a capacity that fits your needs, ensuring you have enough space for future growth.
- Speed: Look for SSDs with fast read and write speeds to ensure optimal performance. Speedier SSDs will result in faster boot times and improved overall system responsiveness. Consider SSDs with a high sequential read and write speed rating for optimal performance.
- Interface: Most modern SSDs use the SATA (Serial ATA) interface for data transfer. Ensure that your computer supports SATA connections, and choose an SSD that matches your system’s SATA version (SATA II, SATA III, etc.). This compatibility will ensure smooth installation and operation.
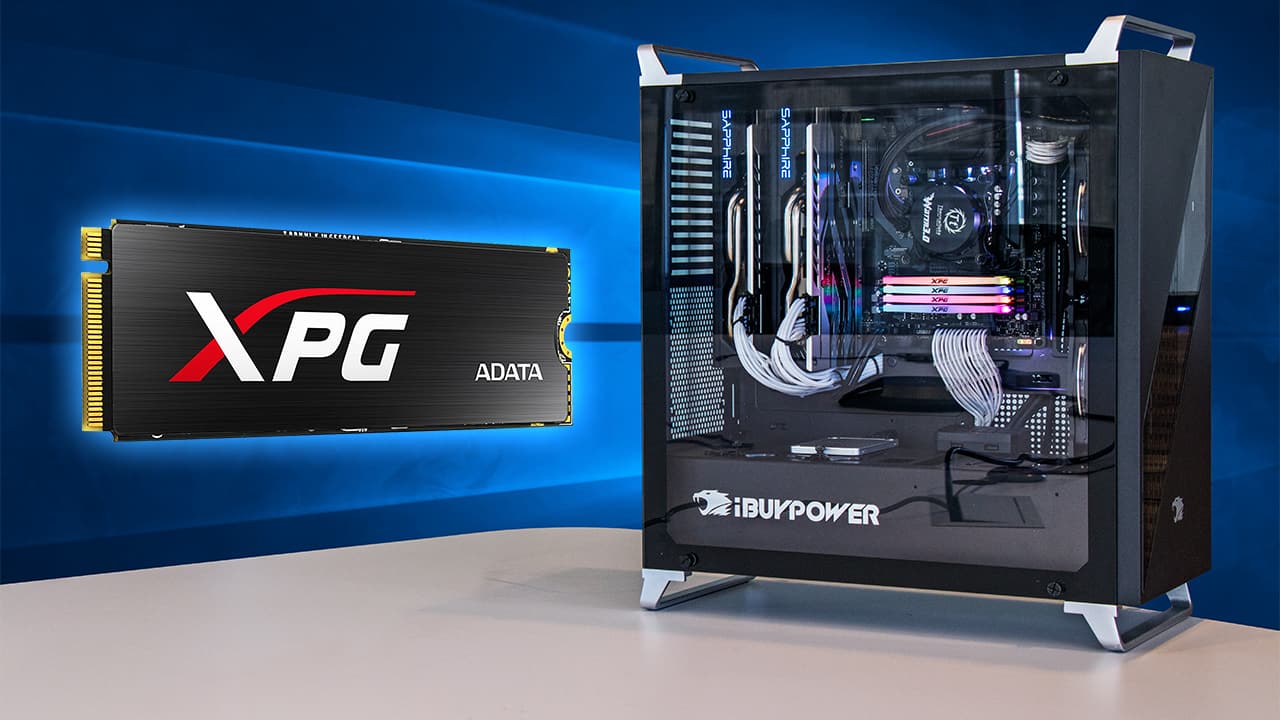
- Form Factor: SSDs come in different form factors, such as 2.5-inch, M.2, or PCIe cards. Determine which form factor is compatible with your computer’s motherboard and physical limitations. If you’re unsure, consult your computer’s documentation or the manufacturer’s specifications.
- Brand and Reliability: Opt for SSDs from reputable brands known for their reliability and longevity. Research customer reviews and ratings to gauge the performance and reliability of different SSD models. Look for SSDs with a high endurance rating for prolonged usage.
- Budget: Set a budget for your SSD purchase and find a balance between performance, capacity, and cost. Consider the value for money provided by different SSD options and choose one that fits your budget while meeting your storage and performance requirements.
Once you’ve considered these factors, research SSD models and compare their specifications, prices, and customer reviews. Select the SSD that best suits your needs and budget. Remember to check the compatibility of the chosen SSD with your computer’s specifications before making the final purchase.
Choosing the right SSD is a crucial step in creating an SSD boot drive. It ensures that you have the necessary storage capacity, performance, and compatibility. With a well-selected SSD, you’re one step closer to a faster and more efficient computing experience.
Step 2: Back Up Your Data
Before proceeding with the creation of an SSD boot drive, it is essential to back up your data. This step ensures that your important files and documents remain safe in case anything goes wrong during the installation process. Here’s how to back up your data:
- Identify Important Data: Prioritize the files, documents, and folders that are important to you. This may include personal documents, work files, photos, videos, and any other data that you cannot afford to lose.
- Create a Backup Plan: Determine the best backup method for your needs. You can choose between external hard drives, cloud storage services, or a combination of both. Consider factors such as storage capacity, convenience, and data security when deciding on the backup plan.
- Transfer Data to External Storage: If you’re opting for an external hard drive, connect it to your computer and transfer the selected files and folders to the external drive. Ensure that the backup process is complete and that you have verified the integrity of the files.
- Utilize Cloud Storage: If you’re using cloud storage, sign up for a reliable and secure service. Upload your important files and folders to the cloud, ensuring that the sync or backup process is complete. Verify that your files are accessible and can be restored if necessary.
- Double-Check Your Backup: After completing the backup process, double-check the integrity of your files. Open a few random files from the backup destination to ensure that they are functional and have been successfully backed up.
By following these steps, you can ensure that your data is safely backed up before proceeding with the creation of an SSD boot drive. This backup provides peace of mind and safeguards your critical information, allowing you to proceed with the upgrade process without the fear of data loss.
Remember, creating an SSD boot drive involves some risk, although it is a straightforward process. Taking the time to back up your data is a precautionary measure that should never be skipped. Accidents can happen, and having a reliable backup ensures that your valuable files are protected.
Step 3: Prepare the SSD
Now that you have backed up your data, it’s time to prepare the SSD for installation as your boot drive. This step involves formatting the SSD and ensuring it is ready to receive the operating system. Follow these steps to prepare the SSD:
- Verify Compatibility: Ensure that the SSD you have chosen is compatible with your computer’s hardware and operating system. Consult the manufacturer’s documentation or the SSD’s specifications to confirm compatibility.
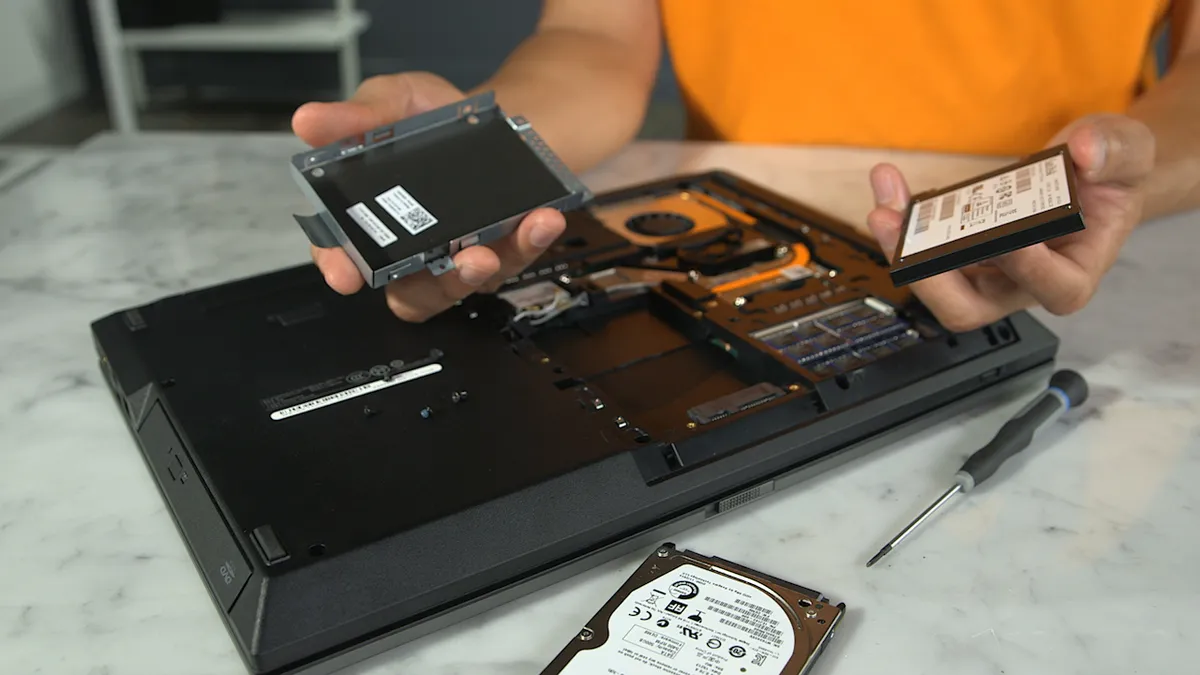
- Connect the SSD: If your computer is powered off, unplug it from the power source. Open your computer’s case and locate an empty drive bay to install the SSD. Connect the SATA data cable to an available SATA port on the motherboard. Connect the power cable from the power supply unit to the SSD.
- Mount the SSD: Securely mount the SSD in the drive bay. Use the appropriate screws or mounting brackets to ensure the SSD is fixed securely in place. Refer to your computer’s documentation or online resources if you need assistance with mounting the drive.
- Access BIOS Settings: Power on your computer and access the BIOS settings by pressing the designated key during the boot process (often Del or F2). The specific key varies depending on your computer’s manufacturer.
- Set the SSD as the Boot Drive: In the BIOS settings, navigate to the boot options or boot priority section. Set the SSD as the primary boot device, ensuring it is listed before any other storage devices. Save the changes and exit the BIOS settings.
- Format the SSD: If the SSD is brand new, it may require formatting before you can install the operating system. Boot your computer using the installation media or USB drive and follow the on-screen instructions to format the SSD using the appropriate file system (such as NTFS for Windows). Format the SSD to ensure it is ready to receive the operating system.
- Partition the SSD (Optional): If desired, you can partition the SSD to create separate storage areas for your operating system and data. This step is optional, and you can choose to use the entire SSD as the boot drive. Use the built-in partitioning tools during the operating system installation process to create partitions if desired.
By following these steps, you will have successfully prepared the SSD for use as your boot drive. Ensure that the SSD is securely connected, set as the primary boot device in the BIOS settings, and formatted if necessary. With the SSD prepared, you’re now ready to proceed with the installation of the operating system in the next step.
Step 4: Connect the SSD to Your Computer
With the SSD prepared, it’s time to connect it to your computer to ensure a smooth installation process. Follow these steps to connect the SSD:
- Power Off Your Computer: Before connecting any hardware, ensure that your computer is powered off. Unplug the power cable from the wall outlet or power strip to avoid any risk of electric shock.
- Open Your Computer’s Case: Depending on the design of your computer, you may need to remove a side panel or top cover to access the internal components. Consult your computer’s documentation or search online for specific instructions on opening your particular computer model. Keep in mind that each computer may have a different case design.
- Locate an Available Drive Bay: Identify an available drive bay where you can install the SSD. The drive bays are typically located near the front or top portion of the computer case. Look for a slot with corresponding screw holes or mounting brackets.
- Connect the SATA Data Cable: Locate the SATA data cable that comes with your SSD. This cable is usually a flat, thin cable with a connector on each end. Connect one end of the SATA data cable to the SSD’s SATA port, usually located on the side or back of the SSD.
- Connect the Power Cable: Locate a spare power connector from your computer’s power supply unit. The power connector is typically a rectangular, four-pin or SATA power connector. Connect the appropriate end of the power cable to the corresponding power port on the SSD.
- Securely Mount the SSD: Once the cables are connected, carefully position the SSD in the drive bay. Align the screw holes or mounting brackets on the SSD with the corresponding holes or brackets in the drive bay. Use the provided screws or mounting brackets to securely fasten the SSD in place.
- Close Your Computer’s Case: With the SSD securely mounted, close your computer’s case by reattaching the side panel or top cover. Make sure all screws are tightened, and the case is properly aligned. Be cautious not to pinch any cables or leave any loose connections.
- Power On Your Computer: Plug the power cable back into the wall outlet or power strip and power on your computer. The SSD will now be connected and ready for the next step in the installation process.
By following these steps, you will have successfully connected the SSD to your computer. Ensure that all cables are securely connected and the SSD is properly mounted in the drive bay. With the SSD connected, you can now proceed with installing the operating system and configuring it to boot from the SSD in the upcoming steps.
Step 5: Install Operating System on the SSD
Now that the SSD is connected to your computer, it’s time to install the operating system on the SSD. Follow these steps to complete the installation process:
- Insert the Installation Media: If you have a physical DVD of the operating system, insert it into your computer’s optical drive. Alternatively, if you have a bootable USB drive, insert it into a USB port on your computer.
- Boot from the Installation Media: Restart your computer and access the BIOS settings. Set the boot priority to prioritize the installation media (DVD or USB drive) to ensure that the computer boots from it. Save the changes and exit the BIOS settings.
- Follow the Installation Wizard: The installation process will vary depending on the operating system you are installing. Follow the on-screen prompts and instructions provided by the installation wizard. Typically, you will be asked to select a language, agree to the license terms, and choose the installation destination.
- Select the SSD as the Installation Destination: When prompted to choose the installation destination, select the SSD as the installation destination. Be careful not to select any other existing drives to avoid overwriting your data. Formatting the SSD during the installation process may be required, especially if it’s a new drive or previously used for a different operating system.
- Customize Installation Settings (Optional): Depending on the operating system, you may have the option to customize the installation settings. This can include selecting specific components, setting up user accounts, or configuring network settings. Customize these settings based on your preferences and requirements.
- Wait for the Installation to Complete: The installation process may take some time to complete. Stay patient and let the installer finalize the installation on the SSD. Your computer may restart multiple times during this process, so avoid interrupting it.
- Complete the Set-Up Process: Once the installation is complete, follow any remaining on-screen instructions to finish the set-up process. This may include configuring initial settings, setting up user accounts and passwords, and customizing preferences. Ensure that you choose the SSD as the boot drive if prompted.
- Install Device Drivers and Updates: After the operating system is installed, it’s essential to install the necessary device drivers for your computer’s hardware. These drivers enable proper functioning of components such as the graphics card, network adapter, and sound card. Additionally, install the latest updates to ensure your operating system is up to date.
By following these steps, you will successfully install the operating system on your SSD boot drive. Ensure that you choose the SSD as the installation destination to avoid overwriting any existing data. Once the installation is complete, you can move on to configuring the boot order and verifying the SSD boot drive in the next steps.
Step 6: Configure the Boot Order
After installing the operating system on your SSD boot drive, you need to configure the boot order to ensure that your computer boots from the SSD. Follow these steps to configure the boot order:
- Restart Your Computer: Save any ongoing work and restart your computer.
- Access the BIOS Settings: During the startup process, look for the key or combination of keys to access the BIOS settings. This is typically displayed on the screen and may include keys like F2, Del, Esc, or F12. Press the designated key(s) to enter the BIOS settings.
- Navigate to the Boot Options: Once in the BIOS settings, navigate to the “Boot” or “Boot Options” section. The specific location may vary depending on your computer’s manufacturer and BIOS version.
- Set the SSD as the First Boot Device: In the boot options, locate the list of boot devices. Set the SSD as the first boot device, ensuring it is listed above any other hard drives or storage devices. This will prioritize the SSD for booting.
- Save and Exit the BIOS Settings: Once you have configured the boot order, save the changes you made in the BIOS settings and exit. The specific steps to save and exit will be shown on the screen, usually by pressing a designated key or selecting an option.
- Restart Your Computer: After saving the BIOS settings, your computer will restart. It will now boot from the SSD as the primary boot device.
- Confirm Successful Boot: Allow your computer to start up, and monitor the boot process. If the operating system loads successfully and you can access your files and applications, it indicates that the boot order has been successfully configured.
By following these steps, you will configure the boot order to prioritize the SSD as the first boot device. This ensures that your computer boots from the SSD, resulting in faster boot times and overall improved performance. Verifying a successful boot from the SSD is essential to ensure that the installation process was completed correctly.
If you encounter any issues during the boot process or the operating system fails to load, you may need to revisit the BIOS settings and verify the boot order configuration. Ensure that the SSD is set as the first boot device and that all changes are saved before exiting the BIOS settings.
Step 7: Verify the SSD Boot Drive
After configuring the boot order, it is crucial to verify that your computer is successfully booting from the SSD. Follow these steps to confirm that the SSD is functioning as the boot drive:
- Restart Your Computer: Save any ongoing work and restart your computer.
- Monitor the Boot Process: As your computer starts up, pay close attention to the initial boot process. Look for any messages or indicators that confirm the SSD is being detected and used as the primary boot drive.
- Check Boot Times: Note the time it takes for your computer to boot up. If the boot time is significantly faster compared to your previous setup with a traditional hard drive, it indicates that the SSD boot drive is functioning as intended.
- Ensure System Stability: Use your computer as you normally would and pay attention to its stability. If you experience improved performance, faster application launches, and smoother overall functioning, it further confirms the successful utilization of the SSD boot drive.
- Verify Drive Information: To confirm that the operating system is indeed installed on the SSD, access the system’s storage information. In Windows, you can navigate to “System Information” or “Disk Management” to check the details of the SSD, such as its capacity and usage status.
- Open Applications and Files: Launch various applications and open files stored on the SSD. If they load quickly and smoothly without noticeable delays, it indicates that the SSD boot drive is effectively improving the system’s performance.
- Perform Benchmark Tests (Optional): Use benchmarking software to assess the performance of your SSD boot drive. Running tests such as sequential read/write speeds and access time can provide objective measurements of its capabilities.
By following these steps, you will be able to verify that the SSD boot drive is properly functioning as intended. Faster boot times, improved system stability, and quick application launches are all indicators of a successful transition to the SSD boot drive.
If any issues arise during the verification process, such as longer boot times or system instability, double-check the steps you performed in the previous sections. Ensure that the SSD is correctly installed, connected, and configured as the primary boot device. If problems persist, consult your computer’s documentation or seek assistance from technical support.
Conclusion
Congratulations! You have successfully created an SSD boot drive, unlocking the full potential of your computer. By following the steps outlined in this guide, you have significantly improved the performance and speed of your system.
An SSD boot drive offers numerous benefits, including faster boot times, improved system responsiveness, reduced file transfer times, and enhanced overall performance. The combination of high-speed read and write capabilities, reduced power consumption, and enhanced data protection makes it an excellent investment for both productivity and gaming purposes.
Remember to choose the right SSD based on your storage needs, performance requirements, and budget. Ensure that your computer meets the necessary hardware specifications and prepare the SSD by backing up your data and securely connecting it to your computer.
With the SSD properly installed, format it during the operating system installation process and configure the boot order to prioritize the SSD as the primary boot device. Finally, verify that the SSD boot drive is functioning correctly by monitoring the boot process, checking boot times, and confirming system stability.
By optimizing your computer with an SSD boot drive, you can enjoy seamless and lightning-fast performance for your daily tasks, allowing you to work more efficiently or dive into your favorite games without any frustrating delays.
Continue to take care of your SSD by keeping it updated with the latest firmware and regularly backing up your data. With proper maintenance and care, your SSD boot drive will continue to enhance your computing experience for years to come.
Now it’s time to enjoy the speed, efficiency, and improved performance of your newly created SSD boot drive. Get ready to experience computing like never before!


