Introduction
Have you ever found yourself struggling with limited space in your PC case? Maybe you’ve upgraded your components and realized that your once spacious case is now feeling cramped. Don’t worry, you’re not alone. Many PC enthusiasts face this challenge when they want to expand their system’s capabilities.
Fortunately, there are a few tricks you can use to make a small PC case bigger and accommodate your growing needs. In this article, we’ll explore some practical strategies that will allow you to maximize the space in your PC case and optimize its performance.
Expanding the size of your PC case comes with several benefits. First and foremost, it provides room for additional components, such as storage drives, graphics cards, or even liquid cooling systems. This means you can enjoy enhanced performance and functionality without having to compromise on space.
Before delving into the technical details, it’s important to note that increasing the size of your PC case is not possible in a literal sense. Instead, we will focus on techniques that create the illusion of more space within the existing case. By employing the right strategies, you can optimize the layout and make the most out of the available room.
In the following sections, we will guide you through various steps and considerations to transform your cramped PC case into a spacious hub for your components. From removing side panels to installing additional cooling systems, we will cover it all. So let’s get started and explore how to make a small PC case bigger!
Choosing the Right Case for Expansion
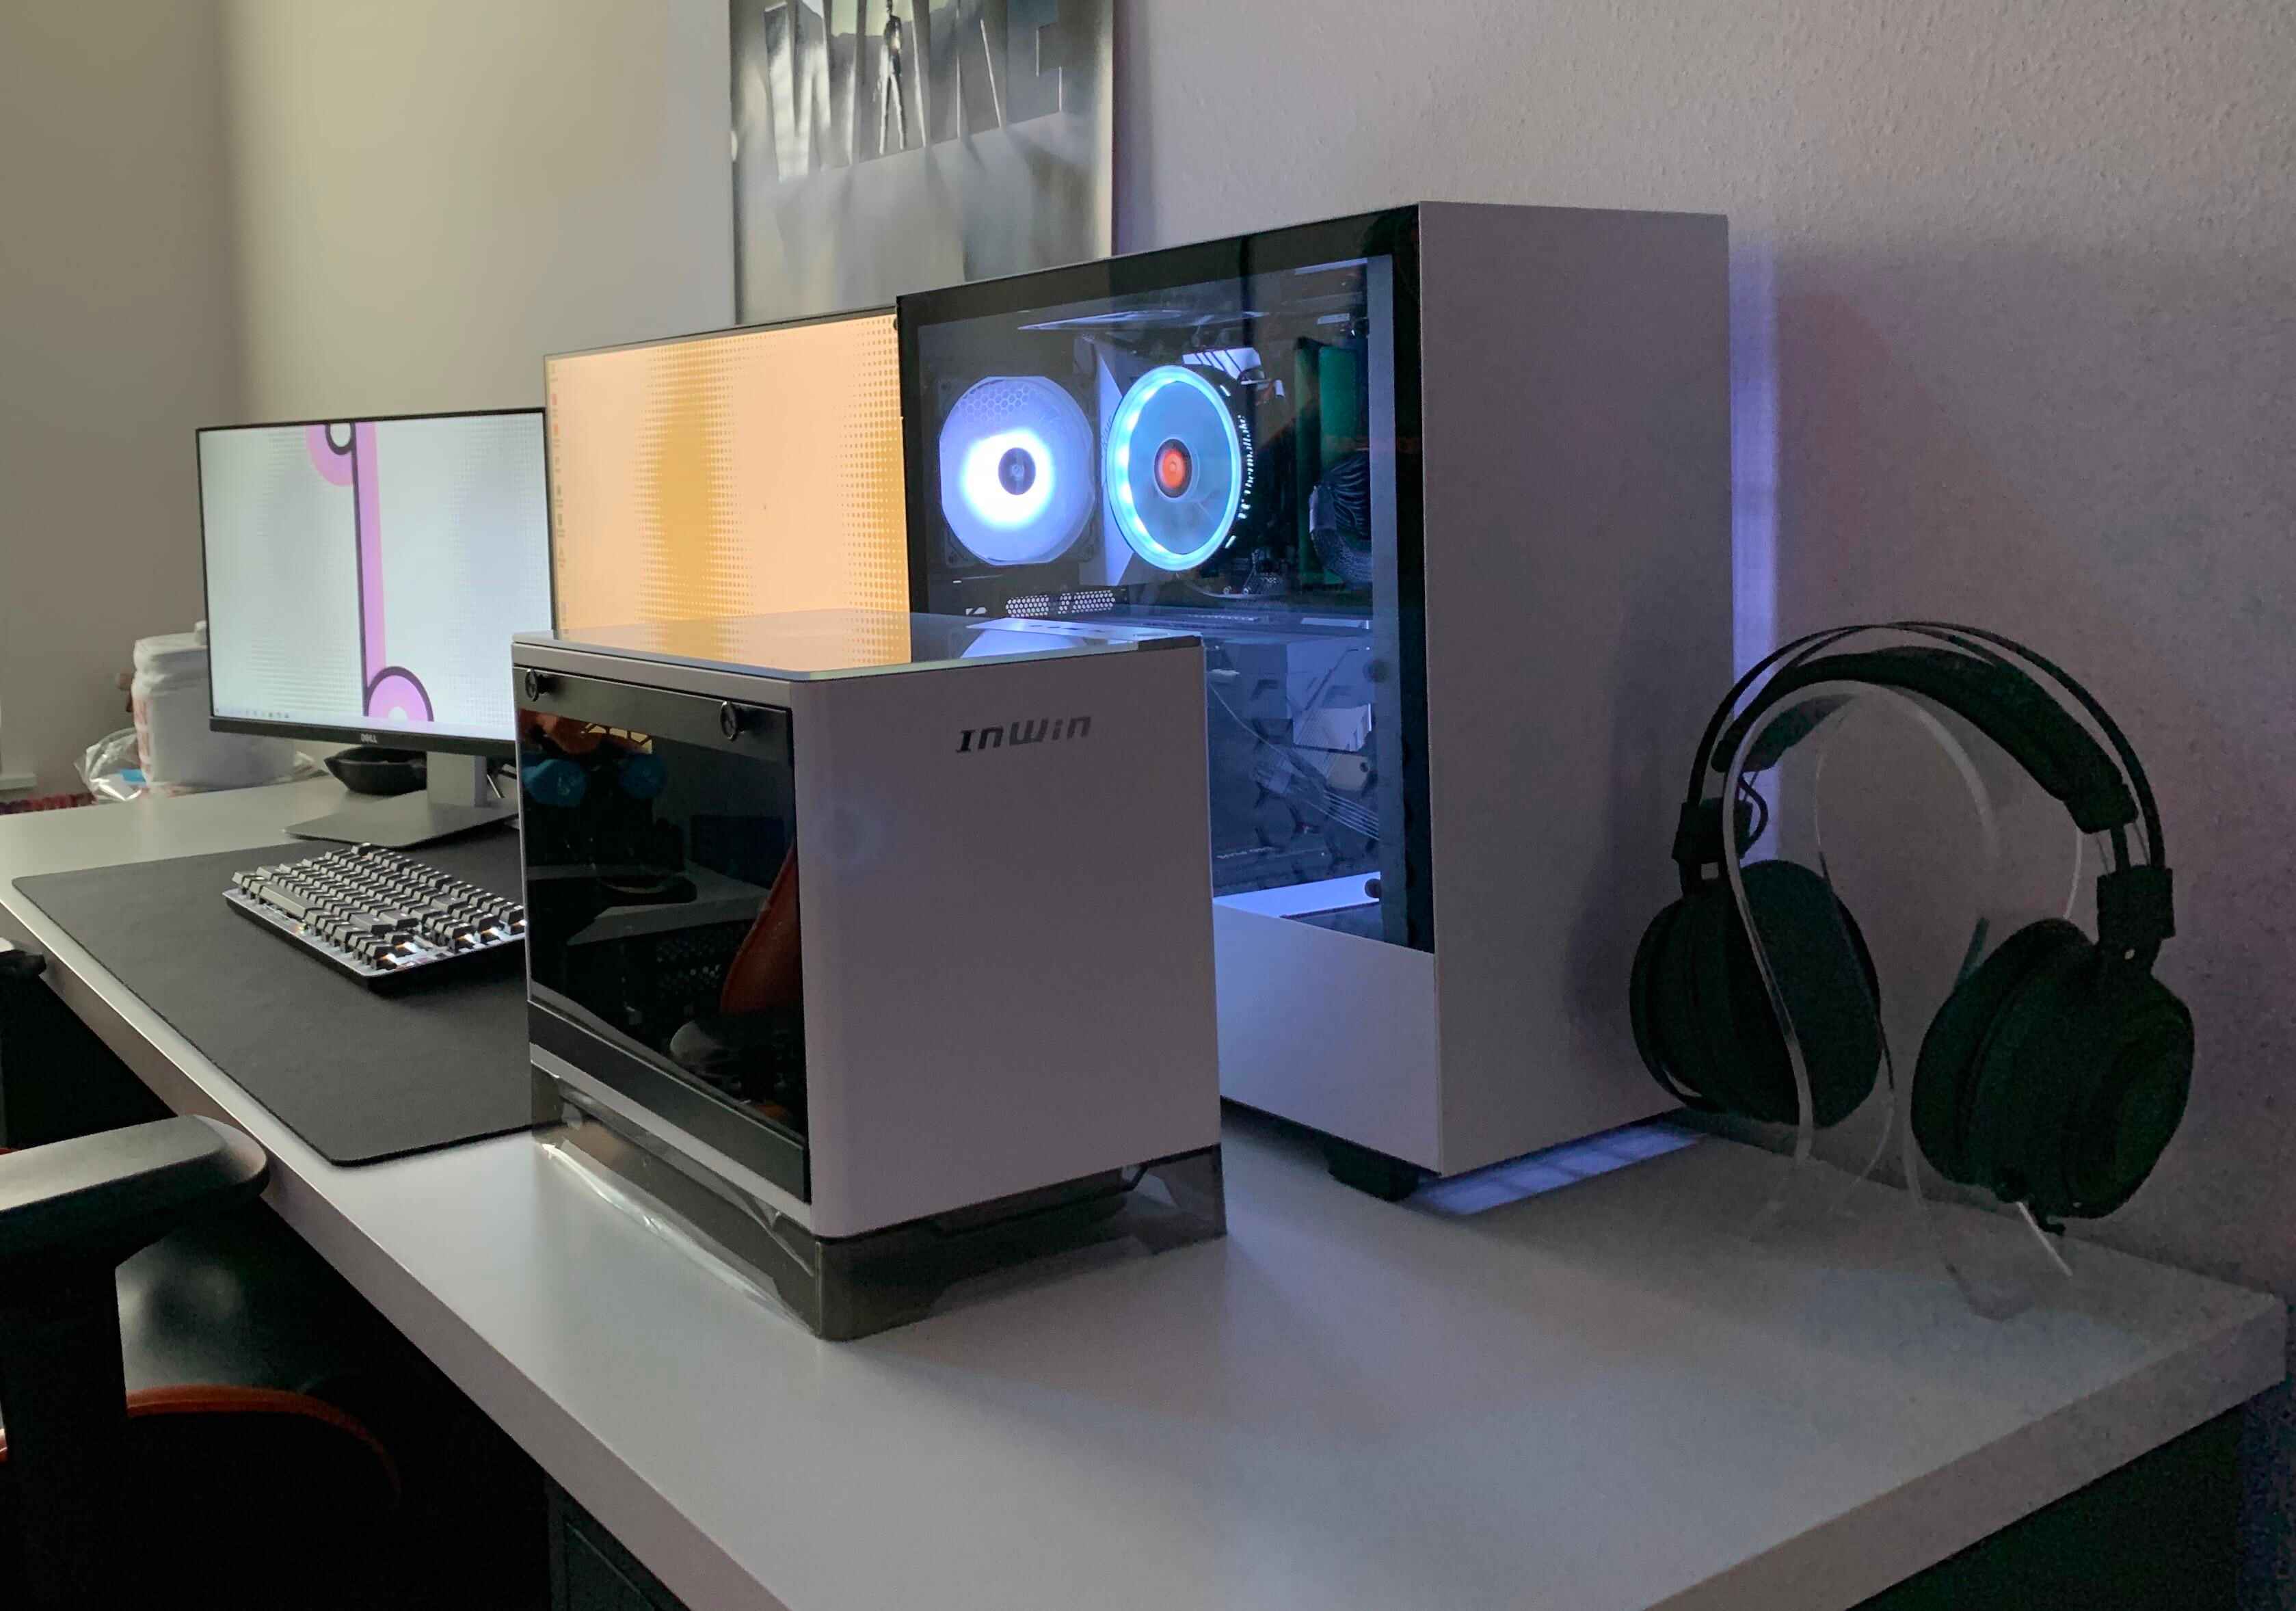
When it comes to making your PC case bigger, the first step is to choose the right case that offers ample space for expansion. While it may seem obvious, selecting a larger case will provide more room for additional components and improve airflow, ultimately enhancing the overall performance of your system.
Before buying a new case, it’s essential to consider your specific requirements and future plans for upgrades. Here are a few key factors to keep in mind:
- Form Factor: Determine the form factor that suits your needs, such as ATX, Micro-ATX, or Mini-ITX. Make sure the case you choose supports your desired form factor.
- Internal Space: Look for a case that offers sufficient internal space to accommodate your current components and leave room for future upgrades. Pay attention to the number of drive bays, expansion slots, and the maximum length of graphics cards that the case can accommodate.
- Cable Management: Consider a case with good cable management options, such as routing holes and tie-down points. Proper cable management not only improves airflow but also helps you keep your system organized and tidy.
- Airflow and Cooling: Look for a case with adequate fan mounts and ventilation options to ensure effective cooling for your components. Additionally, consider future cooling requirements, especially if you plan on overclocking or adding high-powered components.
- Build Quality and Aesthetics: Don’t forget to choose a case that fits your personal preferences in terms of aesthetics and build quality. You want a case that not only functions well but also looks great in your setup.
Once you’ve selected the right case, it’s time to move on to the next steps of making your PC case bigger. In the following sections, we will discuss practical techniques to maximize the available space and optimize the layout for expansion.
Removing the Side Panels
One of the first steps in making your small PC case feel bigger is to remove the side panels. Most PC cases are designed with removable side panels, allowing easy access to the internal components. This step not only gives you a better view of the internals but also makes it easier to work inside the case.
Here’s how you can remove the side panels:
- Ensure your PC is powered off and unplugged.
- Place your computer on a stable surface with enough space for you to work comfortably.
- Identify the screws or latches that hold the side panels in place. These are usually located on the back or side of the case.
- Use a screwdriver to remove the screws or release the latches, depending on the design of your case.
- Gently slide the side panel towards the back of the case. It should easily come off, revealing the internal components.
With the side panels removed, you’ll have better access to the internal components, making it easier to install or upgrade your hardware. Remember to keep the side panels in a safe place so that you can easily reattach them once the necessary modifications or expansions are complete.
Removing the side panels also allows you to assess the current layout and organization of the internal components. Take this opportunity to evaluate cable management and identify any areas that need improvement. Proper cable management not only improves airflow but also helps create a more spacious and organized internal environment.
Now that you’ve removed the side panels, it’s time to move on to the next steps in expanding your small PC case. We will discuss strategic planning for your expansion and tackle other techniques to optimize space and improve performance.
Planning Your Expansion Strategy
Expanding a small PC case requires careful planning to ensure that you make the most effective use of the available space. Before diving into the installation of additional components, it’s essential to have a clear strategy in mind.
Here are some key considerations for planning your expansion:
- Identify Your Expansion Needs: Determine the specific components you want to add or upgrade in your PC. Whether it’s more storage, a better graphics card, or a liquid cooling system, having a clear goal in mind will help inform your decision-making process.
- Consider the Power Supply Unit (PSU): Take into account the power requirements of the new components and ensure that your current PSU has enough wattage to support the increased load. If necessary, consider upgrading to a higher wattage PSU.
- Evaluate Component Compatibility: Ensure that the new components you plan to install are compatible with your existing hardware and the selected case. Check for potential issues such as size limitations, connectivity options, and clearance for cooling systems.
- Plan the Layout: Sketch out a rough layout of the components, considering factors such as cable management, airflow, and accessibility. Try to optimize the placement of components to minimize heat buildup and maximize efficiency.
- Anticipate Future Upgrades: Plan for future expansions and upgrades by leaving some room for additional components. This will save you from having to rearrange everything when you decide to add more hardware down the line.
By carefully planning your expansion strategy, you can avoid unnecessary complications and ensure a smooth and efficient installation process. Take your time to research and gather all the necessary information regarding compatibility and requirements for each component you intend to install.
With a clear expansion strategy in place, you’re ready to proceed to the next steps of making your PC case bigger. In the following sections, we will discuss how to deal with cables and wiring, add extra storage space, and upgrade cooling systems to optimize your system’s performance.
Dealing with Cables and Wiring
One common challenge when expanding a small PC case is dealing with the cables and wiring. With more components added, the number of cables can quickly become overwhelming, leading to a cluttered and inefficient system. To create a more spacious and organized internal environment, it’s crucial to address this issue effectively.
Here are some tips for dealing with cables and wiring:
- Utilize Cable Management Features: Take advantage of the cable management features provided by your case, such as routing holes, cable tie-down points, and Velcro straps. These features help you route cables neatly and secure them in place, preventing tangling and improving airflow.
- Plan Your Cable Routing: Before connecting any cables, plan the route they will take within the case. Minimize cable length and avoid obstructing critical components or airflow paths. Consider using cable extensions or custom-length cables for a cleaner and more organized setup.
- Use Cable Sleeves or Clips: Cable sleeves and clips can help bundle and conceal cables, making the interior of your PC case look cleaner and more professional. They also prevent cables from getting tangled and allow for easier cable management.
- Consider Modular Power Supplies: If you’re in the market for a new power supply, consider opting for a modular power supply. These units allow you to connect only the cables that you need, reducing cable clutter significantly.
- Audit and Remove Unused Cables: Take the time to identify any unused cables and remove them from your system. Unused cables not only take up space but can also obstruct airflow and make it more challenging to work within the case.
By employing these cable management techniques, you can create a cleaner and more spacious internal environment. This not only improves the airflow within the case but also makes it easier to access and work with your components during future upgrades or maintenance.
Now that you have a better understanding of how to deal with cables and wiring, it’s time to move on to the next steps of expanding your small PC case. In the following sections, we will discuss adding extra storage space, installing additional cooling systems, and upgrading graphics cards and other components.
Adding Extra Storage Space
As your digital library continues to grow, you may find yourself in need of additional storage space in your PC. Luckily, expanding the storage capacity of your small PC case is relatively straightforward and can be done in a few simple steps.
Here are some methods for adding extra storage space:
- Internal Hard Drives: One of the most common ways to increase storage space is by installing additional internal hard drives. Most PC cases have dedicated drive bays where you can mount these drives. Identify an available bay, secure the hard drive in place using screws, and connect the necessary cables to the drive and motherboard.
- Solid-State Drives (SSDs): If you’re looking for fast storage solutions, consider adding SSDs to your system. SSDs are generally smaller in size and can be mounted in dedicated bays or attached to the back of the case using brackets. Similar to internal hard drives, connect the necessary cables to the SSD and motherboard.
- External Storage: If you prefer a more flexible option, you can connect external storage devices to your PC using USB or Thunderbolt ports. External hard drives or SSDs provide additional storage that can be easily accessed and shared between multiple systems.
- Network Attached Storage (NAS): For those with multiple devices in their home network, a NAS system can be a great solution. NAS devices are standalone storage units that connect directly to your network, allowing you to access and share files from any connected device.
- Cloud Storage: If you’re looking for off-site storage and accessibility from anywhere, cloud storage services can be a convenient option. Services like Google Drive, Dropbox, and Microsoft OneDrive offer various storage plans, enabling you to expand your storage capacity without the physical constraints of your PC case.
Before adding extra storage, ensure that your PC’s power supply and motherboard have enough available connections and support the type of storage devices you plan to install. Additionally, consider the space requirements and compatibility with your chosen case.
With the additional storage space successfully added, you can now store more files, media, and games without worrying about running out of space. In the next sections, we will explore how to install additional cooling systems and upgrade graphics cards and other components to further enhance the performance of your PC.
Installing Additional Cooling Systems
As you expand your small PC case and add more components, it’s crucial to ensure that your system stays cool to maintain optimal performance and prevent overheating. Installing additional cooling systems can help dissipate heat more effectively and create a cooler environment for your hardware.
Here are some steps to follow when installing additional cooling systems:
- Assess Airflow: Evaluate the existing airflow in your case and identify any hotspots or areas with poor ventilation. This will help you determine where additional cooling is needed.
- Choose Cooling Solutions: Consider the various cooling solutions available, such as case fans, liquid cooling systems, or CPU coolers. Choose the option that best fits your needs and the available space in your case.
- Case Fans: Most cases have mounting points for case fans. Identify the appropriate locations for adding fans, such as the front, rear, or top of the case. Secure the fans in place using screws and connect them to the appropriate connectors on the motherboard.
- Liquid Cooling Systems: If you need more advanced cooling, liquid cooling systems can be a great option. These systems usually consist of a radiator, cooling block, and tubing. Ensure that your case can accommodate the radiator and that you have enough space to install the cooling block on your CPU or GPU. Follow the manufacturer’s instructions for installing liquid cooling systems.
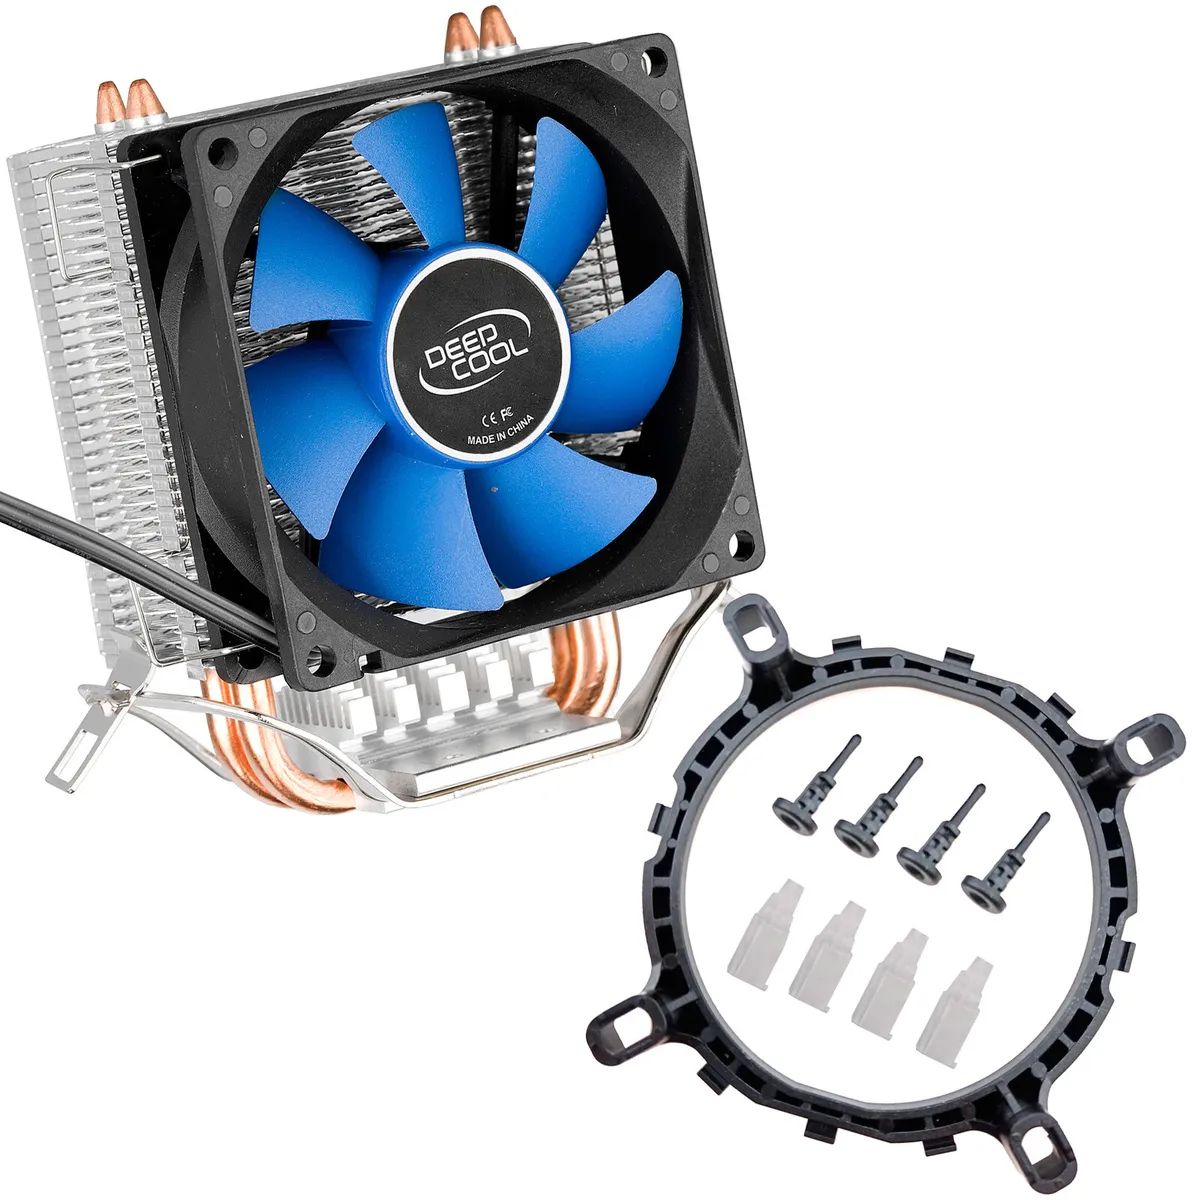
- CPU Coolers: If you’re experiencing high CPU temperatures, upgrading your CPU cooler can help. There are various types of CPU coolers, including air coolers and all-in-one liquid coolers. Ensure that the chosen cooler is compatible with your CPU socket and that it fits within your case’s dimensions.
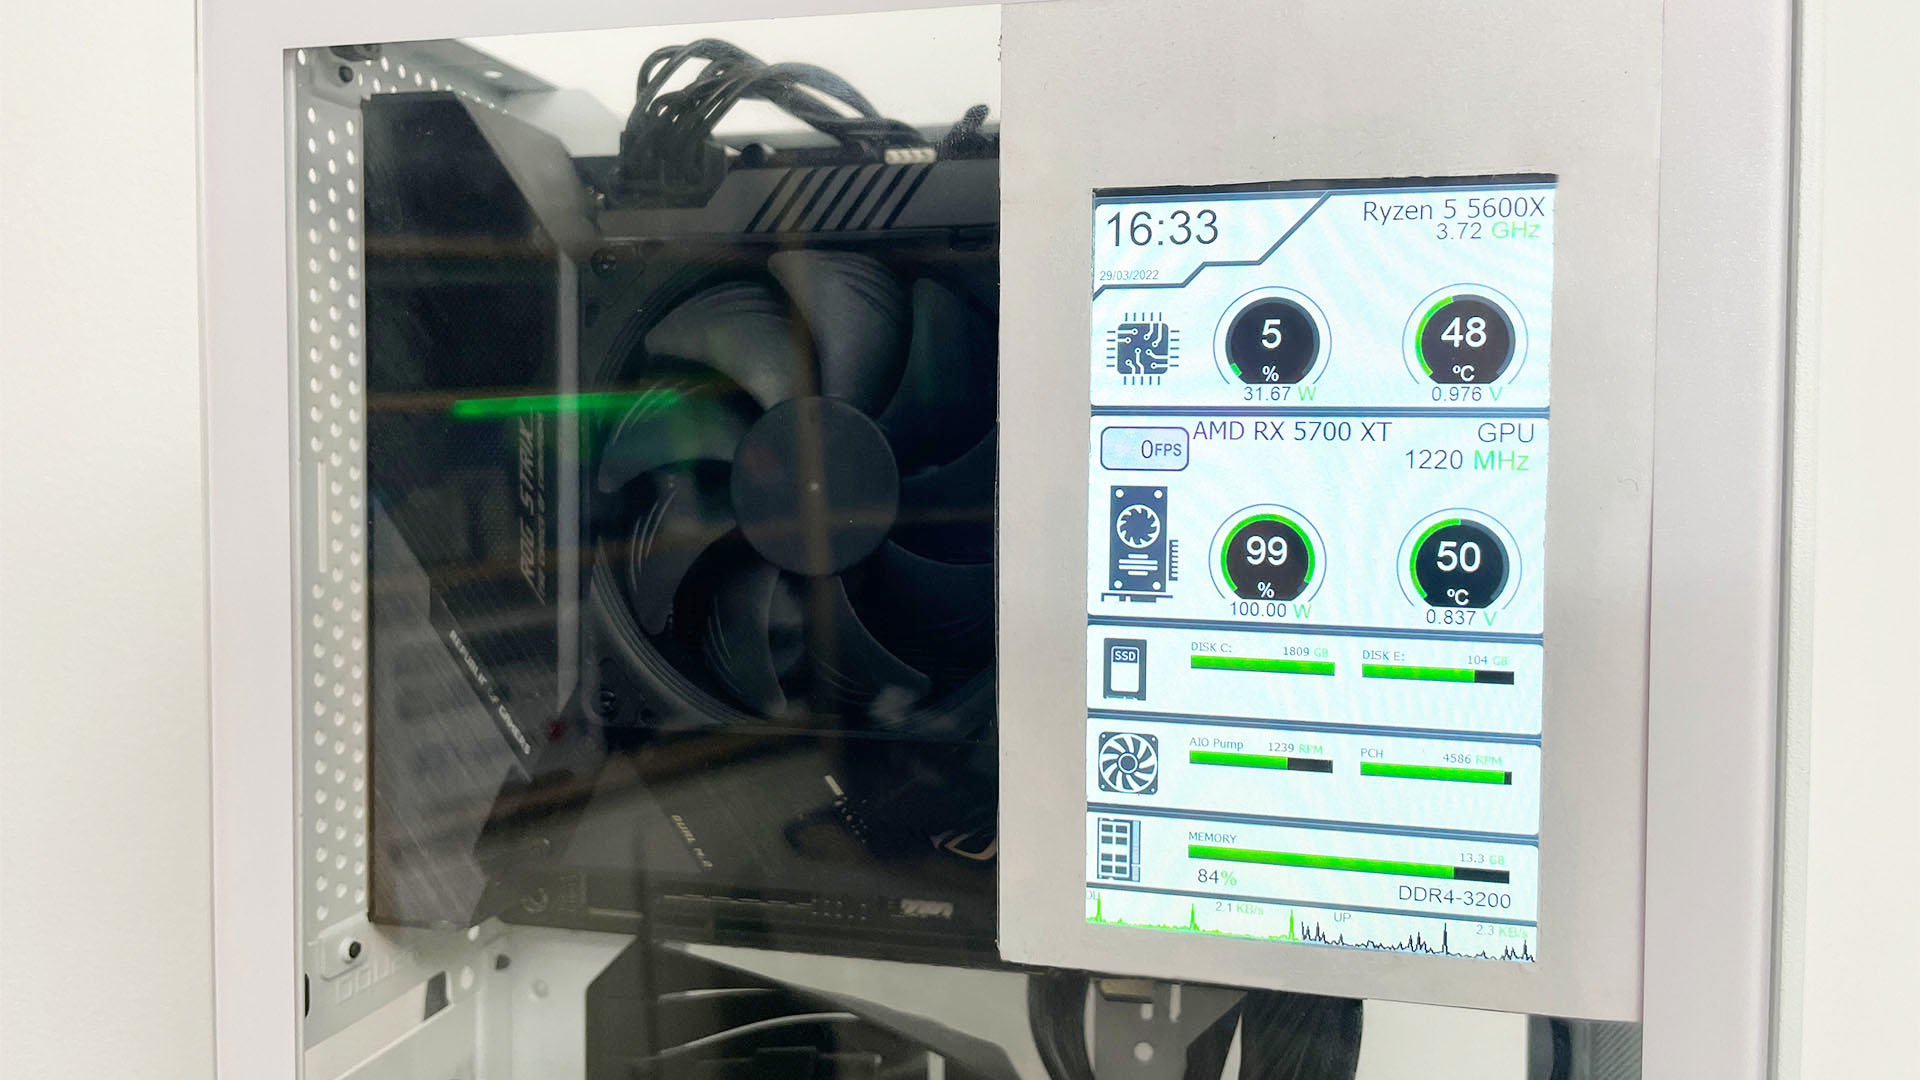
- Monitor and Adjust: Once you’ve installed the additional cooling systems, monitor your system’s temperature using software or BIOS. Adjust the fan speeds or cooling settings as necessary to achieve the desired balance between performance and noise levels.
Installing additional cooling systems not only helps to manage heat more effectively but also extends the lifespan of your components by preventing excessive thermal stress.
With the extra cooling power in place, you can now push your system to its limits with confidence. In the next section, we will explore how to upgrade graphics cards and other components to further enhance the performance of your PC.
Upgrading Graphics Cards and Other Components
If you want to take your gaming or multimedia experience to new heights, upgrading your graphics card and other components can significantly enhance your PC’s performance. With a small PC case, it’s important to choose components that are not only compatible but also efficient in terms of space utilization and power consumption.
Here are some steps to follow when upgrading graphics cards and other components:
- Choose the Right Graphics Card: Research and select a graphics card that fits within the dimensions and power limits of your small PC case. Consider factors such as performance, power consumption, and compatibility with your motherboard.
- Prepare for the Installation: Uninstall any existing graphics card drivers and power off your PC. Consult the manufacturer’s instructions for your case and graphics card to determine the specific steps required for installation.
- Open the Case: Remove the side panels of your PC case, following the instructions provided in the case manual. This will allow you to access the PCIe slot where the graphics card will be installed.
- Remove the Old Graphics Card: Carefully disconnect any power connectors or screws holding the old graphics card in place. Gently remove the card from the PCIe slot, taking care not to damage any other components.
- Install the New Graphics Card: Insert the new graphics card into the vacant PCIe slot, aligning it with the slot and pressing it firmly into place. Secure the card using the necessary screws or clips.
- Connect Power and Cables: Attach any necessary power connectors from the power supply to the new graphics card. Ensure that all cables are properly connected and secured.
- Update Drivers and Test: Install the latest drivers for your new graphics card from the manufacturer’s website. Restart your PC and run benchmark tests or play demanding games to ensure the new graphics card is functioning correctly.
In addition to upgrading your graphics card, consider other components such as your CPU, RAM, and storage drives for potential upgrades. Evaluate their compatibility with your small PC case and make informed decisions based on your specific needs and budget.
By upgrading your graphics card and other components, you can enhance your PC’s performance, enjoy higher resolution graphics, and tackle demanding tasks with ease. In the next section, we will discuss the importance of ensuring proper ventilation to maintain the optimal operation of your expanded PC case.
Ensuring Proper Ventilation
Proper ventilation is essential to maintain optimal performance and prevent overheating in your expanded PC case. As you add more components and increase the power consumption, it’s crucial to pay attention to airflow and cooling within the case to avoid thermal issues.
Here are some tips to ensure proper ventilation in your PC case:
- Check Fan Placement: Ensure that your case fans are strategically placed to create a balanced airflow. Typically, you want to have intake fans at the front or bottom of the case and exhaust fans at the rear or top. This promotes efficient air circulation and removes hot air from the case.
- Clean Dust Filters and Vents: Regularly clean the dust filters and vents on your case to prevent the accumulation of dust and debris. Dust build-up can restrict airflow and increase temperatures. Use compressed air or a soft brush to gently remove any dust from the filters and vents.
- Manage Cable Routing: Properly manage your cables and ensure they are neatly routed and not obstructing the airflow. Keep cables away from fans and components that generate heat to maintain unimpeded airflow within the case.
- Consider Adjustable Fan Speeds: If your case fans support adjustable speeds, consider setting them to operate at higher speeds during intensive tasks or gaming sessions to enhance cooling. You can adjust the fan speeds through the BIOS or using software provided by the manufacturer.
- Monitor Temperatures: Regularly monitor your PC’s temperatures using software or BIOS monitoring tools. Keep an eye on CPU and GPU temperatures to ensure they stay within safe operating limits. If temperatures are consistently high, consider adding additional cooling fans or upgrading your cooling system.
- Avoid Overcrowding: Be mindful of how you configure your components within the case. Avoid cramming too many components together, as this can restrict airflow and lead to higher temperatures. Allow for adequate spacing between components to promote better cooling.
By following these tips, you can maintain proper ventilation in your expanded PC case and keep your components running at optimal temperatures. Cooler components not only perform better but also have a longer lifespan.
With proper ventilation in place, you can now enjoy the benefits of your expanded PC case without worrying about excessive heat buildup. In the final section, we will provide some closing thoughts on making a small PC case bigger and optimizing its performance.
Closing Thoughts
Expanding a small PC case to accommodate your growing needs is an exciting and rewarding endeavor. By following the steps outlined in this article, you can effectively make your small PC case feel bigger and optimize its performance.
Choosing the right case, removing side panels, planning your expansion strategy, dealing with cables and wiring, adding extra storage space, installing additional cooling systems, and upgrading graphics cards and other components all play a crucial role in expanding your PC case.
Proper ventilation is also essential to maintain optimal performance and prevent overheating. By ensuring efficient airflow and managing temperatures, you can protect your hardware investment and enjoy stable and reliable performance.
Remember, throughout the process of expanding your PC case, it’s important to take things one step at a time, plan carefully, and double-check compatibility. Patience and attention to detail will go a long way in creating a functional and spacious PC setup.
As technology advances and your needs change, you may find yourself revisiting the expansion process. Regularly evaluate your PC’s performance and consider upgrades or modifications that can further enhance your system’s capabilities.
Finally, have fun with the process of expanding your small PC case. It’s an opportunity to customize and optimize your setup to fit your specific requirements. Enjoy the benefits of more storage, improved cooling, and enhanced performance in your newly expanded PC case.
Now, armed with the knowledge and strategies shared in this article, you’re ready to embark on your journey to make your small PC case bigger. Good luck with your expansion project!


