To gain deeper control over your Android device, you need to know how to root an Android phone, not jailbreak it. Rooting is the Android equivalent of jailbreaking, granting you administrative access to the operating system to remove bloatware, install custom software, and unlock advanced features. If you want to apply this same philosophy to your television for sideloading apps and removing manufacturer restrictions, you can jailbreak a smart TV. This guide provides a verified, step-by-step approach to rooting, along with the essential risks and precautions you must understand before you begin.
What does it mean to root an Android phone?
The term "jailbreaking" is specific to Apple's iOS devices, referring to the process of bypassing software restrictions to gain administrative access. On Android, the correct and equivalent term is rooting. When you root an Android phone, you gain superuser (or root) access to the entire operating system. This means you can read and write to system files that are normally locked down by the manufacturer and carrier. Think of it as becoming the system administrator of your own device; you are no longer limited to the user-level permissions that a stock Android device enforces. This administrative access is the foundation for all deep-level customization and control, allowing you to modify the core system, install specialized apps, and replace the entire operating system if you choose.
Is rooting an Android phone legal and safe?
In the United States, rooting your Android device is legal. The Digital Millennium Copyright Act (DMCA) includes exemptions that permit users to modify software on devices they own. However, this legality does not extend to every activity you might perform after rooting. In the European Union, rooting does not automatically void your statutory two-year warranty, but any damage directly caused by the rooting process may not be covered. In contrast, most manufacturers in the US, including Samsung, Google, and OnePlus, consider rooting a warranty-voiding action. While some brands like Google, Motorola, and Xiaomi offer official bootloader unlock programs (which are a prerequisite for rooting), doing so still typically voids the standard warranty for software issues.
Safety is a more complex issue. Rooting is not inherently unsafe, but it removes critical security barriers. The process itself can "brick" your device (render it permanently inoperable) if done incorrectly. On Samsung devices, rooting trips a physical "Knox security trigger" that permanently disables Samsung Pay, Secure Folder, and other Knox-related features; this cannot be undone. Furthermore, a rooted device is more vulnerable to malware because apps can request root privileges, and if you grant them to a malicious app, it can access anything on your system. You also lose the guarantee of automatic over-the-air (OTA) security updates, making it harder to stay protected against new vulnerabilities.
Benefits of rooting your Android device
Despite the risks, rooting remains popular because of the significant benefits it offers:
- Remove bloatware: Uninstall the pre-installed carrier and manufacturer apps that you cannot normally remove. This frees up storage space and can improve battery life and performance.
- Install root-only apps: Access a new category of powerful apps that require deep system integration. Examples include advanced automation tools like Tasker (with root plugins), system-wide ad-blockers like AdAway, and comprehensive backup solutions like Titanium Backup.
- Flash custom ROMs: Replace your entire Android operating system with custom versions like LineageOS or GrapheneOS. These ROMs can provide a cleaner interface, newer Android versions on older devices, and enhanced privacy features.
- Full system backups: Create complete backups of your entire system, including app data and system settings, which is not possible on a stock device without root access.
- Enhanced performance controls: Use apps to overclock or underclock the CPU, control background processes, and fine-tune power management for extended battery life.
Precautions to take before you root
Before you begin, you must take several critical precautions to avoid permanent damage and data loss. First, back up all your important data, contacts, photos, videos, and documents, to an external source like a PC or cloud service. The rooting process often requires unlocking the bootloader, which will wipe your device entirely. Second, verify that your specific device model supports bootloader unlocking and rooting. Not all devices are compatible; for example, carrier-locked phones from Verizon or AT&T often have locked bootloaders that cannot be unlocked. Third, understand the specific risks for your device. If you have a Samsung phone, be fully aware that tripping Knox is irreversible. If you have a device from a manufacturer that does not officially support unlocking, you may need to rely on community-developed exploits, which carry a higher risk of failure and bricking.
How to root an Android phone: a step-by-step guide
This is a high-level, verified guide. The exact commands and file names can vary slightly depending on your device manufacturer, but the core process remains the same. You will need a computer with ADB and Fastboot tools installed, a USB cable, and your device's specific boot image file.
Step 1: Enable Developer options and OEM unlocking
Go to Settings > About phone and tap the "Build number" seven times until you see a message that "You are now a developer." Then, go to Settings > System > Developer options and enable both USB debugging and OEM unlocking. The OEM unlocking toggle is essential; without it, you cannot unlock the bootloader.
Step 2: Unlock the bootloader
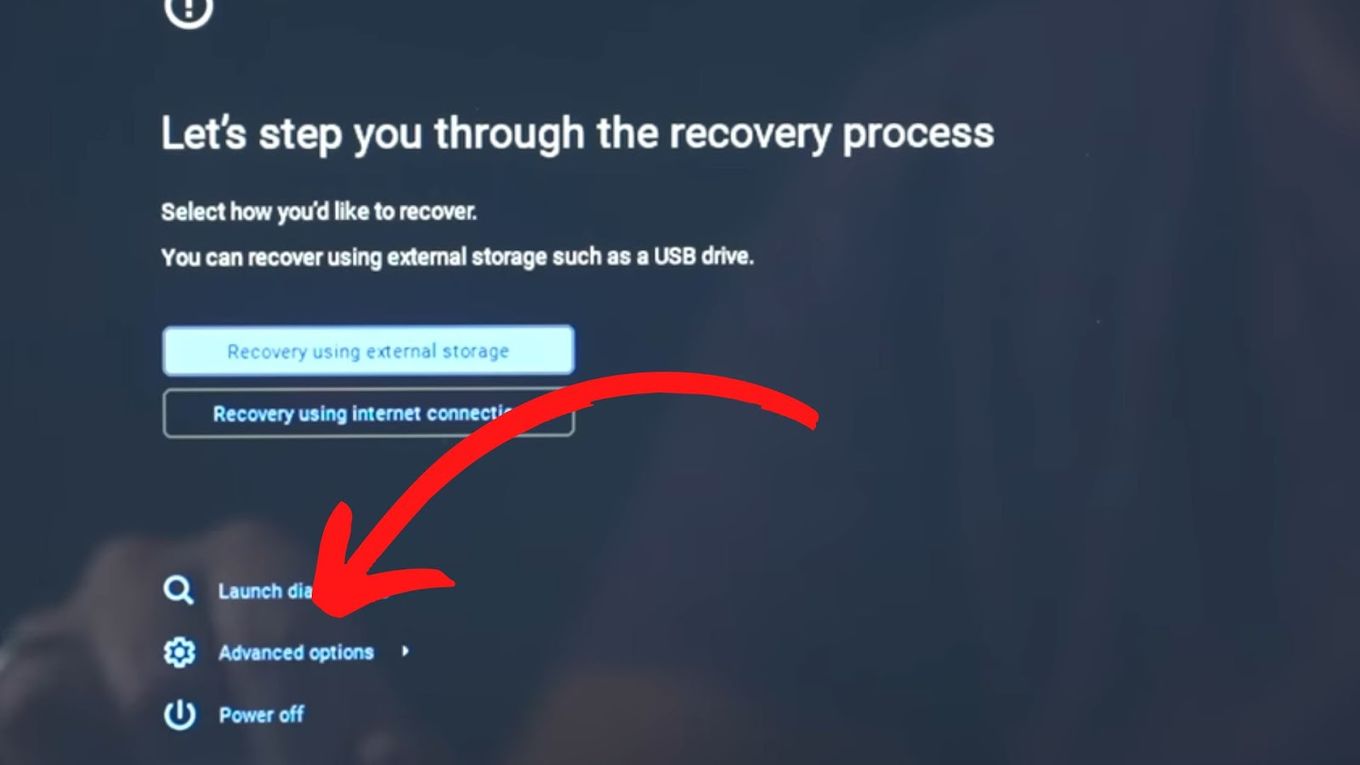
Connect your phone to your computer via USB. Open a command prompt or terminal window on your PC and type adb reboot bootloader to reboot your phone into Fastboot mode. Once in Fastboot, type fastboot flashing unlock (on some devices it may be fastboot oem unlock). Your phone will display a warning screen; use the volume keys to select "Unlock" and press the power button to confirm. This will wipe your device and unlock the bootloader. Reboot your phone and set it up again, ensuring USB debugging is re-enabled.
Step 3: Patch the boot image with Magisk
Download the exact stock firmware for your device model. Extract the boot.img file from the firmware package and transfer it to your phone's internal storage. Download and install the Magisk Manager APK. Open Magisk Manager, tap on "Install," then "Select and Patch a File," and choose the boot.img you copied. Magisk will create a patched boot image file (usually named magisk_patched-xxxx.img) in your Download folder.
Step 4: Flash the patched boot image
Copy the patched boot image back to your computer. Reboot your phone into Fastboot mode again (adb reboot bootloader). On your computer, type fastboot flash boot magisk_patched-xxxx.img (replace the filename with the actual one). Once the flash is complete, type fastboot reboot. Your phone will reboot, and Magisk Manager should now be installed. To verify root access, open Magisk Manager; it will show "Installed" and the app list will include a "Superuser" section. You can also use a root checker app from the Play Store to confirm.
What are the risks after rooting your phone?
Rooting is not a one-time event; it has ongoing consequences. The most immediate is the loss of OTA updates. Your device will no longer receive automatic system updates from the manufacturer. You will have to manually download and install updates, and applying an official OTA update may break your root access or, in some cases, cause a boot loop. To stay updated, you may need to flash new patched boot images manually each time. Secondly, many banking and streaming apps will refuse to work. Apps like Google Pay, Netflix (in HD), and some banking apps use SafetyNet or Play Integrity checks to detect root access and will block you. Finally, your device is more vulnerable to security threats. You must be extremely cautious about which apps you grant root permissions to. A malicious app with root access can steal all your data, install spyware, or even brick your device. The responsibility for security shifts entirely to you.
Frequently asked questions about rooting Android
Q: Can I unroot my Android phone?
Yes, you can usually unroot your device. The simplest method is to flash the original, unpatched boot image you backed up earlier. You can also use the "Uninstall" option in Magisk Manager, which will restore the original boot image. However, this does not re-lock the bootloader. Re-locking the bootloader (via fastboot flashing lock) will wipe your device again and may restore the warranty status, but on Samsung devices, the Knox trigger will remain tripped permanently.
Q: Does rooting void my warranty?
In most cases, yes. In the US, rooting voids the manufacturer's warranty. In the EU, your statutory two-year warranty remains intact, but the manufacturer can refuse to cover damage that is demonstrably caused by rooting. Some manufacturers offer official bootloader unlock programs, but participating in them still typically voids the standard warranty.
Q: What is the difference between rooting and unlocking the bootloader?
Unlocking the bootloader is a prerequisite for rooting. The bootloader is a piece of software that starts your operating system. When locked, it only allows the OS that the manufacturer signed. Unlocking it allows you to flash custom images, but it does not give you root access by itself. Rooting is the act of gaining administrative control within the Android OS. You must unlock the bootloader first to flash the patched boot image that provides root.
For the wider topic, see jailbreaking devices.