Introduction
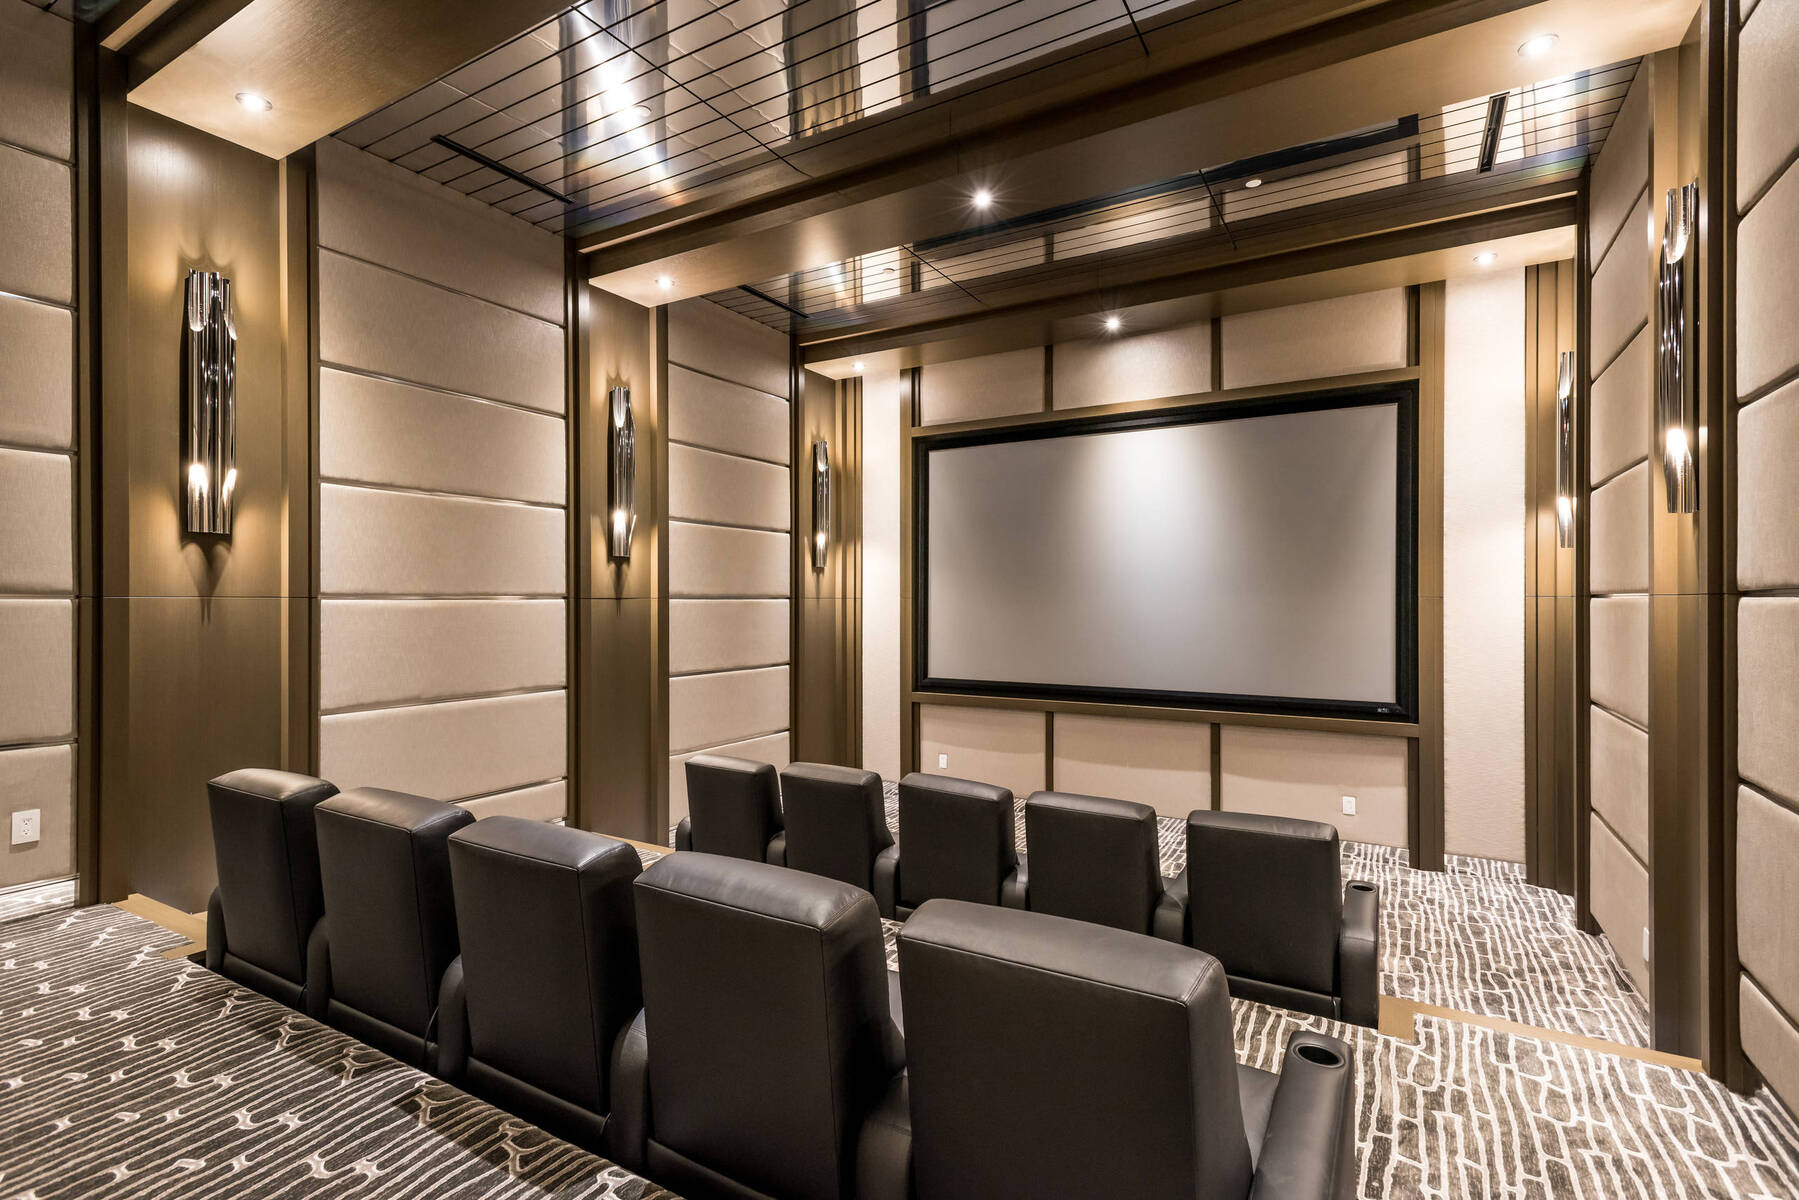
Installing a projector screen on a wall is a great way to take your home theater or presentation setup to the next level. Whether you’re a movie enthusiast or a professional presenter, having a dedicated projector screen can greatly enhance your viewing experience and captivate your audience.
In this guide, we will walk you through the step-by-step process of installing a projector screen on a wall. We will discuss the tools and materials you’ll need, how to determine the ideal location for the screen, and the necessary preparations to ensure a secure and professional installation.
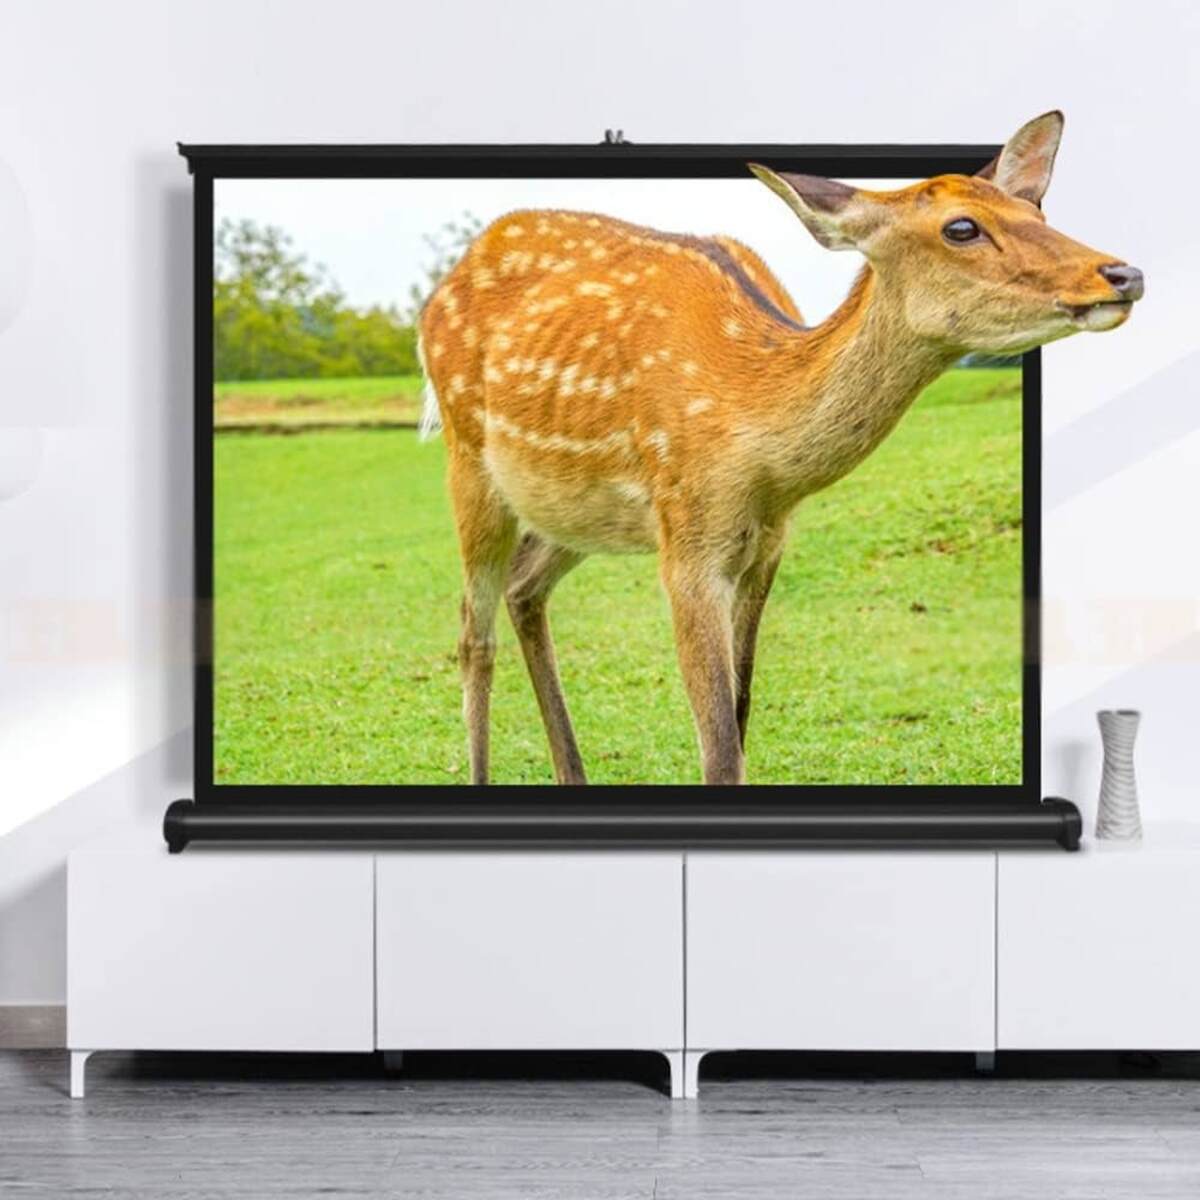
Having a projector screen mounted on the wall offers several benefits. First and foremost, it will provide you with a dedicated and permanent space for viewing movies, playing video games, or delivering presentations. It eliminates the need to set up a portable screen every time and allows you to instantly transform any room into a theater-like atmosphere.
Installing a projector screen on the wall is also space-saving. Unlike a free-standing tripod screen or a ceiling-mounted screen, a wall-mounted screen takes up minimal space and blends seamlessly into the room’s decor. It gives you more flexibility in terms of room layout and allows for a clean and uncluttered viewing area.
Furthermore, a wall-mounted projector screen offers improved stability and image quality. It eliminates the risk of wobbling or accidental knocks that can occur with portable screens. By securely attaching the screen to the wall, you ensure a steady and consistent projection surface, resulting in sharper and more vibrant images.
Now that we understand the advantages of installing a projector screen on a wall, let’s move on to the tools and materials you’ll need for this project. Having the right equipment on hand will make the installation process smoother and more efficient.
Tools and Materials Needed
Before you begin the installation process, it’s essential to gather all the necessary tools and materials. Here’s a list of what you’ll need:
- A projector screen: Choose a screen that suits your needs and fits the dimensions of your wall. Ensure it comes with mounting brackets for wall installation.
- Stud finder: This tool will help you locate the studs in the wall, which are necessary for secure installation.
- Tape measure: You’ll need this to measure the height and width of the wall and determine the screen’s placement.
- Pencil: Use a pencil to mark the measurement points and outline the bracket placement on the wall.
- Level: A level ensures that the screen is installed straight and level on the wall.
- Drill: A drill is essential for creating pilot holes and securing the brackets to the wall.
- Screwdriver: You’ll need a screwdriver to attach the brackets and adjust their position, if necessary.
- Wall anchors: If your wall doesn’t have studs in the desired location, wall anchors will provide additional support for the brackets.
- Wire cover kit: This kit will help you hide the wires and cables for a clean, professional look.
It’s important to have these tools and materials on hand before starting the installation process. They will ensure that you have everything you need to securely mount the projector screen and create a polished finished product.
Now that you have all the necessary tools and materials, it’s time to move on to the next step: determining the ideal location for your projector screen.
Step 1: Determine the Ideal Location for the Projector Screen
Before you begin the installation process, you need to carefully consider the placement of your projector screen. Choosing the right location will ensure optimal viewing angles and a comfortable viewing experience. Here’s how to determine the ideal location for your projector screen:
1. Measure the viewing distance: Measure the distance from where you’ll be sitting to the projected screen. This will help you determine the appropriate screen size and ensure that the content is easily viewable without straining your eyes.
2. Consider room lighting: Take note of the lighting conditions in the room. If you have windows or other light sources that may interfere with the projected image, try to position the screen in a way that minimizes glare and provides a darker viewing environment. You can also consider using blackout curtains or blinds to control the amount of light entering the room.
3. Assess the wall space: Look for a spacious, unobstructed wall surface that can accommodate the screen. Ensure that the wall is free from any fixtures, windows, or doors that could obstruct the view. It’s also important to consider the height of the wall to ensure the screen is at an appropriate eye level for viewers.
4. Check the projector throw distance: Determine the throw distance of your projector, which is the distance from the lens to the screen. This will help you calculate the screen’s position and ensure that the projected image fits within the screen’s dimensions.
5. Mark the ideal location: Once you’ve considered all these factors, use a pencil to mark the ideal location on the wall for your projector screen. Make sure the mark is at the desired height and takes into account the size and throw distance of your projector.
By carefully assessing these considerations and accurately marking the location, you’ll ensure that your projector screen is placed in the optimal position for an immersive viewing experience. With the ideal location determined, you’re ready to move on to the next step: measuring and marking the wall.
Step 2: Measure and Mark the Wall
Now that you’ve determined the ideal location for your projector screen, it’s time to measure and mark the wall. This step ensures precise placement and alignment of the screen brackets. Follow these steps to measure and mark the wall accurately:
1. Gather your tools: Grab a tape measure, pencil, and level. These tools will help you get accurate measurements and ensure your marks are straight and level.
2. Measure the width and height: Use a tape measure to measure the width and height of your projector screen. Mark these measurements on the wall using the pencil. Make sure the marks are level and at the correct height.
3. Determine bracket placement: Measure and mark the position of the brackets on the wall. Typically, the brackets should be placed equidistant from the edges of the screen. Use the pencil to mark the upper and lower brackets.
4. Check for stud locations: Use a stud finder to locate the studs on the wall. Mounting your brackets into the studs will provide the most secure installation. Mark the stud locations with a pencil.
5. Adjust for non-stud locations: If the desired bracket placement does not align with a stud, you’ll need to use wall anchors for extra support. Ensure the wall anchors you have chosen are suitable for the weight of your projector screen. Follow the manufacturer’s instructions to install the anchors at the marked locations.
6. Verify the marks: Before moving forward, double-check your measurements and marks to ensure accuracy. Use the level to check that the bracket marks are straight and level.
By taking the time to measure and mark the wall accurately, you’ll ensure a proper and secure installation of your projector screen. With the wall marked, you’re ready for the next step: preparing the wall for installation.
Step 3: Prepare the Wall
Before installing the brackets for your projector screen, it’s crucial to prepare the wall to ensure a secure and stable installation. This step involves cleaning the wall, patching any imperfections, and making sure the surface is ready to support the weight of the screen. Here’s how to prepare the wall:
1. Clean the wall: Use a damp cloth or sponge to clean the wall surface where the brackets will be installed. Remove any dirt, dust, or debris that could interfere with the adhesion of the brackets.
2. Patch any imperfections: Inspect the wall for any cracks, holes, or uneven surfaces. Fill any small holes or cracks with spackling compound. For larger imperfections, use a wall patching kit or joint compound. Once the compound dries, sand it down to create a smooth and even surface.
3. Paint the wall (optional): If desired, this is a good time to paint the wall in the area where the screen will be mounted. Choose a paint color that complements your room decor and allows for optimal screen visibility. Make sure to let the paint fully dry before moving on to the next step.
4. Locate the stud positions: Double-check the locations of the wall studs using a stud finder. Mark the horizontal position of each stud with a pencil. These marks will guide you during the bracket installation process.
5. Create pilot holes: Using a drill bit slightly smaller than the screws provided with the brackets, create pilot holes at the marked locations on the studs. This will make it easier to screw in the brackets and reduce the risk of splitting the wood.
6. Remove baseboards or molding (if necessary): If your brackets will be mounted near baseboards or molding, you may need to remove or trim them to allow for proper bracket installation. Use caution when doing this and take necessary precautions to protect your wall and flooring.
Preparing the wall properly ensures a strong and stable foundation for your projector screen. Once the wall is ready, you can move on to the next step: installing the brackets.
Step 4: Install the Brackets
With the wall properly prepared, it’s time to install the brackets for your projector screen. The brackets will securely hold the screen in place, ensuring stability and proper alignment. Follow these steps to install the brackets:
1. Align the brackets: Hold each bracket against the wall, aligning them with the previously marked positions. Make sure they are level and straight. Use the pencil to mark the screw holes on the wall through the bracket holes.
2. Drill pilot holes: Using a drill bit slightly smaller than the screws provided with the brackets, drill pilot holes into the marked positions on the wall. This will make it easier to screw in the brackets and prevent the wall from splitting.
3. Attach the brackets: Securely screw the brackets onto the wall using the provided screws. If the bracket holes align with wall studs, make sure to use the pilot holes you created earlier. If not, insert wall anchors into the pilot holes before attaching the brackets.
4. Double-check the alignment: Once both brackets are attached, use a level to ensure they are aligned and straight. Make any necessary adjustments by loosening the screws, aligning the brackets, and retightening the screws.
5. Test the stability: Gently shake the brackets to ensure they are securely fastened to the wall. If there is any wobbling or instability, reinforce the brackets with additional screws or wall anchors.
By carefully installing the brackets following these steps, you’ll have a sturdy and reliable support system for your projector screen. With the brackets securely in place, you’re ready to move on to the next step: attaching the projector screen to the brackets.
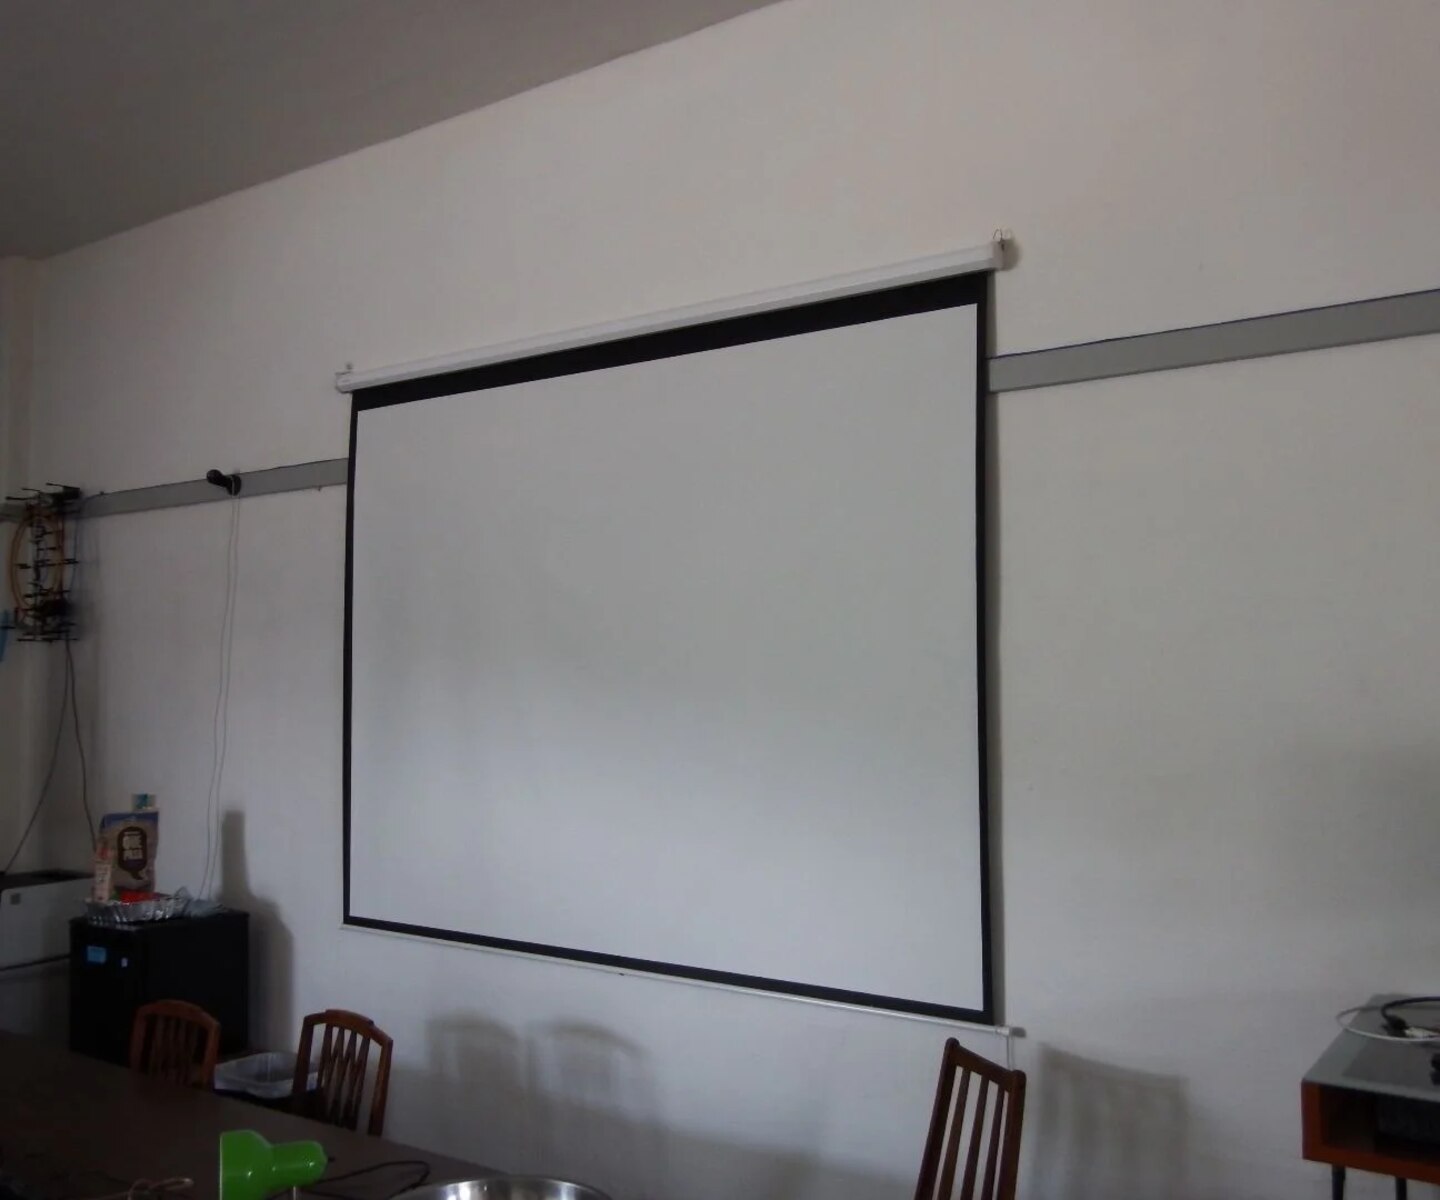
Step 5: Attach the Projector Screen to the Brackets
Now that the brackets are securely installed on the wall, it’s time to attach the projector screen. This step will help you achieve a seamless and professional-looking installation. Follow these instructions to attach the projector screen to the brackets:
1. Position the screen: Carefully position the projector screen in front of the brackets. Make sure the brackets align with the mounting holes on the screen.
2. Insert the screws: Insert the screws provided with the screen into the mounting holes on the brackets. Turn them clockwise to secure the screen onto the brackets. Ensure that each screw is tightened securely but be cautious not to overtighten as it may damage the screen or brackets.
3. Test the stability: Gently tug on the screen to check if it is securely attached to the brackets. Ensure that the screen is stable and doesn’t wobble. If it feels loose, adjust the screws as necessary to achieve a firm attachment.
4. Check the alignment: Step back and assess the alignment of the screen. Use a level to verify that it is straight and level on the wall. If adjustments are needed, loosen the screws slightly and reposition the screen before retightening them.
5. Confirm functionality: With the screen attached, test the functionality by smoothly retracting and lowering the screen. Ensure that it operates smoothly without any obstructions or difficulties. If any issues arise, troubleshoot accordingly or refer to the manufacturer’s instructions.
By correctly attaching the projector screen to the brackets, you’ll enjoy a securely mounted screen that is easy to operate and provides a remarkable visual experience. Once the screen is attached, you’re ready to move on to the next step: testing and adjusting the projector screen position.
Step 6: Test and Adjust the Projector Screen Position
Once you have attached the projector screen to the brackets, it’s important to test its position and make any necessary adjustments. This step ensures that the screen is positioned optimally for the best viewing experience. Follow these steps to test and adjust the projector screen position:
1. Activate the screen: Use the screen control mechanism or remote to lower the screen to its full length. This will help you assess its position and make adjustments if needed.
2. Check for alignment: Stand in front of the screen and ensure that it is centered and properly aligned with the wall and the viewing area. The top and bottom edges should be parallel to the floor, and the sides should be perpendicular to the floor.
3. Adjust the height: If the screen is not at your desired height, you may need to adjust the brackets or reposition the screen on the brackets. Use the provided adjustment mechanisms or follow the manufacturer’s instructions to achieve the desired height.
4. Test the retraction and extension: Activate the screen control again and test its retraction and extension. Ensure that the screen operates smoothly and that there are no obstructions or resistance throughout the movement. If any issues are encountered, troubleshoot accordingly or consult the manufacturer.
5. Test the viewing angles: Sit in various locations within the viewing area and test the screen’s visibility and readability from different angles. Make adjustments to the screen position if necessary to ensure optimal viewing for everyone in the room.
6. Secure the screen position: Once you are satisfied with the screen’s position and functionality, tighten any adjustment mechanisms or screws to secure the screen in place. This will prevent any accidental movement or misalignment during future use.
By testing and adjusting the projector screen position, you can ensure that it is perfectly positioned for an immersive and enjoyable viewing experience. With the screen position optimized, you can move on to the next step: concealing the wires and cables for a clean and professional look.
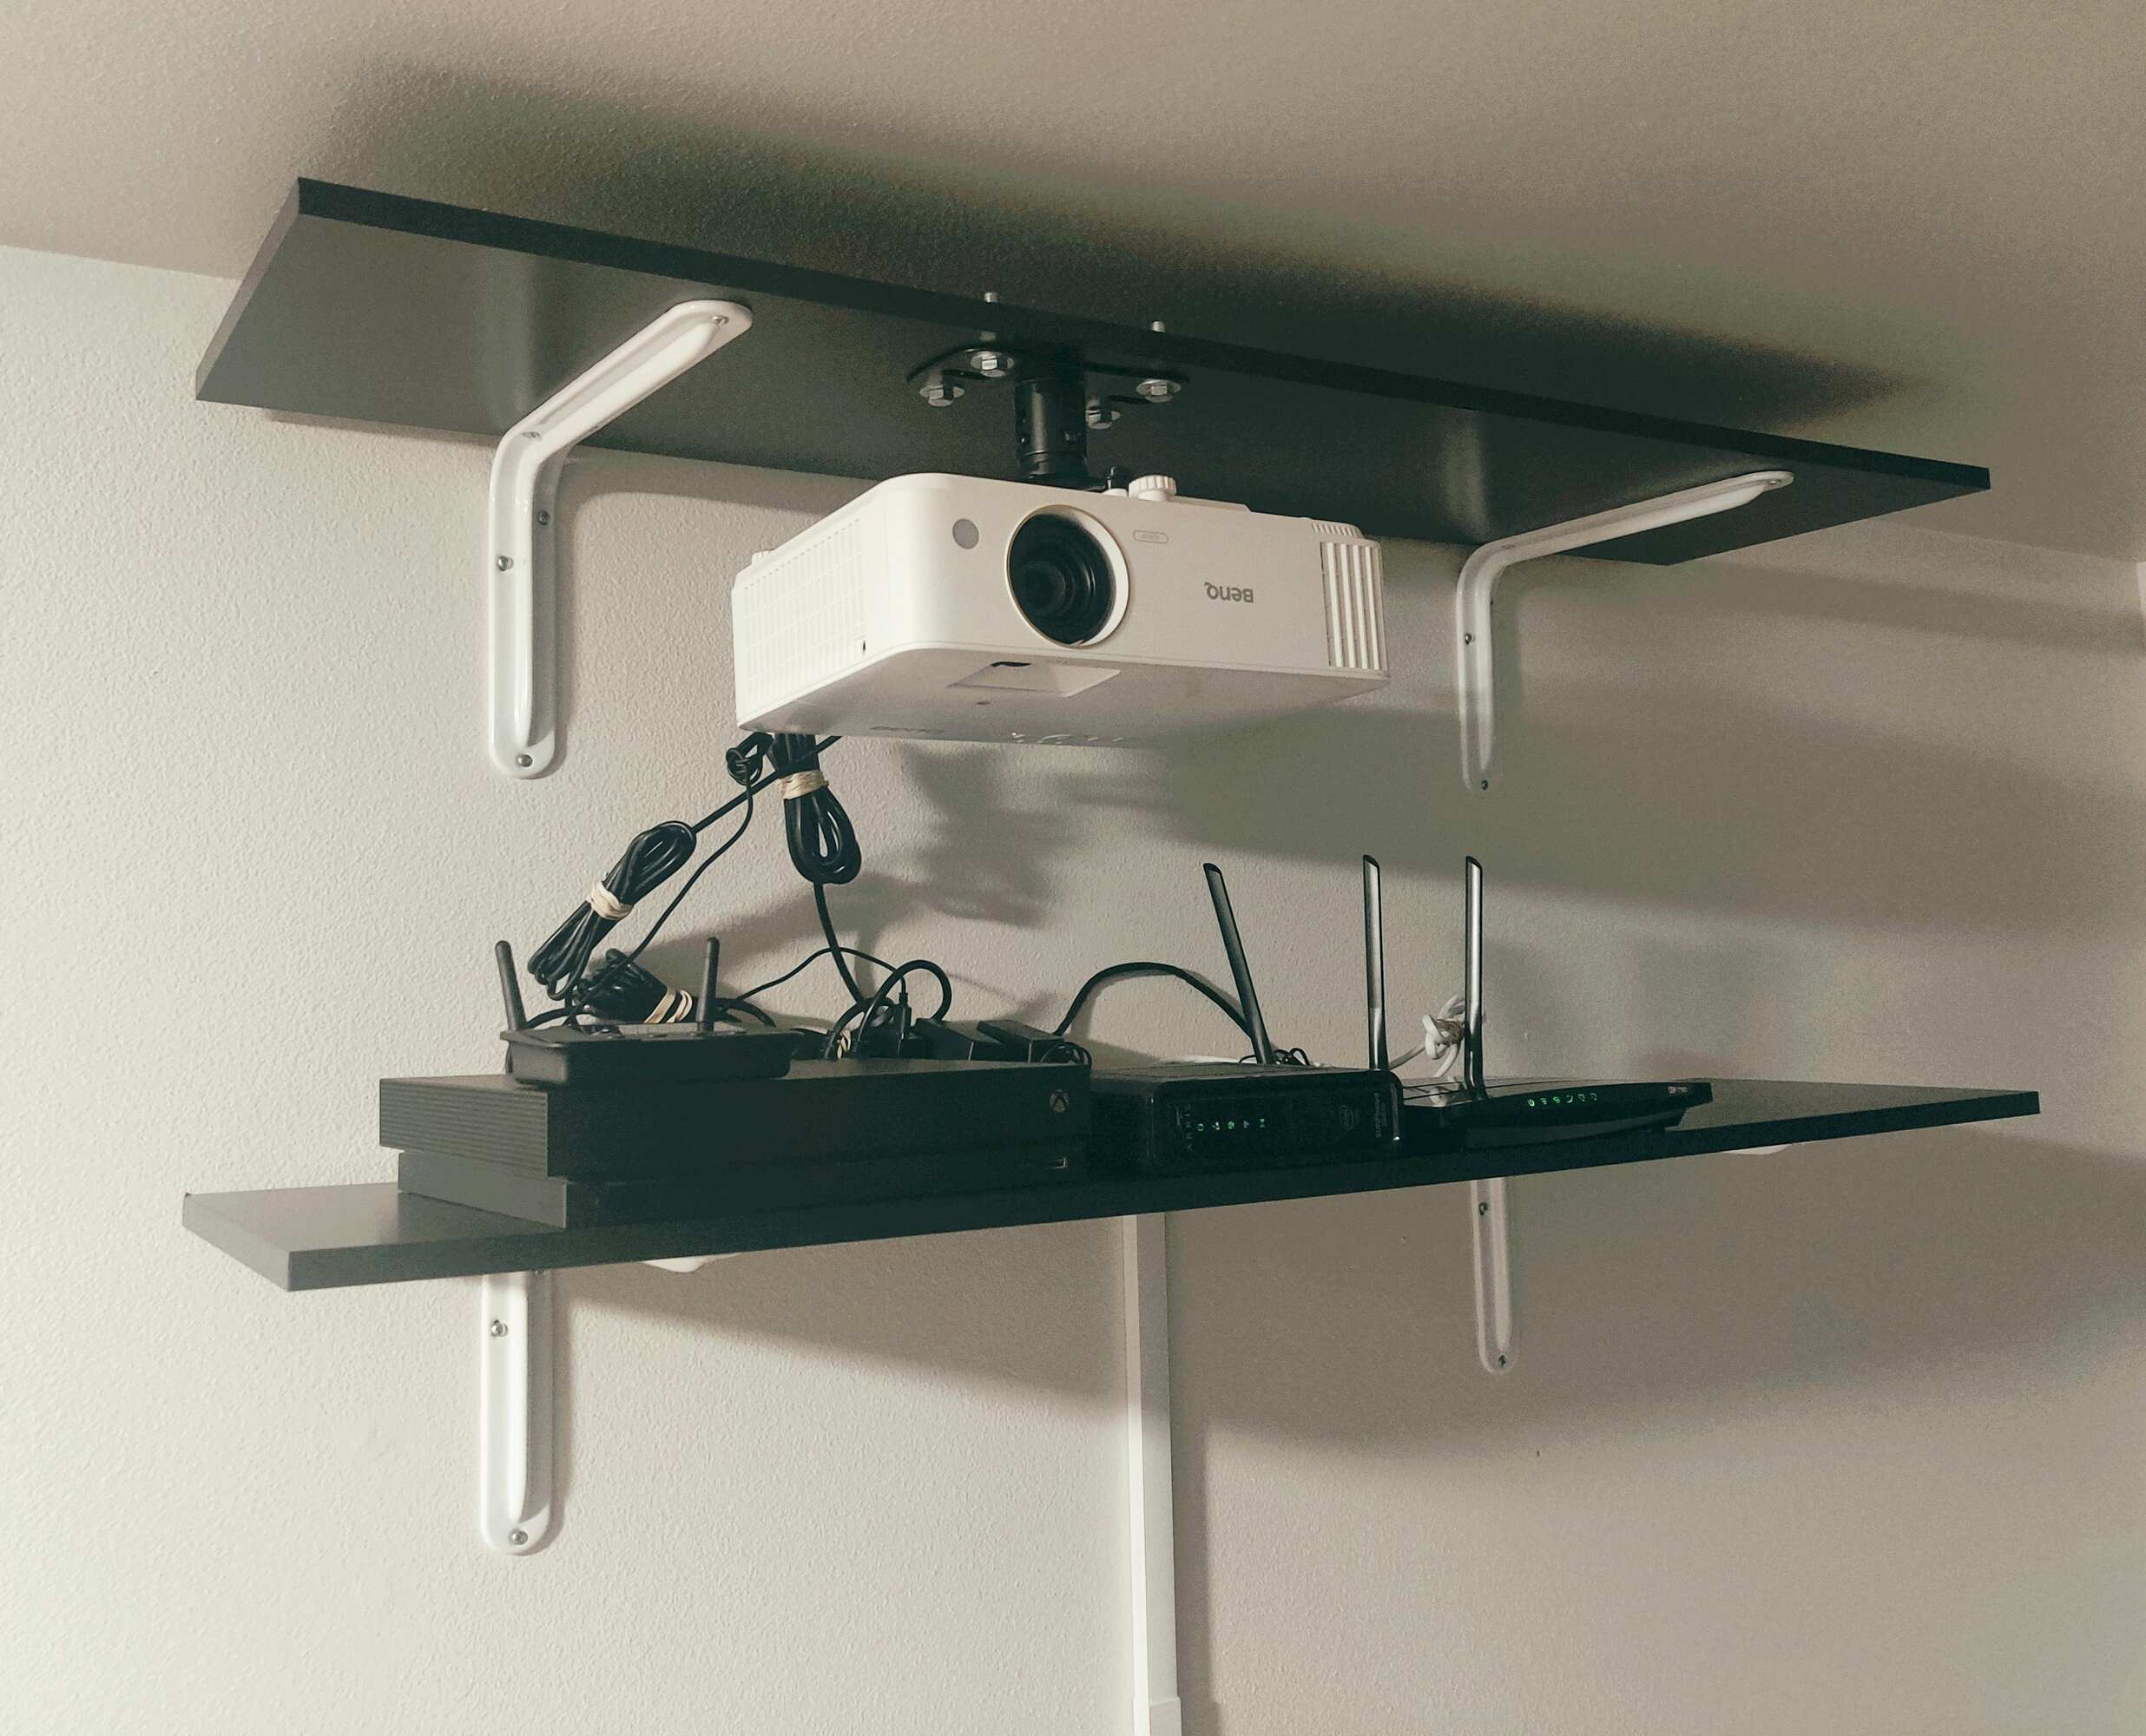
Step 7: Conceal the Wires and Cables
Having tidy and organized wires and cables is essential for achieving a clean and professional-looking installation. Concealing the wires and cables not only enhances the aesthetic appeal of your projector screen setup but also reduces the risk of tripping hazards. Follow these steps to effectively conceal the wires and cables:
1. Determine the wire path: Assess the room and determine the most logical and inconspicuous path for running the wires and cables from the projector to the audiovisual equipment or power source. Consider using existing wall channels or baseboard edges for a seamless look.
2. Use wire covers or raceways: Choose wire covers or raceways that match the color and style of your room. These can be adhesive-backed or surface-mounted channels that hide and protect the wires. Install them along the determined wire path, ensuring they are securely attached to the wall or baseboard.
3. Arrange the cables neatly: Bundle the wires and cables together using cable ties or Velcro straps. This prevents them from tangling and makes them easier to manage. Arrange the cables parallel to each other to further enhance the neatness.
4. Route the cables through the wire covers or raceways: Carefully insert the bundled cables into the wire covers or raceways, following the predetermined wire path. Be mindful of any bends or corners that may require additional adjustments or longer wire covers.
5. Secure the wire covers or raceways: Ensure that the wire covers or raceways are securely fastened to the wall or baseboard. Double-check that the cables are properly seated within the covers and that they do not protrude or become exposed.
6. Test the functionality: After concealing the wires and cables, test the functionality of your projector and audiovisual equipment. Ensure that the cables are properly connected and that there is no interference or signal loss.
By concealing the wires and cables, you can achieve a clean and professional appearance for your projector screen setup. Additionally, properly managing the wires and cables helps to prevent damage and maintain a safer environment. With the wires and cables concealed, you’re ready to move on to the final step: enjoying your new projector screen!
Step 8: Enjoy Your New Projector Screen!
Congratulations! You have successfully installed and set up your projector screen. Now it’s time to sit back, relax, and enjoy the immersive and cinematic experience that your new screen provides. Here are a few tips to make the most of your projector screen:
1. Fine-tune the settings: Adjust the projection settings on your projector to optimize the image quality. Play around with the brightness, contrast, and color settings to find the perfect balance for your viewing preferences.
2. Calibrate the audio: Connect your audio system to enhance the immersive experience. Adjust the sound settings to ensure clear and balanced audio that complements the high-quality visuals from your projector screen.
3. Experiment with seating: Arrange your seating to maximize comfort and viewing angles. Consider adding pillows or cushions for added support during longer viewing sessions. Don’t forget to provide adequate spacing to avoid obstructing the view for other viewers.
4. Create a theater-like ambiance: To enhance the theater-like ambiance, dim the lights or use blackout curtains to minimize external light sources. This will improve the contrast and overall viewing experience.
5. Explore different content: Take advantage of your new projector screen by exploring a variety of content. Watch movies, stream your favorite shows, play video games, or even host a virtual presentation. The large screen size will make every activity more engaging and memorable.
6. Maintain and clean regularly: To ensure optimal performance and longevity, clean the projector screen regularly using a soft, lint-free cloth. Avoid using harsh chemicals or abrasive materials that could damage the screen’s surface.
Now that you have completed the installation process and equipped your space with a high-quality projector screen, you can fully enjoy the immersive and captivating experience it offers. Sit back, relax, and let the magic of your new projector screen transport you into a world of entertainment or provide a professional platform for your presentations. Cheers to many enjoyable moments ahead!