Introduction
Welcome to our guide on how to mount a projector without drilling. If you want to enjoy the immersive experience of a projector, but don’t want to deal with the hassle of drilling holes in your walls or ceiling, you’ve come to the right place. In this article, we will explore various methods and alternatives to mounting a projector without using any drilling equipment.
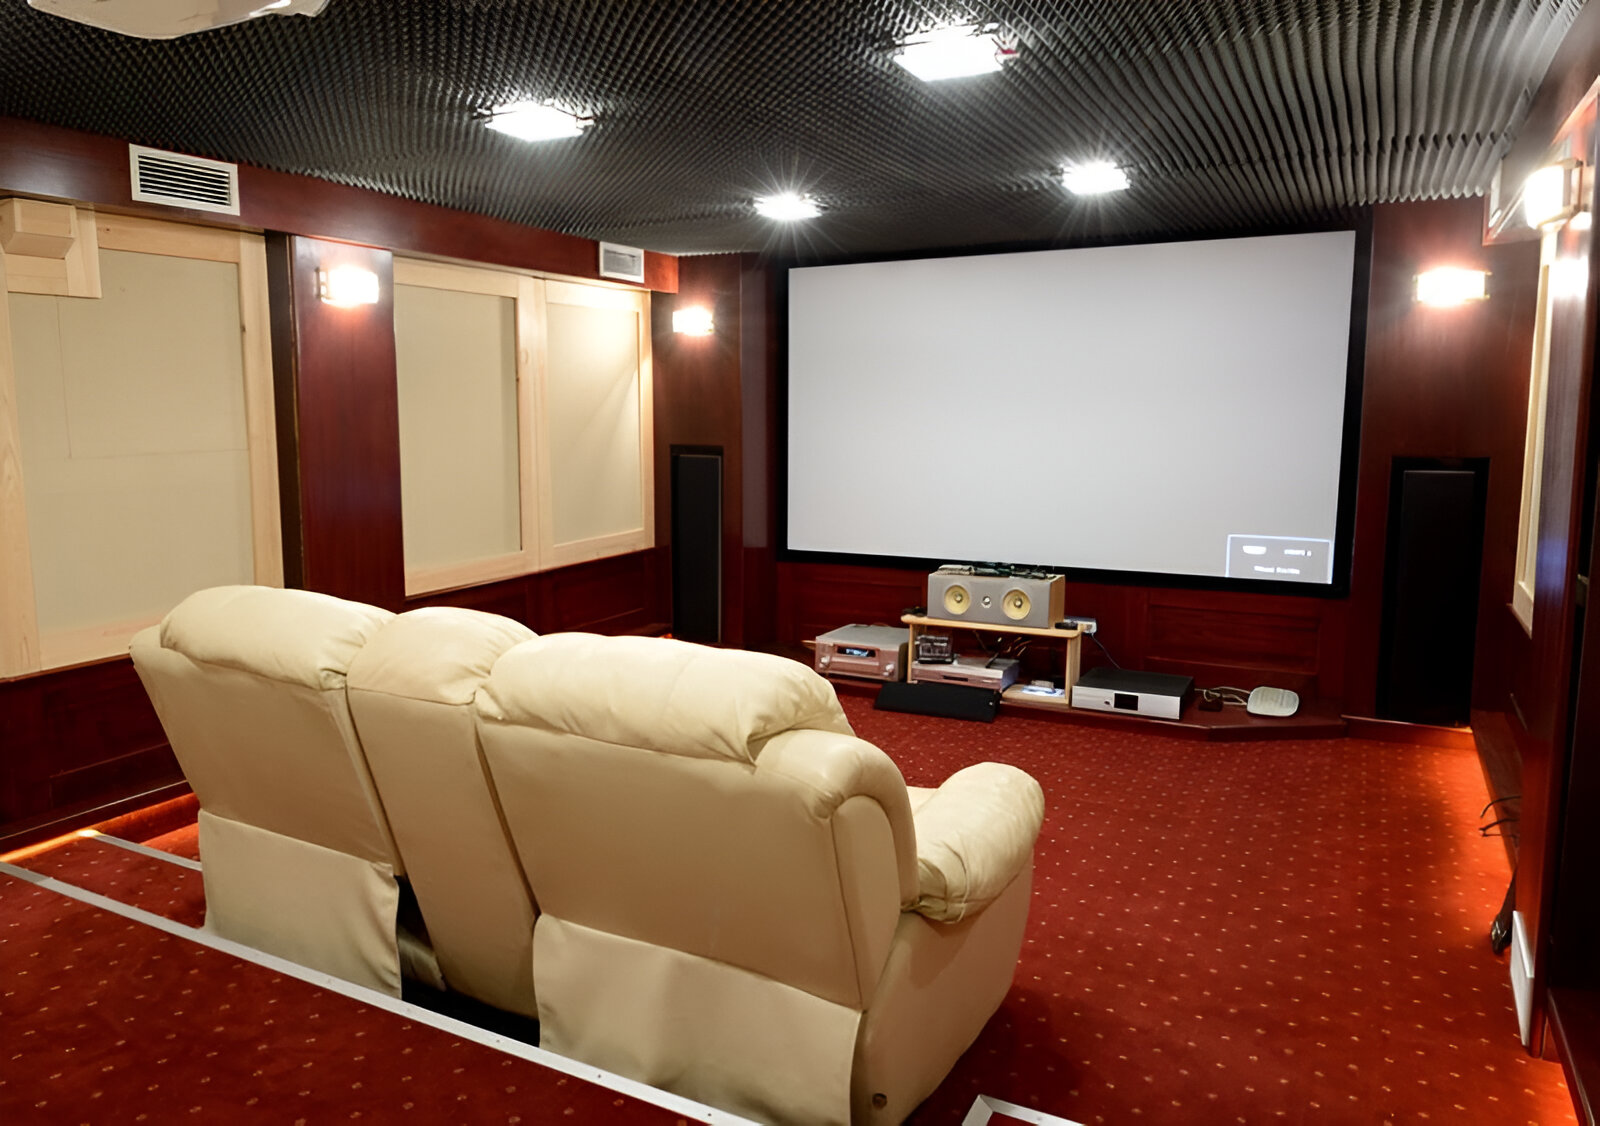
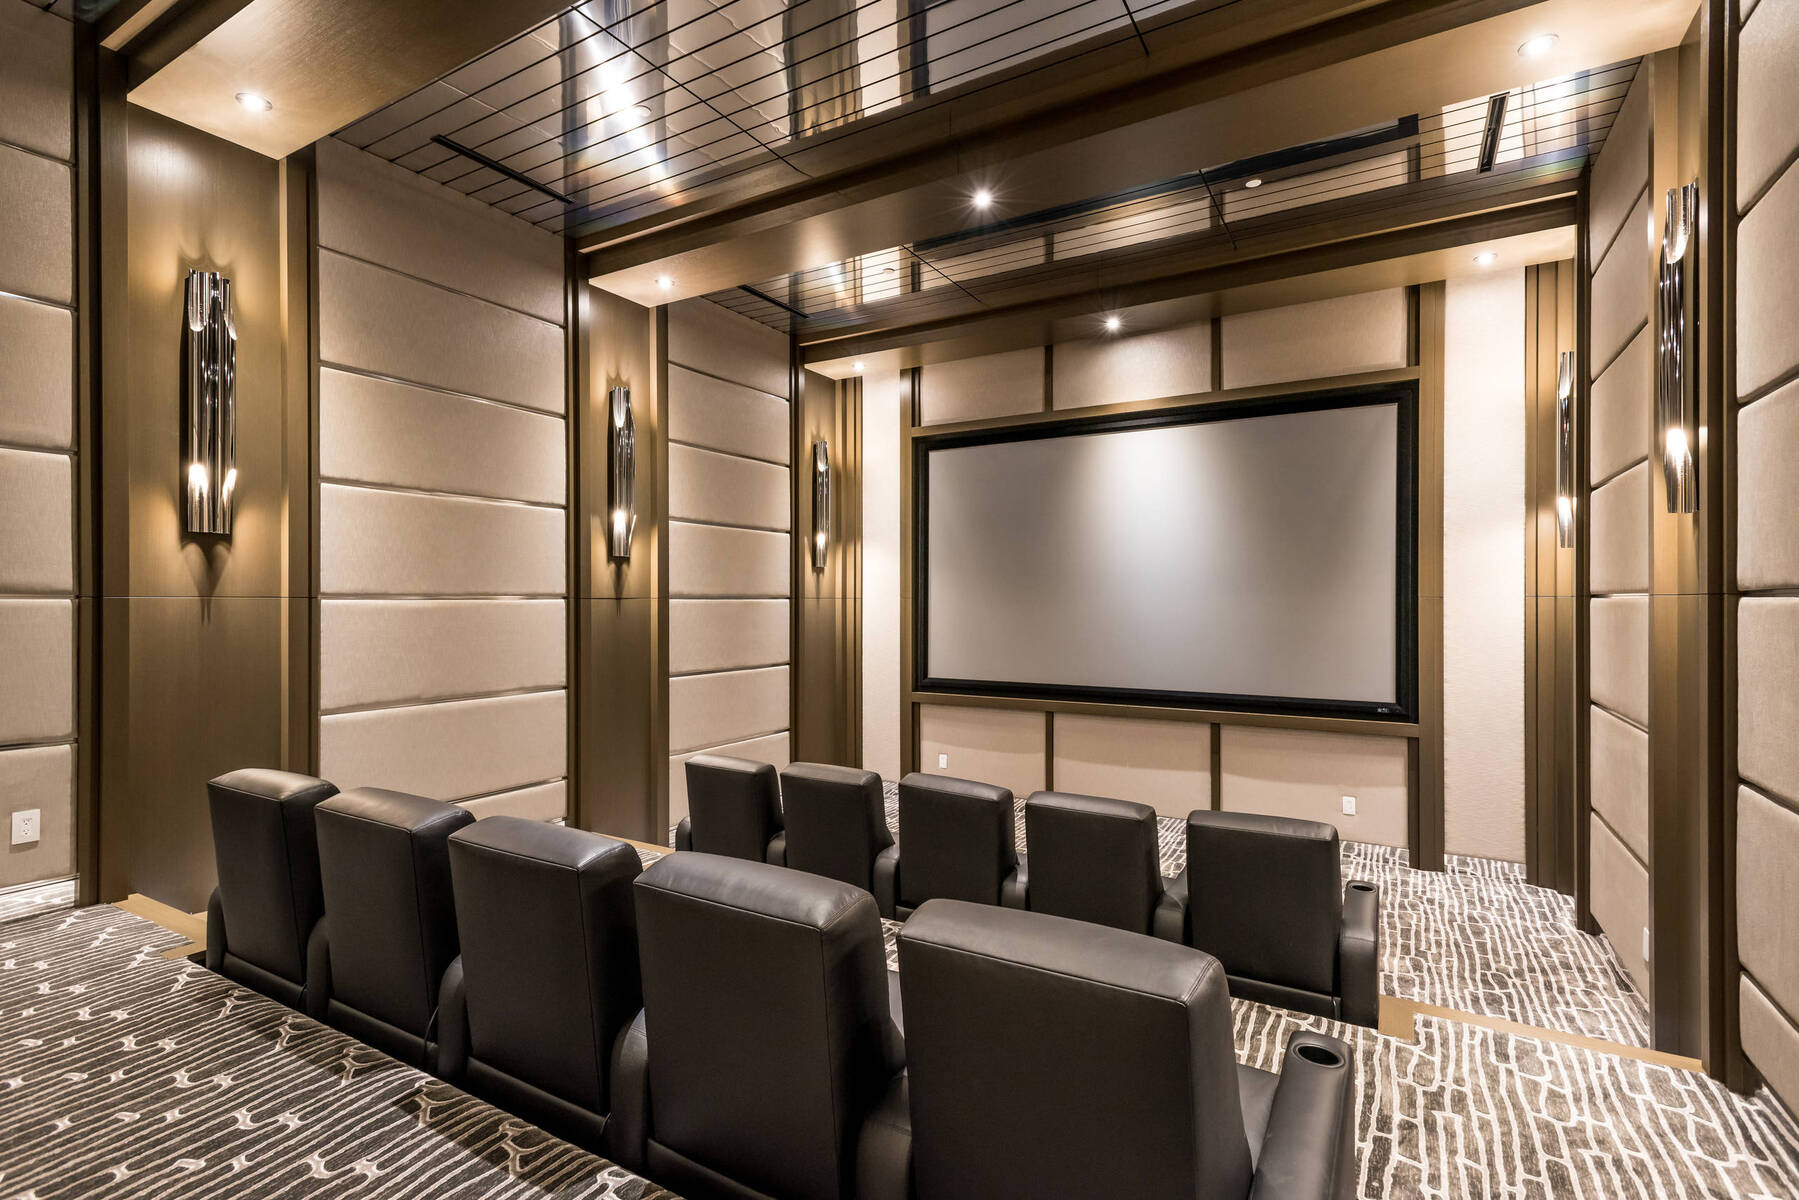
A projector is a fantastic addition to any home theater setup, conference room, or even outdoor entertainment area. It allows you to project images and videos onto a large screen or wall, creating a cinematic experience right in the comfort of your own space. However, traditionally, it has been common practice to mount projectors securely to walls or ceilings. While this may offer a streamlined setup, it is not always feasible or desirable for everyone.
Fortunately, there are alternative solutions available that allow you to mount your projector without drilling. These methods can be especially useful if you are living in a rental property or simply prefer a more flexible setup. Let’s explore some of the options you have when it comes to mounting your projector without drilling.
Materials Needed
Before we dive into the various methods of mounting a projector without drilling, let’s take a look at the materials you will need. While the specific requirements may vary depending on the method you choose, here are some common items you should have on hand:
- Projector: Of course, you will need a projector to mount. Make sure it is compatible with the mounting options you plan to use.
- Mounting Kit or Bracket: Depending on the method you choose, you may need a mounting kit or bracket designed for projectors. These kits typically include the necessary hardware for mounting.
- Wall Hooks or Adhesive Strips: If you opt for a non-permanent solution such as using wall hooks or adhesive strips, make sure you have these handy. These will be used to hold the projector securely in place.
- Projector Stand: If you decide to go with a projector stand, make sure you have a sturdy stand that can support the weight of your projector.
- Extension Cables: Depending on the distance between your projector and the power source or video source, you may need extension cables for power and connectivity.
- Level and Measuring Tape: These tools will help ensure that your projector is properly aligned and positioned.
While this list covers the basic materials needed, be sure to check the specific requirements of the method you choose. Some methods may require additional items or tools for installation.
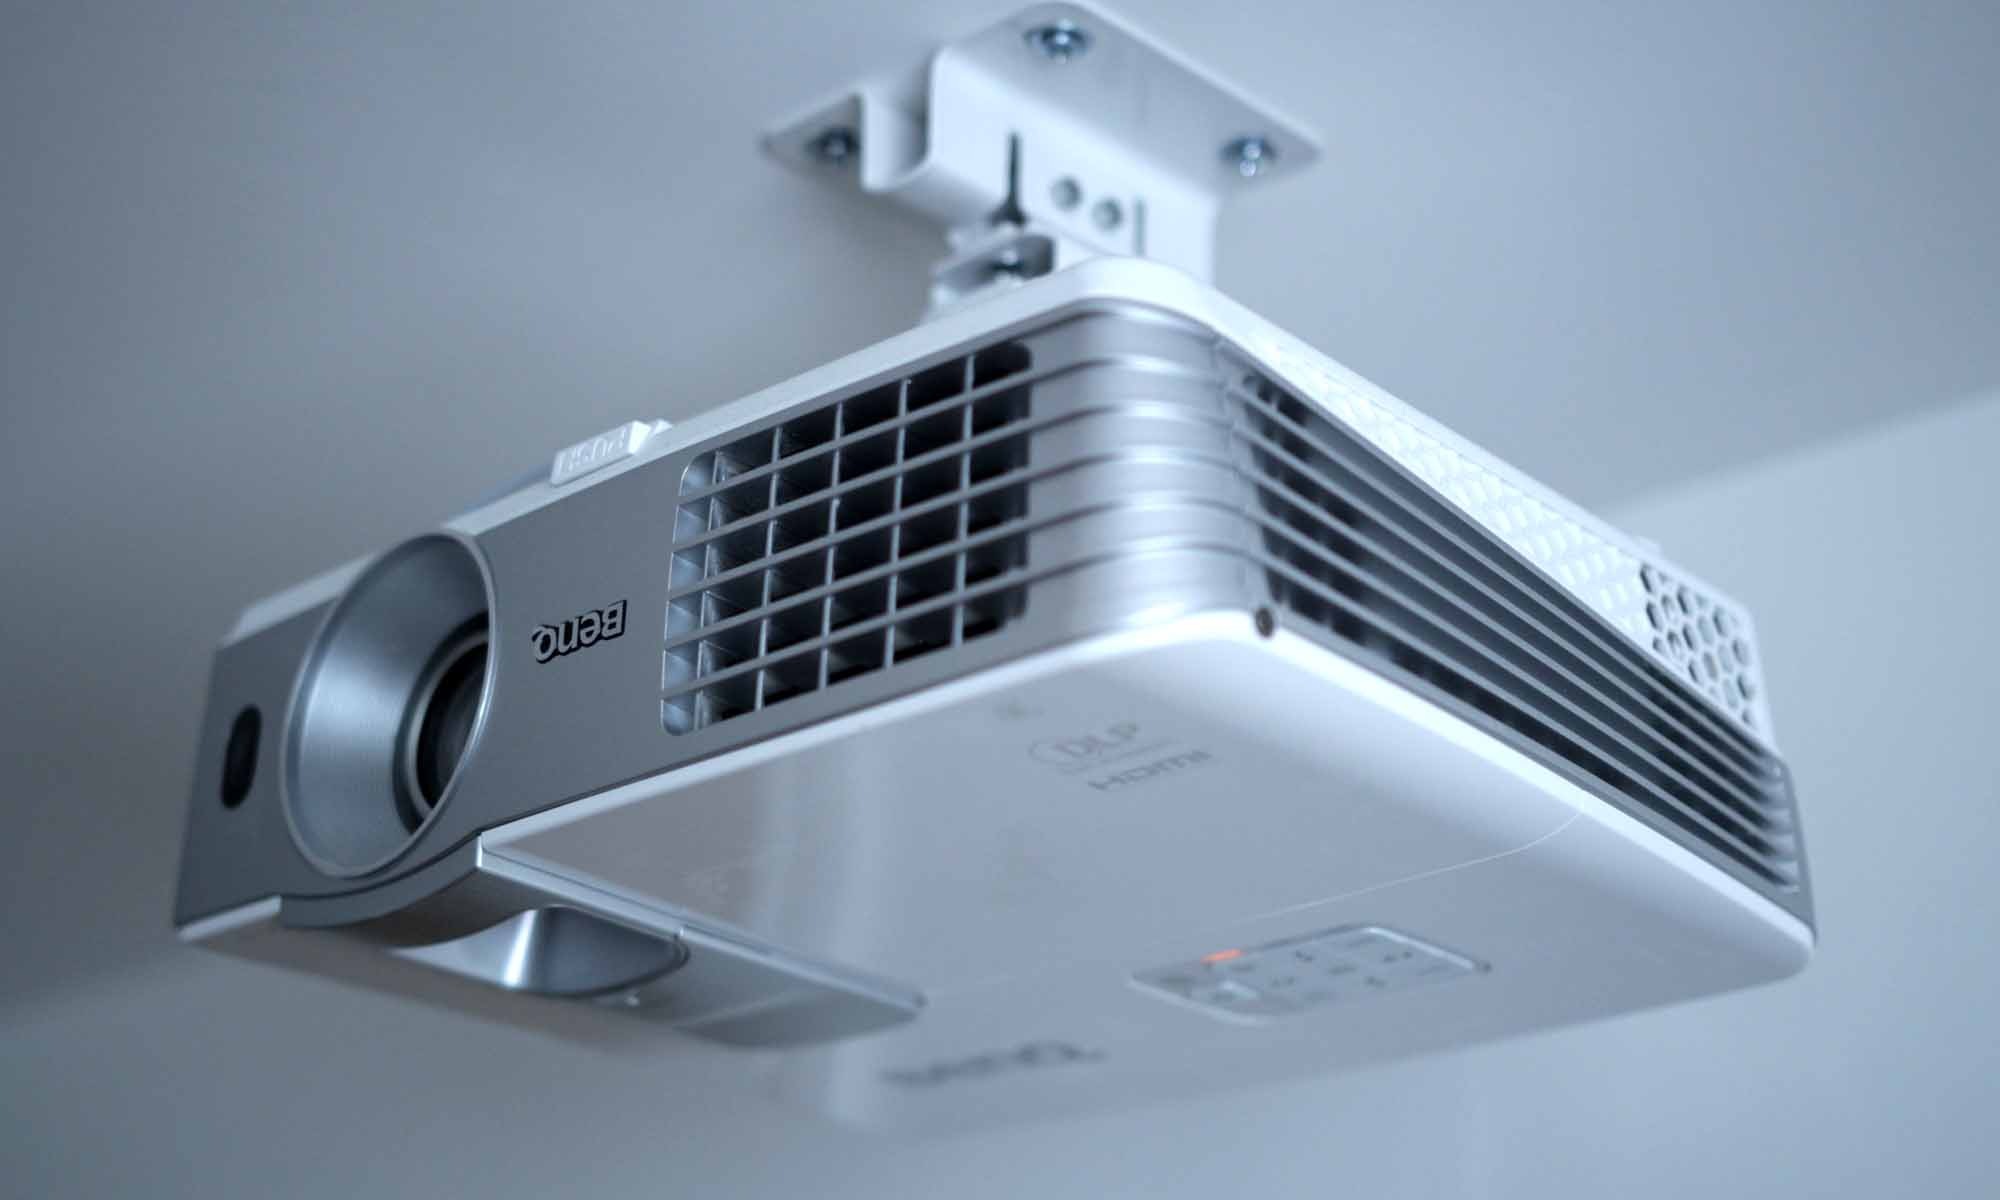
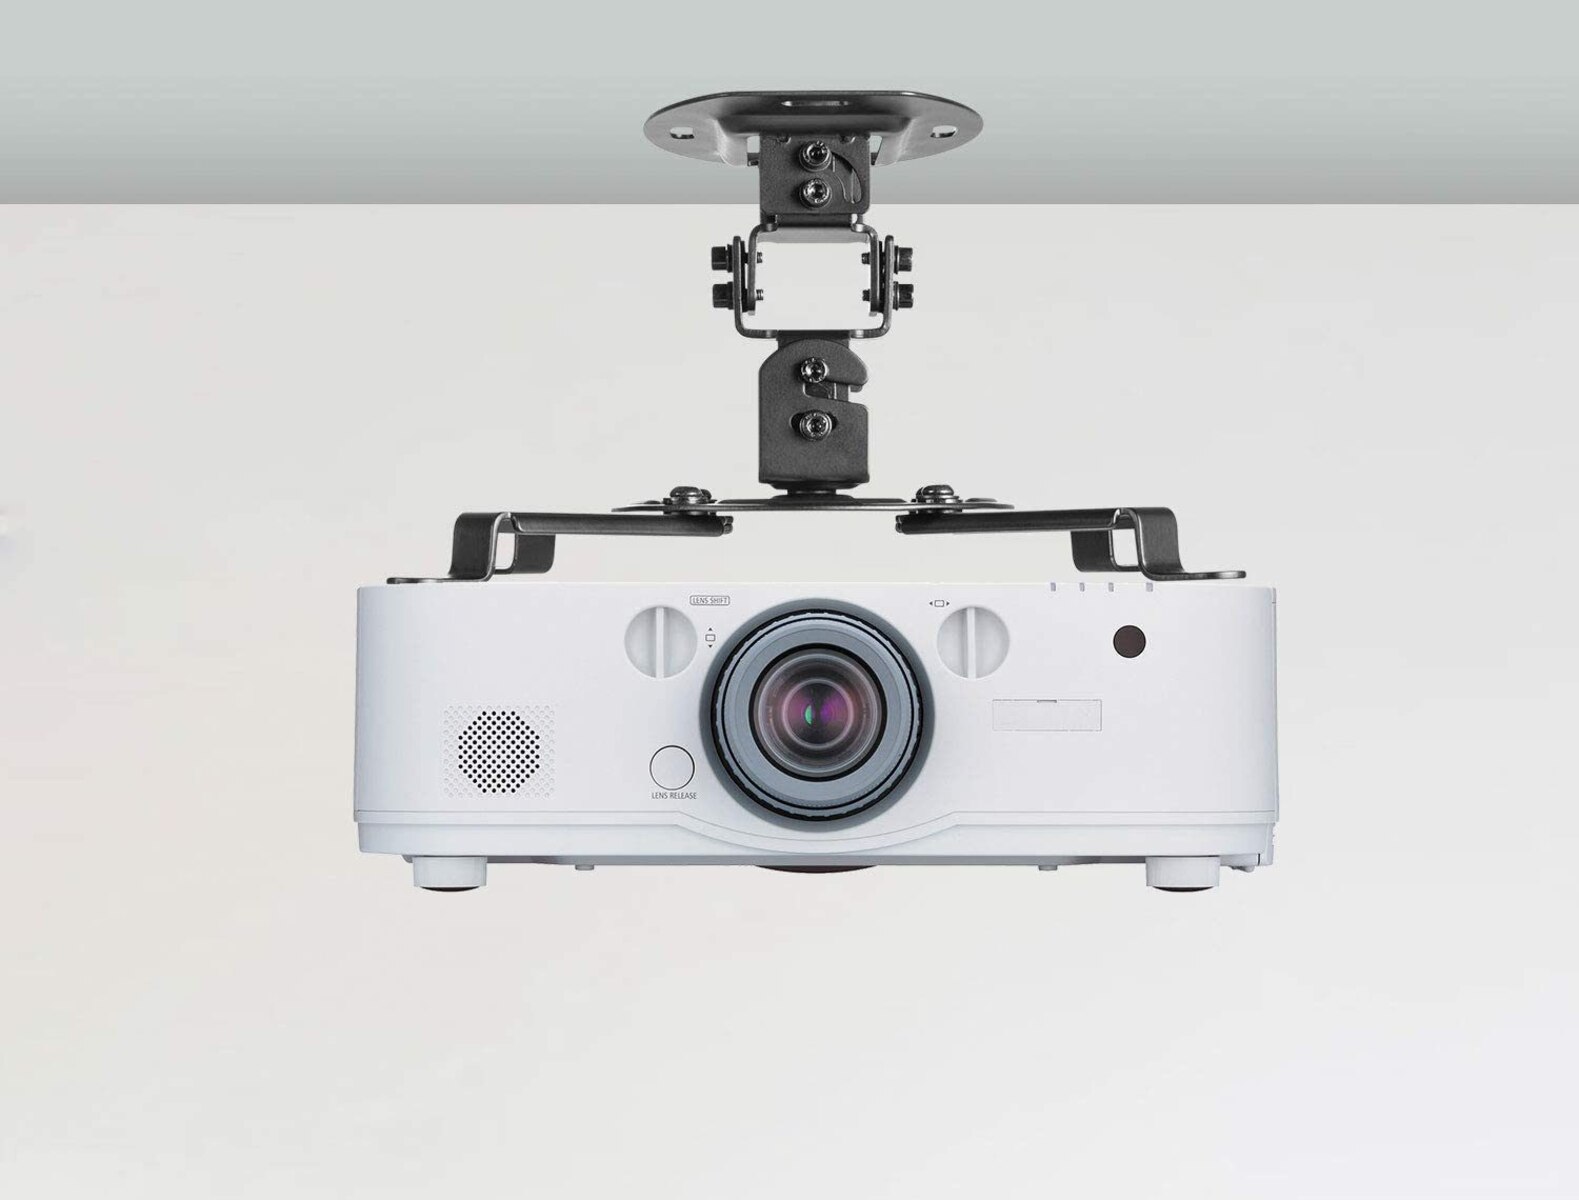
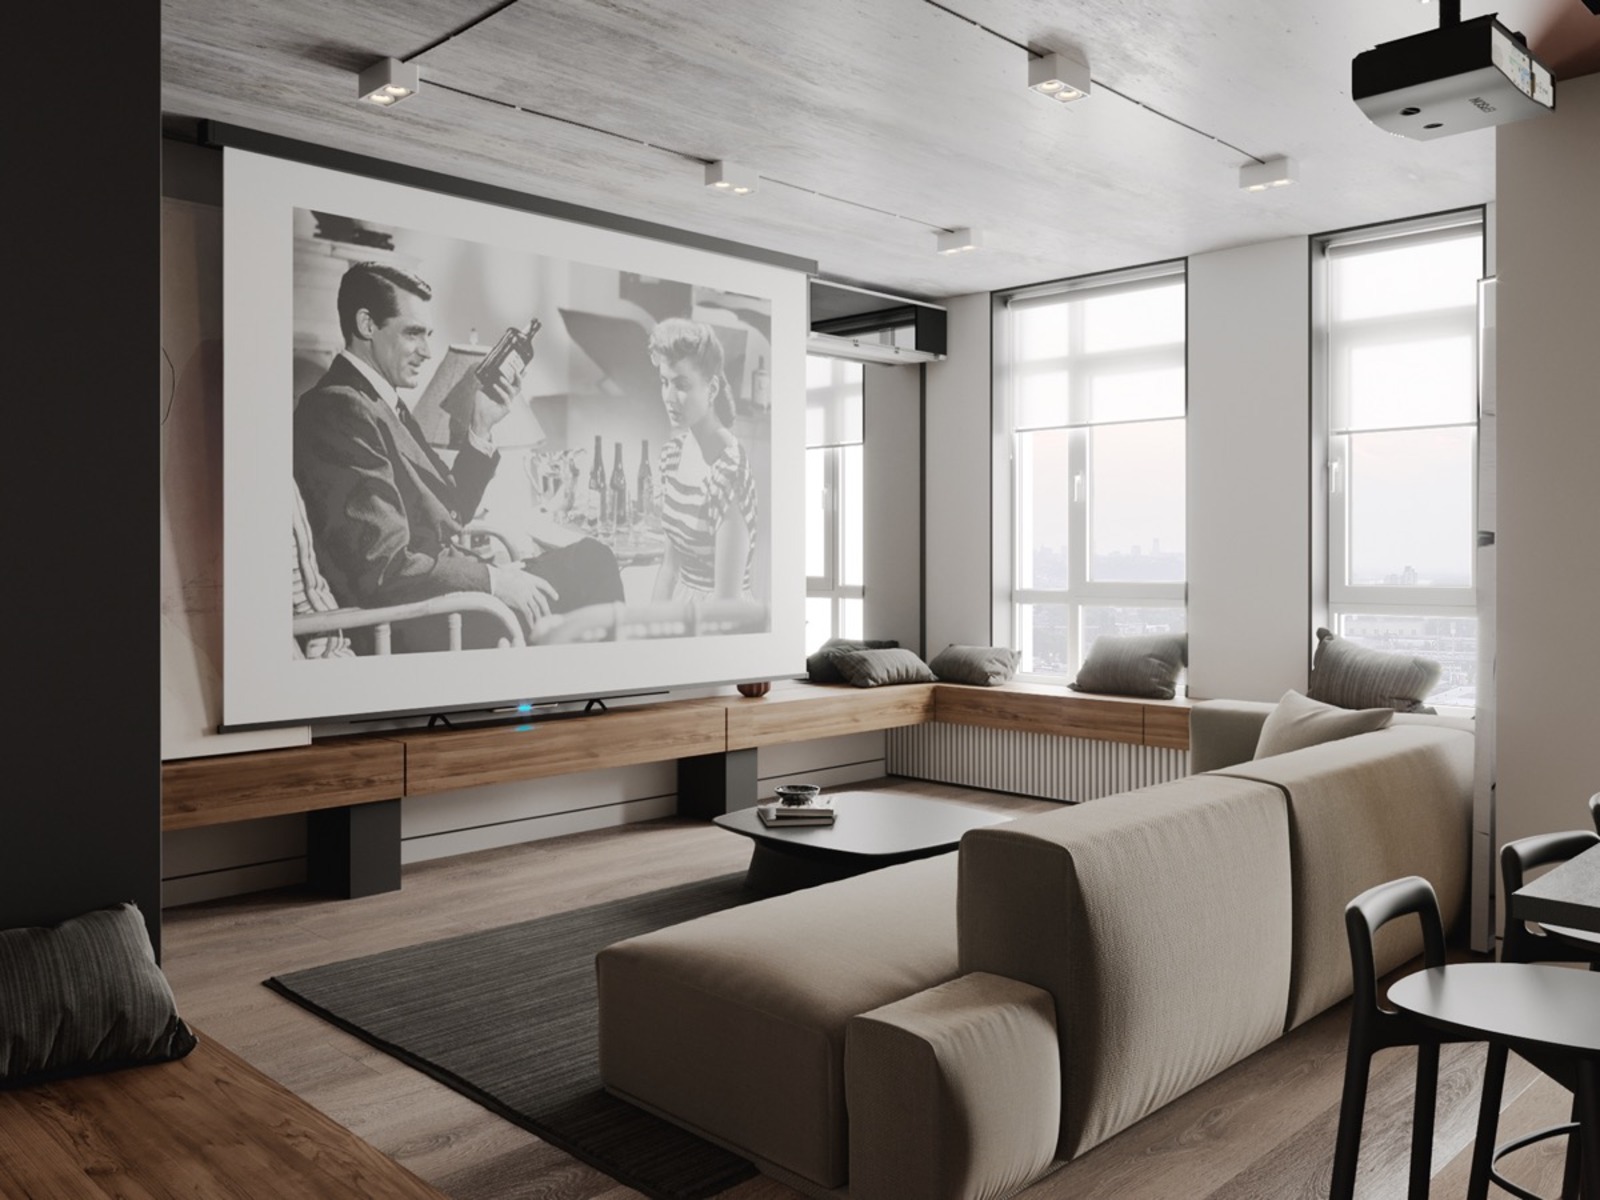
Method 1: Using a Ceiling Mount Kit
If you’re looking for a more permanent mounting solution that doesn’t involve drilling into your walls, a ceiling mount kit is a great option. Here’s how you can mount your projector using a ceiling mount kit:
- Locate the ideal spot: Determine the desired location on your ceiling where you want to mount the projector. Make sure to choose a spot where the projected image will be clear and centered.
- Find the ceiling joists: Use a stud finder or tapping technique to locate the ceiling joists in the chosen area. This step is crucial as you’ll need to anchor the mount into the joists for secure installation.
- Attach the ceiling mount: Follow the instructions provided with your ceiling mount kit. Typically, this involves attaching a bracket or plate to the ceiling using screws and anchors that go into the ceiling joists. Make sure the mount is securely fastened.
- Attach the projector mount: Once the ceiling mount is in place, it’s time to attach the projector mount. This is the part that will hold your projector. Most projector mounts come with adjustable arms and brackets to fit various projector models. Securely attach the mount to the bottom of the projector.
- Mount the projector: Attach the projector to the ceiling mount by sliding the bottom of the projector mount into the ceiling mount plate. Ensure the projector is aligned properly with the desired screen position.
- Adjust and tighten: Use the knobs or locking mechanism on the projector mount to adjust the tilt, angle, and distance of the projector. Once you have obtained the desired position, tighten the knobs or lock the mount in place to prevent any movement.
With your projector securely mounted on the ceiling, you can now enjoy your favorite movies, presentations, and more with a professional-looking setup. Remember to refer to the specific instructions provided with your ceiling mount kit for any additional steps or considerations.
Method 2: Using a Wall Mount Bracket
If mounting your projector on the ceiling is not an option for you, another alternative is to use a wall mount bracket. This method allows you to securely mount your projector on the wall without the need for drilling. Here’s how you can do it:
- Select the ideal location: Choose a suitable spot on your wall where you want to mount the projector. Consider factors such as the viewing angle, distance from the screen, and any potential obstructions.
- Locate wall studs: Use a stud finder to locate the wall studs in the chosen area. Wall studs provide a stable and sturdy anchor point for the wall mount bracket.
- Attach the wall mount bracket: Follow the instructions provided with your wall mount bracket. Generally, you will need to attach the bracket to the wall using screws and anchors to secure it to the wall studs. Make sure it is level and securely in place.
- Attach the projector mount: Attach the projector mount to the wall mount bracket following the instructions provided. Ensure that the mount is compatible with your projector model and that it is securely attached.
- Mount the projector: Carefully place the projector on the mount and adjust it to the desired position. Use the knobs or locking mechanism on the mount to adjust the tilt, angle, and distance of the projector.
- Tighten and secure: Once you have achieved the desired position, tighten the knobs or secure the locking mechanism to ensure that the projector is held firmly in place. Double-check that the mount is stable and that there is no wobbling.
With your projector now mounted on the wall, you can enjoy a clear and immersive viewing experience without the need for drilling holes. Remember to consult the instructions provided with your specific wall mount bracket for any additional steps or considerations.
Method 3: Using a Projector Stand
If you prefer a more flexible and portable option for mounting your projector without drilling, using a projector stand is a great choice. Here’s how you can set up your projector using a stand:
- Select a sturdy projector stand: Look for a projector stand that is stable and sturdy enough to support the weight of your projector. Ensure that the stand is adjustable in height and angle to achieve the desired projection position.
- Set up the stand: Extend the legs of the stand and lock them into position. Adjust the height of the stand to match the desired projector height. Most projector stands have adjustable height mechanisms.
- Place the projector on the stand: Carefully place the projector on the stand, making sure it is centered and secure. Some stands may come with a platform or tray specifically designed for projectors.
- Adjust the angle and position: Use the adjustable features of the stand to position the projector at the desired angle and distance from the screen or wall. Take into consideration the projection size and any keystone correction needed.
- Secure the projector: Once you have achieved the desired projection position, secure the projector to the stand using any built-in locks or straps provided. This will prevent the projector from accidentally falling or moving during use.
- Connect the necessary cables: Depending on the distance of the projector from the power source and video source, use extension cables to connect the necessary cables to the projector. Ensure a secure and stable connection.
Using a projector stand offers the advantage of portability, as you can easily move the stand and projector to different locations. This is especially useful if you often change the setup or need to use the projector in multiple spaces. Keep in mind that projector stands might not provide the same level of stability or permanent installation as other methods, but they offer convenience and flexibility in return.
Remember to choose a high-quality projector stand that can handle the weight of your projector and is adjustable to meet your specific needs.
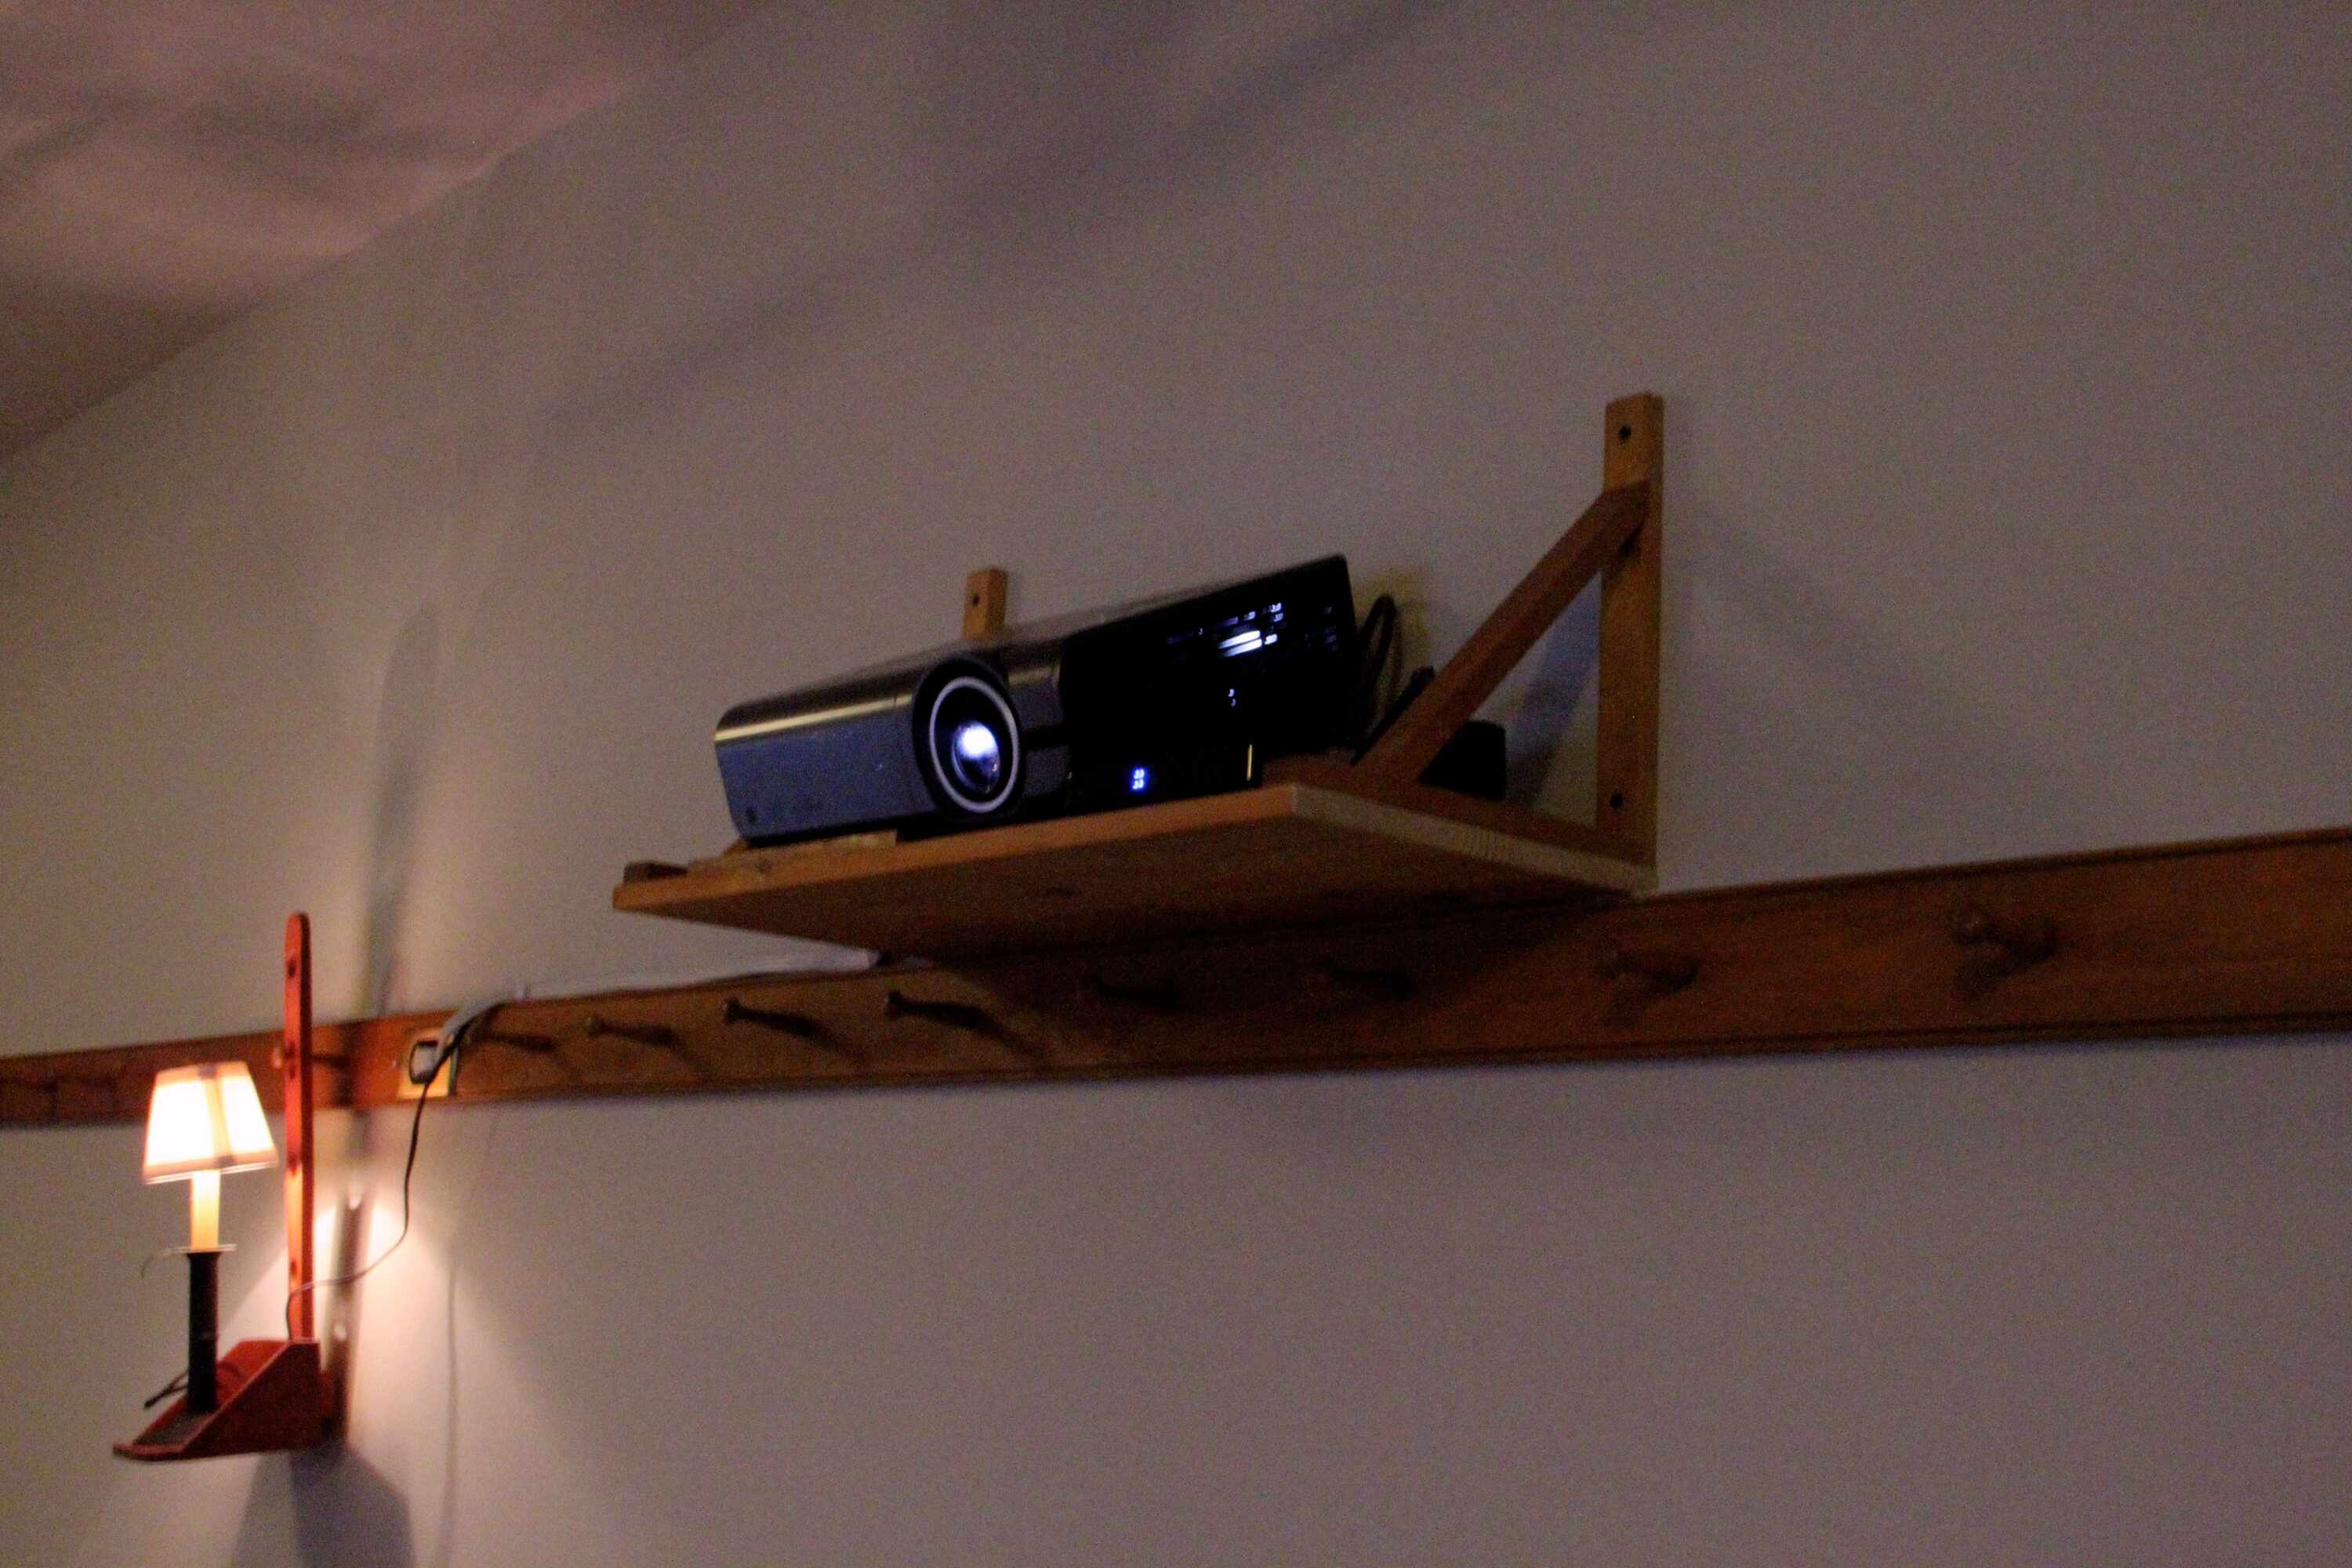
Method 4: Using a Bookshelf or Entertainment Center
If you’re looking to mount your projector without drilling any holes and prefer a more discreet option, utilizing a bookshelf or entertainment center can be a clever solution. Here’s how you can go about it:
- Select a suitable bookshelf or entertainment center: Look for a sturdy bookshelf or entertainment center that can accommodate the size and weight of your projector. Ensure that it is positioned at the desired height and distance from the screen or wall.
- Clear a space: Clear a designated space on the bookshelf or entertainment center for the projector. Remove any items or clutter that could obstruct the projection or cause instability.
- Secure the projector: Place the projector on the cleared space, making sure it is centered and stable. For added security, you can use non-slip pads or adhesive strips to hold the projector in place.
- Adjust the position: Use books or other objects to elevate or tilt the projector if needed to achieve the desired angle and projection position. Ensure that the projected image is clear and properly aligned with the screen or wall.
- Connect the cables: Connect the necessary cables to the projector by routing them discreetly along the bookshelf or entertainment center. This will help keep the area organized and minimize cable visibility.
- Manage cable clutter: Use cable management solutions such as cable clips or cable sleeves to keep your cables neat and organized. This will prevent them from tangling or becoming an eyesore.
Using a bookshelf or entertainment center to mount your projector offers a practical and inconspicuous solution. It allows you to integrate the projector seamlessly into your existing furniture setup, making it almost unnoticeable when not in use.
Keep in mind that the stability of the bookshelf or entertainment center is crucial. Make sure the surface is level and can support the weight of the projector without wobbling or tipping. Adjust and secure the projector as needed to prevent any accidental movement or damage.
This method provides flexibility and ease of setup without the need for drilling or permanent modifications to your walls or ceiling.
Method 5: Using a Tripod
If you’re looking for a versatile and adjustable option to mount your projector without drilling, using a tripod is an excellent choice. Here’s how you can set up your projector using a tripod:
- Select a sturdy tripod: Look for a tripod that is specifically designed to support projectors. Ensure that it is made of durable materials and has a sturdy construction to provide stability.
- Extend the legs: Extend the legs of the tripod to the desired height. Most tripods have adjustable legs that allow you to adjust the height and angle of the projector easily.
- Attach the projector mount: Many tripods designed for projectors come with a mount or plate specifically meant for projector attachment. Securely attach the mount to the tripod head or platform using the provided screws.
- Secure the projector: Carefully place the projector on the mount and adjust it to the desired position. Ensure that the projector is centered and balanced on the mount.
- Adjust the angle and height: Use the adjustable features on the tripod to position the projector at the desired angle and height. This will allow you to achieve the best projection position for your screen or wall.
- Tighten and stabilize: Once you have positioned the projector, tighten the tripod’s knobs or locking mechanism to secure it in place. Ensure that the tripod is stable and that there is no movement or wobbling.
Using a tripod offers the advantage of portability and flexibility. You can easily move the tripod and projector to different locations and adjust the height and angle according to your preference. It is also a convenient option for temporary setups or when you need to use the projector in multiple spaces.
Be mindful of the weight limit specified by the tripod manufacturer and make sure that your projector falls within that range. This will ensure the stability and safety of the setup.
Using a tripod to mount your projector without drilling provides a convenient and adaptable solution that can be easily adjusted and moved as needed.
Tips for Mounting a Projector Without Drilling
Mounting a projector without drilling can be a practical and flexible solution for various situations. Here are some helpful tips to ensure a successful installation:
- Choose the right mounting method: Consider factors such as stability, portability, and the desired aesthetics of your setup. Each method has its advantages and limitations, so choose the one that best fits your needs.
- Check weight and compatibility: Before mounting your projector, make sure that the chosen mounting solution can support the weight and size of your projector. It’s essential to confirm compatibility between the projector and the mounting equipment.
- Ensure proper projector ventilation: Regardless of the mounting method, ensure that your projector has sufficient ventilation. Proper airflow prevents overheating and prolongs the lifespan of your projector. Adhere to manufacturer guidelines for projector placement.
- Consider cable management: Take the time to plan and organize your cables for a clean and clutter-free installation. Use cable clips, sleeves, or conduits to route and secure cables, minimizing their visibility and preventing trip hazards.
- Double-check stability: Once your projector is mounted, double-check its stability. Gently shake or nudge the projector to ensure it is secure and won’t move or become dislodged during use or accidental bumps.
- Regularly inspect and adjust: Periodically inspect your projector mount to ensure it remains secure and stable over time. Factors such as temperature changes or external vibrations can affect the positioning of the projector. Make adjustments as necessary.
- Consider ambient light control: To optimize image quality and clarity, control the ambient light in your viewing area. Use curtains, blinds, or other light-blocking solutions to minimize the impact of unwanted glare or reflections on your projected image.
- Follow manufacturer instructions: Always follow the instructions provided by the manufacturer of your projector and mounting equipment. This ensures proper installation, extends the lifespan of your equipment, and prevents avoidable damage.
By considering these tips and taking the necessary precautions, you can successfully mount your projector without drilling and enjoy a seamless and immersive viewing experience.
Conclusion
Mounting a projector without drilling is a practical solution for those who want to enjoy the benefits of a projector without making permanent modifications to their walls or ceilings. Whether you choose to use a ceiling mount kit, wall mount bracket, projector stand, bookshelf or entertainment center, or a tripod, there are various options available to suit your specific needs and preferences.
By following the instructions provided for each method and considering factors such as stability, compatibility, and cable management, you can achieve a secure and professional-looking installation. Remember to prioritize safety by ensuring proper ventilation for your projector and regularly checking the stability of the mount over time.
Each method has its advantages and limitations, so it’s important to choose the one that best fits your circumstances and desired setup. Whether you’re renting a space, looking for a portable solution, or simply prefer the flexibility of a non-permanent installation, you can still enjoy the immersive experience of a projector without drilling.
We hope that this guide has provided you with valuable insights and useful tips to mount your projector without drilling. Now, it’s time to set up your projector and start enjoying your favorite movies, presentations, and more in a whole new way!