Choosing the Right Location for Your Projector
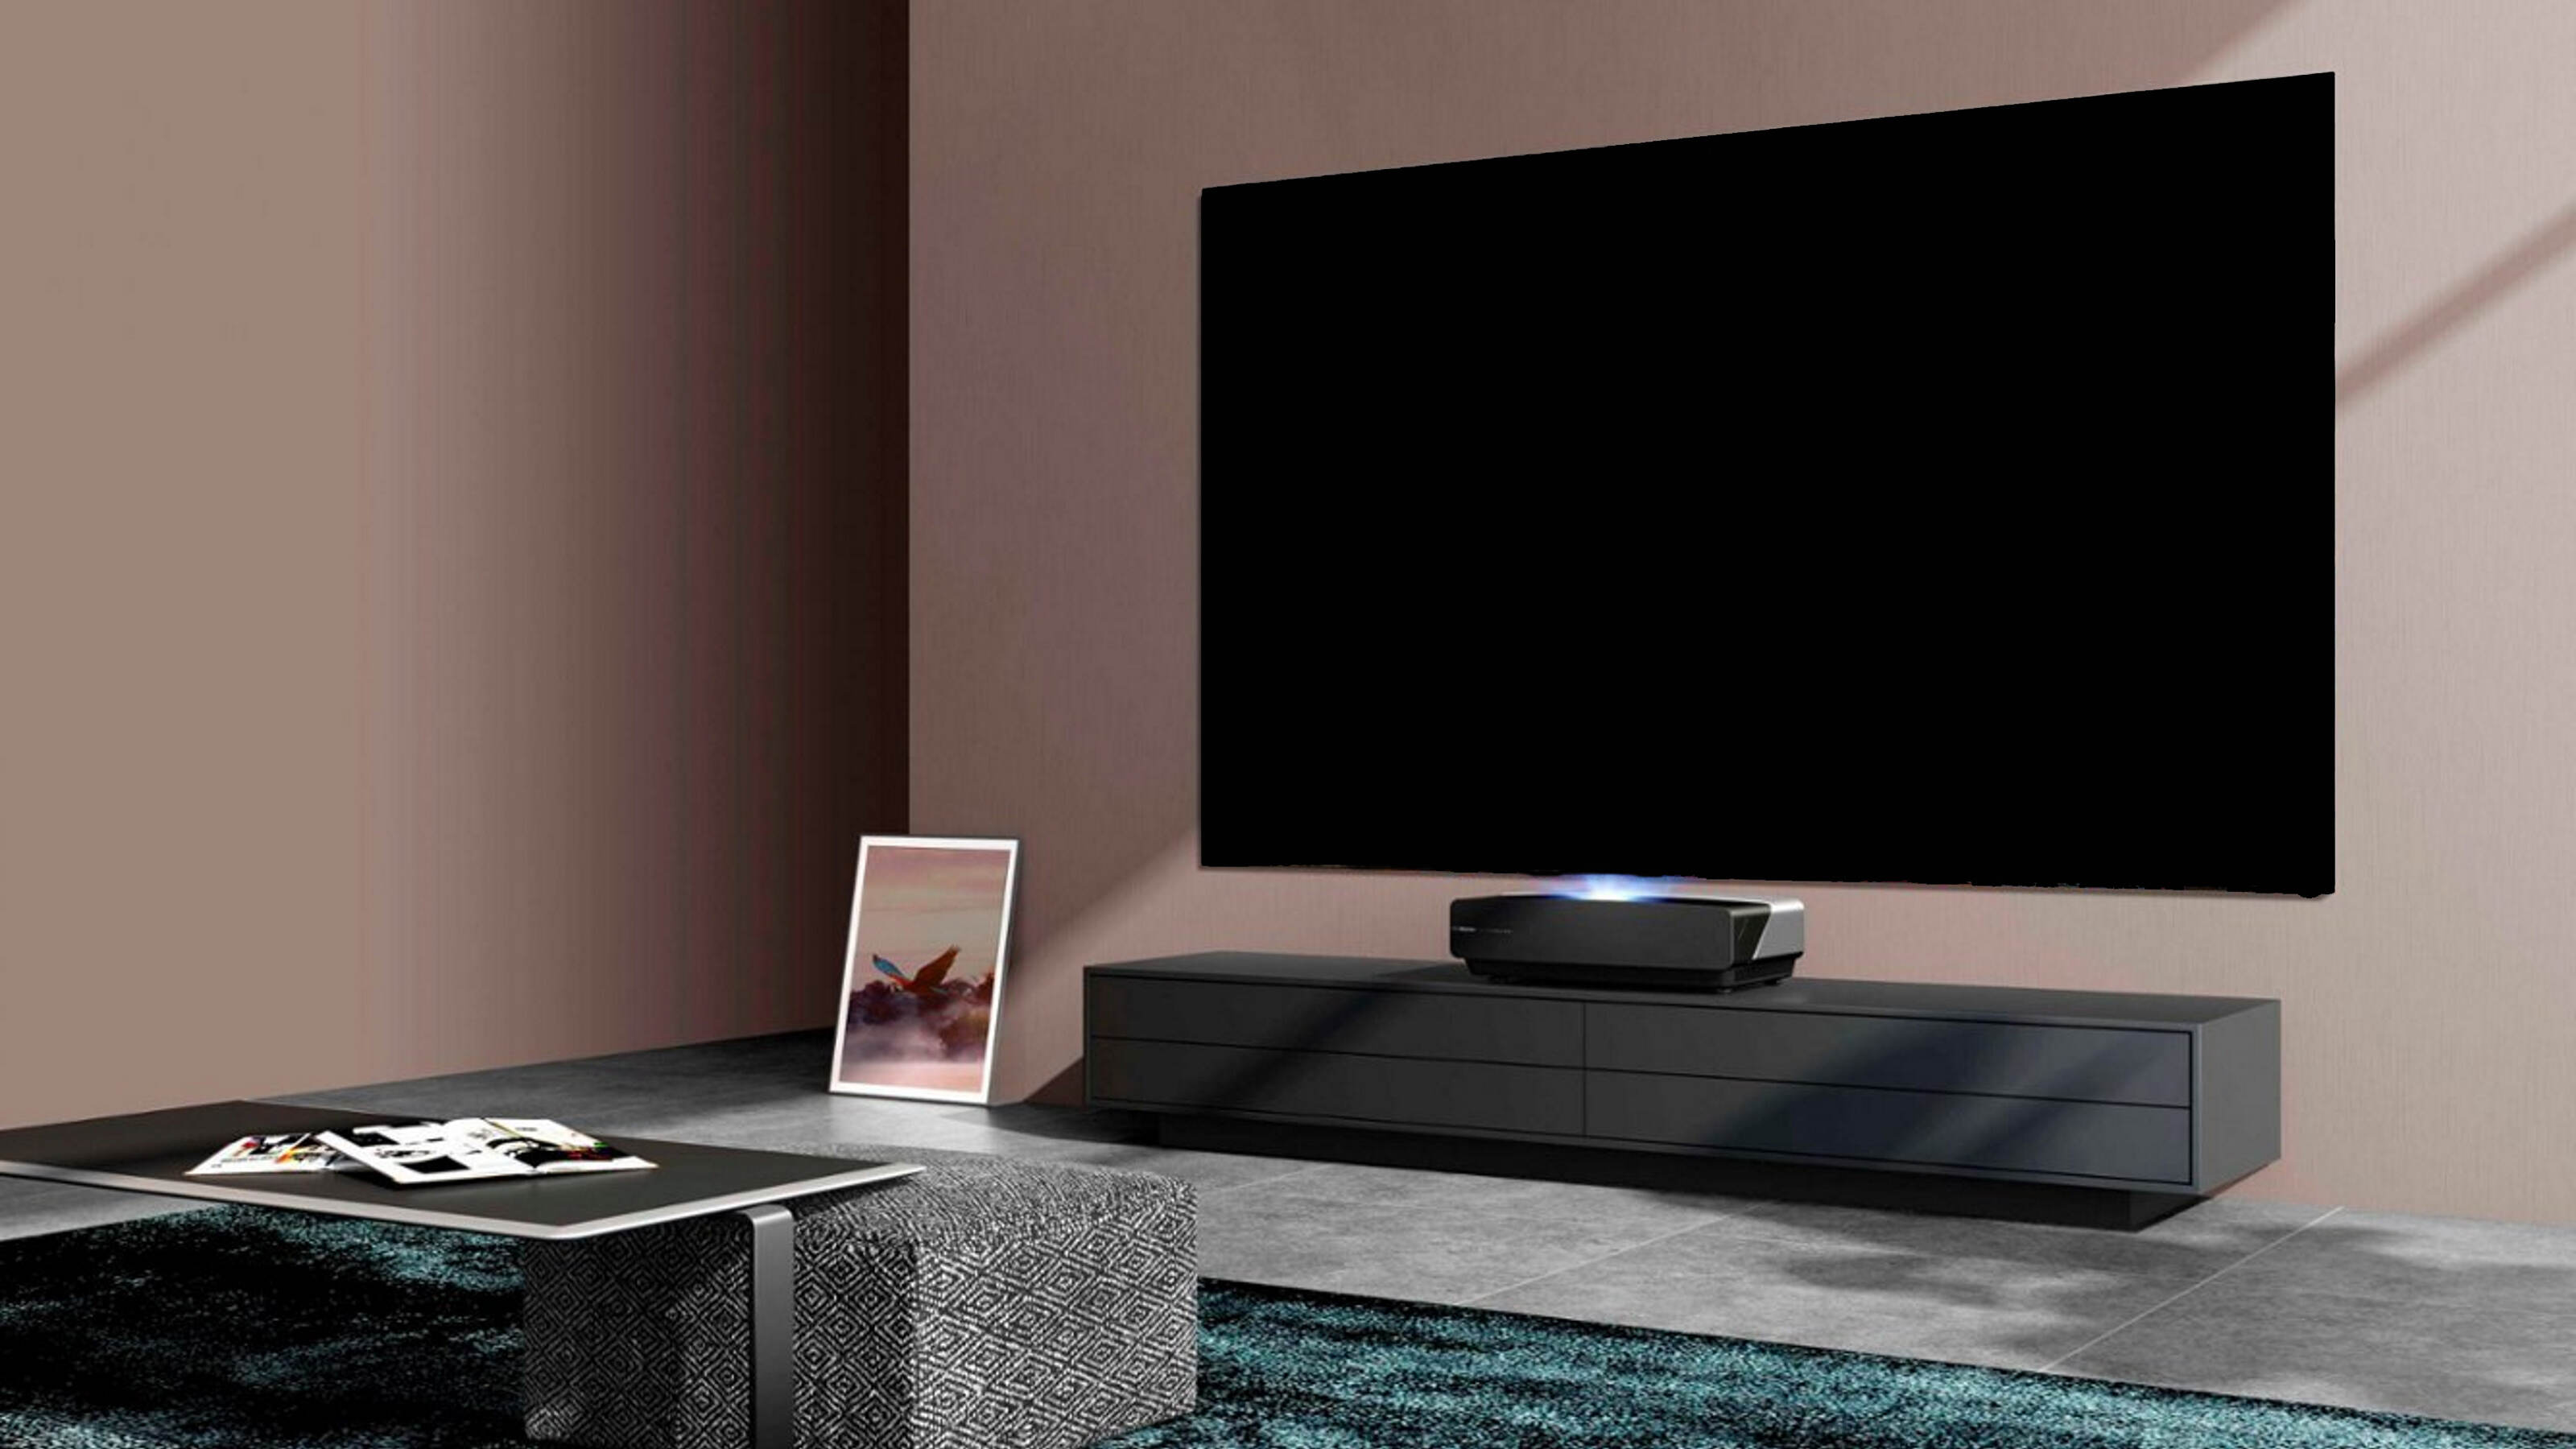
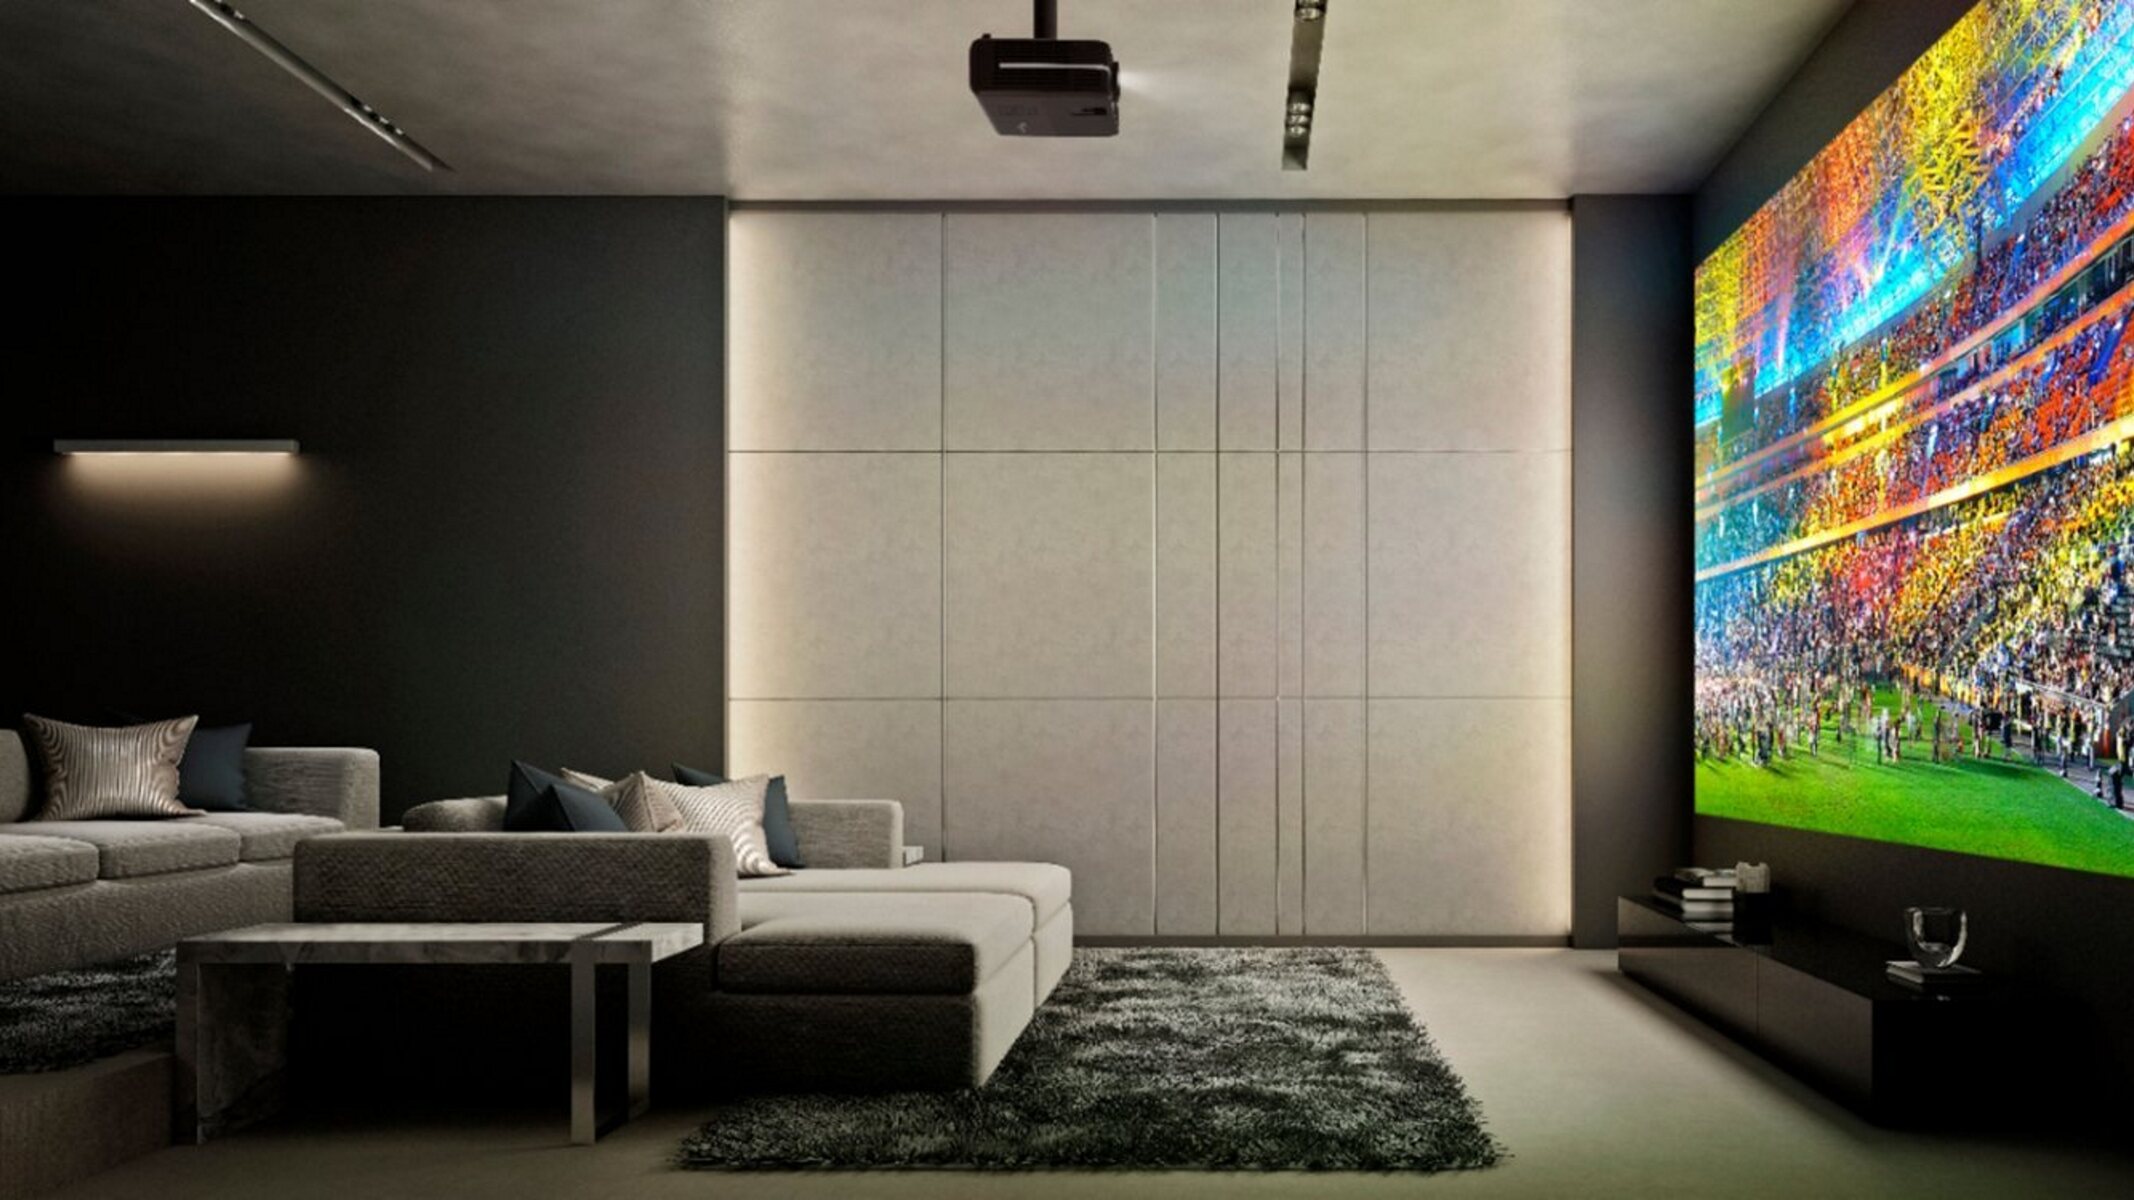
When it comes to mounting your projector on the wall, choosing the right location is crucial for optimal viewing experience. The placement of your projector can greatly affect the image quality, visibility, and overall enjoyment of your content. Here are a few key factors to consider when deciding on the right spot:
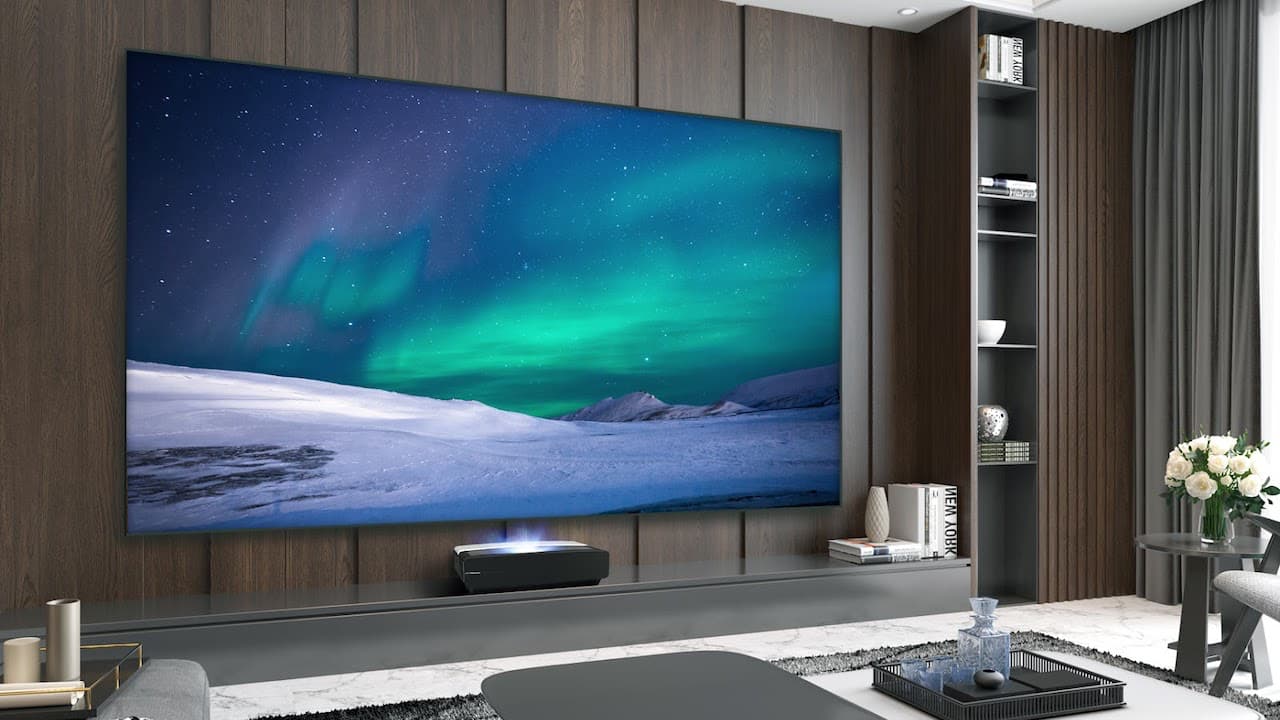
- Room Size and Layout: Take into account the size and layout of the room in which you will be using the projector. Measure the distance from the screen or wall where you plan to project the image and make sure it aligns with your desired viewing angles.
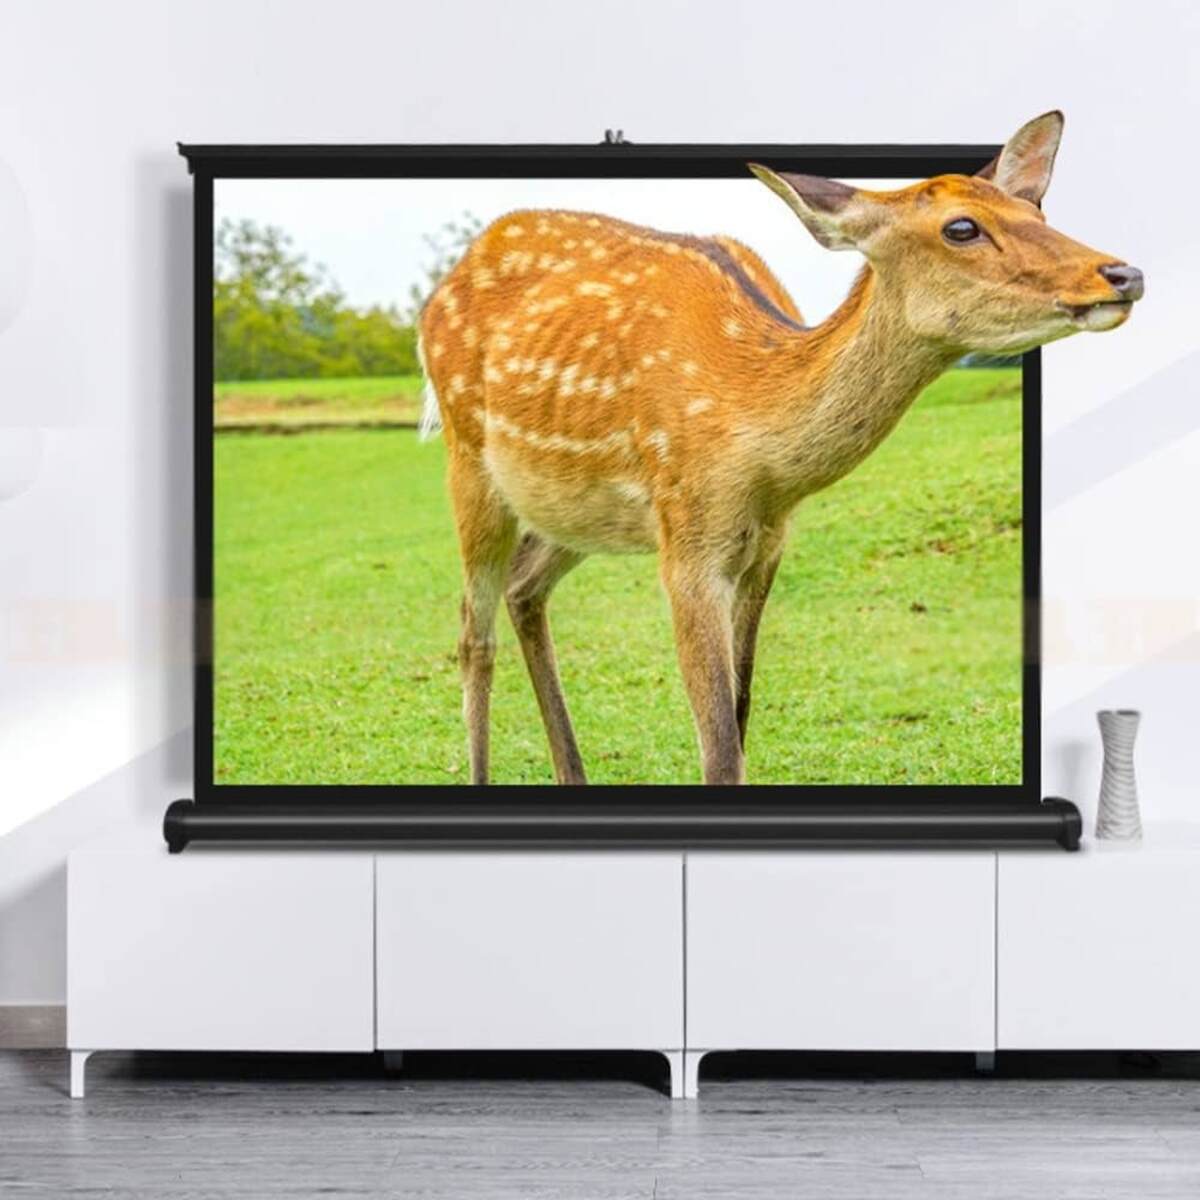
- Screen Size and Aspect Ratio: Consider the screen size and aspect ratio you prefer for your setup. This will help determine the throw distance and placement requirements for your projector. Keep in mind that different projector models have different throw ratios, so it’s important to check the manufacturer’s specifications.
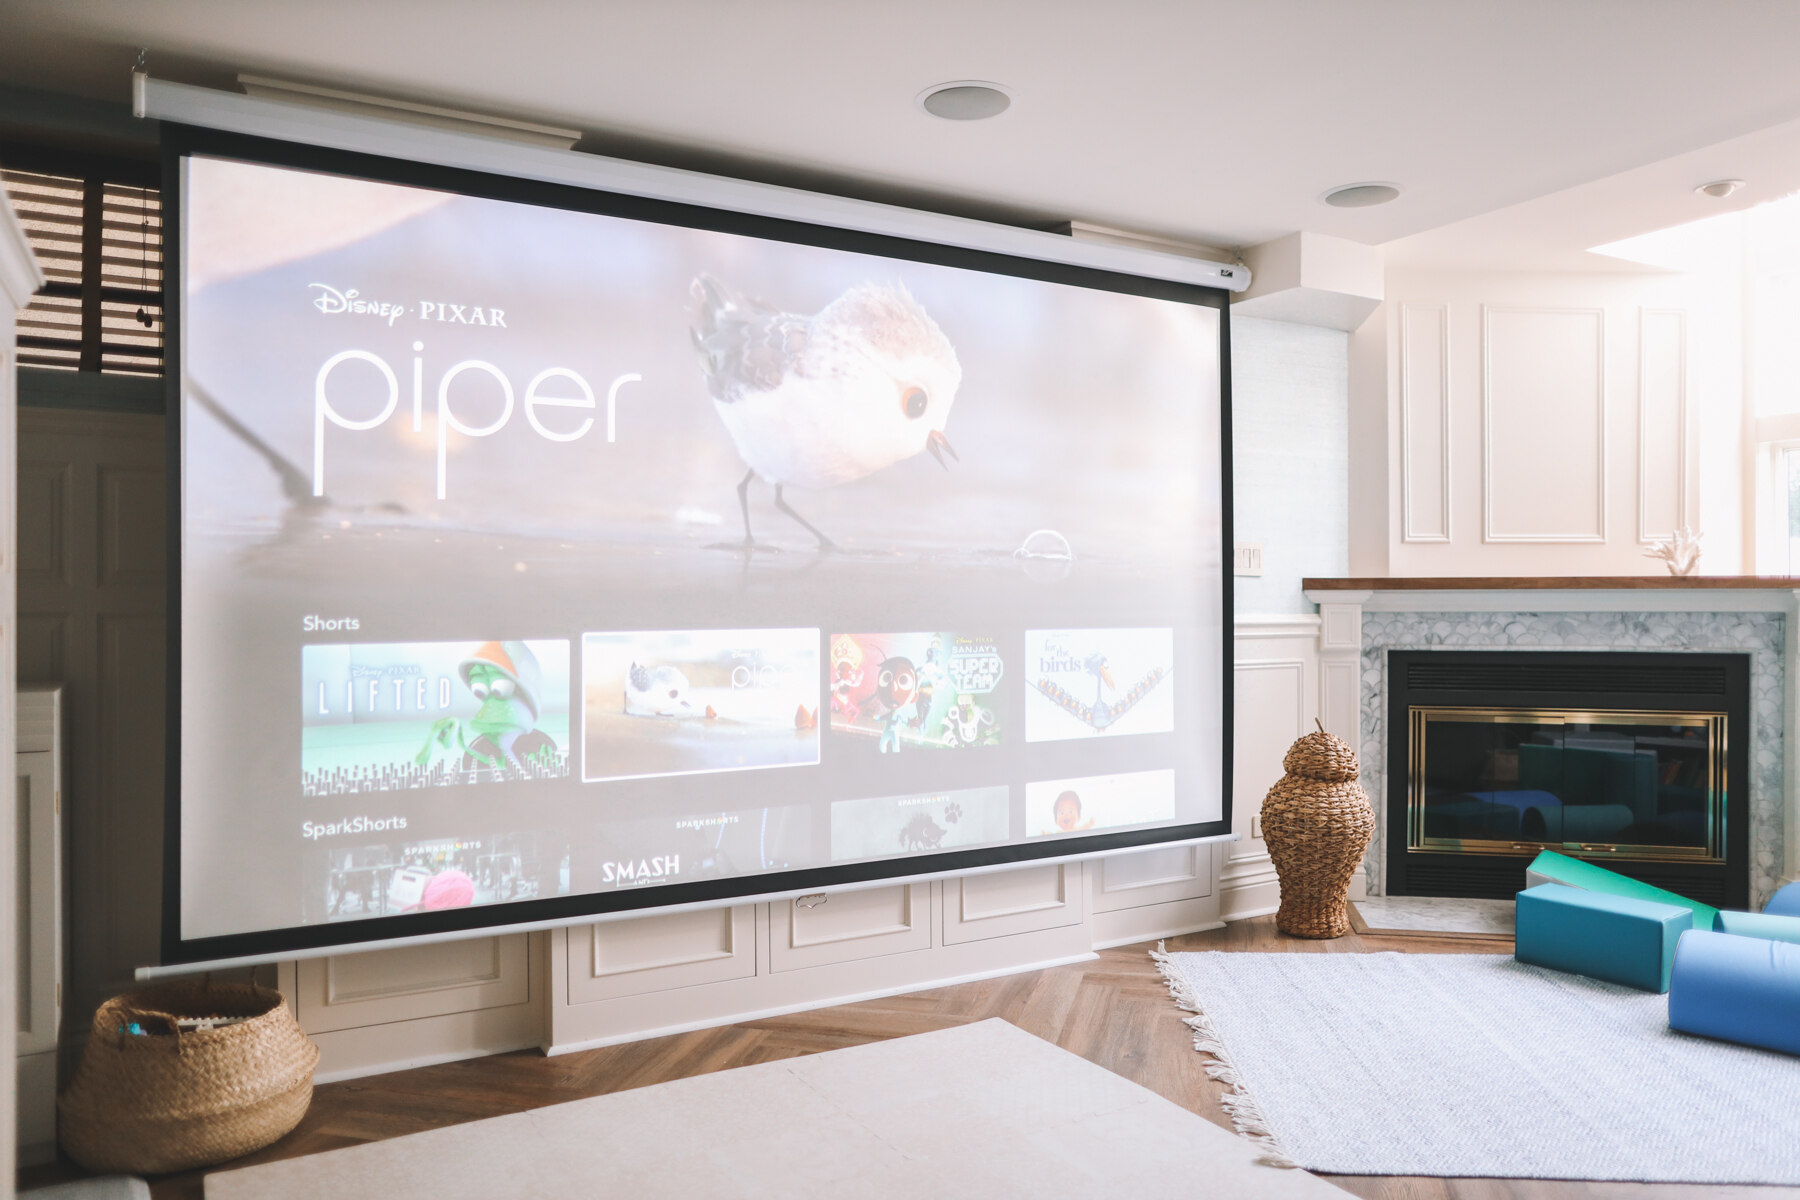
- Ambient Light Conditions: Evaluate the ambient light conditions in the room. If the room is fully darkened, you have more flexibility in choosing the location. However, if there’s significant ambient light, you may need to position the projector in a way that minimizes glare and maximizes image clarity.
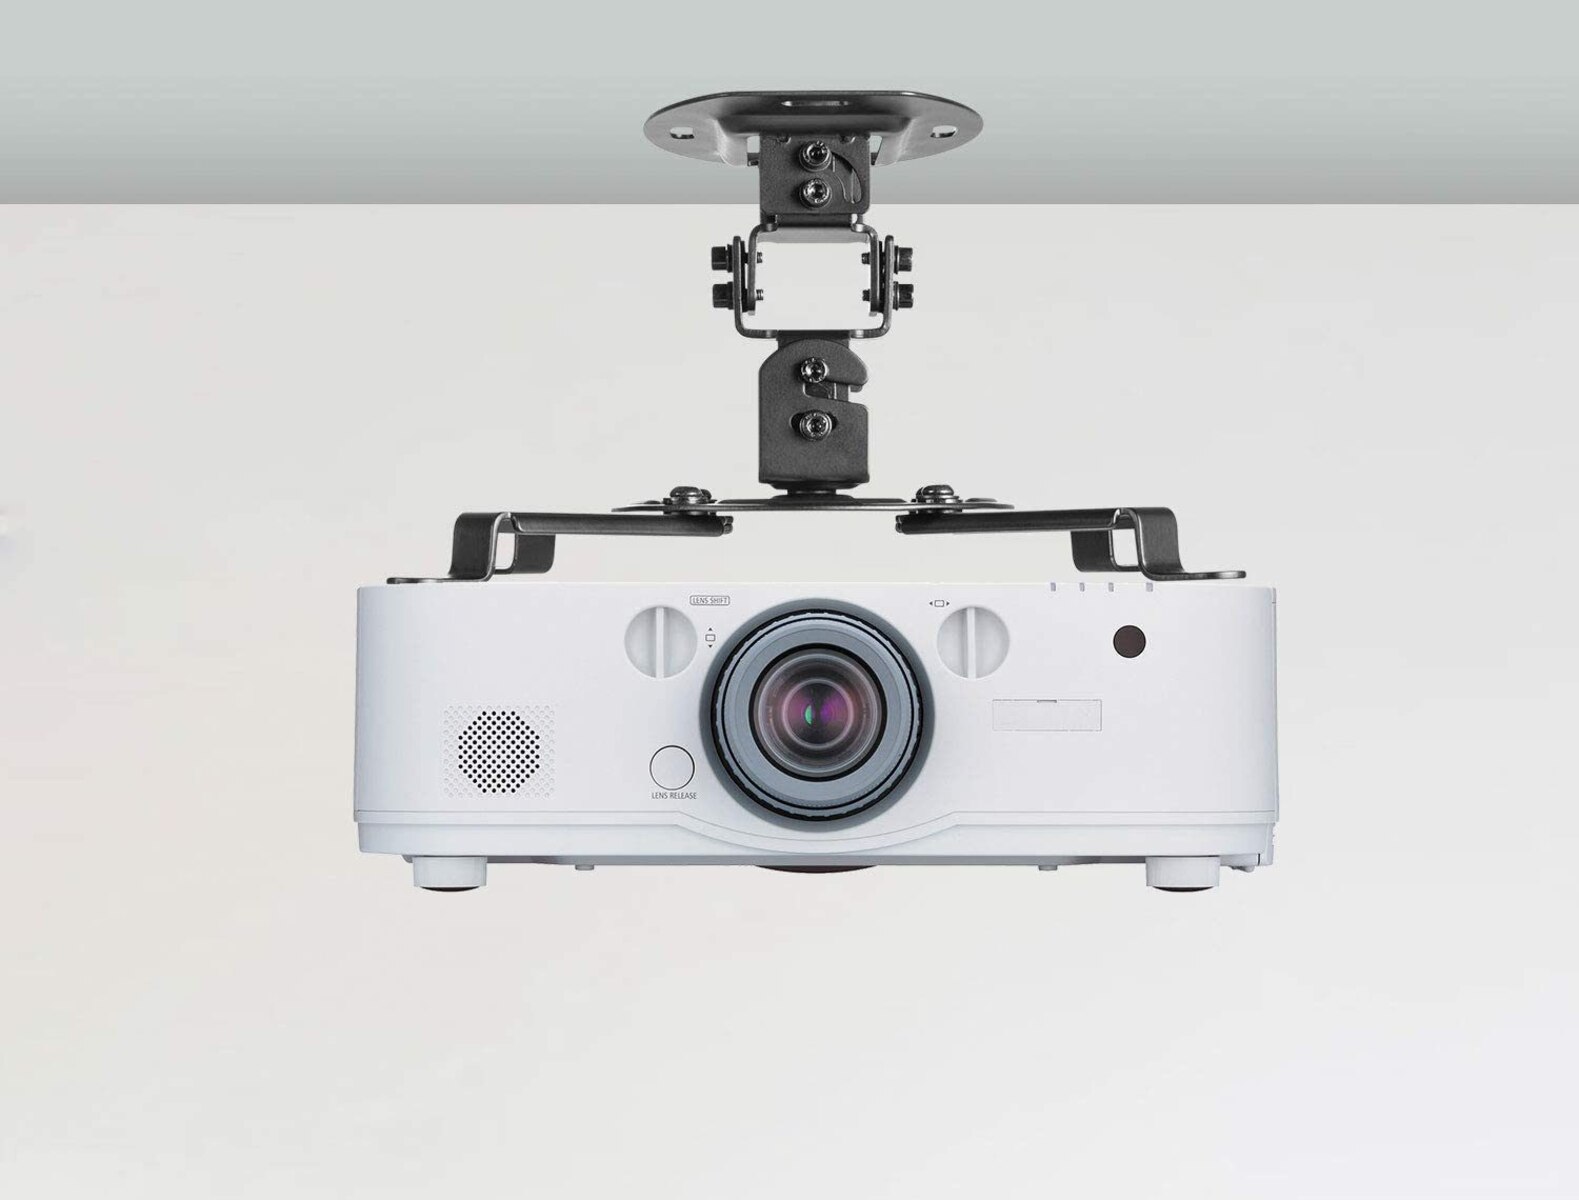
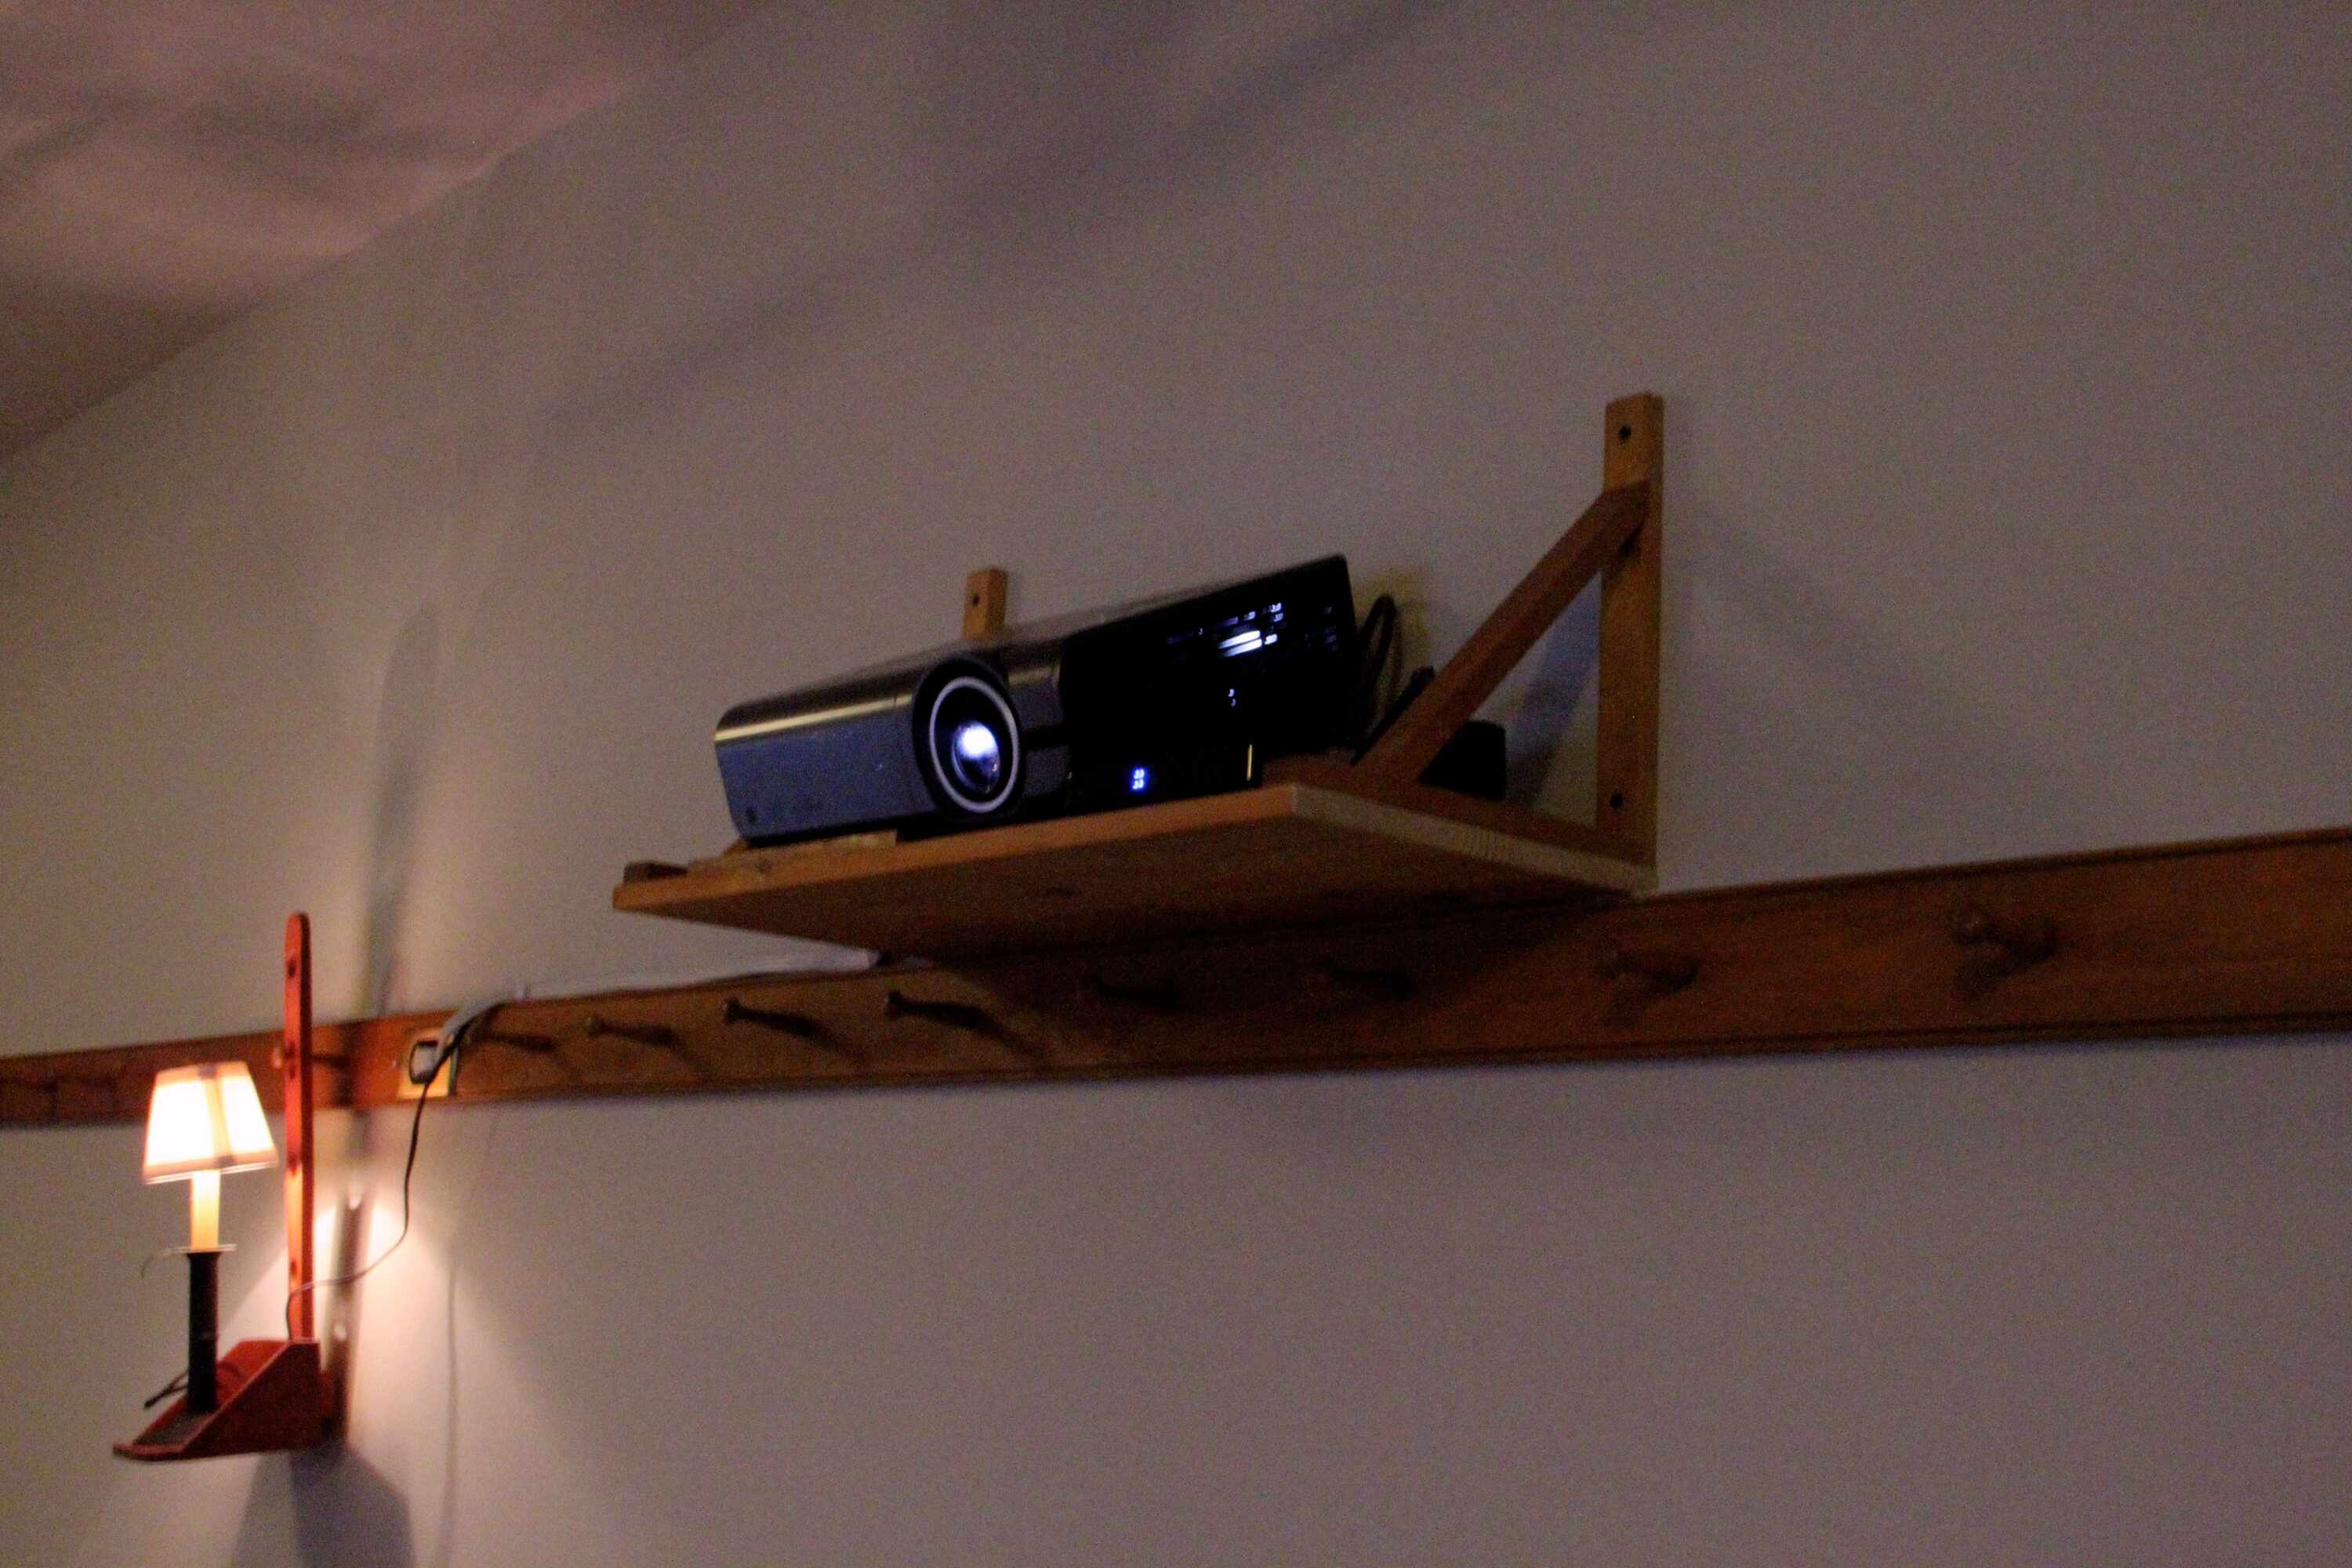
- Ceiling and Wall Structure: Assess the ceiling and wall structure to ensure they can support the weight of the projector and mount. If you’re unsure, consult a professional or consider using a projector mount with adjustable arms and brackets for added stability.
- Accessibility: Think about the accessibility aspect as well. You may want to position the projector and mount in a location that provides convenient access for cable connections, adjustments, and maintenance.
By carefully considering these factors, you can select the perfect location for your projector. Take your time to plan and visualize the setup before proceeding to the installation process. This will help ensure that you achieve the best possible results and create an immersive viewing experience for all your multimedia needs.
Gathering the Necessary Tools and Materials
Before you begin the process of mounting your projector on the wall, it’s important to gather all the necessary tools and materials. Having everything you need at hand will help streamline the installation process and ensure that you have a successful outcome. Here’s a list of essential items to collect:
- Projector Mount: Select a suitable projector mount that is compatible with your projector model. Look for a mount that offers the necessary adjustments and securely holds your projector in place.
- Screws and Anchors: Depending on the wall type, gather the appropriate screws and anchors to securely mount the projector mount. It’s essential to use the correct size and type of screws for the specific wall material.
- Power Drill and Drill Bits: A power drill will make the installation process quicker and easier. Ensure you have the appropriate drill bits for drilling holes and securely attaching the mount to the wall.
- Screwdriver or Wrench: Depending on the type of screws or bolts used for the projector mount, have a screwdriver or wrench handy to tighten them securely.
- Level and Measuring Tape: A level will help you ensure that the projector mount is straight and properly aligned. Use a measuring tape to accurately measure distances and positions for optimal placement.
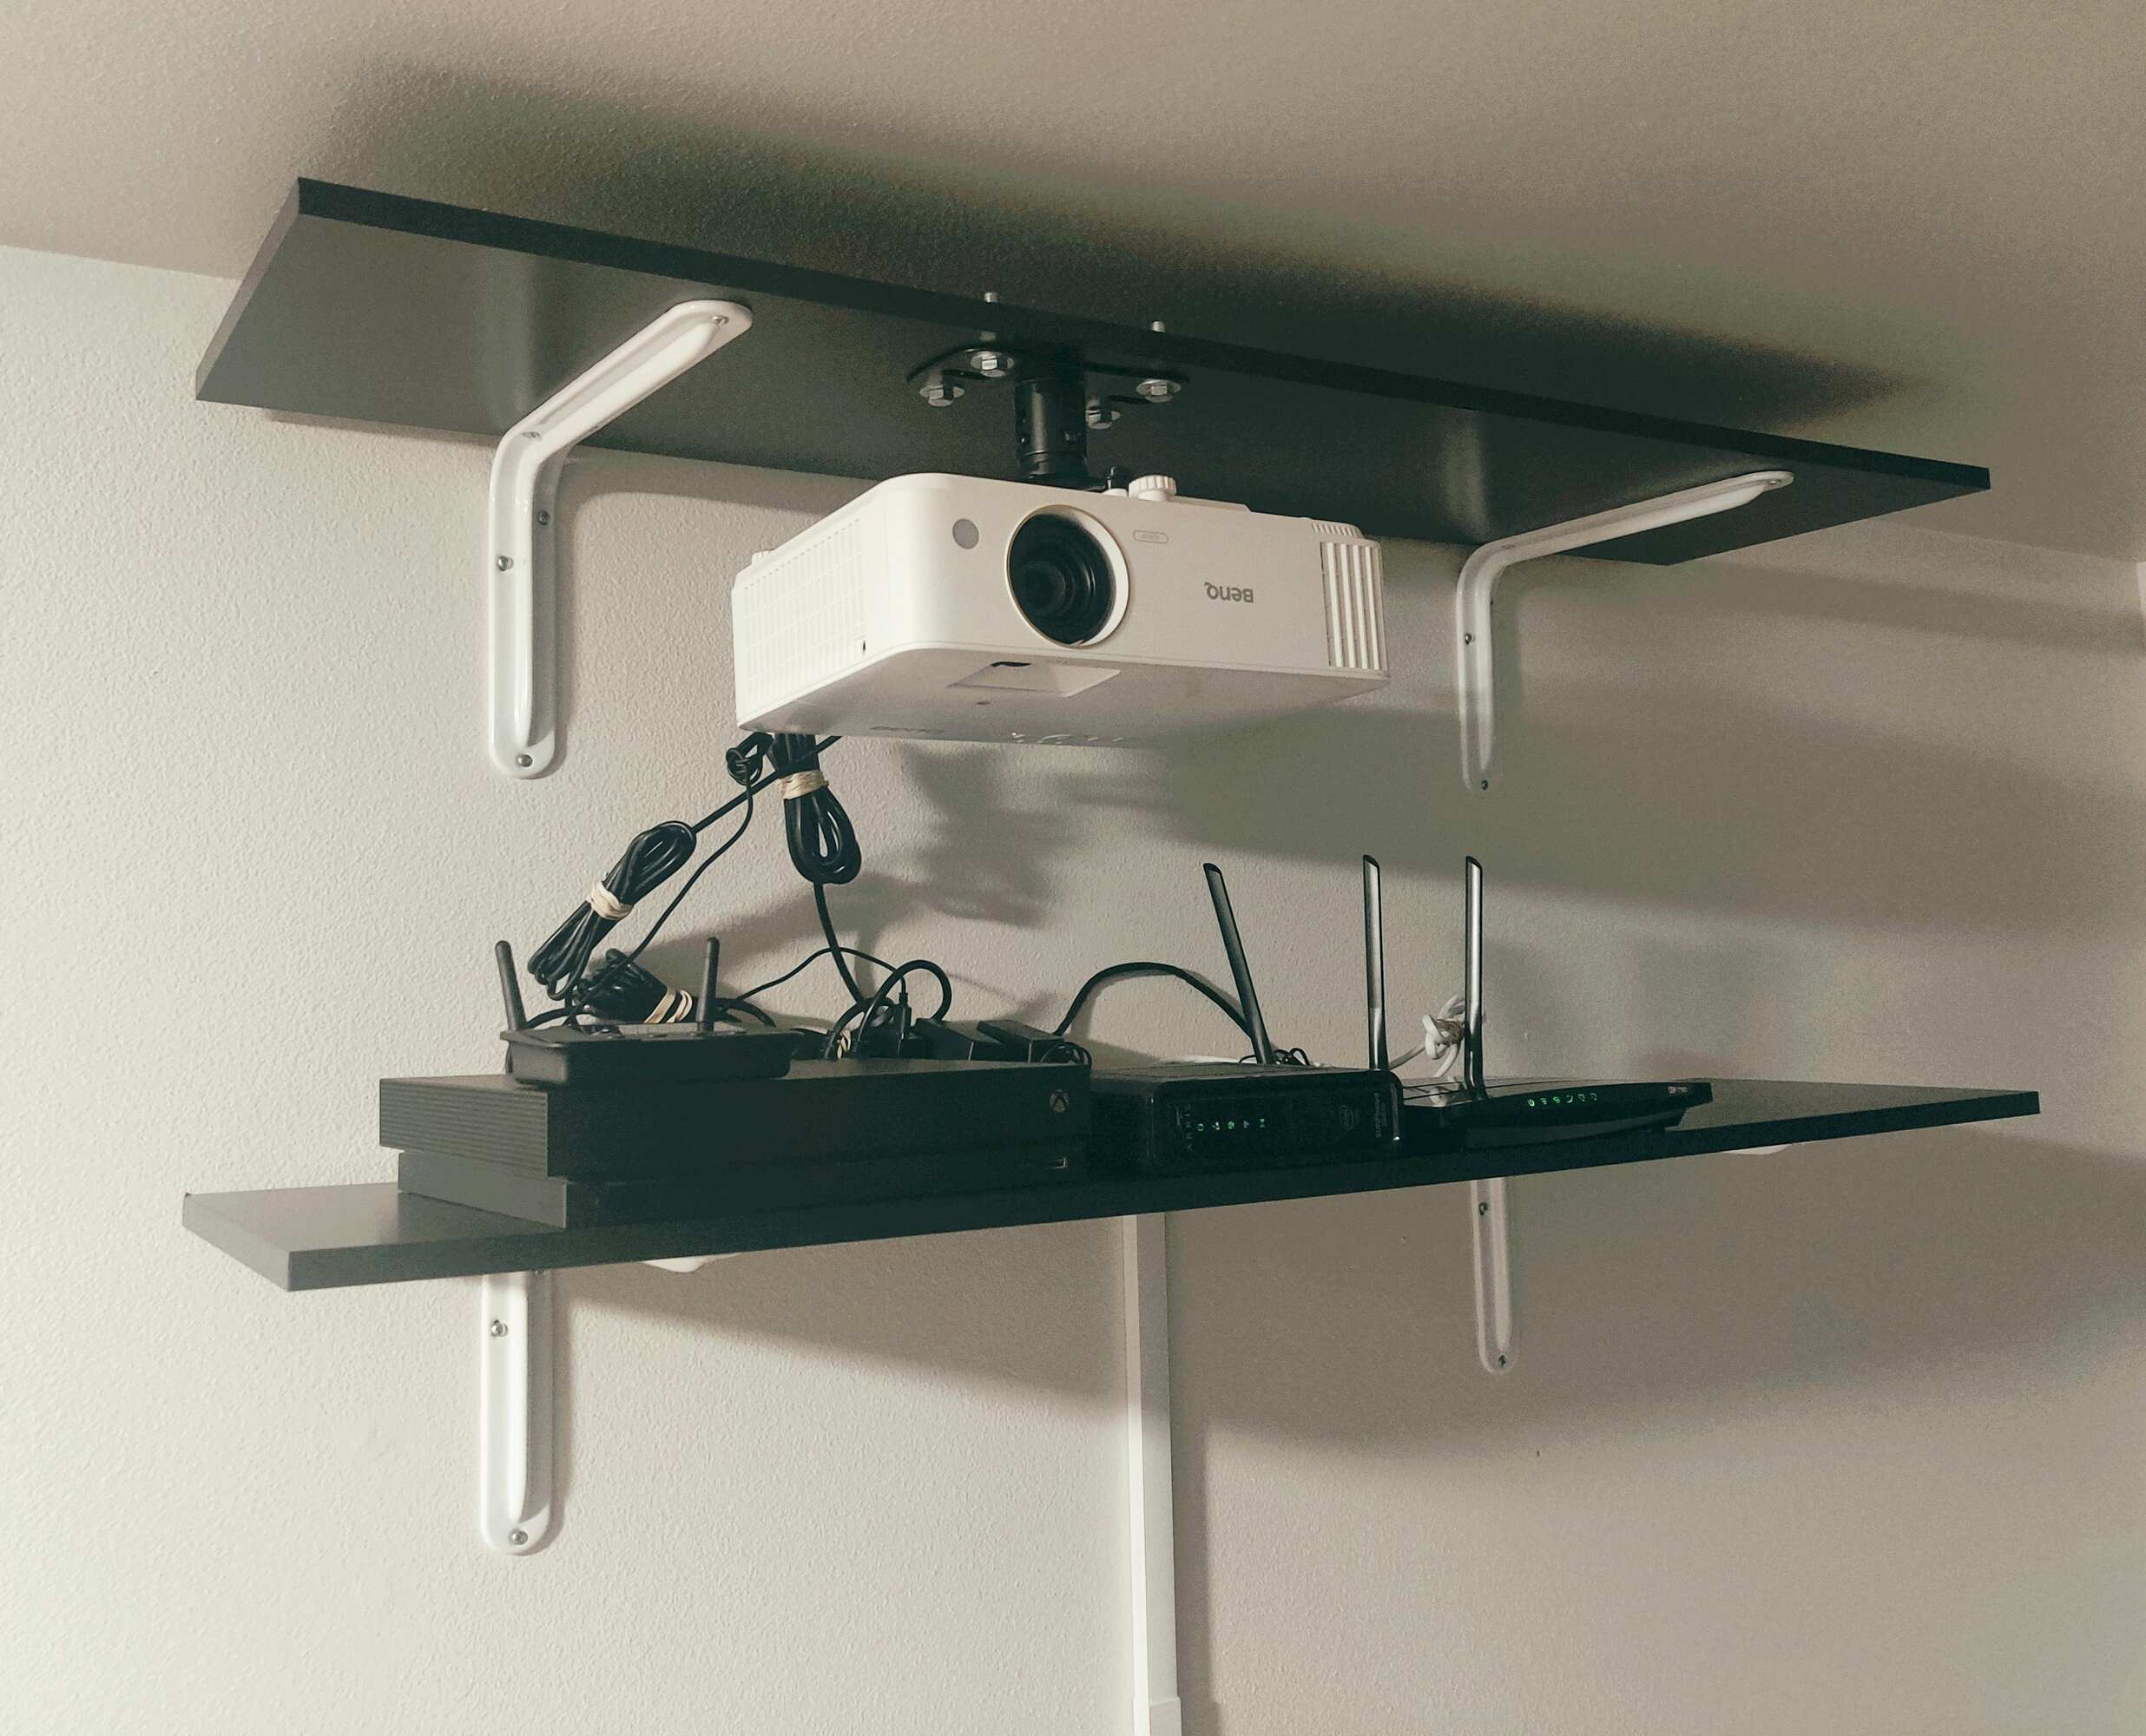
- Cable Management Solutions: Consider using cable management solutions such as cable clips or conduit to keep the cables organized and prevent them from dangling or becoming a tripping hazard.
- Additional Tools: Depending on the specifics of your setup, you may need additional tools like a stud finder, wire cutters, or a cable tester. Assess the requirements of your installation and gather any additional tools accordingly.
Having these tools and materials ready before you begin will save you time and frustration during the installation process. Double-check that you have everything on hand and ensure that they are in good working condition. This will help ensure a smooth and successful projector mounting experience.
Preparing the Wall for Mounting
Before you can mount your projector on the wall, it’s important to properly prepare the wall surface. Taking the time to do this will ensure a secure and stable installation. Follow these steps to ensure that your wall is ready for mounting:
- Clean the Wall: Start by cleaning the wall where you plan to mount the projector. Remove any dirt, dust, or debris that may affect the adhesion of the mount or cause unevenness. Use a damp cloth or mild cleaning solution if necessary, and allow the wall to dry completely.
- Locate Studs: Use a stud finder to locate the wall studs. Mounting the projector on the stud will provide additional support and stability. Mark the stud locations with a pencil so you know where to position the mount.
- Drill Pilot Holes: To ensure secure and precise installation, drill pilot holes into the wall at the marked stud locations. The pilot holes should be slightly smaller than the screws or anchors you are using to prevent the wall from cracking or splitting.
- Install Anchors: If you are not mounting the projector on a stud, insert anchors into the pilot holes. Anchors provide added support and stability when mounting on drywall or other types of walls. Gently tap them into the holes until they are flush with the wall surface.
- Attach the Mount: Position the projector mount over the drilled pilot holes or anchors. Securely attach the mount to the wall using the appropriate screws or bolts. Make sure the mount is level and tightly secured to provide a stable base for your projector.
- Test the Mount: Once the mount is installed, give it a gentle tug to ensure that it is securely fastened to the wall. Check for any wobbling or looseness. If there are any concerns, revisit the previous steps to ensure proper installation.
By properly preparing the wall for mounting, you’ll have a stable and secure base for your projector. Take your time during this step to ensure that everything is done correctly. This will help prevent any potential damage to the wall and ensure a successful projector installation.
Installing the Projector Mount
With the wall properly prepared, it’s time to install the projector mount. Follow these steps to securely attach the mount to the wall:
- Align the Mount: Position the projector mount over the installed anchors or pilot holes. Ensure that it is aligned properly and level using a level tool. Make any necessary adjustments to ensure a straight and even installation.
- Secure the Mount: Using a screwdriver or wrench, tighten the screws or bolts that came with the mount. Start with the top screws and work your way down, gradually tightening each one to ensure even pressure. Be sure not to overtighten, as it may damage the mount or the wall.
- Check Stability: Once the mount is secured, give it a gentle shake to check for stability. The mount should be firmly attached to the wall with no wobbling or movement. If you notice any instability, go back and double-check the mounting process.
- Double-Check Alignment: Take another look at the alignment of the mount. Ensure that it is straight and level. Make any necessary adjustments before proceeding to the next step.
- Confirm Weight Capacity: Verify that the projector mount you’ve chosen can safely support the weight of your projector. Refer to the manufacturer’s guidelines and specifications to ensure that it is compatible.
- Follow the Instructions: Always refer to the specific instructions provided by the manufacturer for your projector mount. Different models may have slight variations in installation methods, so it’s important to follow the guidelines provided for accurate and secure mounting.
By following these steps, you can confidently install the projector mount and have a stable base for your projector. Remember to take your time and make any necessary adjustments to ensure a proper and secure installation. Once the mount is securely attached, you can move on to the next step of attaching the projector itself.
Attaching the Projector to the Mount
Now that the projector mount is securely installed on the wall, it’s time to attach the projector itself. Follow these steps to ensure a proper and secure attachment:
- Locate the Mounting Holes: Check the bottom of your projector for the mounting holes. They are typically located in the center or towards the front. Refer to your projector’s user manual for specific instructions.
- Align the Projector: Position the projector directly above the mount, aligning the mounting holes on the bottom of the projector with the studs or anchor points on the mount. Ensure that the projector is aligned and level before proceeding.
- Attach the Projector: Once the projector is aligned, gently slide or lower it onto the mount, ensuring that the mounting holes on the projector match up with the corresponding studs or anchor points on the mount.
- Secure the Projector: Using the screws provided with the mount, carefully tighten them into the mounting holes on the projector. Start with one screw and gradually move to the others. Make sure to tighten them evenly to ensure a balanced and secure fit.
- Double-Check Alignment: After securing the projector, double-check its alignment. Make any necessary adjustments to ensure that the image projected is straight and centered on the screen or wall.
- Test Functionality: Prior to finalizing the setup, test the functionality of the projector. Power it on and project an image onto the screen or wall to ensure that it is displaying correctly and there are no alignment or focus issues.
By following these steps, you can confidently attach the projector to the mount and ensure a secure and stable setup. Take your time during this process to ensure that everything is aligned and tightened properly. Once the projector is securely attached, you can move on to the next step of adjusting the projector settings and image alignment.
Adjusting the Projector Settings and Image Alignment
Once the projector is securely attached to the mount, it’s time to fine-tune the settings and align the projected image for optimal viewing. Follow these steps to adjust the projector settings and image alignment:
- Focus and Keystone: Start by adjusting the focus and keystone settings of the projector. Use the projector’s menu or remote control to access these settings. Adjust the focus until the image appears clear and sharp, and use the keystone adjustment to correct any distortion caused by angled projection.
- Image Size and Position: Next, adjust the image size and position to fit your screen or desired display area. Most projectors have zoom and positioning controls that allow you to customize the image size and position. Use these controls to achieve the desired size and alignment.
- Image Calibration: Depending on your projector model, you may have additional picture calibration options such as brightness, contrast, color saturation, and color temperature. Experiment with these settings to achieve the best possible image quality and color accuracy.
- Test and Adjust: After making any adjustments to the projector settings, project an image onto the screen or wall and assess the results. Take the time to fine-tune the settings further if needed, ensuring that the image is aligned, clear, and properly calibrated.
- Audio and Connection Settings: Don’t forget to check and adjust any audio or connection settings. Ensure that the audio is properly routed and adjusted, and verify that all the necessary connections are securely in place for a seamless multimedia experience.
- Save Settings: Once you are satisfied with the projector settings and image alignment, save the settings if your projector has a preset memory feature. This will allow you to easily recall your preferred settings for future use.
By following these steps and taking the time to adjust the projector settings and image alignment, you can ensure that your projected content is displayed with optimal clarity and accuracy. Remember to test the settings and make any necessary adjustments based on your specific preferences and viewing environment.