Introduction
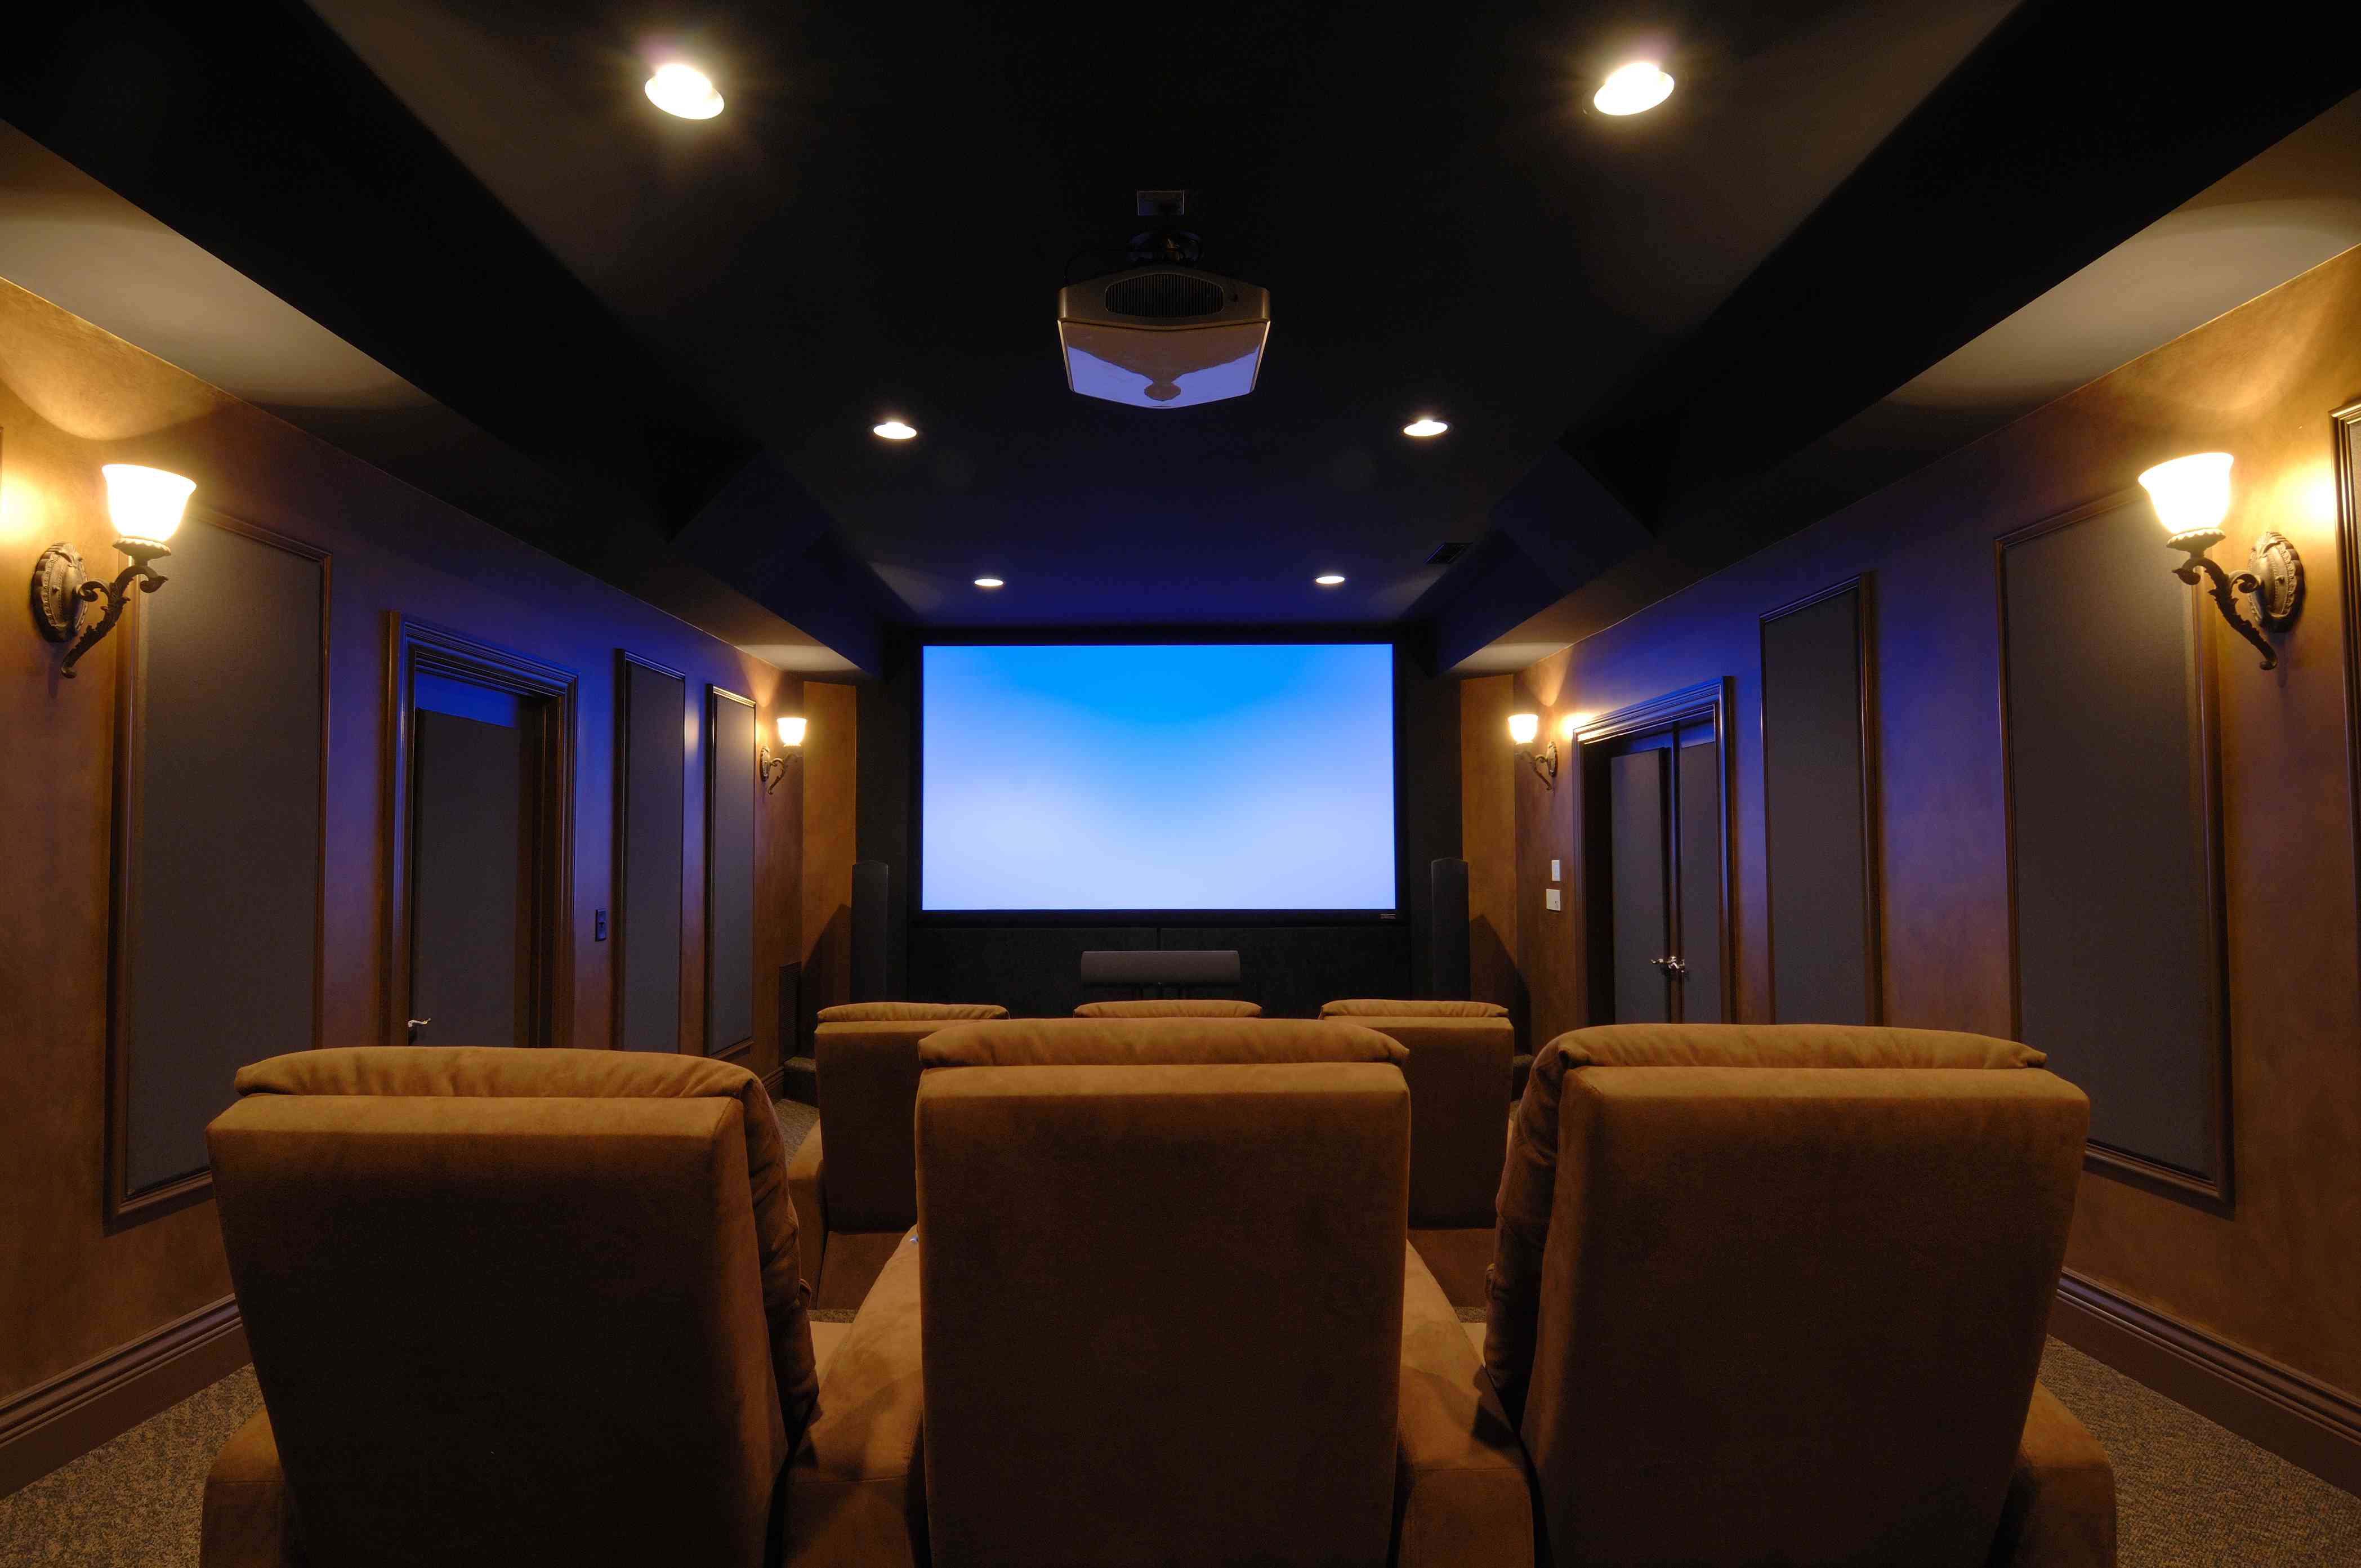
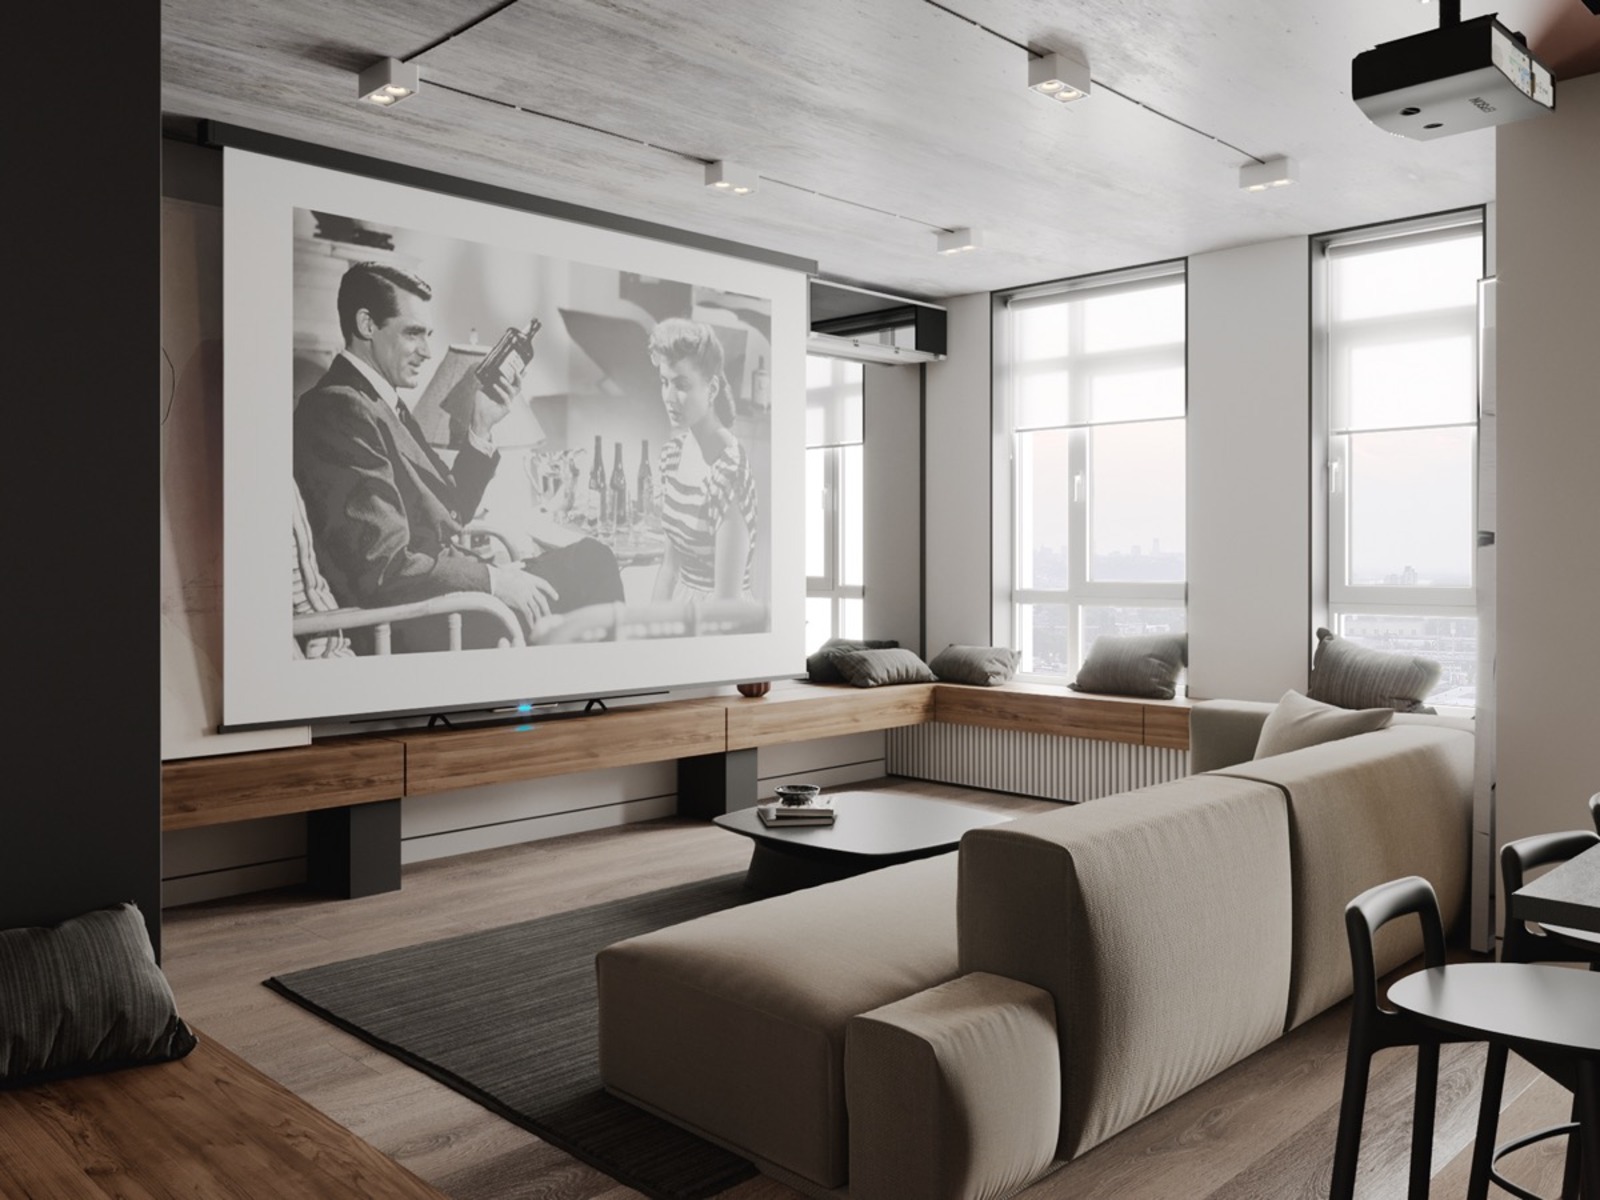
Installing a projector screen on the ceiling can transform your living room or home theater into a captivating cinematic experience. Whether you’re a cinephile who loves watching movies on the big screen or a gaming enthusiast seeking an immersive gaming setup, a ceiling-mounted projection screen is an excellent addition to your entertainment space.
In this step-by-step guide, we will walk you through the process of installing a projector screen on the ceiling. By following these instructions and using the right tools, you’ll be able to enjoy crystal-clear imagery and an enhanced viewing experience in no time.
Before we dive into the installation process, it’s important to gather all the necessary tools and materials. You’ll need a measuring tape, a ladder, a power drill, screws, a stud finder, a pencil or marker, and of course, the projector screen and mounting brackets. Make sure you have everything you need before getting started.
Once you have everything ready, the next step is to determine the ideal location for your projector screen on the ceiling. Consider factors such as viewing angle, distance from the seating area, and the available space. It’s also essential to take into account the room’s lighting conditions to ensure optimal image quality.
With the location in mind, you’re now ready to prepare the ceiling for installation. This involves identifying the ceiling studs for secure mounting and marking the spot for the mounting brackets. A stud finder will come in handy for this step, ensuring the screen is supported securely.
Now that you have prepared the ceiling, it’s time to install the mounting brackets. These brackets will serve as the anchor points for your projector screen. Use the power drill and appropriate screws to attach the brackets securely to the ceiling.
With the mounting brackets in place, you can now attach the projector screen to the ceiling. Depending on the type of screen you have, this may involve sliding it onto the brackets or using additional hardware. Follow the manufacturer’s instructions carefully to ensure a proper and secure installation.
After attaching the projector screen, it’s crucial to test its functionality. Lower and raise the screen to ensure smooth operation, and check if it locks securely in place. You may also want to adjust the tension settings if your screen provides this feature, ensuring the screen is flat and free of wrinkles.
Lastly, fine-tune the alignment and settings of the projector screen to optimize your viewing experience. Adjust the screen’s height and angle to achieve the desired position. Additionally, make any necessary adjustments to the projector settings, such as brightness, contrast, and aspect ratio, for optimal picture quality.
By following these steps and taking your time, you can successfully install a projector screen on your ceiling. With everything in place, sit back, relax, and enjoy the immersive cinematic experience right in the comfort of your own home.
Step 1: Gather the necessary tools and materials
Before embarking on the installation process, it’s crucial to gather all the tools and materials required. Having everything at hand will make the installation smoother and more efficient. Here’s a list of the essential items you’ll need:
- Measuring tape: Accurate measurements are essential for determining the ideal location of the projector screen on the ceiling. Make sure you have a measuring tape that’s long enough to reach the desired spots.
- Ladder: Since you’ll be working on the ceiling, a sturdy ladder will provide the necessary elevation for easy access. Ensure that the ladder is stable and secure before climbing up.
- Power drill: You’ll need a power drill to create pilot holes and secure the mounting brackets to the ceiling. Choose a drill with the appropriate drill bits for your ceiling type.
- Screws: Select screws that are compatible with the mounting brackets and suitable for your ceiling type. It’s essential to choose ones that are long enough to penetrate the ceiling and anchor the brackets securely.
- Stud finder: To ensure a secure installation, use a stud finder to locate the ceiling studs. Mounting the brackets directly into the studs will provide the necessary support for the projector screen.
- Pencil or marker: Marking the spot for the mounting brackets is crucial for accurate installation. Use a pencil or marker to make visible guidelines on the ceiling.
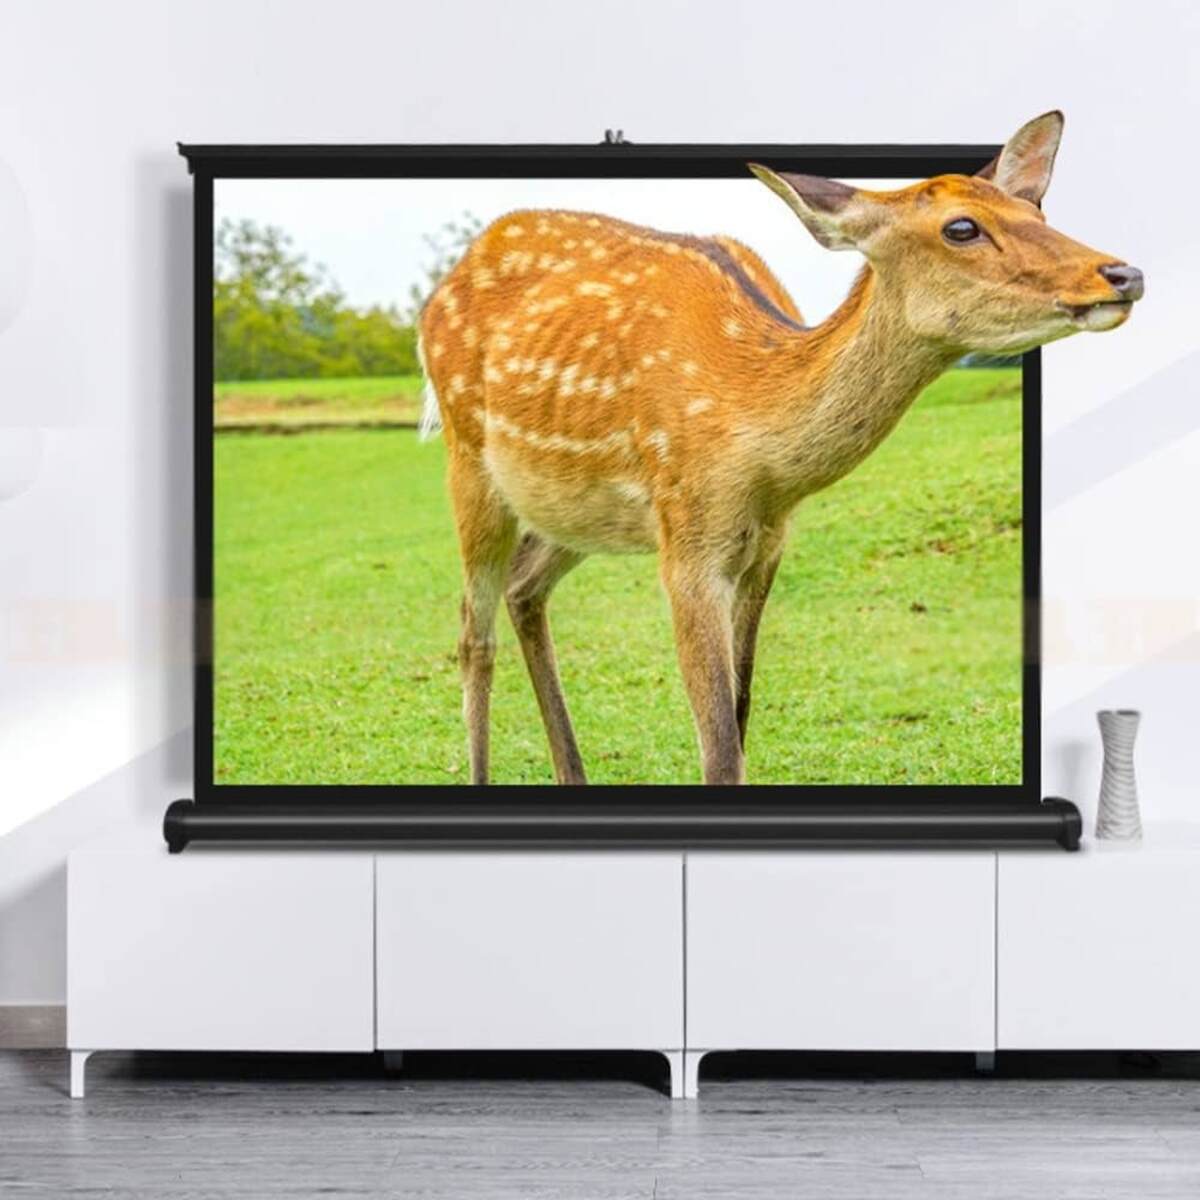
- Projector screen: Of course, you’ll need the projector screen itself. Choose a screen that suits your needs and provides the desired image quality and size.
- Mounting brackets: These brackets will serve as the anchor points for your projector screen on the ceiling. They should be sturdy, durable, and compatible with your screen model.
Make sure you have all these items prepared before starting the installation process. Having everything within reach will save you time and prevent any unnecessary delays or interruptions.
Once you have gathered all the tools and materials, you’re ready to move on to the next step: determining the ideal location for your projector screen on the ceiling.
Step 2: Determine the ideal location for the projector screen
Choosing the right location for your projector screen is crucial for an optimal viewing experience. Consider the following factors when determining the ideal spot on the ceiling:
Viewing angle: The viewing angle is the angle at which the screen is positioned in relation to the viewers’ line of sight. It’s essential to choose a location that allows for comfortable viewing without straining your neck or eyes. Consider the seating arrangement and the distance between the screen and the viewers.
Distance from seating area: The distance between the projector screen and the seating area depends on the screen size and the resolution of your projector. Refer to the manufacturer’s guidelines to determine the recommended viewing distance. This will ensure that the image appears sharp and clear without any loss of detail.
Room lighting: Take into account the lighting conditions in the room. If possible, choose a location that minimizes glare and reflections on the screen. Avoid placing the screen directly opposite windows or other light sources that may wash out the projected image.
Available space: Consider the available space on the ceiling and ensure that there is enough clearance for the screen to lower and retract smoothly. Take measurements of the ceiling height and width to determine if the desired location can accommodate the screen’s dimensions.
Using the information above, carefully select the spot on the ceiling that meets your requirements. It may be helpful to mark the location using a pencil or marker. This will serve as a reference point for the installation process.
Once you have determined the ideal location, you’re ready to move on to the next step: preparing the ceiling for installation.
Step 3: Prepare the ceiling for installation
Before installing the projector screen on the ceiling, it’s important to prepare the ceiling to ensure a secure and stable installation. Follow these steps to get the ceiling ready:
1. Locate the ceiling studs: Using a stud finder, locate the ceiling studs in the area where you plan to install the projector screen. Ceiling studs provide the necessary support and stability for mounting the brackets. Mark the positions of the studs using a pencil or marker.
2. Determine the mounting bracket placement: Based on the dimensions of your projector screen and the location you’ve chosen, determine the placement of the mounting brackets on the ceiling. Ideally, you should position the brackets in line with the ceiling studs for maximum stability.
3. Mark the spot for the mounting brackets: Using the measurements and stud locations, mark the spot where the mounting brackets will be installed. Make sure the markings are clear and visible.
4. Pre-drill pilot holes: To avoid splitting the ceiling material, pre-drill pilot holes at the marked spots using an appropriate drill bit. This will make it easier to insert the screws and attach the mounting brackets securely.
5. Clear the area: Before proceeding with the installation, clear the area beneath the designated installation spot. Remove any furniture or objects that may obstruct the process or interfere with the projector screen’s operation.
6. Safety precautions: Ensure that the area is safe to work in. Remove any tripping hazards, secure the ladder properly, and take necessary precautions to prevent accidents during the installation process.
By carefully preparing the ceiling, you’ll create a stable foundation for mounting the projector screen. This step is crucial to ensure the screen remains securely in place and functions optimally. With the ceiling prepared, you’re ready to move on to the next step: installing the mounting brackets.
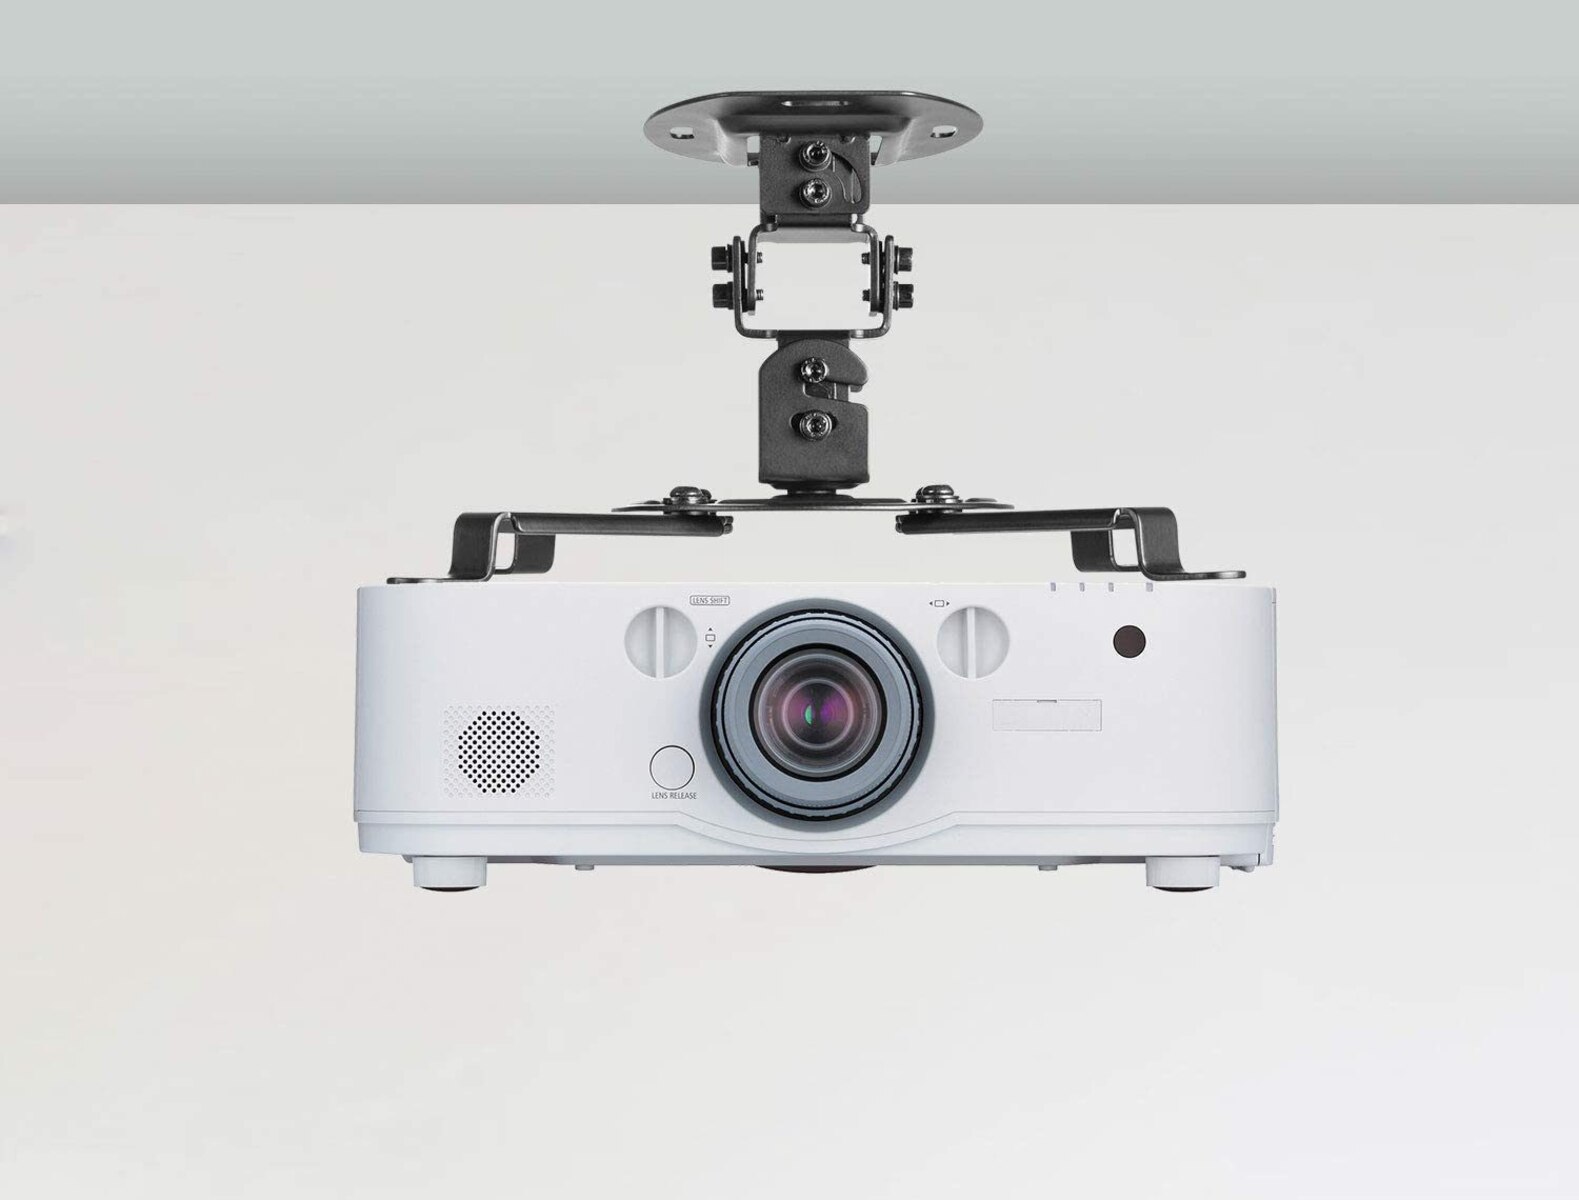
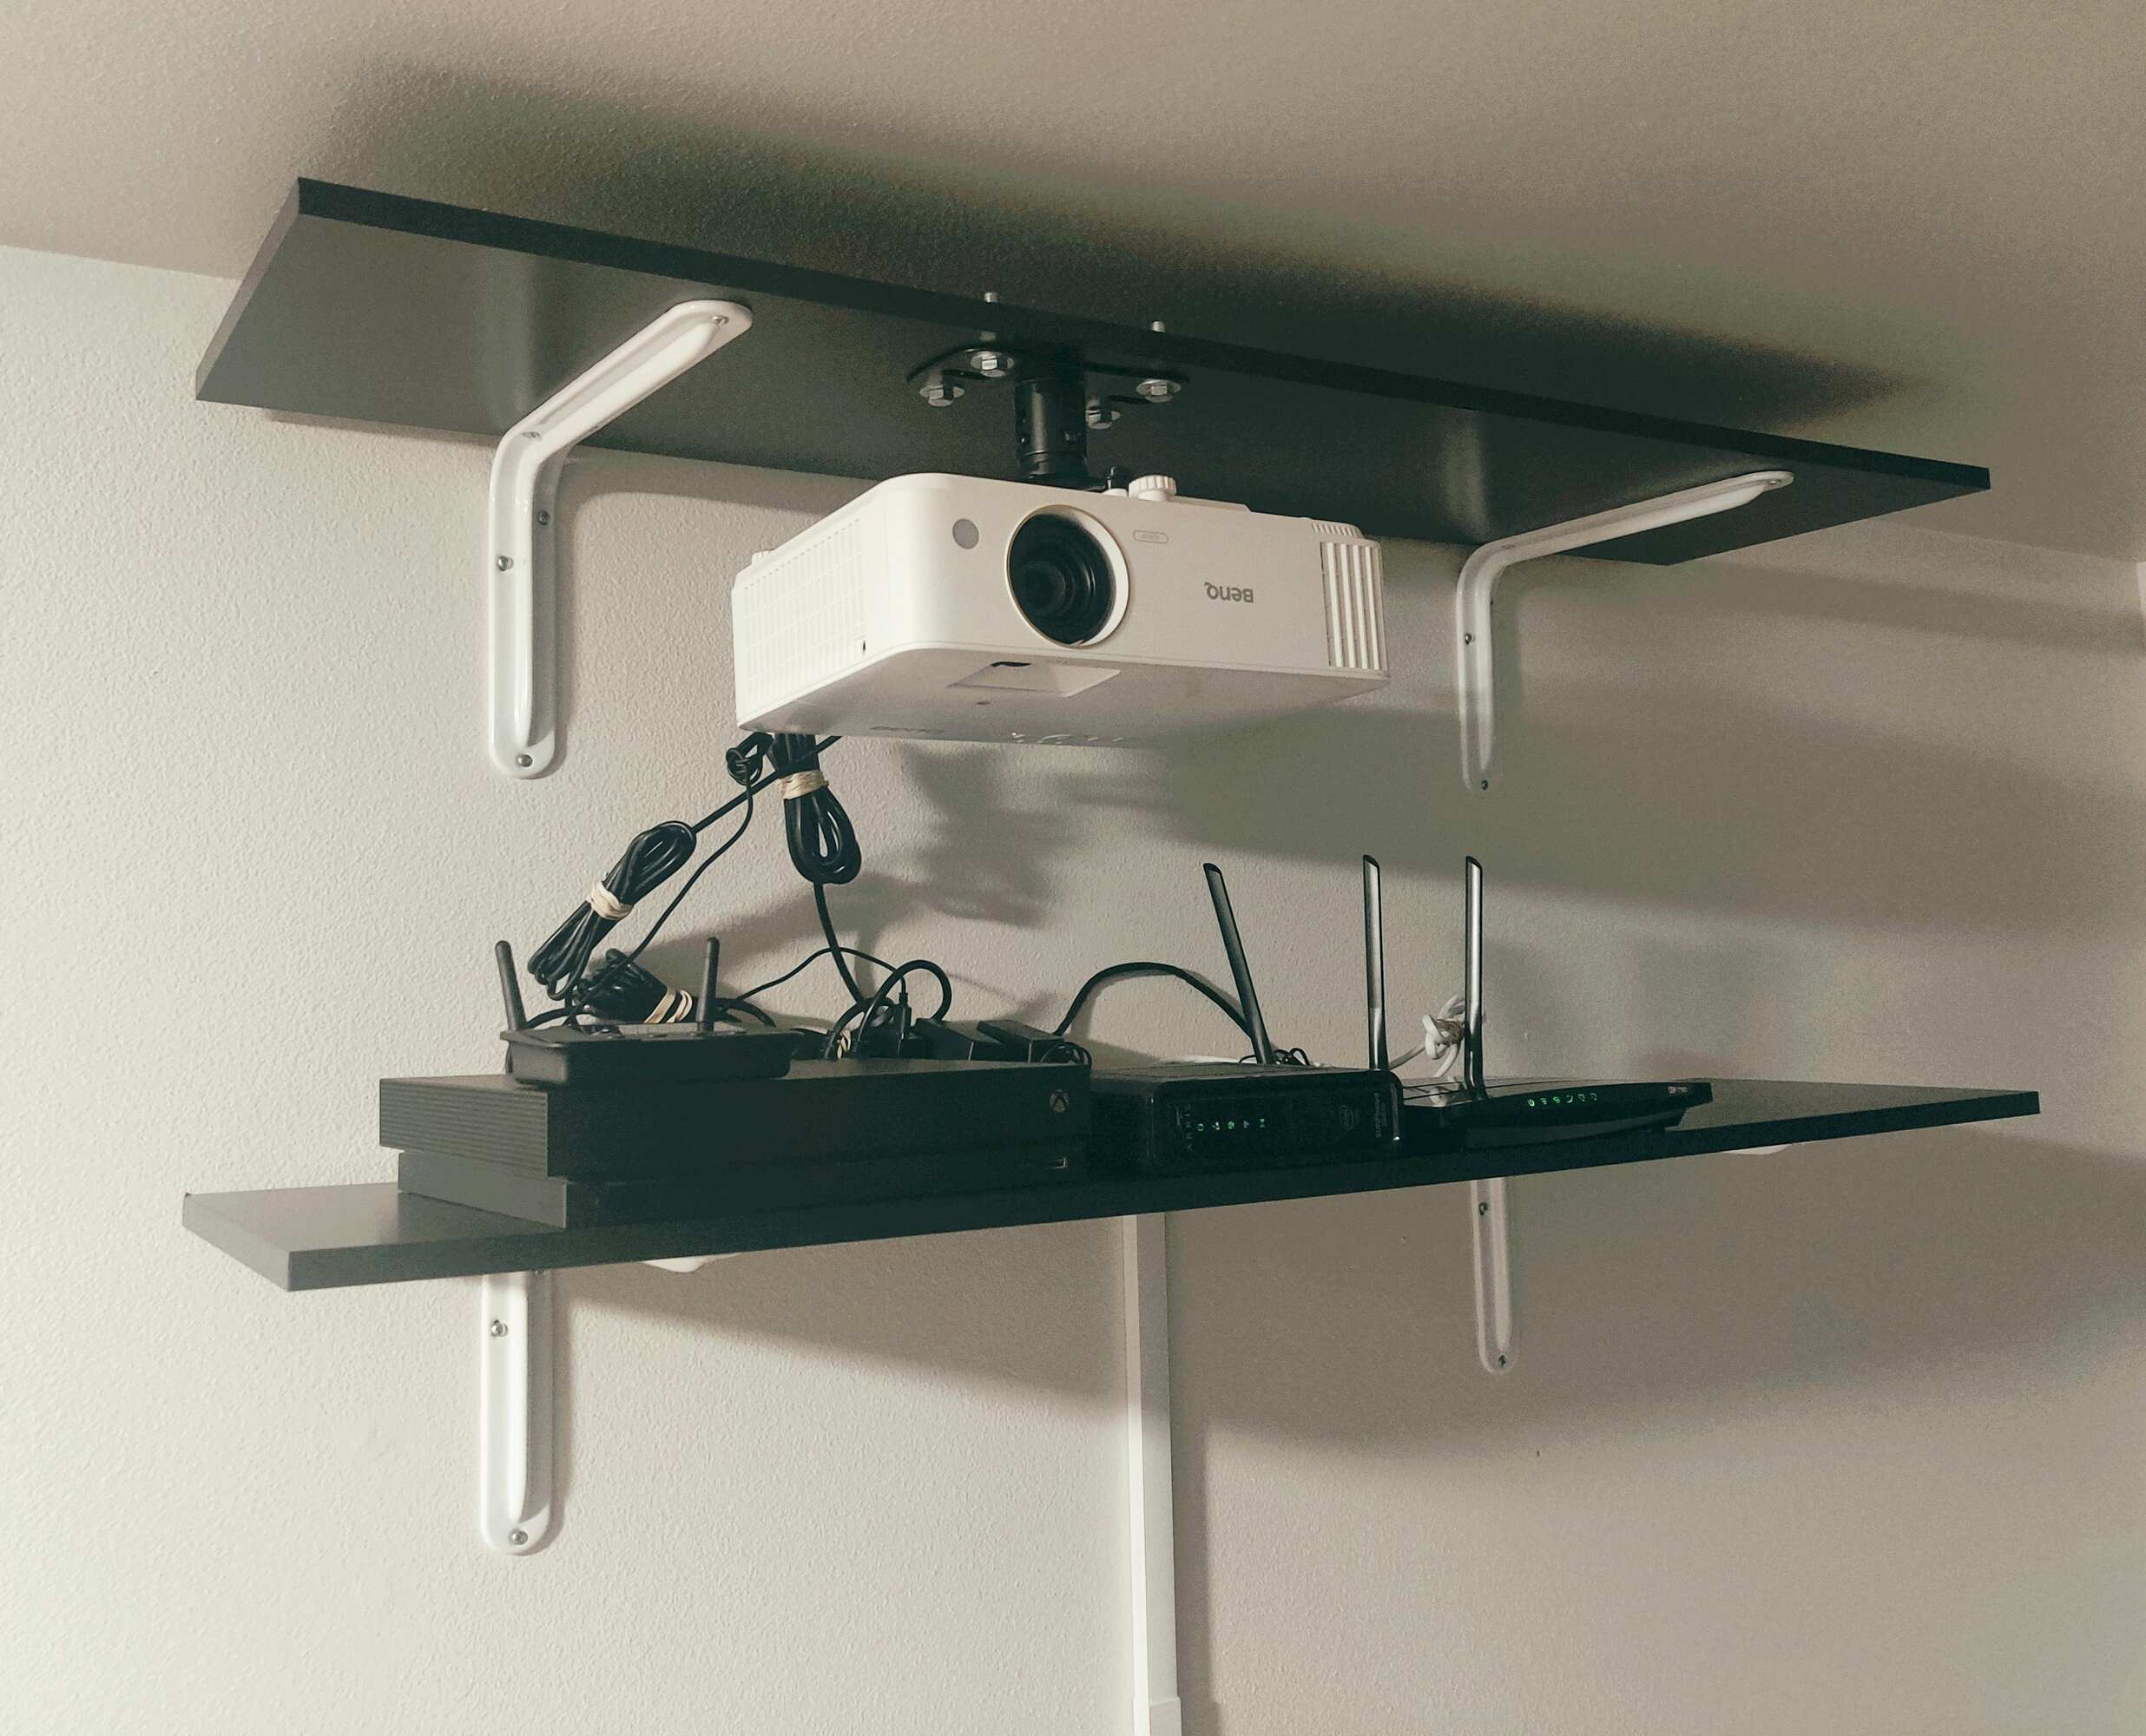
Step 4: Install the mounting brackets
Once you have prepared the ceiling, it’s time to install the mounting brackets. These brackets will serve as the anchor points for your projector screen on the ceiling. Follow these steps to install the mounting brackets:
1. Position the brackets: Take the mounting brackets and position them according to the markings you made on the ceiling. Ensure that the brackets are aligned with the stud locations for maximum stability.
2. Mark the screw holes: With the brackets in position, use a pencil or marker to mark the screw holes on the ceiling. This will guide you during the installation process and ensure accurate placement of the screws.
3. Pre-drill the screw holes: Using a power drill and an appropriate drill bit, pre-drill the screw holes at the marked spots. Make sure the holes are deep enough to accommodate the screws without damaging the ceiling material.
4. Attach the brackets: Align the mounting brackets with the pre-drilled holes and attach them securely to the ceiling using screws. Use a screwdriver or a power drill to tighten the screws, ensuring that the brackets are firmly in place.
5. Check the stability: After attaching the brackets, give them a gentle tug to ensure they are securely fastened to the ceiling. If there is any wobbling or instability, recheck the screws and make adjustments as necessary.
6. Verify bracket alignment: Double-check that the brackets are aligned properly. They should be level with each other and parallel to the wall or screen placement. Adjust them if needed to ensure a balanced installation.
7. Repeat for additional brackets (if necessary): If your projector screen requires multiple brackets for proper support, repeat the above steps for each bracket. Ensure consistent spacing between the brackets and alignment with the ceiling studs.
By following these steps, you will successfully install the mounting brackets for your projector screen. These brackets provide the foundation for a secure and sturdy installation, allowing you to enjoy a hassle-free cinematic experience. With the brackets in place, it’s time to move on to the next step: attaching the projector screen to the ceiling.
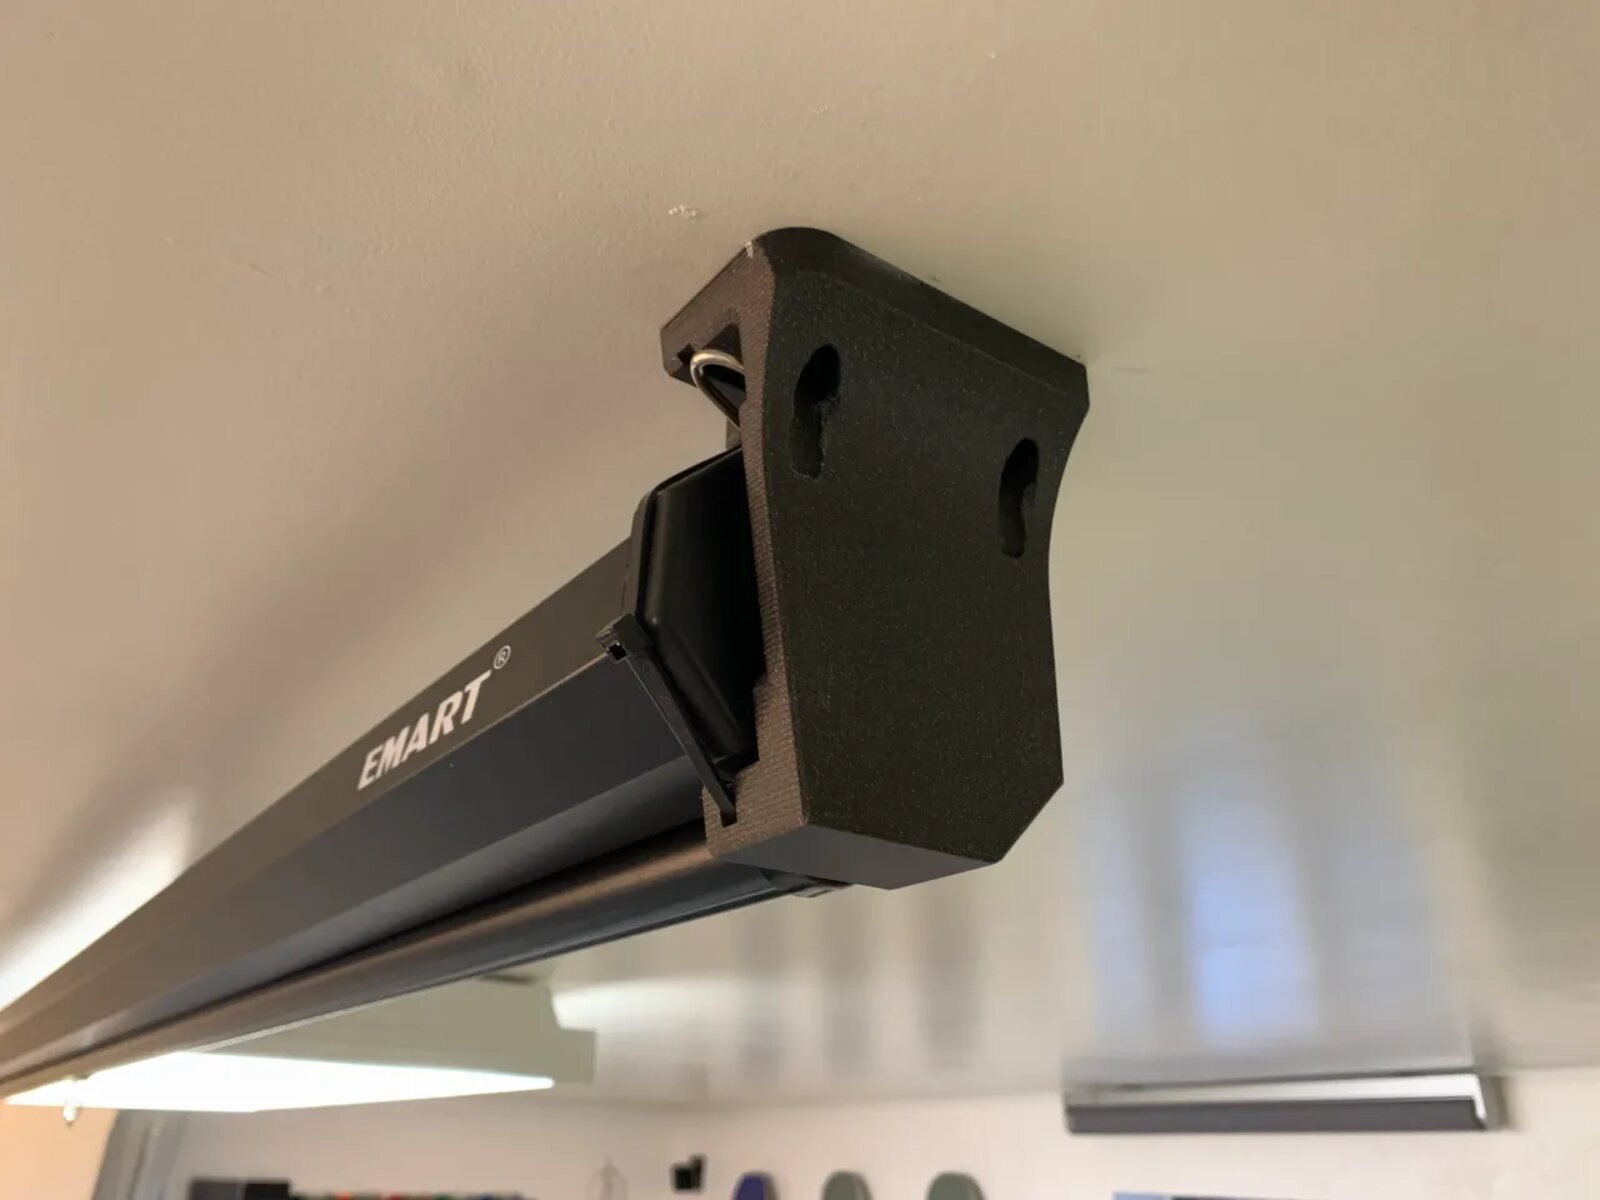
Step 5: Attach the projector screen to the ceiling
With the mounting brackets securely installed, it’s time to attach the projector screen to the ceiling. The method may vary depending on the type of screen you have, so be sure to follow the manufacturer’s instructions. Here are general steps to attach the projector screen to the ceiling:
1. Align the screen: Hold the projector screen in front of the mounting brackets, aligning it with the brackets and ensuring that it fits properly within the designated space.
2. Slide the screen onto the brackets: If your screen has sliding brackets, carefully slide it onto the mounting brackets. Make sure the screen is properly seated and securely attached to the brackets.
3. Secure the screen: If your projector screen comes with additional hardware, such as screws or clips, use them to secure the screen further. Follow the manufacturer’s instructions for the specific attachment method.
4. Test the screen’s functionality: Lower and raise the screen to check its functionality. Ensure that it moves smoothly and locks securely in place. If there are any issues or concerns, consult the manufacturer’s instructions for troubleshooting.
5. Adjust the tension (if applicable): Some projector screens allow you to adjust the tension to ensure a flat and wrinkle-free surface. Follow the manufacturer’s instructions to make any necessary adjustments for optimal screen performance.
6. Verify alignment: Step back and assess the alignment of the screen. Ensure that it is level and centered within the designated space. Make any necessary minor adjustments to achieve the desired positioning.
7. Double-check fastenings: Once the projector screen is securely attached, double-check all fastenings and connections. Ensure that everything is tight and properly aligned for stability.
By following these steps, you can successfully attach your projector screen to the ceiling. A securely mounted screen will allow you to enjoy your favorite movies, games, and presentations with ease. With the screen in place, it’s time to move on to the next step: testing the projector screen’s functionality.
Step 6: Test the projector screen’s functionality
After attaching the projector screen to the ceiling, it’s essential to test its functionality to ensure smooth operation and optimal viewing experience. Follow these steps to test the functionality of your projector screen:
1. Lower the screen: Using the provided controls or mechanisms, lower the screen to its fully extended position. Observe the movement of the screen to ensure it lowers smoothly and without any hitches.
2. Raise the screen: Once the screen is fully extended, raise it back up to its retracted position. Check for any obstructions or resistance during the upward movement of the screen. It should raise effortlessly and lock securely in place.
3. Test the lock mechanism: Ensure that the screen locks properly in both the extended and retracted positions. The lock mechanism should hold the screen securely in place without any sagging or slippage.
4. Verify screen tension: Assess the tension of the screen’s surface. It should be taut and free of wrinkles or creases. If your screen allows for tension adjustments, follow the manufacturer’s instructions to achieve the desired tension level.
5. Check for image distortion: Project a test image or video onto the screen and inspect it for any distortion or artifacts. Look out for any unevenness or hotspots in the projected image. Adjust the screen’s position or tension if necessary to ensure a smooth and uniform projection.
6. Test any additional features: If your projector screen has additional features, such as remote control operation, motorized adjustments, or integrated speakers, test these features to ensure they are functioning correctly. Consult the user manual if you encounter any difficulties.
7. Repeat the tests: It’s a good idea to repeat the above tests a few times to ensure consistent and reliable performance. This will give you confidence in the functionality of your projector screen.
By thoroughly testing your projector screen’s functionality, you can identify any issues early on and address them accordingly. This step ensures that your screen operates smoothly, providing you with a seamless and enjoyable viewing experience. Once you have verified its functionality, you can proceed to the final step: fine-tuning the projector screen’s alignment and settings.
Step 7: Fine-tune the projector screen’s alignment and settings
After testing the functionality of your projector screen, it’s time to fine-tune its alignment and settings to optimize your viewing experience. Here are the steps to follow:
1. Adjust the height and angle: Depending on your seating arrangement and preferences, adjust the height and angle of the projector screen. Ensure that it is positioned at an optimal level for comfortable viewing. This adjustment will provide you with the best line of sight.
2. Check for levelness: Use a level to check if the projector screen is perfectly level. Adjust the screen’s position if necessary to eliminate any noticeable tilts.
3. Make projector adjustments: Access the settings on your projector and make any necessary adjustments to enhance the image quality. This may include adjusting brightness, contrast, color saturation, or aspect ratio. Experiment with these settings to find the optimal balance for your viewing environment.
4. Fine-tune screen tension: If your projector screen allows for tension adjustments, fine-tune the tension to ensure a flat and smooth surface. This adjustment will eliminate any visible wrinkles or imperfections on the screen’s surface.
5. Check for screen border alignment: Ensure that the screen’s borders are aligned properly and parallel to the floor or the designated viewing area. Adjust the position of the screen if needed to achieve a neat and balanced appearance.
6. Test audio and connectivity (if applicable): If your projector screen has integrated speakers or connectivity options, test them to ensure they are functioning properly. Check audio quality and connectivity with external devices if necessary.
7. Verify remote control functionality (if applicable): If your projector screen operates via remote control, test all the remote functions to ensure they are working correctly. This includes raising and lowering the screen, as well as any other remote-operated features the screen may have.
By fine-tuning the alignment and settings of your projector screen, you can create an optimal viewing experience tailored to your preferences. Take your time with this step, as it will help you make the most of your projector screen setup.
With everything in place and fine-tuned, you’re now ready to sit back, relax, and enjoy the immersive experience that your ceiling-mounted projector screen brings to your home theater or living room.
Conclusion
Installing a projector screen on the ceiling is a rewarding project that can transform your entertainment space into a captivating haven for movies, gaming, and presentations. By following the step-by-step guide provided in this article, you can successfully install a projector screen and enjoy an enhanced viewing experience.
In the initial steps, we covered the importance of gathering the necessary tools and materials and determining the ideal location for your projector screen. Taking these factors into consideration ensures optimal viewing angles, proper distance from the seating area, and consideration of the room’s lighting conditions.
We then moved on to preparing the ceiling for installation, locating the ceiling studs, and marking the spots for mounting brackets. With the ceiling prepared, we proceeded to install the mounting brackets securely, ensuring stability and support for the projector screen.
Next, we detailed the process of attaching the projector screen to the ceiling. Whether it involved sliding brackets or additional hardware, it was crucial to follow the manufacturer’s instructions to achieve a secure and proper attachment.
After attaching the screen, it was important to test its functionality. We lowered and raised the screen, checked the lock mechanism, verified the tension, evaluated image quality and distortion, and tested any additional features. This step ensured that the projector screen was operating smoothly and providing the best visual experience possible.
Lastly, we fine-tuned the alignment and settings of the projector screen. Adjusting the height and angle, ensuring levelness, making projector adjustments, fine-tuning screen tension, and checking for screen border alignment allowed us to optimize the viewing experience.
With the installation complete and the projector screen aligned and functioning optimally, you can now sit back and enjoy the immersive cinematic experience right in the comfort of your own home. So gather your favorite movies, invite your friends for gaming sessions, or prepare for impactful presentations – your ceiling-mounted projector screen will bring entertainment to a whole new level.