Introduction
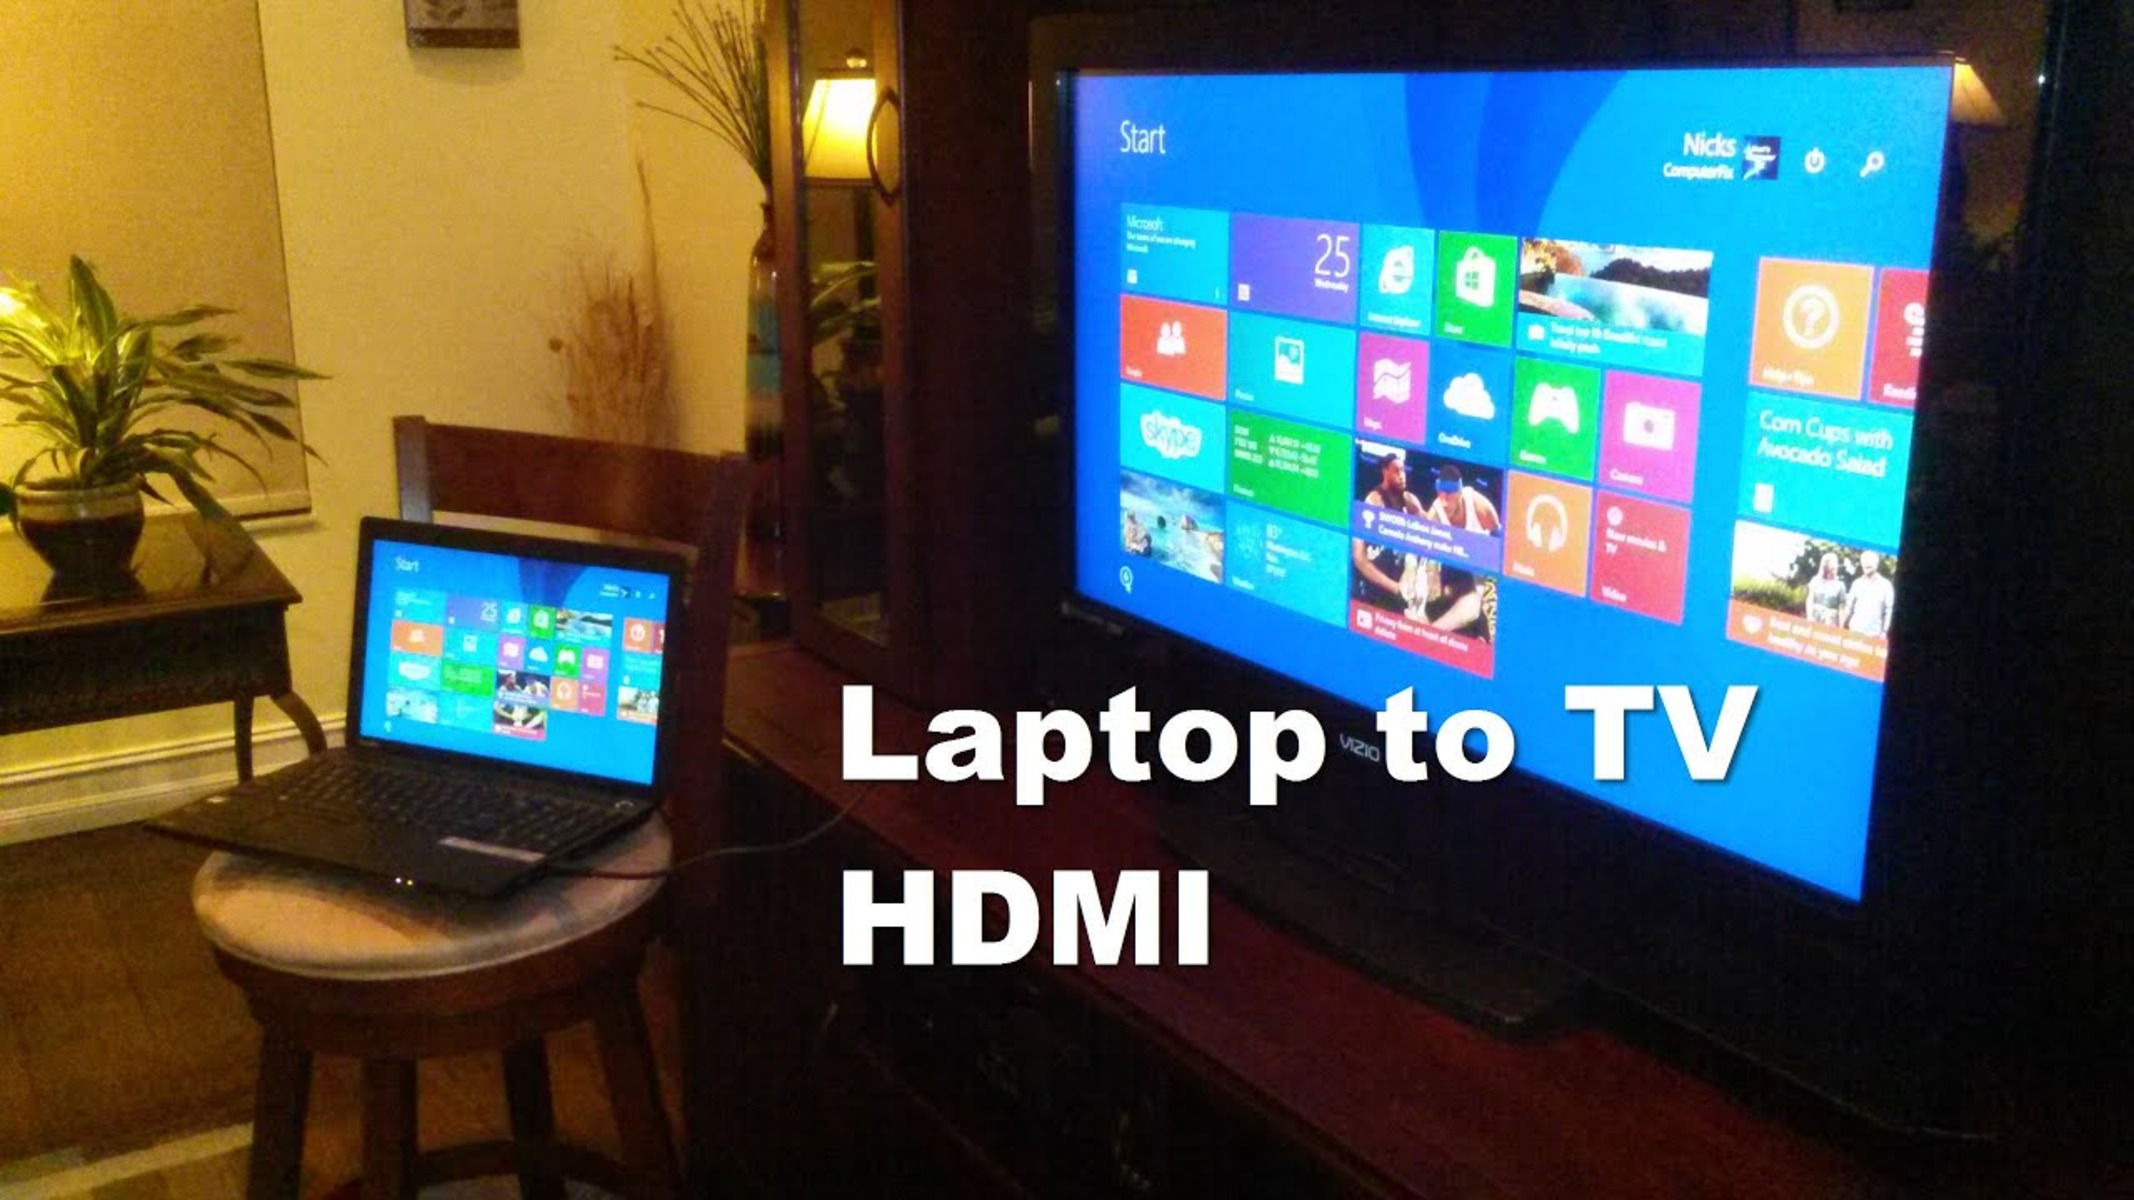
Connecting your laptop to a TV using an HDMI cable is a simple and effective way to enjoy your favorite movies, videos, or presentations on a bigger screen. Whether you want to stream online content, play games, or give a presentation, this method allows you to easily share your laptop’s display on a TV and enjoy a more immersive experience.
With an HDMI connection, you can transmit both high-definition video and audio signals from your laptop to your TV, eliminating the need for additional cables and ensuring a seamless viewing experience. This makes it a popular choice for those looking to enhance their entertainment options or make a bigger impact during business meetings.
In this guide, we will walk you through the step-by-step process of hooking up your laptop to a TV using an HDMI cable. We will cover the materials needed, the connection process, and how to adjust the display settings for the best viewing experience.
So, if you’re ready to take your laptop display to the big screen, grab your HDMI cable and let’s dive in!
Materials Needed
Before you can connect your laptop to a TV using an HDMI cable, there are a few materials you will need to gather. Here’s what you’ll need:
- Laptop: Make sure you have a laptop with an HDMI port. Most modern laptops come equipped with HDMI ports, but it’s always a good idea to double-check.
- TV: Of course, you’ll need a TV with an available HDMI input. Almost all modern TVs have at least one HDMI input, but if you’re unsure, consult your TV’s user manual.
- HDMI cable: This is the essential component for connecting your laptop to the TV. Make sure you have an HDMI cable with the appropriate length to reach from your laptop to the TV.
With these materials in hand, you’re ready to proceed with the connection process. Ensure that your laptop and TV are powered on and ready to go.
Now that you have the necessary materials, let’s move on to the next step: checking the ports on your laptop and TV.
Step 1: Check the ports on your laptop and TV
Before you can connect your laptop to a TV using an HDMI cable, you need to ensure that both your laptop and TV have the necessary ports. This step will help you identify the ports and ensure a successful connection.
First, take a look at your laptop. Most laptops have an HDMI port, which is typically rectangular in shape and labeled as “HDMI.” It is usually located on the side or back of the laptop. If you’re having trouble finding it, refer to your laptop’s user manual or do a quick online search for your laptop model.
Next, move on to your TV. Look for the HDMI inputs. They are also rectangular in shape and are usually located on the back or sides of the TV. The number of HDMI inputs can vary depending on the TV model, so make sure to identify the correct HDMI input where you’ll be connecting your laptop.
Once you’ve confirmed that your laptop and TV have the required ports, you’re ready to move on to the next step: acquiring an HDMI cable.
Note: If your laptop or TV doesn’t have an HDMI port, don’t worry. There are alternative options available, such as using a VGA or DVI cable, or using a HDMI adapter to connect to a different type of port on your devices.
Now that you’ve checked the ports on your laptop and TV, let’s proceed to the next step: getting an HDMI cable.
Step 2: Get an HDMI cable
Now that you have confirmed that your laptop and TV have HDMI ports, it’s time to get an HDMI cable. This cable is essential for connecting your laptop to the TV and transferring both the video and audio signals.
You can find HDMI cables at most electronics stores, online retailers, or even at local computer accessory shops. When purchasing an HDMI cable, make sure to consider the length you need. Measure the distance between your laptop and TV to determine the appropriate cable length. It’s always a good idea to get a slightly longer cable to allow for flexibility in positioning.
When it comes to HDMI cables, there are different versions available, such as HDMI 1.4, HDMI 2.0, or HDMI 2.1. The version you choose will depend on the capabilities of your laptop and TV. If you’re unsure, opt for a high-speed HDMI cable that supports the latest standards to ensure compatibility with future devices.
Additionally, consider the quality of the cable. While it’s not necessary to splurge on expensive HDMI cables, it’s recommended to choose a cable that is well-made and of decent quality to avoid any signal loss or interference.
Once you have obtained the HDMI cable, you’re one step closer to connecting your laptop to the TV. The next step is to physically connect the HDMI cable to your laptop, which we will cover in the next section.
Now that you have acquired an HDMI cable, you’re ready for the next step: connecting the HDMI cable to your laptop.
Step 3: Connect the HDMI cable to your laptop
Now that you have the HDMI cable in hand, it’s time to connect it to your laptop. Follow these simple steps:
- Locate the HDMI port on your laptop. It is usually on the side or back, labeled as “HDMI”.
- Gently insert one end of the HDMI cable into the HDMI port of your laptop. Make sure it is firmly connected, but be careful not to force it.
- Once the HDMI cable is connected to your laptop, move on to the next step: connecting it to your TV.
By connecting the HDMI cable to your laptop, you have established the first part of the connection. The other end of the cable will be connected to the TV in the next step.
Note: Some laptops may require you to adjust the display settings before the video signal is transmitted to the TV. If you’re not seeing any display on the TV after connecting the HDMI cable, don’t worry. We will cover adjusting the display settings in a later step.
Now that you have successfully connected the HDMI cable to your laptop, let’s move on to the next step: connecting the HDMI cable to your TV.
Step 4: Connect the HDMI cable to your TV
With the HDMI cable securely connected to your laptop, it’s time to connect the other end of the cable to your TV. Follow these simple steps:
- Locate the HDMI input on your TV. It is usually found on the back or side of the TV and labeled as “HDMI”.
- Insert the other end of the HDMI cable into the HDMI input on your TV. Ensure it is firmly connected, but be gentle and avoid applying excessive force.
- Once the HDMI cable is connected to your TV, you’re almost ready to enjoy your laptop display on the big screen. There are a few more steps to go.
By connecting the HDMI cable to your TV, you have completed the physical connection between your laptop and TV. The next steps involve adjusting the display settings on your laptop and selecting the correct input on your TV to ensure a seamless connection and optimal viewing experience.
Now that you have successfully connected the HDMI cable to your TV, let’s move on to the next step: adjusting the display settings on your laptop.
Step 5: Adjust display settings on your laptop
Once the HDMI cable is connected between your laptop and TV, it’s time to adjust the display settings on your laptop to ensure that the content is properly shown on the TV screen. Follow these steps:
- On your laptop, press the “Windows” key and the “P” key simultaneously. This will open the display menu.
- A sidebar will appear with different display options. Select “Duplicate” or “Second screen only” to mirror your laptop screen onto the TV. This will ensure that whatever is displayed on your laptop is also shown on the TV.
- Once you have selected the desired display option, give your laptop a moment to adjust to the new settings. The display should now appear on your TV screen.
In some cases, your laptop might automatically detect the TV and adjust the display settings accordingly. However, if you’re not seeing anything on the TV screen, you may need to manually adjust the display settings as mentioned above.
It’s important to note that depending on your laptop and operating system, the steps to adjust the display settings may vary slightly. If needed, refer to your laptop’s user manual or search online for specific instructions based on your laptop model and operating system.
Now that you have successfully adjusted the display settings on your laptop, let’s move on to the next step: selecting the correct input on your TV.
Step 6: Select the correct input on your TV
After adjusting the display settings on your laptop, it’s time to select the correct input on your TV to ensure that it receives the signal from your laptop. Follow these steps:
- Take your TV remote and locate the “Input” or “Source” button. This button may vary depending on your TV model.
- Press the “Input” or “Source” button on your remote to open the input selection menu.
- Using the arrow keys on your remote, navigate through the options until you find the HDMI input corresponding to the HDMI port you connected your laptop to.
- Once you’ve selected the correct HDMI input, press the “OK” or “Enter” button on your remote to confirm the selection.
Your TV should now display the content from your laptop. If not, make sure that both your laptop and TV are turned on and that the HDMI cable is securely connected to both devices. Additionally, double-check that you have selected the correct input on your TV and that the display settings on your laptop are properly adjusted.
If you’re still not seeing any display on your TV, try restarting both your laptop and TV and going through the previous steps again.
Now that you have successfully selected the correct input on your TV, you’re almost ready to enjoy your laptop display on the big screen. There’s just one more step to go.
Let’s move on to the final step: enjoying your laptop display on the TV!
Step 7: Enjoy your laptop display on the TV
Congratulations! You have successfully connected your laptop to the TV using an HDMI cable. Now, it’s time to sit back, relax, and enjoy your laptop display on the big screen. Here’s what you can do:
- Stream movies and TV shows: With your laptop connected to the TV, you can easily stream your favorite movies and TV shows from popular streaming platforms. Enjoy the cinematic experience from the comfort of your living room.
- Play games: Take your gaming experience to the next level by playing games on a larger screen. Whether you’re into action-packed adventures or immersive role-playing games, the bigger display will enhance your gaming experience.
- Give presentations: If you need to deliver a presentation, connecting your laptop to a TV can help you showcase your slides or multimedia content to a larger audience. This is particularly useful for classrooms, boardrooms, or business conferences.
- Share photos or videos: Easily share your memorable photos or videos with friends and family by displaying them on the TV. Relive your favorite moments and create a shared viewing experience.
Remember to adjust the volume settings on your TV to ensure optimal audio playback. You can control the volume either through your laptop’s volume controls or by using the TV remote.
When you’re done using the TV as an extended display, you can simply disconnect the HDMI cable from your laptop and TV. Make sure to properly disconnect the HDMI cable without applying excessive force.
Now that you’re all set to enjoy your laptop display on the TV, make the most out of this connection and explore various multimedia possibilities.
Enjoy!
Conclusion
Connecting your laptop to a TV using an HDMI cable opens up a world of possibilities for enjoying your favorite content on a larger screen. Whether you want to watch movies, play games, give presentations, or share memories with loved ones, this simple and effective method allows you to enhance your viewing experience.
In this guide, we covered the step-by-step process of hooking up your laptop to a TV using an HDMI cable. We started by checking the ports on your laptop and TV to ensure compatibility. Then, we discussed the importance of acquiring an HDMI cable and provided tips on choosing the appropriate one. After that, we walked through connecting the HDMI cable to both your laptop and TV. We also covered adjusting the display settings on your laptop and selecting the correct input on your TV to establish the connection. Finally, we highlighted the numerous possibilities that come with enjoying your laptop display on the TV.
Remember, while this guide focused on connecting your laptop to a TV using an HDMI cable, there are alternative methods available if you don’t have an HDMI port. Explore other connection options based on your specific laptop and TV configurations.
Now that you have the knowledge and the steps to connect your laptop to a TV, go ahead and give it a try. Experience the benefits of a larger screen, improved audio, and enhanced viewing options. Whether you’re enjoying movies, gaming, or sharing content with others, connecting your laptop to a TV using an HDMI cable is a convenient way to enhance your entertainment and productivity.
So grab your HDMI cable, follow the steps outlined in this guide, and enjoy your laptop display on the big screen!