Introduction
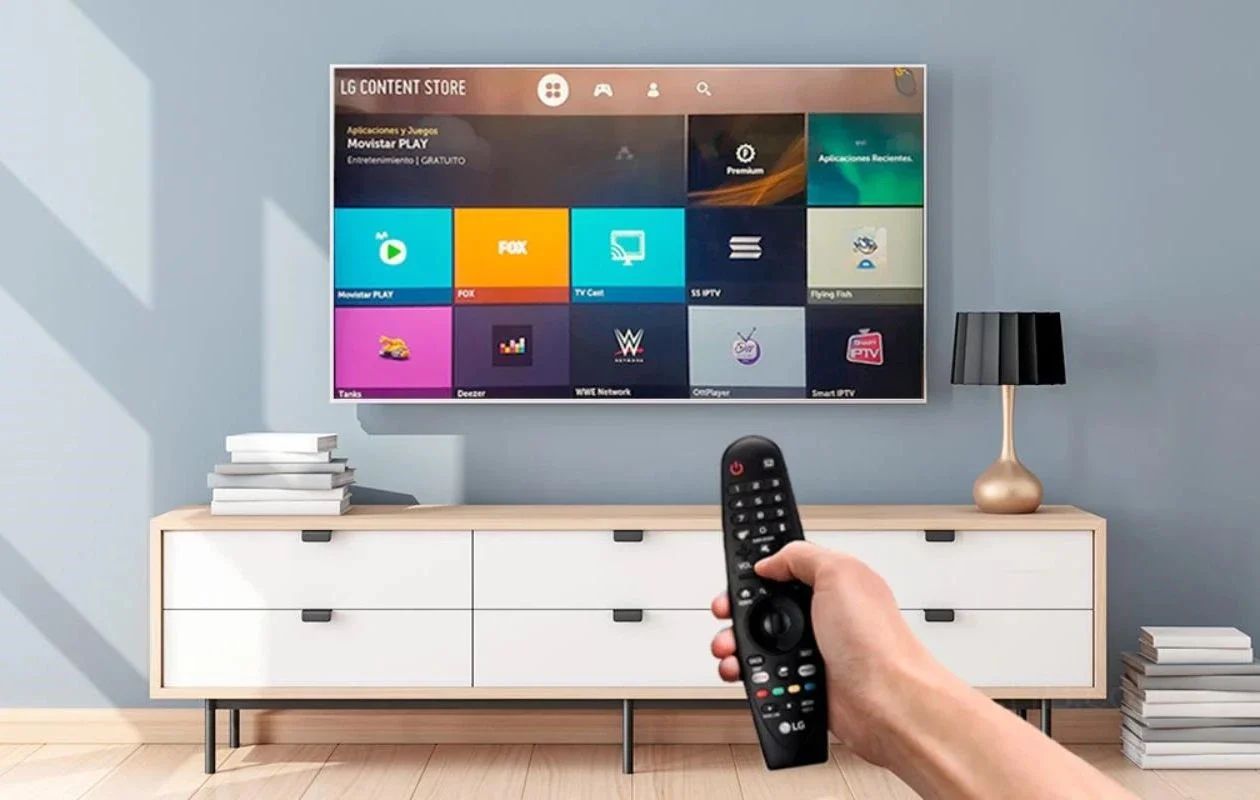
Hooking up cable to a Smart TV can open up a world of entertainment options, allowing you to access a wide range of live TV channels and on-demand content. Whether you’re a sports enthusiast, a movie lover, or a binge-watcher of popular TV shows, connecting your cable to a Smart TV can be a game-changer.
Before we dive into the steps of how to hook up cable to a Smart TV, it’s important to understand the benefits. With cable connection, you gain access to a wealth of programming options, including local channels, sports networks, premium channels, and more. Additionally, many cable providers offer advanced features such as DVR functionality, On-Demand libraries, and interactive menus.
Setting up cable on your Smart TV not only provides convenience, but it also ensures that you can enjoy your favorite shows and movies in high-definition quality, with the ability to pause, rewind, and record live TV. Plus, with the integration of streaming services on Smart TVs, you can access platforms like Netflix, Hulu, and Amazon Prime Video all in one place.
In this guide, we will walk you through the step-by-step process of hooking up cable to your Smart TV. Whether you have a cable box or a cable card, we will cover all the essentials to ensure a seamless connection and an optimal viewing experience. So let’s get started!
Step 1: Gather the necessary equipment
Before you begin the process of hooking up your cable to a Smart TV, it’s essential to gather all the necessary equipment. Here’s a list of the items you’ll need:
- A cable box or cable card: Depending on your cable provider, you may need either a cable box or a cable card. The cable box acts as a receiver that decodes the cable signal and delivers it to your TV. A cable card, on the other hand, is a small card that you can insert directly into your Smart TV, eliminating the need for a separate box.
- HDMI cable: This cable is used to connect the cable box or cable card to your Smart TV. Look for an HDMI cable with the appropriate length, ensuring it can reach from your TV to the cable box or card.
- Power cables: Make sure you have the necessary power cables to connect your cable box or cable card to a power outlet. Most cable boxes and cards come with their own power cables.
- Remote control: You’ll need a remote control to navigate through the cable channels and to control the cable box or cable card. If your cable provider gives you a universal remote, make sure it’s compatible with your Smart TV.
Once you have collected all the necessary equipment, you’re ready to proceed to the next step. Ensuring that you have everything on hand will make the setup process much smoother and more efficient.
Step 2: Identify the cable connectors
After gathering the necessary equipment, the next step is to identify the cable connectors that you’ll be working with. Understanding the different connectors will enable you to make the correct connections for a seamless cable setup. Here are the common cable connectors you may encounter:
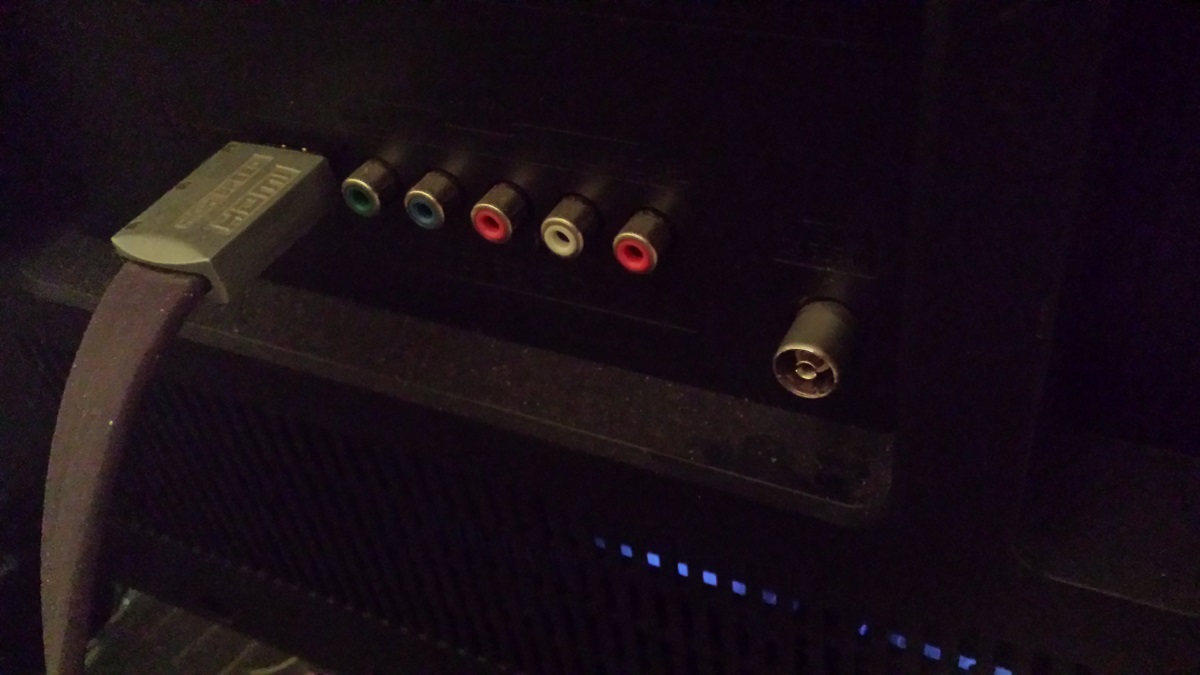
- HDMI (High-Definition Multimedia Interface): HDMI is the most common type of connector used for connecting cable boxes or cable cards to Smart TVs. It carries both high-quality audio and video signals, delivering a clear and vibrant viewing experience.
- Coaxial cable connector: This connector is used to connect the cable box or cable card to the cable wall outlet. It’s a threaded connector that screws onto the coaxial input port on the back of the cable box or cable card.
- Ethernet port: Some cable boxes or cable cards may have an Ethernet port for a wired internet connection. This port allows you to connect your cable box to your home network, enabling access to internet-based services or On-Demand content.
- USB port: Certain cable boxes may have USB ports, which can be used to connect external devices such as storage devices or wireless adapters.
- Audio/Video ports: Depending on the cable box model, you may come across other audio/video ports like RCA (red, white, yellow) or component video (red, green, blue) connectors. These ports are usually used for older TVs that don’t have HDMI inputs.
By familiarizing yourself with these connectors and their uses, you’ll be well-prepared to make the appropriate connections in the following steps. Take a moment to examine the cable box or cable card, identifying the available connectors and their locations.
Step 3: Connect the cable to the Smart TV
Now that you have gathered the necessary equipment and identified the cable connectors, it’s time to connect the cable to your Smart TV. Follow these steps to ensure a proper connection:
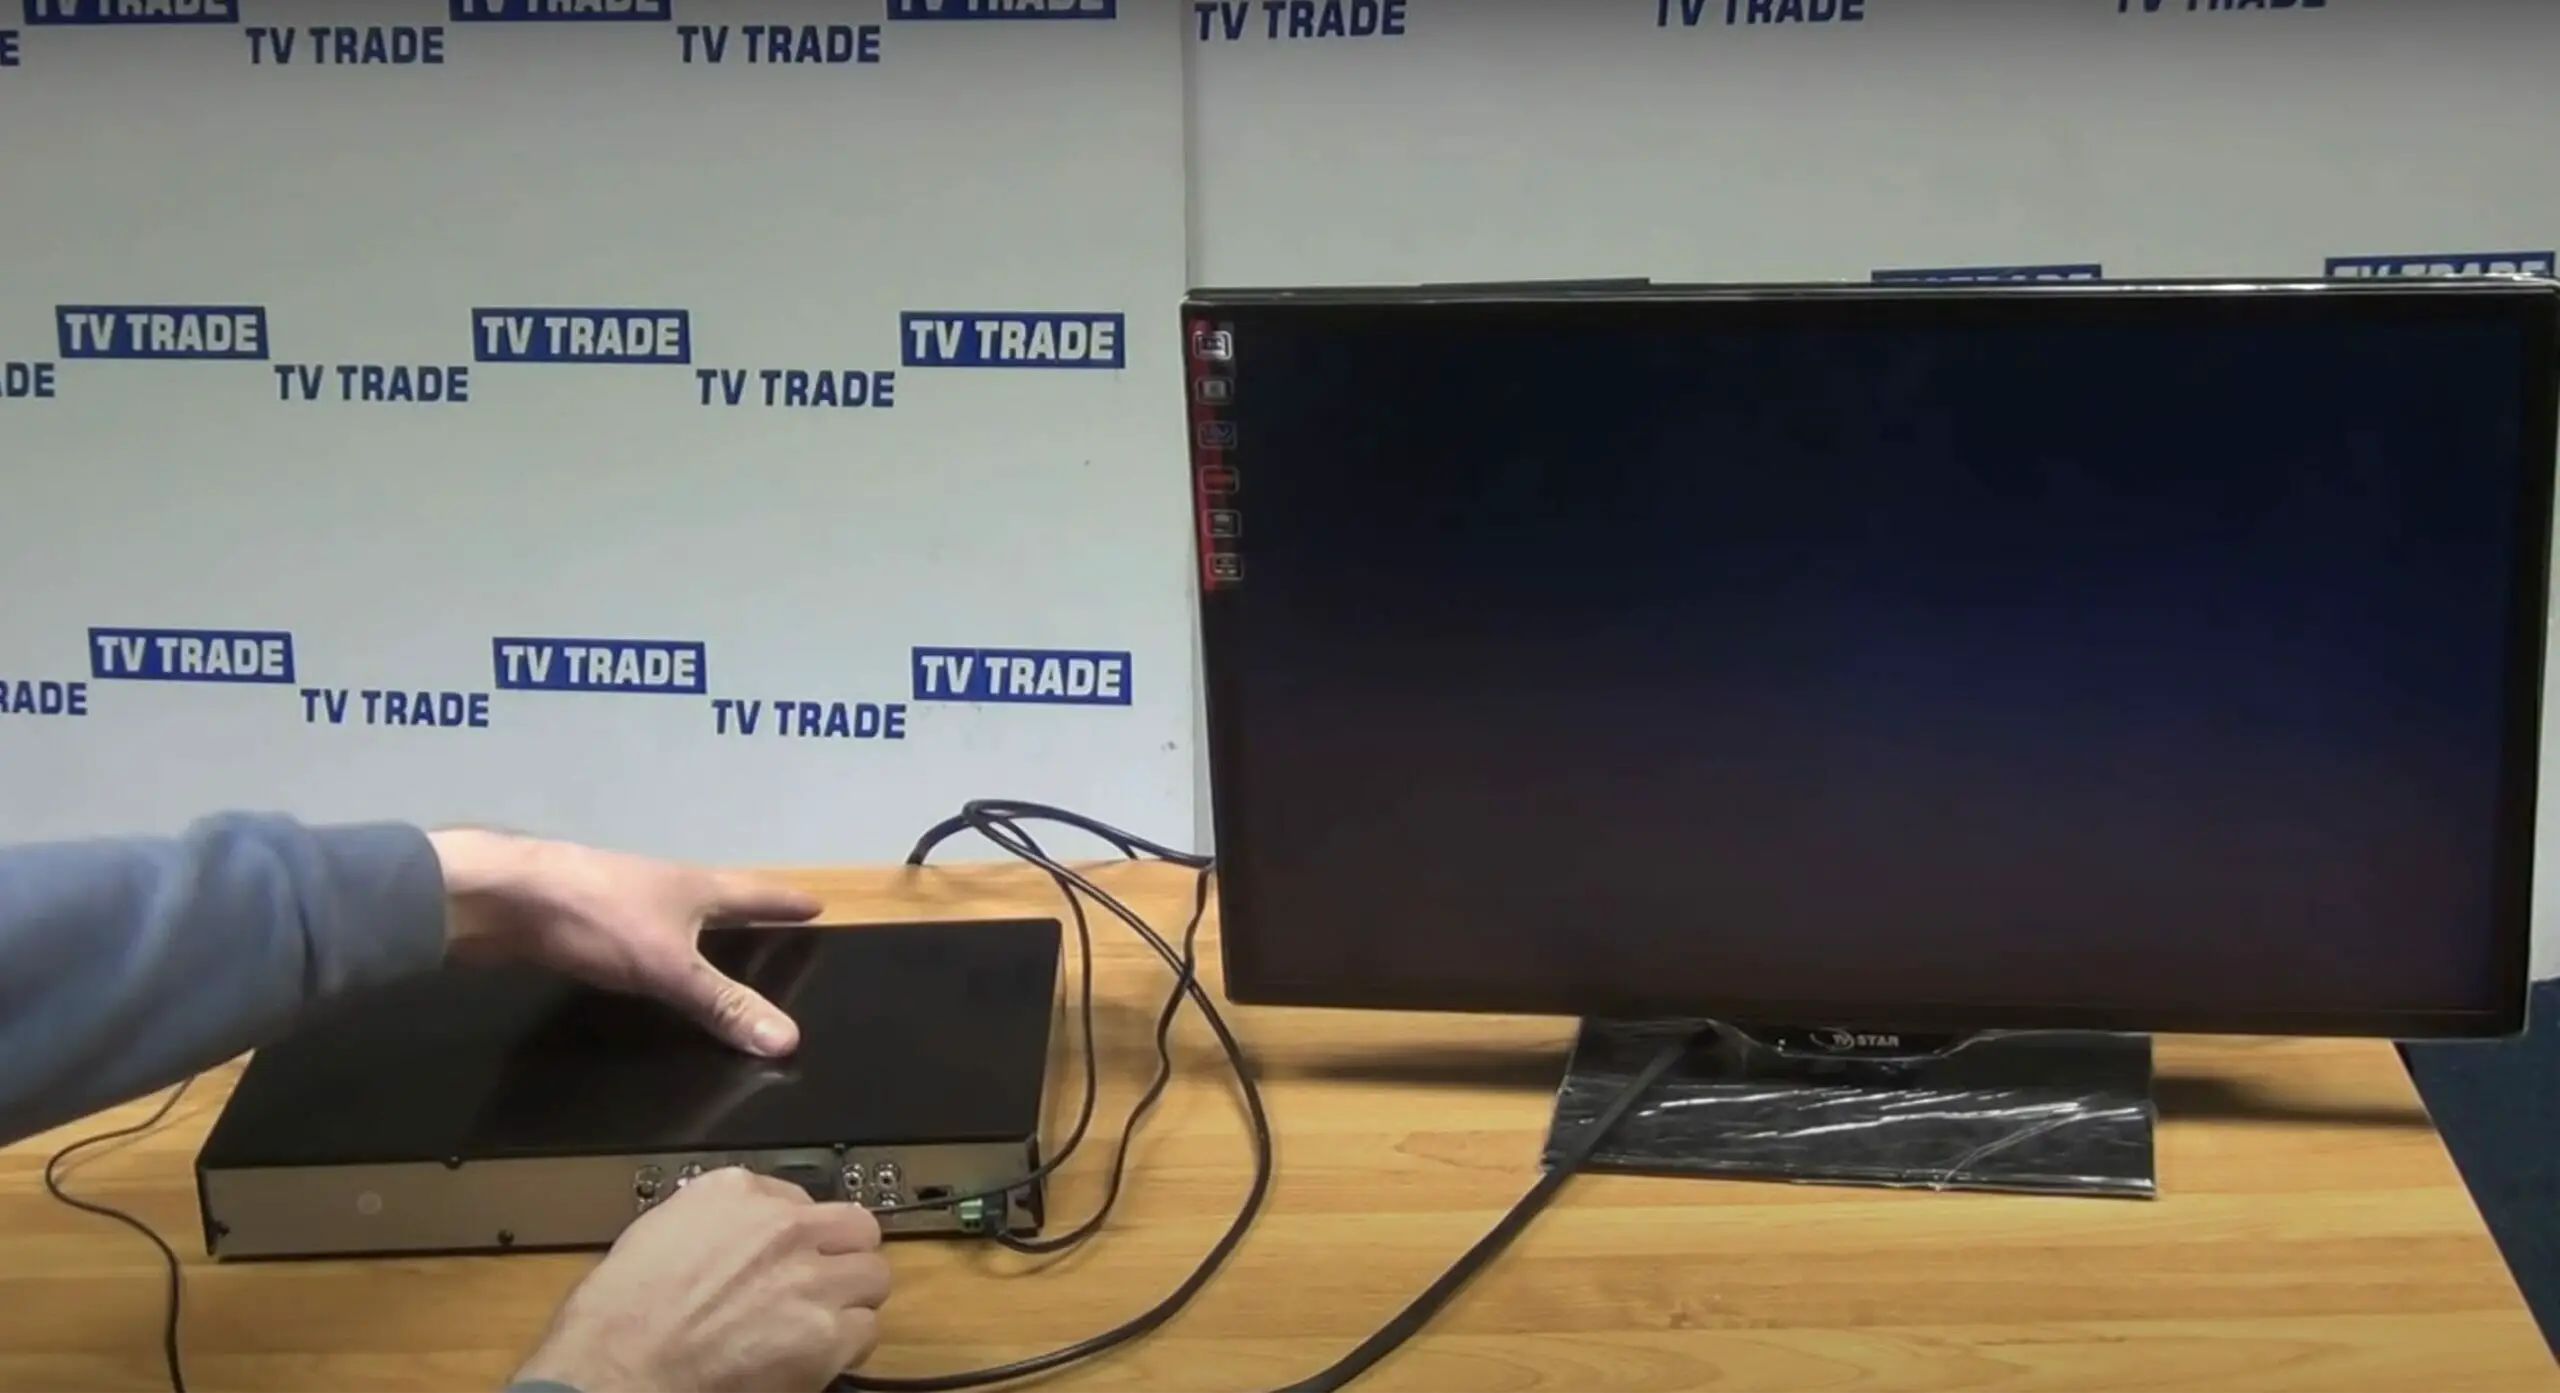
- Locate the HDMI port on your Smart TV: Look for an HDMI input port on the back or side panel of your TV. It is usually labeled as “HDMI” and numbered accordingly.
- Connect one end of the HDMI cable to the HDMI output port on the cable box or cable card.
- Insert the other end of the HDMI cable into the HDMI input port on your Smart TV. Make sure to remember the HDMI input number that corresponds to the connected cable.
- If you have a cable box, connect it to a power outlet using the power cable. Ensure that it is securely plugged in.
- Turn on your Smart TV and use the TV remote to select the correct HDMI input. Most Smart TVs have a dedicated “Input” or “Source” button on the remote control to cycle through the available inputs. Select the HDMI input number that matches the cable connection.
- If prompted, follow the on-screen instructions on your Smart TV to complete the initial setup for the cable connection.
Once you have successfully connected the cable to your Smart TV, you should see the cable signal appear on the screen. This indicates that your Smart TV is receiving the cable channels.
Note: If you are using a cable card instead of a cable box, the connection process might differ slightly. Refer to the user manual of your Smart TV or contact your cable provider for specific instructions.
With the cable successfully connected to your Smart TV, you’re ready to move on to the next step of setting up the cable provider.
Step 4: Set up the cable provider
After connecting the cable to your Smart TV, the next step is to set up your cable provider. This involves activating your cable service and configuring the settings on your Smart TV. Follow these steps to ensure a smooth cable provider setup:
- Contact your cable provider: Get in touch with your cable provider to activate your cable service. They will guide you through the activation process and may provide you with specific instructions or a unique activation code.
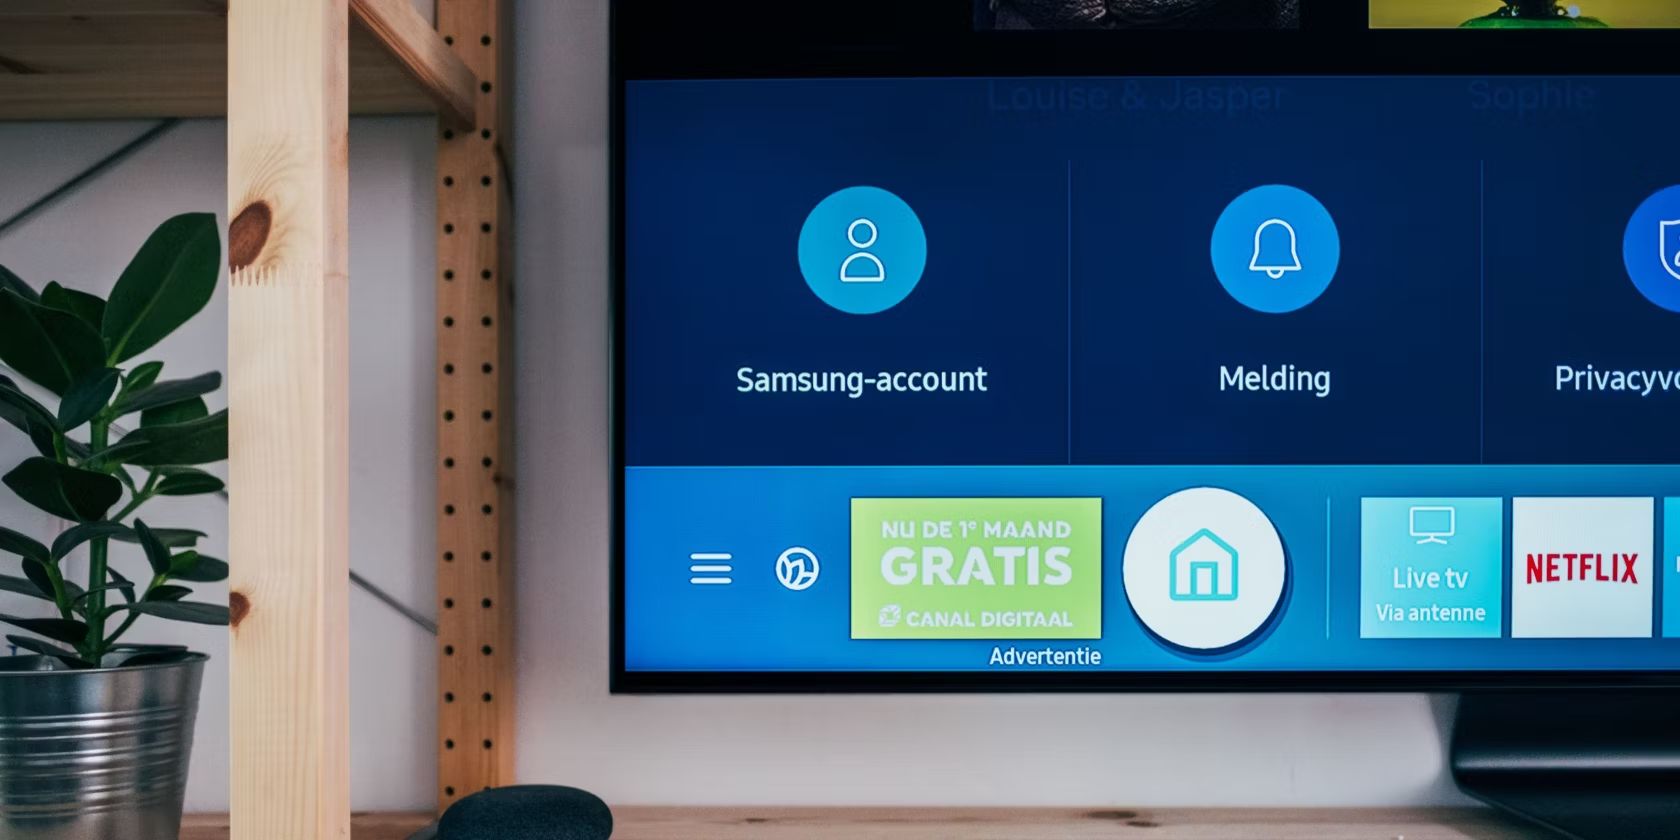
- Access the cable provider settings: Using your Smart TV remote, navigate to the settings menu. Look for the option related to cable or TV provider setup. Depending on your TV model and interface, this option may be labeled differently.
- Select your cable provider: In the cable provider settings, you will see a list of available cable providers. Choose your specific cable provider from the list.
- Enter the activation code: If prompted, enter the activation code provided by your cable provider. This code typically consists of a series of alphanumeric characters.
- Complete the setup process: Follow the on-screen instructions to complete the cable provider setup. This may involve agreeing to terms and conditions, selecting your preferred language, and confirming your subscription details.
- Wait for the setup process to finish: Once you have completed the setup process, your Smart TV will automatically configure the necessary channels and settings based on your cable subscription.
It’s important to note that the specific steps and options for setting up the cable provider can vary depending on the TV model and interface. If you encounter any issues or need further assistance, don’t hesitate to reach out to your cable provider’s customer support.
Once you have successfully completed the cable provider setup, you’re one step closer to enjoying your favorite cable channels and programming on your Smart TV.
Step 5: Scan for channels
After setting up your cable provider, the next step is to scan for channels on your Smart TV. This process allows your TV to detect and store all available cable channels for easy access. Here’s how to scan for channels:
- Access the channel setup menu: Using your Smart TV remote, navigate to the settings or setup menu. Look for the option related to channel setup or channel scan. The exact location of this option may vary depending on your TV model and interface.
- Select the channel scan option: Once you have found the channel setup menu, select the channel scan option. This will initiate the automatic channel scanning process on your Smart TV.
- Choose the scan type: Depending on your TV, you may have the option to perform a full scan or a quick scan. A full scan will search for all available channels, whereas a quick scan will only search for the most popular channels. It’s recommended to choose the full scan for a comprehensive channel lineup.
- Start the channel scan: Once you have chosen the scan type, start the channel scan process. Your Smart TV will begin searching for available channels by tuning into different frequencies and detecting the signals.
- Wait for the channel scan to complete: The scanning process may take a few minutes to complete. During this time, your Smart TV will display a progress bar or indicator. Avoid switching off your TV or interrupting the process to ensure accurate channel detection.
- Save the scanned channels: Once the channel scan is finished, your Smart TV will display a list of the detected channels. Review the list and save the channels to your TV’s channel lineup. This step may involve selecting the desired channels and choosing an option to save or confirm the selection.
After you have completed the channel scanning process, you can now easily navigate through the available cable channels using your TV’s remote control. Enjoy exploring the variety of programming options and discovering new shows and content!
Step 6: Test the cable connection
Once you have scanned for channels and saved them to your Smart TV’s lineup, it’s time to test the cable connection to ensure everything is working properly. This step allows you to verify that you can access and watch your cable channels without any issues. Follow these steps to test the cable connection:
- Switch to a cable channel: Using your Smart TV remote, navigate to the channel guide or channel list. Select a cable channel that you would like to watch.
- Check for a clear picture and sound: Once you have tuned into a cable channel, ensure that you have a clear picture and that the sound is coming through as expected. Pay attention to any distortions, fuzzy images, or audio problems.
- Test different channels: Channel surf through a variety of channels to ensure that you can access and watch different cable channels without any issues. Use the remote control to change channels and check the quality and reliability of each one.
- Try additional features: If your cable provider offers additional features like On-Demand content or DVR functionality, test these features to ensure they are working properly. Access the On-Demand library and try playing a show or movie, or use the DVR functions to record and play back a program.
- Check for remote control functionality: Ensure that your Smart TV’s remote control is working correctly with the cable connection. Test the remote by changing channels, adjusting the volume, and accessing any other cable-specific functions.
- Resolve any issues: If you encounter any issues during the testing process, such as channels not displaying or poor quality, check your cable connections and consult the troubleshooting guide provided by your cable provider. In some cases, you may need to contact customer support for further assistance.
By testing the cable connection, you can ensure that everything is functioning as expected and that you can fully enjoy the array of cable channels and features available on your Smart TV. If everything checks out, congratulations! You’re now ready to sit back, relax, and immerse yourself in the endless entertainment provided by your cable connection.
Conclusion
Hooking up cable to a Smart TV opens up a world of entertainment right in your living room. By following the step-by-step process outlined in this guide, you can successfully connect your cable to your Smart TV and enjoy a wide range of live TV channels and on-demand content.
We began by emphasizing the importance of gathering the necessary equipment, including a cable box or cable card, an HDMI cable, power cables, and a remote control. Once you have everything in place, it’s essential to identify the various cable connectors, such as HDMI, coaxial, Ethernet, USB, and audio/video ports.
Afterward, we discussed how to connect the cable to your Smart TV by choosing the right HDMI input and ensuring a secure and proper connection. We then moved on to setting up the cable provider, including activating your cable service, selecting your cable provider, and entering the activation code if required.
Scanning for channels was the next step, allowing your Smart TV to detect and save all available cable channels to your channel lineup. Finally, we emphasized the importance of testing the cable connection by switching to different channels, checking for a clear picture and sound, and exploring additional features and remote control functionality.
By completing these steps, you can enjoy the convenience and abundance of cable programming on your Smart TV. Remember to consult the user manual specific to your TV model and interface if you encounter any difficulties or require additional guidance.
With your cable successfully hooked up to your Smart TV, it’s time to sit back, relax, and indulge in your favorite shows, movies, and live events. Grab some popcorn and immerse yourself in the world of entertainment made possible by your cable connection!