Introduction
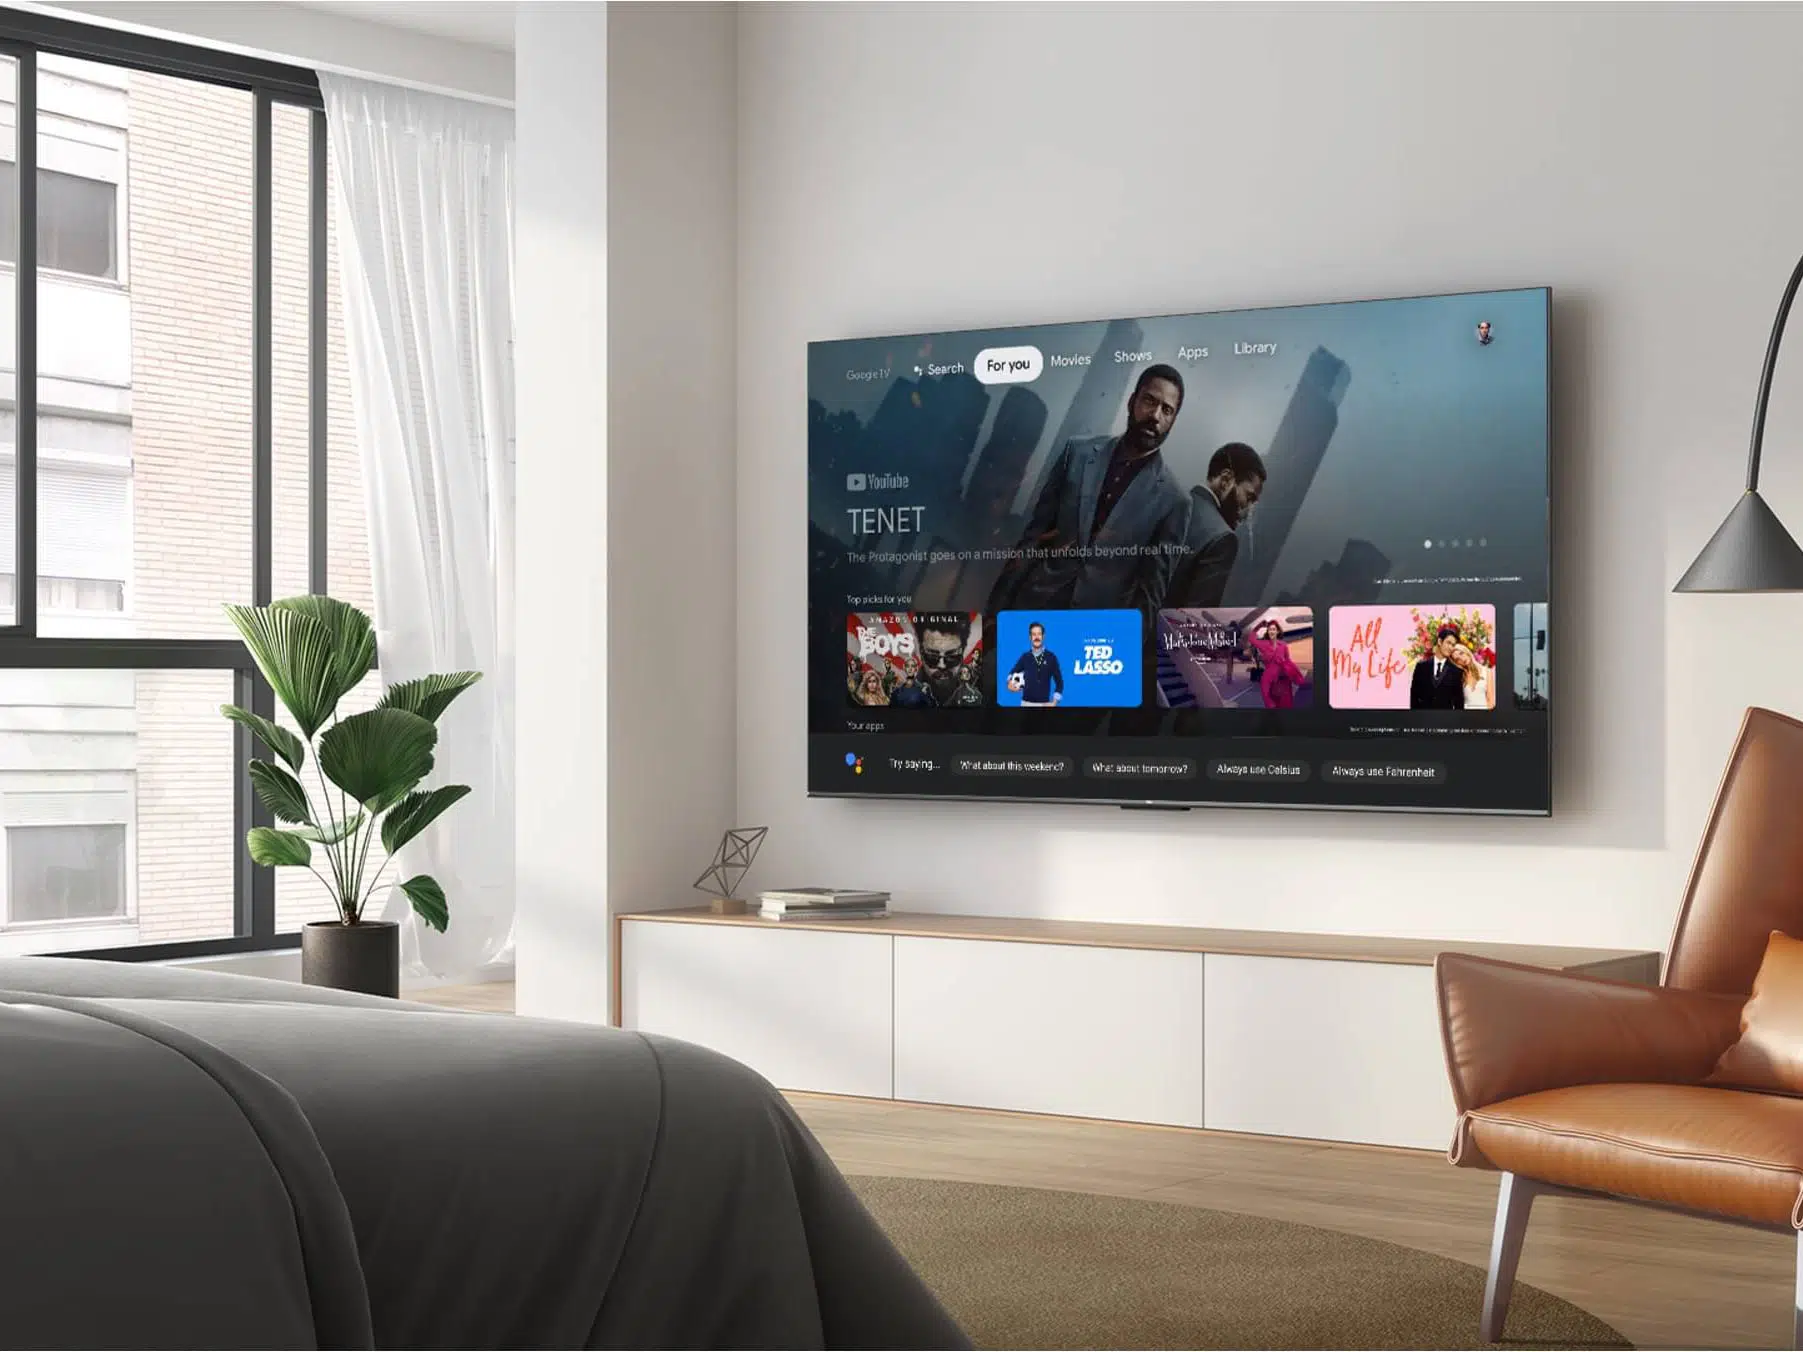
A smart TV is a television that is equipped with internet connectivity and built-in streaming capabilities, allowing you to access a wide range of entertainment options without the need for additional devices. With a smart TV, you can watch your favorite movies, TV shows, and even live sports from popular streaming platforms like Netflix, Hulu, and Amazon Prime Video.
Gone are the days when you had to rely on traditional cable or satellite TV to watch your favorite programs. Smart TVs have revolutionized the way we consume media by providing a convenient and streamlined viewing experience right from the comfort of our own homes.
In this article, we will guide you on how to make the most out of your smart TV and enjoy a wide variety of entertainment options. Whether you’re new to smart TVs or looking to enhance your viewing experience, we’ve got you covered. From connecting your smart TV to the internet to exploring additional features, we’ll walk you through the steps to get started.
So, grab your remote control and let’s dive into the world of smart TV entertainment!
Connect Your Smart TV to the Internet
Before you can start streaming your favorite shows and movies on your smart TV, the first step is to connect it to the internet. Here’s how you can do it:
1. Check your internet connection: Make sure you have a stable internet connection at your home. You can connect your smart TV to the internet using either Wi-Fi or an Ethernet cable.
2. Wi-Fi connection: If you prefer a wireless connection, navigate to the settings menu on your smart TV. Look for the Wi-Fi option and select it. You will then be prompted to choose your Wi-Fi network and enter the password. Once entered, your smart TV will establish a connection to the internet.
3. Ethernet connection: If you have an Ethernet cable and a wired internet connection available near your smart TV, you can opt for this method. Simply connect one end of the Ethernet cable to your smart TV and the other end to the available Ethernet port on your home router. Your smart TV will automatically detect the connection and establish a wired internet connection.
4. Test the connection: After you have successfully connected your smart TV to the internet, it’s a good idea to test the connection. You can do this by accessing a web browser or opening a streaming app on your smart TV. If the webpage loads or the streaming app opens without any issues, it means your internet connection is working properly.
By connecting your smart TV to the internet, you unlock a world of entertainment possibilities. With a stable internet connection, you can enjoy streaming services, browse the web, and even download apps directly onto your smart TV. Now that your smart TV is connected to the internet, it’s time to explore the various streaming apps available for you to download.
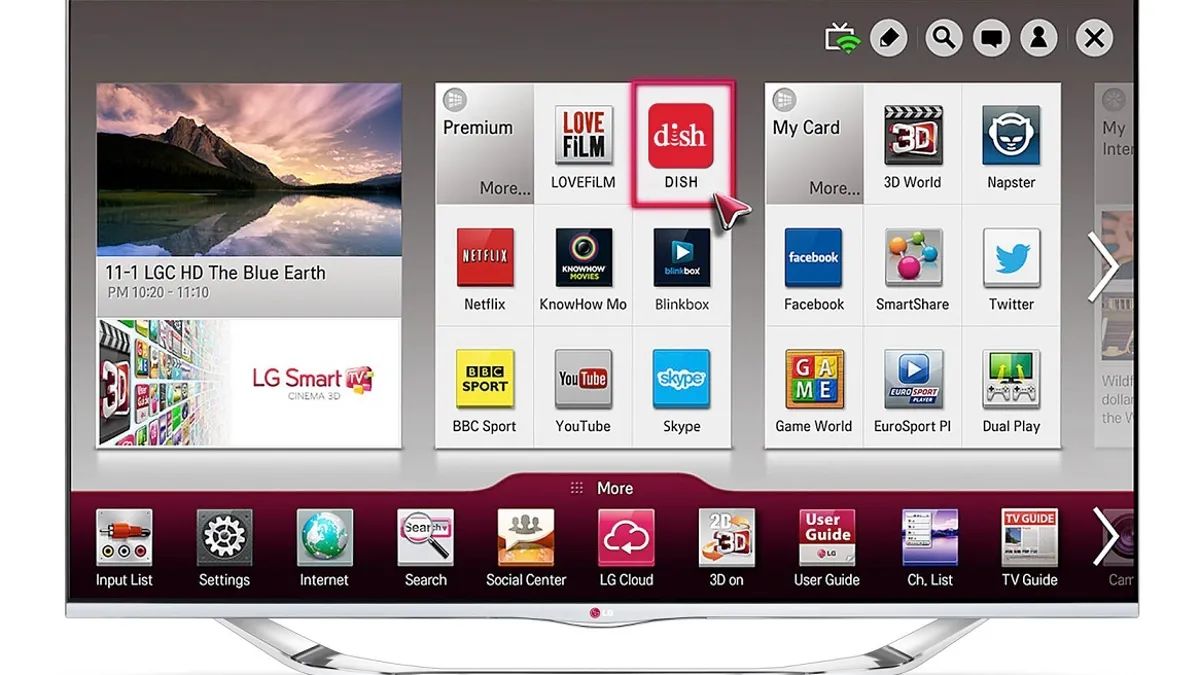
Download Streaming Apps
One of the main advantages of owning a smart TV is the ability to access a wide variety of streaming apps right from your TV screen. To download and install streaming apps on your smart TV, follow these steps:
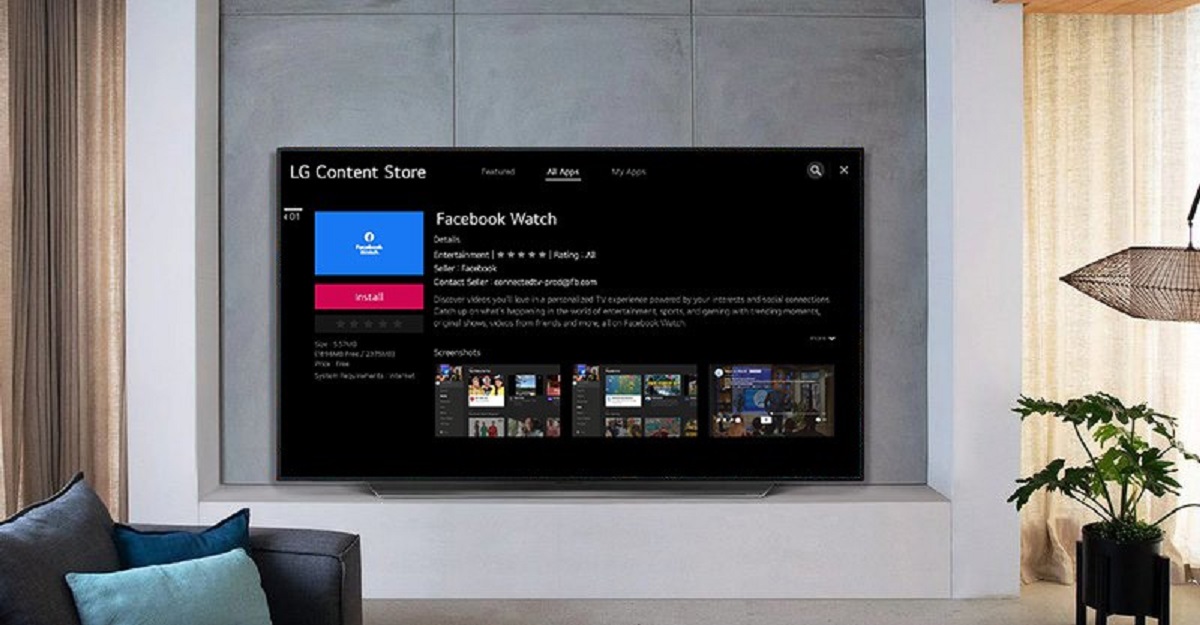
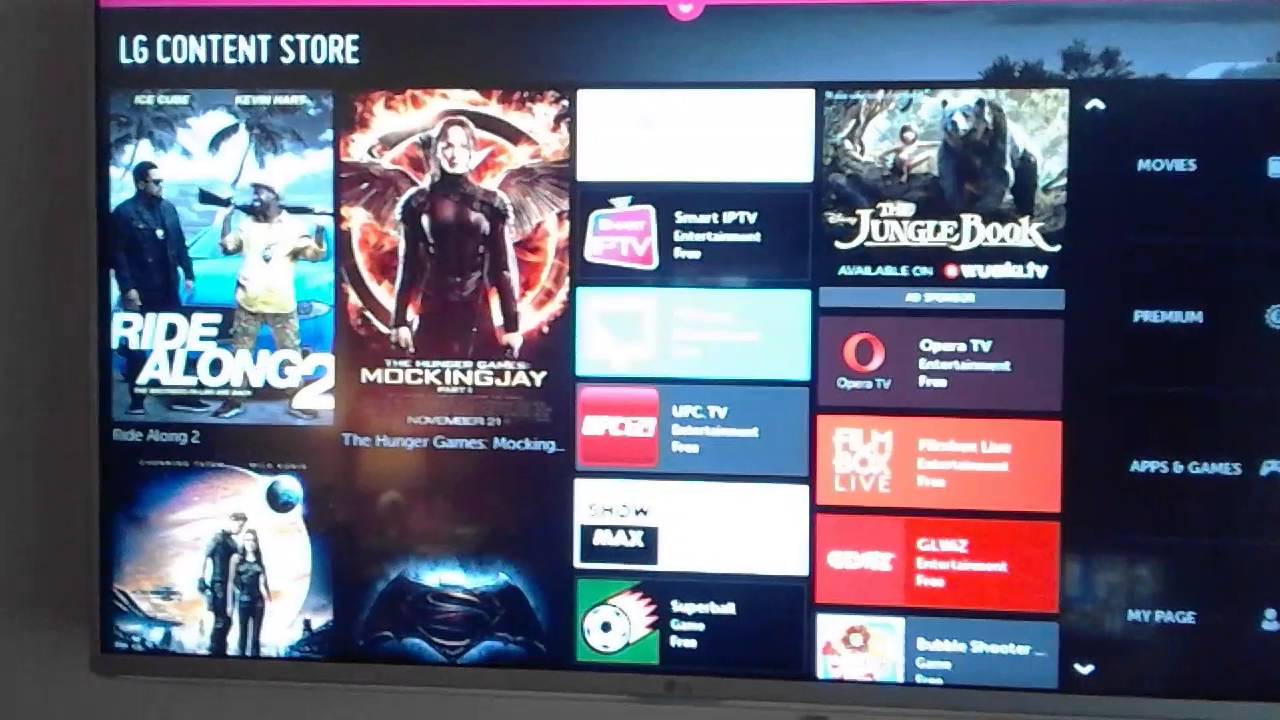
1. Open the app store: Most smart TVs come with their own built-in app store. Look for the app store icon in the main menu of your smart TV and select it to open the store.
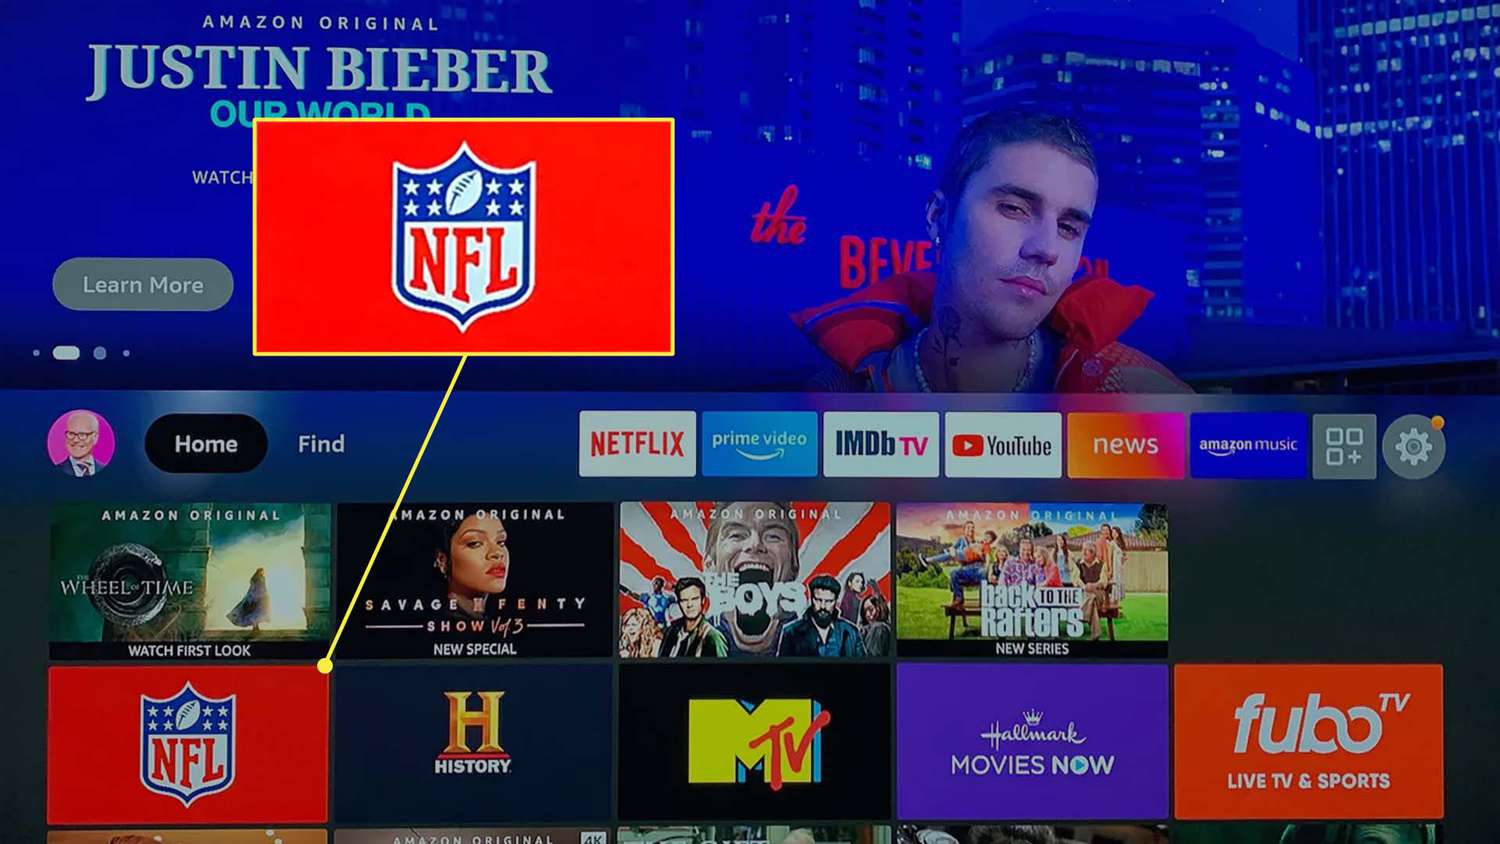
2. Browse for apps: Once the app store is open, you will see a range of categories and featured apps. Browse through the available apps or use the search function to find specific streaming apps that you want to download.
3. Select and install apps: When you find the streaming app you want to download, select it and choose the “Install” or “Download” option. Wait for the app to download and install on your smart TV. The time taken for the installation may vary depending on the size of the app and your internet connection speed.
4. Sign in or create an account: After the app is installed, you may need to sign in with your existing account or create a new account if you haven’t already. Follow the on-screen instructions to enter your credentials or create a new account.
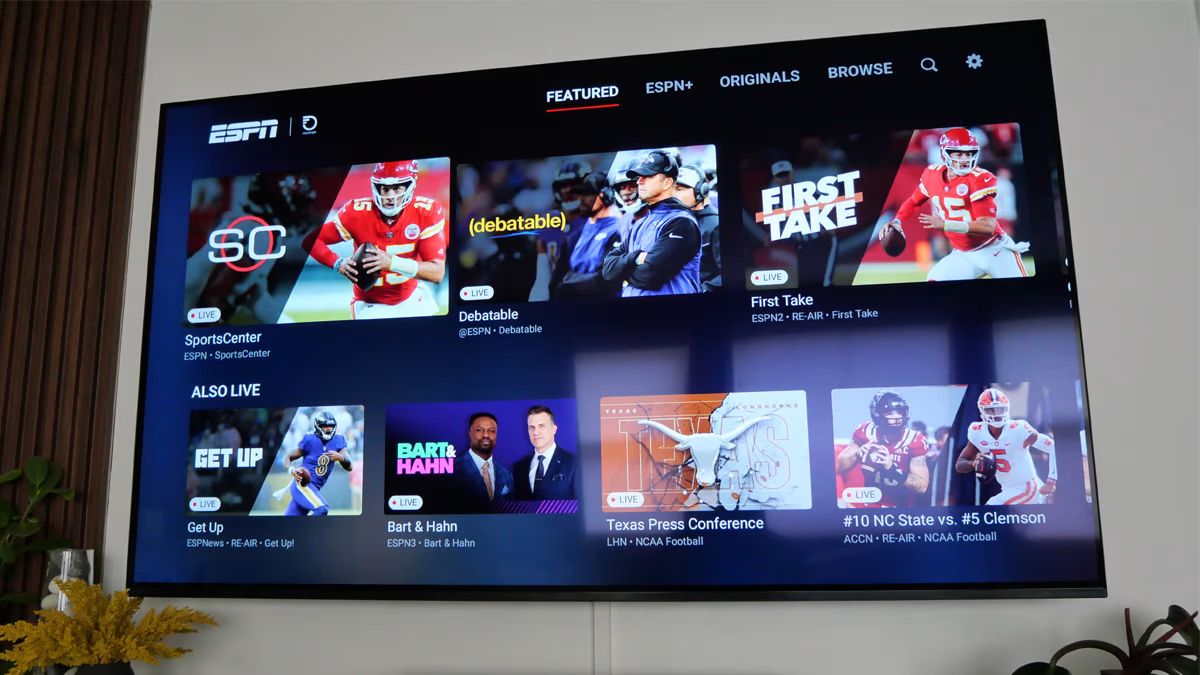
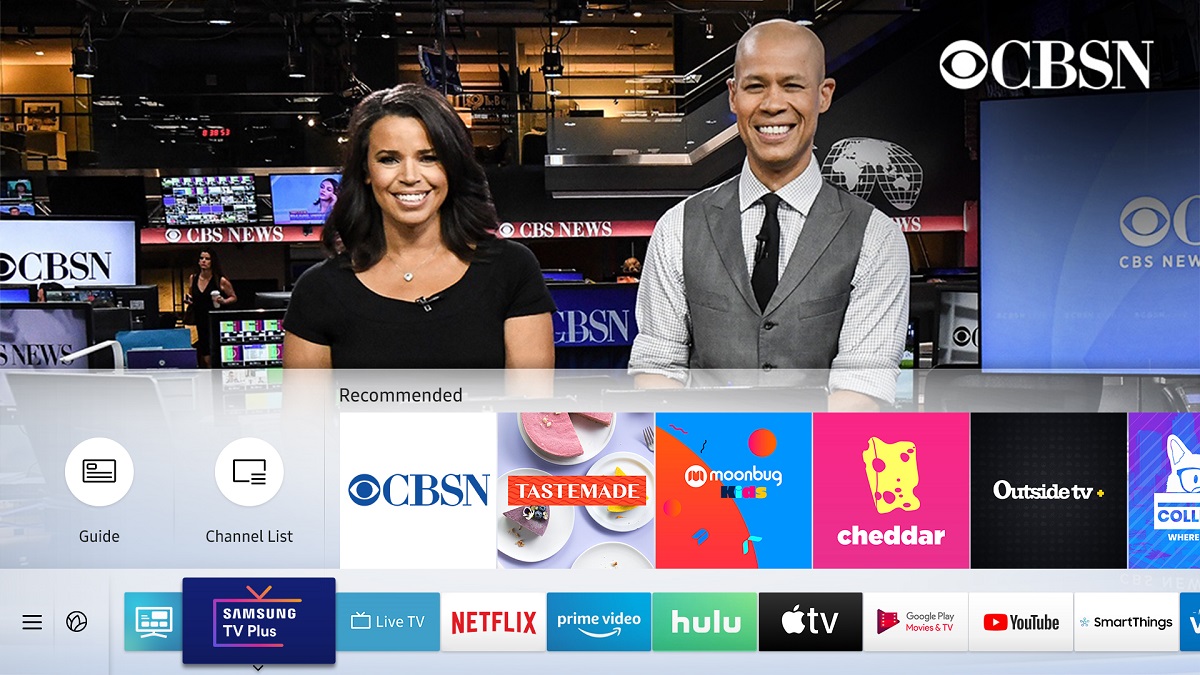
5. Start streaming: Once you have signed in, you can start browsing and streaming content on the app. Enjoy a wide range of movies, TV shows, documentaries, and more, all from the comfort of your living room.
Popular streaming apps like Netflix, Hulu, Amazon Prime Video, Disney+, and YouTube are commonly available on smart TVs. However, there are also plenty of other niche-specific apps for sports, news, music, and international content. Explore the app store and discover new streaming platforms tailored to your interests.
Downloading and installing streaming apps on your smart TV opens up a world of entertainment possibilities. You can now access your favorite movies, TV shows, and exclusive content from various streaming platforms directly on your TV screen. With streaming apps readily available, you are just a few clicks away from enjoying endless hours of entertainment.
Sign up for a Streaming Service
Now that you have downloaded and installed streaming apps on your smart TV, the next step is to sign up for a streaming service. Most streaming platforms require a subscription in order to access their vast library of content. Here’s how you can sign up:
1. Choose a streaming service: With a plethora of streaming services available, it’s important to choose the one that best suits your preferences. Consider factors such as the content library, pricing, streaming quality, and availability of exclusive shows or movies. Popular streaming services include Netflix, Hulu, Amazon Prime Video, Disney+, and HBO Max.
2. Visit the streaming service’s website: Once you have decided on a streaming service, visit their official website using your computer or smartphone.
3. Select a subscription plan: On the streaming service’s website, you will find different subscription plans to choose from. They often offer options like monthly, annual, or even bundled plans. Compare the features and pricing of each plan and select the one that suits your budget and viewing preferences.
4. Create an account: After choosing a subscription plan, you will need to create an account with the streaming service. Provide the necessary information, such as your email address and password, to set up your account.
5. Provide payment details: To complete the sign-up process, you will be required to provide payment details. Streaming services usually accept credit or debit cards, as well as alternative payment methods like PayPal.
6. Start streaming: Once you have signed up and made the payment, you are now ready to enjoy the vast library of content offered by the streaming service. Launch the streaming app on your smart TV, sign in with your newly created account, and start exploring the available movies, TV shows, and other content.
Remember that many streaming services offer free trial periods, allowing you to test out their services before committing to a subscription. Take advantage of these trials to see if the streaming service meets your expectations.
By signing up for a streaming service, you gain access to a wide array of on-demand content. From binge-worthy TV series to blockbuster movies, there is something for everyone. Keep in mind that you can always change or cancel your subscription if you decide to switch to a different streaming service or no longer wish to continue.
Use Screen Mirroring or Casting
Screen mirroring or casting allows you to project the screen of your smartphone, tablet, or computer onto your smart TV, providing a larger viewing experience. It’s a convenient way to share photos, videos, and even presentations with family and friends. Here’s how you can use screen mirroring or casting:
1. Check compatibility: Ensure that your smart TV and the device you want to cast from are compatible with screen mirroring or casting. Most modern smart TVs and smartphones have built-in screen mirroring functionality. Alternatively, you may need to download a casting app or use a streaming device like Chromecast or Apple TV.
2. Enable screen mirroring or casting on your device: On your smartphone, tablet, or computer, go to the settings menu and look for the screen mirroring or casting option. Enable it to search for available devices to connect with.
3. Connect to your smart TV: On your smart TV, navigate to the screen mirroring or casting option in the settings menu. It may be referred to as “Miracast,” “Smart View,” or “ScreenShare,” depending on the manufacturer. Select the appropriate option and wait for it to detect your device.
4. Connect and mirror/cast: Once your smart TV has detected your device, simply select it from the list of available devices. Your device’s screen will then be mirrored or cast onto your smart TV, displaying the same content on a larger screen.
5. Enjoy your content: Once the connection is established, you can browse through photos, play videos, or even stream content from apps on your device directly on your smart TV. Control playback using your device or using the remote control of your smart TV.
Screen mirroring or casting is not only limited to personal devices. You can also use the feature to mirror or cast content from specific apps on your smart TV, such as YouTube or Netflix, to other connected devices in your home.
Keep in mind that the process of screen mirroring or casting may slightly vary depending on the manufacturer and model of your smart TV and the device you are casting from. However, most devices follow similar steps for screen mirroring or casting functionality.
Screen mirroring or casting is a great way to share and enjoy content from your personal devices on a larger screen. Whether you want to showcase your travel photos, watch videos with friends, or give a presentation, screen mirroring or casting offers a seamless and convenient solution.
Connect an Antenna or Cable Box
Although smart TVs provide access to a wide range of streaming services and content, you may still want to have the option of watching live TV or local channels. To do this, you can connect an antenna or cable box to your smart TV. Here’s how:
1. Determine the type of connection: Before connecting an antenna or cable box, determine the type of connection your smart TV supports. Most smart TVs have multiple input ports, including HDMI, coaxial, and RCA.
2. Antenna connection: If you have an external antenna for receiving over-the-air channels, locate the antenna input on your smart TV. It is usually labeled as “RF In” or “Antenna In.” Connect the coaxial cable from the antenna to this input port.
3. Cable box connection: If you have a cable TV subscription and use a cable box to access channels, locate the HDMI or coaxial output on the cable box. Connect one end of the HDMI or coaxial cable to the corresponding output port on the cable box, and the other end to the input port on your smart TV.
4. Power on: Once the antenna or cable box is connected, power on the device and your smart TV.
5. Select the input source: Use your smart TV’s remote control to navigate to the input or source menu. Select the input corresponding to the connected antenna or cable box. It may be labeled as HDMI, cable, or source.
6. Scan for channels: If you connected an antenna, you may need to scan for channels on your smart TV. Access the channel setup or tuning menu on your smart TV and select the option to scan for channels. Your smart TV will search for available channels and save them for easy access.
7. Enjoy live TV: Once the scanning process is complete, you can now access live TV channels on your smart TV. Use the channel selection function on your smart TV’s remote control to navigate through the available channels.
Connecting an antenna or cable box to your smart TV gives you the flexibility to watch live TV and local channels alongside the streaming content. You can easily switch between streaming services and traditional TV channels using the input or source menu on your smart TV.
Keep in mind that the specific steps for connecting an antenna or cable box may vary depending on your smart TV model and the type of external device you are connecting. Consult your smart TV’s manual or manufacturer’s website for detailed instructions specific to your device.
Scan for Channels
If you have connected an antenna to your smart TV to access over-the-air channels, you will need to scan for channels to ensure you can receive all available broadcasts. Here are the steps to scan for channels on your smart TV:
1. Access the channel setup menu: Using your smart TV’s remote control, navigate to the settings or setup menu. Look for the option related to channels, tuning, or antenna setup.
2. Select the scanning option: Once you are in the channel setup menu, choose the scanning or auto-tuning option. This will initiate the scan for available channels.
3. Choose the scan type: Your smart TV may provide different scan options, such as a full scan or a quick scan. A quick scan is usually recommended as it searches for channels in a shorter amount of time. However, if you suspect that some channels may not be detected, you may opt for a full scan.
4. Start the scan: After selecting the scan type, start the scanning process by choosing the “Start,” “Scan,” or similar option. Your smart TV will begin searching for available channels in your area.
5. Wait for the scan to complete: The scanning process may take a few minutes as your smart TV searches for and saves the channels it detects. During this time, do not interrupt the scan or turn off your smart TV.
6. Review the detected channels: Once the scan is complete, your smart TV will display a list of detected channels. Take a moment to verify and review the list to ensure all the desired channels are included.
7. Organize and label channels (optional): Some smart TVs allow you to customize the channel lineup by rearranging the order of channels and assigning personalized labels. This can help you easily navigate through the channels.
Now that the scan is complete and the channels are saved, you can access them using your smart TV’s channel selection function. Use the channel up and down buttons on your remote control to switch between the saved channels.
It is recommended to periodically rescan for channels, especially when you reposition or adjust your antenna, as this can improve the reception and ensure you receive all available channels in your area.
Note that the steps for scanning for channels may slightly vary based on the model and brand of your smart TV. Consult the user manual or the manufacturer’s website for specific instructions related to your device.
Set Up Parental Controls
Setting up parental controls on your smart TV allows you to monitor and restrict the type of content that can be accessed, ensuring a safe and appropriate viewing experience for your family. Here’s how you can set up parental controls on your smart TV:
1. Access the settings menu: Using your smart TV’s remote control, navigate to the settings or preferences menu.
2. Find the parental controls option: Look for the parental controls or restrictions option within the settings menu. It may be listed under security, privacy, or accessibility.
3. Select the content ratings or restrictions: Once you are in the parental controls menu, you will see options related to content ratings or restrictions. These options allow you to set limits on content based on age ratings, movie or TV show ratings, or specific content categories.
4. Choose the desired level of restriction: Depending on your preferences, select the appropriate level of restriction for each category or content type. You may have options such as “off” to disable access completely, “basic” to provide general restrictions, or “strict” to enforce more rigid restrictions.
5. Set up a passcode: To prevent unauthorized changes to the parental control settings, you will be prompted to set up a passcode. Choose a unique passcode that you can remember but is not easily guessed by others.
6. Customize additional settings (optional): Some smart TVs offer additional options to tailor the parental controls to your specific needs. You may have the ability to block specific channels, restrict access to certain apps or streaming services, or set time limits for viewing.
7. Save and activate parental controls: Once you have customized the parental control settings, save your changes and activate the parental controls feature on your smart TV.
By setting up parental controls on your smart TV, you can have peace of mind knowing that inappropriate content is restricted and your children are protected while using the device. It’s important to periodically review and adjust the settings as your family’s needs and preferences change over time.
Keep in mind that parental control options and features may vary depending on the brand and model of your smart TV. Refer to your smart TV’s user manual or visit the manufacturer’s website for detailed instructions specific to your device.
Adjust Display Settings
Adjusting the display settings on your smart TV can greatly enhance your viewing experience and ensure that the content is presented in the best possible way. Here are some display settings that you can adjust to optimize your smart TV’s visual performance:
1. Brightness: Adjusting the brightness level of your smart TV will determine how light or dark the overall screen appearance is. You can increase or decrease the brightness based on your preference and the lighting conditions in your viewing area.
2. Contrast: The contrast setting controls the difference between the light and dark areas of the screen. Increasing the contrast results in sharper and more vibrant images, while decreasing it can make the colors appear softer and more subdued.
3. Color temperature: The color temperature setting allows you to fine-tune the color balance on your smart TV. You can choose from preset options like “warm,” “cool,” or “neutral” to achieve the desired color tone. Experiment with different settings to find the one that suits your preferences.
4. Sharpness: The sharpness setting determines the clarity and level of detail in the images displayed on your smart TV. Avoid setting the sharpness too high as it may create artificial or overly exaggerated edges. Find a balance that provides clear and natural-looking images.
5. Aspect ratio: The aspect ratio determines the proportion of the width to the height of the screen. Most smart TVs have options like “16:9” (widescreen) or “4:3” (standard). Choose the appropriate aspect ratio that matches the content you are watching to prevent distortion or cropping of the image.
6. Motion settings: Depending on your smart TV’s options, you may have settings to adjust the motion interpolation or motion smoothing. These settings can reduce motion blur and make fast-moving scenes appear smoother. Experiment with these settings to find a balance that suits your preference.
7. Picture presets: Smart TVs often come with preset picture modes, such as “Standard,” “Movie,” “Sports,” or “Vivid.” These presets optimize the display settings for specific types of content. Try out different presets and see which one enhances your viewing experience the most.
Adjusting the display settings to your liking may require some experimentation and fine-tuning. Take your time to find the optimal settings that provide a comfortable and enjoyable viewing experience for you and your family.
Keep in mind that the available display settings and options may vary depending on the brand and model of your smart TV. Refer to your smart TV’s user manual or consult the manufacturer’s website for specific instructions and recommendations for your device.
Explore Additional Features
Aside from streaming apps, internet connectivity, and live TV options, smart TVs offer a plethora of additional features designed to enhance your overall entertainment experience. Let’s explore some of these additional features:
1. Voice control: Many smart TVs come with built-in voice control capabilities or support voice assistants like Amazon Alexa or Google Assistant. You can use voice commands to control your smart TV, search for content, adjust settings, and even interact with other smart devices in your home.
2. Gaming capabilities: Some smart TVs offer gaming features, allowing you to connect and play games directly on your TV without the need for a separate gaming console. This is a great option for casual gamers or those who want to enjoy a quick gaming session without investing in additional equipment.
3. Multi-screen or multi-device connectivity: Take advantage of the multi-screen or multi-device connectivity options on your smart TV. You can mirror your smartphone or tablet screen, stream content from your computer, or connect other compatible devices to enhance your viewing experience.
4. Smart home integration: If you have a smart home setup, your smart TV can serve as a hub to control various connected devices. You can use your TV to adjust lighting, monitor security cameras, manage thermostats, or control other compatible smart devices, all from the comfort of your sofa.
5. USB media playback: Explore the option to play media files directly from a USB drive connected to your smart TV. You can enjoy photos, videos, and music without the need for any additional devices or streaming services.
6. Personalized recommendations: Smart TVs often provide personalized recommendations based on your viewing history and preferences. Take advantage of these recommendations to discover new movies, TV shows, or genres that align with your interests.
7. Picture-in-picture (PiP): Some smart TVs offer a picture-in-picture feature, allowing you to watch multiple programs or inputs simultaneously. This is especially useful when you want to keep an eye on the latest sports game while watching your favorite TV show.
Take the time to explore and familiarize yourself with the additional features available on your smart TV. Each feature can enhance your viewing experience and make your smart TV an even more versatile and powerful entertainment hub.
Remember to consult your smart TV’s user manual or the manufacturer’s website for specific instructions and recommendations on how to access and utilize these additional features on your particular device.
Conclusion
Smart TVs provide an immersive and convenient way to access a wide range of entertainment options right from the comfort of your own home. By following the steps outlined in this article, you can make the most of your smart TV and elevate your viewing experience.
From connecting your smart TV to the internet and downloading streaming apps to setting up parental controls and adjusting display settings, each step is crucial in ensuring that you have a seamless and enjoyable entertainment experience.
With the ability to stream your favorite movies, TV shows, and live sports, as well as access local channels and enjoy additional features like voice control and multi-screen connectivity, smart TVs have revolutionized the way we consume media.
Remember to explore the different streaming services available and choose the one that aligns with your preferences. Take advantage of free trial periods and consider switching between services to find the content that best suits your tastes.
As you enjoy the vast world of entertainment on your smart TV, don’t forget to adjust the display settings to optimize your viewing experience. Fine-tune the brightness, contrast, color temperature, and sharpness to suit your preferences and the lighting conditions in your viewing area.
Lastly, consider exploring the additional features of your smart TV, such as voice control, gaming capabilities, and smart home integration. These features can further enhance your entertainment experience and provide added convenience and control over your smart home ecosystem.
By taking advantage of all the features and capabilities of your smart TV, you can transform your living room into a personalized home theater and enjoy endless hours of entertainment with friends and family.
So, grab your remote control, sit back, and enjoy the incredible world of entertainment that your smart TV has to offer!