Introduction
Are you excited to watch your favorite movies on your brand new smart TV? If you’re wondering how to connect your DVD player to your smart TV, you’ve come to the right place. The good news is that hooking up a DVD player to a smart TV is a relatively simple process that will open up a whole world of entertainment possibilities.
Whether you want to relive your favorite classics or discover new films, connecting your DVD player to your smart TV will allow you to enjoy the ultimate movie-watching experience. In this step-by-step guide, we will walk you through the process of connecting your DVD player to your smart TV, ensuring that you can start watching your favorite DVDs in no time.
Before we delve into the steps, let’s take a moment to understand the basics. DVD players and smart TVs use different technologies to transmit audio and video signals. DVD players typically use analog or digital cables, while smart TVs come equipped with various input ports, such as HDMI, composite, or component ports. Understanding the available ports on your smart TV and the necessary cables will ensure a smooth and successful connection.
So, if you’re ready to dive in and start enjoying your DVD collection on your smart TV, let’s get started with the first step: checking the available ports on your smart TV.
Step 1: Check the available ports on your smart TV
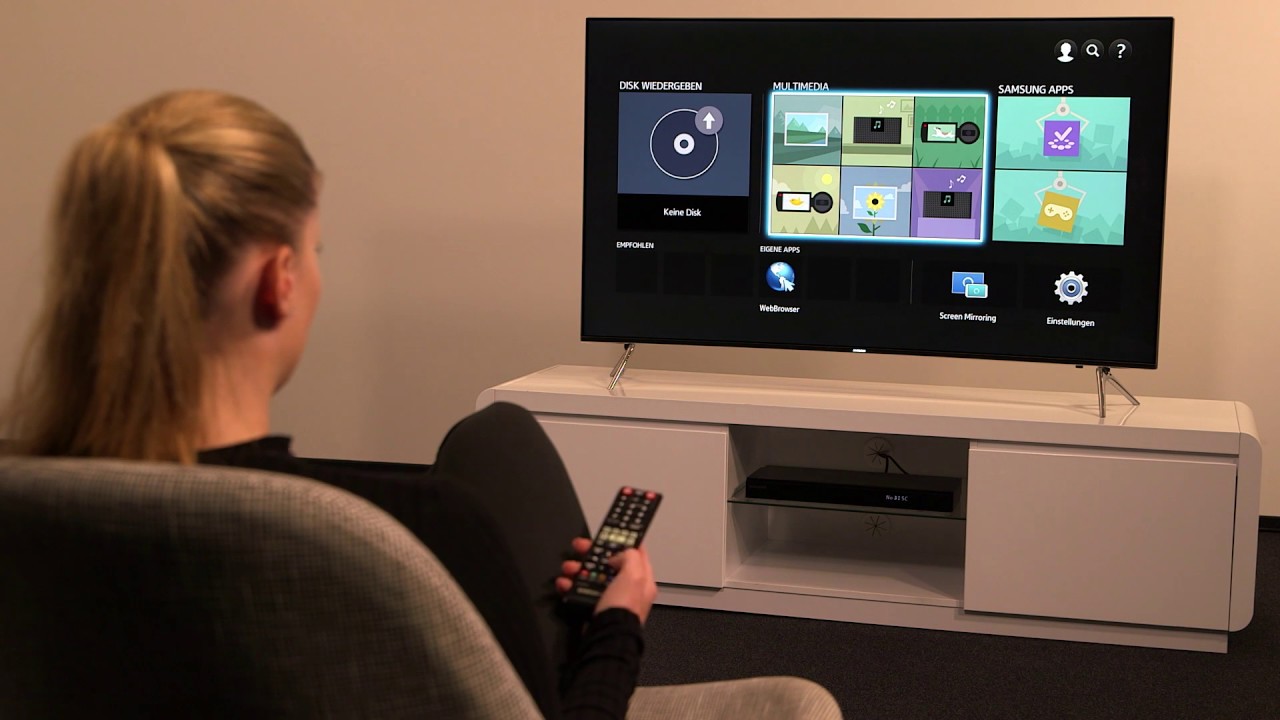
Before connecting your DVD player to your smart TV, it’s important to identify the available ports on your TV. Typically, smart TVs come equipped with several input ports that allow you to connect external devices like DVD players, gaming consoles, or streaming devices.
To locate the input ports on your smart TV, take a moment to inspect the back or side panel of the TV. Common types of ports you may find include HDMI, composite, and component ports. The HDMI port offers the best quality and is the most popular option for connecting a DVD player to a smart TV.
If you spot an HDMI port, this means you’re in luck! HDMI ports support both audio and video signals, ensuring a seamless and high-quality connection between your DVD player and smart TV. However, if your smart TV doesn’t have an HDMI port, don’t worry. Composite or component ports can also be used to connect your DVD player, although they may provide slightly lower quality.
Once you’ve identified the available ports, you’re ready to move on to the next step. Don’t forget to take note of the port names or numbers, as you’ll need this information when connecting your DVD player.
Now that you’re familiar with the available ports on your smart TV, it’s time to gather the necessary cables for the connection. In the next step, we’ll discuss the cables you’ll need to successfully hook up your DVD player to your smart TV.
Step 2: Prepare the necessary cables
Now that you know which ports your smart TV has, it’s time to gather the necessary cables to connect your DVD player. The type of cables you’ll need will depend on the available ports on your TV and your DVD player.
If your smart TV has an HDMI port, the easiest and most convenient option is to use an HDMI cable. HDMI cables are widely available and offer both high-quality audio and video transmission. They support high-definition formats and provide a seamless connection between your DVD player and smart TV. Simply ensure that the HDMI cable you choose has the correct ends to fit into the HDMI port on both your TV and DVD player.
If your smart TV does not have an HDMI port, you may need to use alternative cables. For composite or component ports, you’ll need either RCA or component cables. RCA cables have three connectors: red, white, and yellow, which correspond to the audio and video signals. Component cables, on the other hand, have five connectors: red, green, blue for video signals, and red and white for audio signals.
Ensure that you have the correct cables for your specific DVD player and smart TV. It’s a good idea to measure the distance between your DVD player and TV to determine the length of cable you’ll need. In some cases, you may need to purchase additional extension cables if the distance is greater than standard cable lengths.
Once you have the necessary cables, you’re now one step closer to connecting your DVD player to your smart TV. Our next step will guide you through the process of physically connecting the cables to establish the connection.
Step 3: Connect the DVD player to the TV using HDMI cable
Now that you have gathered the necessary cables, it’s time to connect your DVD player to your smart TV using an HDMI cable. The HDMI cable provides a digital and high-quality connection, ensuring that both the audio and video signals are transmitted flawlessly.
Start by locating the HDMI output port on your DVD player. It is usually labeled as “HDMI Out” or “Output.” Take note of its location, as you will need to connect the HDMI cable to this port.
Next, find an available HDMI input port on your smart TV. It is typically labeled “HDMI In” or with a corresponding number. Make sure your smart TV is powered off before connecting the HDMI cable.
Take one end of the HDMI cable and plug it into the HDMI output port on your DVD player. Ensure that the cable is securely inserted into the port to establish a stable connection.
Now, take the other end of the HDMI cable and insert it into the HDMI input port on your smart TV. Make sure to match the cable end with the correct HDMI input port on your TV, as there may be multiple HDMI ports available.
Once both ends of the HDMI cable are securely connected, you can proceed to the next step. Now, it’s time to power on your TV and DVD player.
Note: Some HDMI cables are unidirectional, meaning they only work in one direction. If you encounter any issues with the connection, check the cable for arrows or labels indicating the proper direction of insertion.
Step 4: Power on the TV and DVD player
After connecting the DVD player to your smart TV using the HDMI cable, it’s time to power on both devices. This step ensures that the TV recognizes the DVD player and establishes a connection between the two.
First, locate the power button on your DVD player. It is usually located on the front or side of the device, and it may be labeled as “Power” or have a recognizable symbol such as a circle with a line through it.
Press the power button on the DVD player to turn it on. You may see a small LED light indicating that the device is receiving power.
Next, locate the power button on your smart TV. It is typically located on the front or side of the TV, or it may be part of the remote control that came with your TV.
Press the power button on the TV or use the remote control to turn on the smart TV. Wait for a few moments as the TV boots up and detects the connected DVD player.
Once both the DVD player and smart TV are powered on, you should see the TV display showing the input source options. In the next step, we will guide you on how to change the input source to the DVD player on your smart TV.
Keep in mind that the specific location and appearance of the power buttons may vary depending on the make and model of your devices. If you’re unsure, consult the user manuals for your DVD player and smart TV for more detailed instructions.
Step 5: Change the input source on the TV
Now that both your DVD player and smart TV are powered on, it’s time to change the input source on the TV to the DVD player. By doing this, you will ensure that the TV displays the content from the DVD player instead of other connected devices or built-in apps.
Using your TV remote control, locate the “Input” or “Source” button. This button is usually found near the navigation or menu buttons on the remote.
Press the “Input” or “Source” button to access the input source menu on your smart TV. This menu allows you to choose the connected devices and other sources available.
Using the arrow buttons on the remote, navigate through the input sources until you find the HDMI input that corresponds to your DVD player. It may be labeled as “HDMI 1,” “HDMI 2,” or something similar. Select the HDMI input that matches the port you connected your DVD player to.
Once you have selected the correct HDMI input, press the “Enter” or “OK” button on the remote to confirm your selection. The TV screen should now display the content from your DVD player.
If you don’t see any video or the screen remains blank, double-check the connection and ensure that both devices are properly powered on.
Now that your TV input is set to the DVD player, you’re ready to move on to the next step, where we will verify that the DVD player is working correctly.
Note: On some smart TVs, you may need to access the input source menu through the TV’s settings menu. Refer to your TV’s instruction manual if you’re having trouble finding the input source menu or changing the input source.
Step 6: Check the DVD player is working
Now that you have successfully changed the input source on your smart TV to the DVD player, it’s time to check if the DVD player is working correctly. This step ensures that both the audio and video signals are transmitting properly and that you can start enjoying your favorite DVDs.
Grab a DVD that you would like to watch and insert it into the DVD player. Make sure the DVD is inserted with the label facing up and the shiny side downward. Close the DVD tray or cover securely.
On your DVD player remote control, locate the “Play” button or a similar symbol to initiate playback. Press the “Play” button to start playing the DVD.
Observe the TV screen to see if the DVD’s content is being displayed correctly. You should see the DVD menu or the video content playing on the screen. Pay attention to the audio as well, ensuring that it is clear and synchronized with the video.
Use the DVD player remote control to navigate through the DVD menu, select chapters, or pause/play the video as desired. This step confirms that the DVD player is working properly and that it is successfully connected to your smart TV.
If you encounter any issues, such as a blank screen, distorted playback, or no audio, double-check the connections between the DVD player and smart TV. Ensure that the HDMI cable is securely connected at both ends and that the input source on the TV is correctly set to the DVD player.
If you’re still experiencing problems, consult the user manual for your DVD player and smart TV or reach out to their respective customer support for further assistance.
Once you have confirmed that the DVD player is working correctly and your DVDs are playing smoothly on your smart TV, you’re ready to adjust the settings and start enjoying your favorite movies.
Step 7: Adjust the settings and enjoy watching DVDs on your smart TV
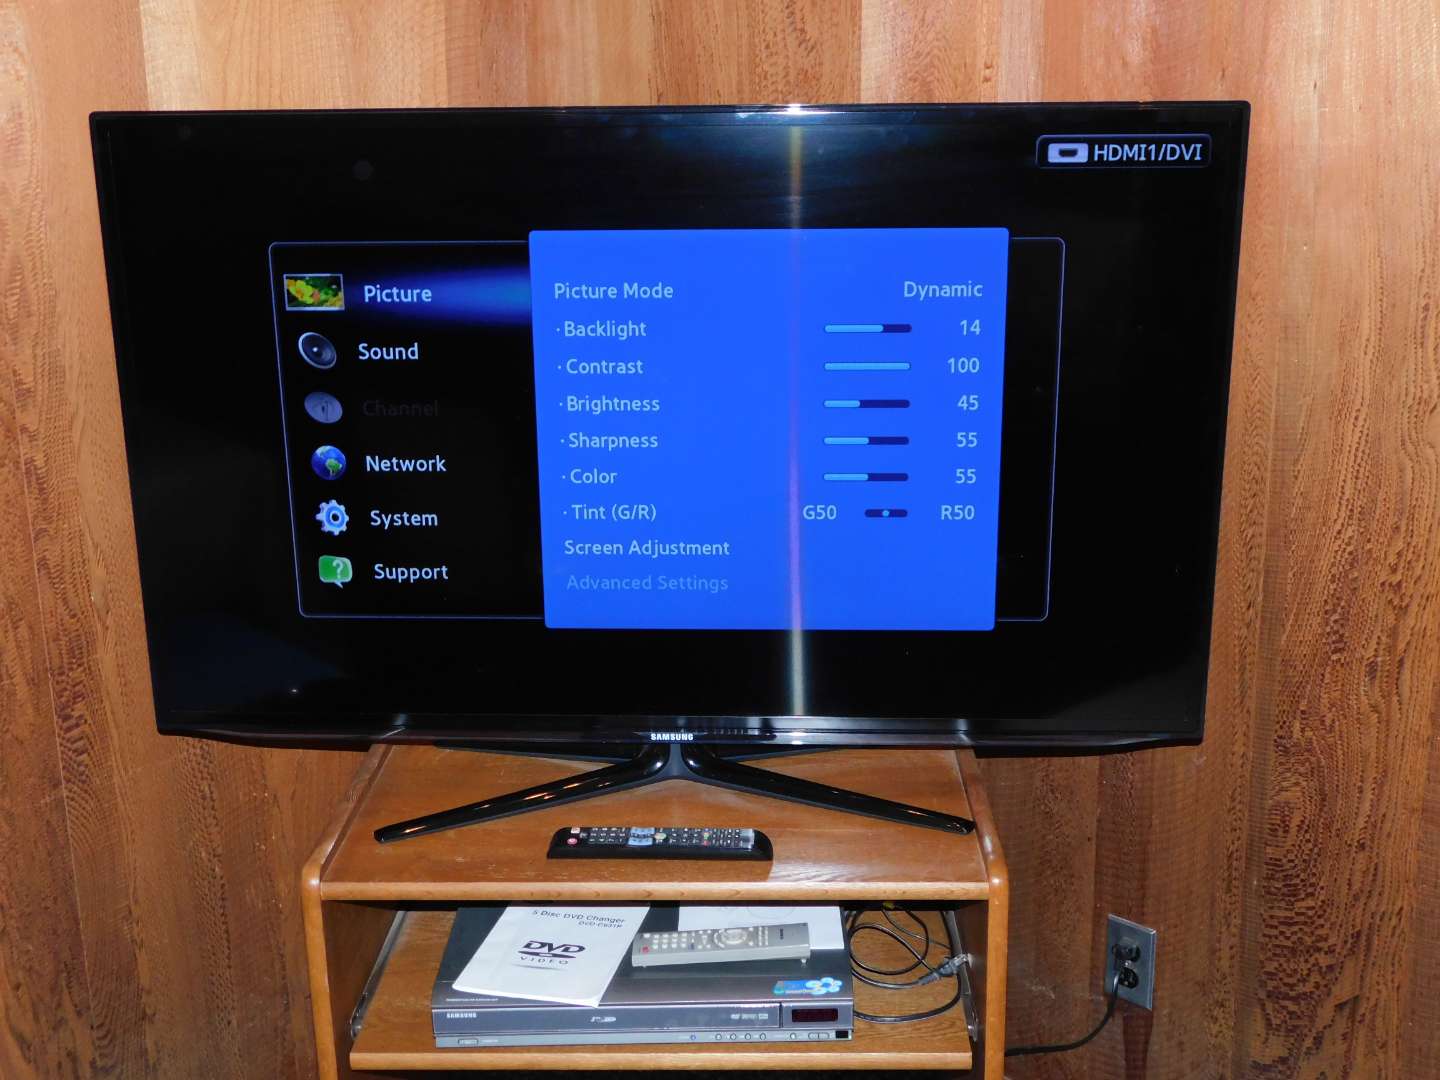
Now that you have successfully connected your DVD player to your smart TV and confirmed that it’s working correctly, it’s time to adjust the settings to optimize your viewing experience. Fine-tuning the settings will ensure that you get the best audio and video quality while watching your favorite DVDs.
First, grab your smart TV remote control and navigate to the settings menu. Look for options related to video or display settings. Here, you can adjust parameters like brightness, contrast, and color to suit your preferences. Experiment with these settings until you achieve the desired visual quality.
Next, navigate to the audio settings in the TV’s menu and explore options like volume, equalizer, and surround sound. Adjust these settings to your liking, ensuring that the audio output is clear and immersive.
If your DVD player has its own settings menu, you may also want to explore and adjust the settings on the DVD player itself. Look for options related to video output, audio settings, and playback control. Refer to the DVD player’s user manual for more detailed instructions on accessing and modifying these settings.
Once you have optimized the settings on both your smart TV and DVD player, it’s time to sit back, relax, and enjoy watching your favorite DVDs on your smart TV. Grab some popcorn, get comfortable on your couch, and immerse yourself in the world of movies.
Remember, you can now take advantage of the smart features of your TV while watching DVDs. You can connect to the internet and access streaming platforms or use other apps that are available on your smart TV. This way, you have the flexibility to switch between watching DVDs and enjoying other digital content.
So, go ahead and start exploring your DVD collection on your smart TV. Whether it’s classic films, action-packed blockbusters, or heartwarming dramas, the possibilities are endless. Sit back, relax, and let your smart TV and DVD player deliver an unforgettable movie-watching experience right in the comfort of your own home.
Conclusion
Connecting your DVD player to your smart TV opens up a whole new world of entertainment possibilities. With just a few simple steps, you can enjoy your favorite DVDs on a bigger screen and with enhanced audiovisual quality. By checking the available ports on your smart TV, preparing the necessary cables, and making the correct connections, you can seamlessly integrate your DVD player into your smart TV setup.
Remember to power on both your DVD player and smart TV and change the input source on your TV to the DVD player. Double-checking these settings ensures that you’re ready to start watching your DVDs without any issues. Adjusting the settings on both your smart TV and DVD player can further enhance your viewing experience, allowing you to optimize the audio and video to suit your preferences.
Now, you’re all set to sit back, relax, and enjoy watching your favorite movies, TV shows, or documentaries on your smart TV. Whether you’re reliving timeless classics, diving into new releases, or exploring hidden gems, the combination of your DVD player and smart TV provides you with endless entertainment possibilities.
Don’t forget to explore the smart features of your TV and take advantage of the internet connectivity to access streaming platforms or other apps. This way, you can seamlessly switch between watching DVDs and enjoying various digital content all from the comfort of your couch.
We hope this step-by-step guide has helped you successfully hook up your DVD player to your smart TV. Now, sit back, grab your favorite DVD, and immerse yourself in a cinematic experience like no other.