Introduction
Welcome to the world of entertainment! If you’re looking to connect your DVD player to your smart TV, you’ve come to the right place. With the advancement of technology, smart TVs have become a staple in many households, offering a wide range of features and capabilities. However, there’s no need to worry if you still want to enjoy your vast collection of DVDs on your new smart TV. Connecting your DVD player to your smart TV is a straightforward process that can be done with just a few simple steps.
By hooking up your DVD player to your smart TV, you’ll be able to relive your favorite movies, concerts, or TV shows in a whole new way. Say goodbye to small screens and limited audio options. With this connection, you can take advantage of your smart TV’s high-definition display and immersive sound system, transforming your living room into a mini theater.
In this step-by-step guide, we will walk you through the process of connecting your DVD player to your smart TV. Whether you’re a tech-savvy individual or a novice, you’ll find these instructions easy to follow, ensuring that you can enjoy your DVD collection in no time.
Before we dive into the steps, make sure you have the necessary cables and connections handy. You’ll need an HDMI cable or RCA cables (composite or component) depending on the ports available on your devices. These cables are widely available at electronic stores or can be purchased online at an affordable price.
Step 1: Gather the necessary cables and connections
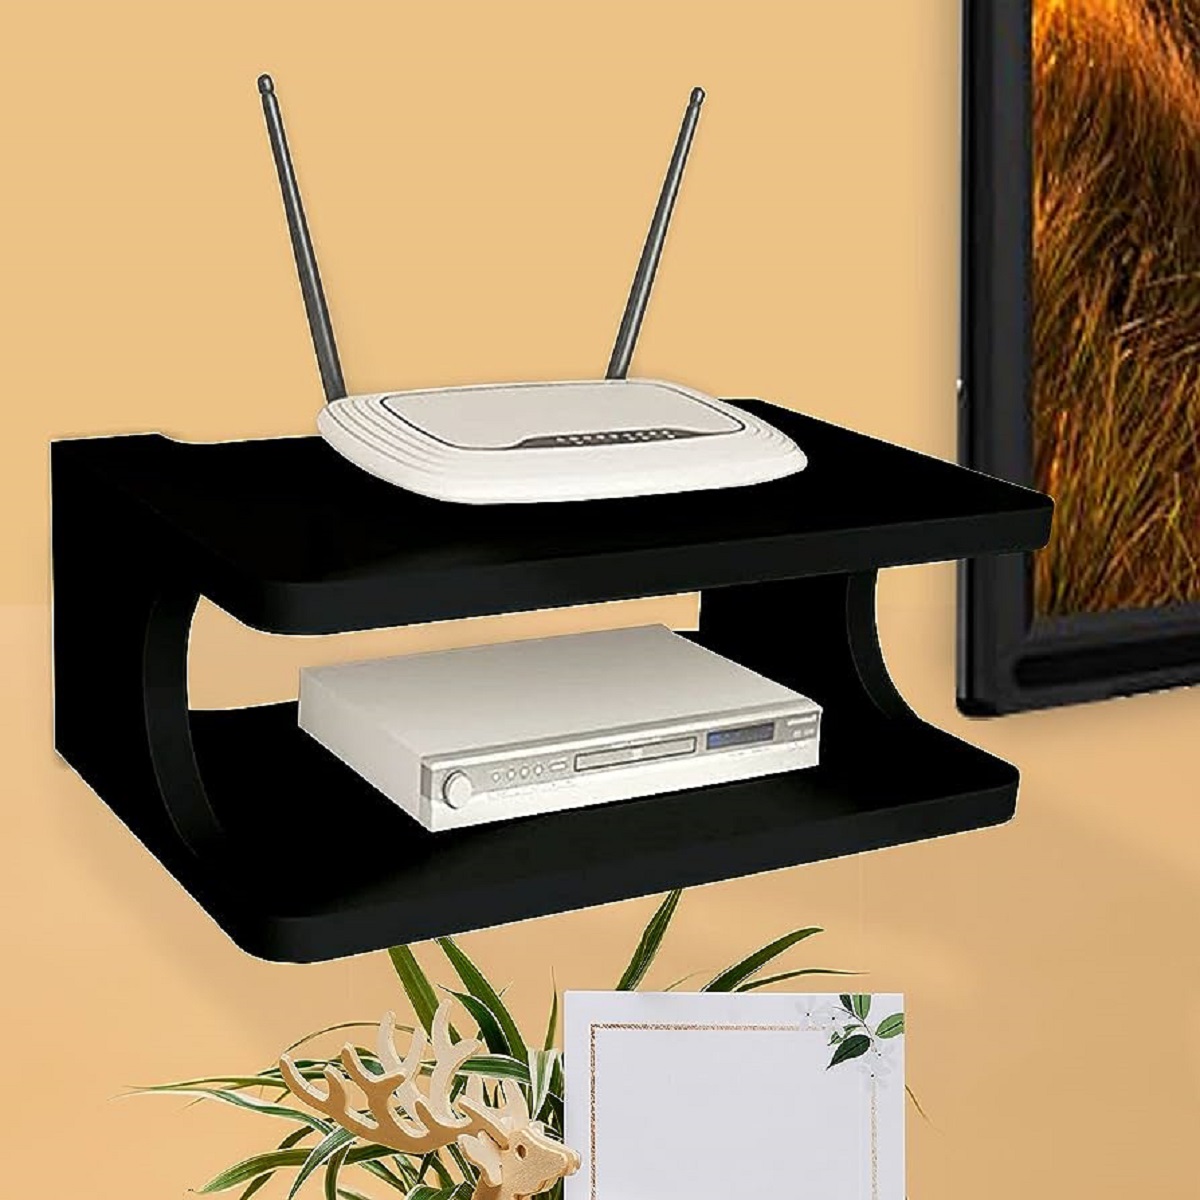
Before connecting your DVD player to your smart TV, it’s essential to gather all the necessary cables and connections. The type of cables you’ll need depends on the available ports on both devices. Here are the two most common options:
Option 1: HDMI Cable
If your DVD player and smart TV both have HDMI ports, using an HDMI cable is the simplest and most convenient method. HDMI (High-Definition Multimedia Interface) cables transmit both high-quality video and audio signals, providing a seamless viewing experience. Ensure that you have an HDMI cable that is long enough to reach from your DVD player to your smart TV.
Option 2: RCA Cables (Composite or Component)
If your DVD player and smart TV don’t have HDMI ports or you prefer using RCA cables, you have two options: composite or component. Composite cables consist of three connectors: red (right audio), white (left audio), and yellow (video), while component cables have five connectors: red, blue, green (video), and red, white (audio). Make sure to get the appropriate cables based on your DVD player and smart TV’s available ports.
Once you have the cables ready, move on to the next step where we’ll locate the video and audio outputs on your DVD player.
Step 2: Locate the DVD player’s video and audio outputs
Now that you have the necessary cables, it’s time to locate the video and audio outputs on your DVD player. These outputs are typically located on the back of the device and are labeled accordingly.
1. Video Output:
- If you’re using an HDMI cable, locate the HDMI output port. It’s usually labeled as “HDMI” or has the HDMI logo next to it.
- If you’re using RCA cables, look for the yellow video output labeled “Video Out” or “Composite Out.”
- If you’re using component cables, identify the red, blue, and green video outputs labeled “Y,” “Cb,” and “Cr” respectively.
2. Audio Output:
- If you’re using an HDMI cable, the audio signal is transmitted through the same cable, so there is no separate audio output.
- If you’re using RCA cables, locate the red and white audio outputs labeled “Audio Out” or “L/R Audio Out.”
- If you’re using component cables, the red and white audio outputs are the same as with RCA cables.
Note: If your DVD player supports digital audio output, you may find additional outputs, such as optical or coaxial. However, most smart TVs don’t require these connections for basic DVD playback.
Once you’ve located the video and audio outputs on your DVD player, proceed to the next step where we’ll find the corresponding inputs on your smart TV.
Step 3: Locate the corresponding inputs on your smart TV
After identifying the video and audio outputs on your DVD player, it’s time to locate the corresponding inputs on your smart TV. The inputs on your smart TV are typically located on the back or side of the device and are labeled accordingly.
1. Video Input:
- If you’re using an HDMI cable, look for the HDMI input port on your smart TV. It’s usually labeled “HDMI” or has the HDMI logo next to it. Note the number associated with the HDMI input port (e.g., HDMI 1, HDMI 2, etc.) as you’ll need it to select the correct input later.
- If you’re using RCA cables, locate the yellow video input labeled “Video In” or “Composite In.” Again, note the corresponding number if there are multiple composite inputs on your smart TV.
- If you’re using component cables, identify the red, blue, and green video inputs labeled “Y,” “Cb,” and “Cr” respectively. Similarly, take note of the numbers if there are multiple component inputs.
2. Audio Input:
- If you’re using an HDMI cable, there is no separate audio input as the audio is transmitted through the HDMI connection.
- If you’re using RCA cables, look for the red and white audio inputs labeled “Audio In” or “L/R Audio In” corresponding to the selected video input.
- If you’re using component cables, the red and white audio inputs are the same as with RCA cables.
If your smart TV supports digital audio input, you may find additional inputs, such as optical or coaxial. However, these connections are not required for basic DVD playback.
Once you’ve located the corresponding inputs on your smart TV, proceed to the next step where we’ll connect the audio and video cables.
Step 4: Connect the audio and video cables
Now that you’ve identified the video and audio outputs on your DVD player and the corresponding inputs on your smart TV, it’s time to connect the cables and establish the connection between the two devices.
1. HDMI Cable:
- If you’re using an HDMI cable, simply plug one end of the HDMI cable into the HDMI output port on your DVD player and the other end into the HDMI input port on your smart TV. Make sure that both ends are securely connected.
2. RCA Cables (Composite or Component):
- If you’re using composite RCA cables, connect the yellow video cable to the yellow video output on your DVD player and the yellow video input on your smart TV. Connect the red and white audio cables to the corresponding audio outputs and inputs.
- If you’re using component RCA cables, connect the red, blue, and green video cables to their respective outputs on your DVD player and the corresponding inputs on your smart TV. Connect the red and white audio cables to their corresponding outputs and inputs as well.
Ensure that all connections are snug and secure to avoid any potential signal loss or interruptions. If you’re using RCA cables, make sure the colors of the plugs match the corresponding jacks on both devices.
Note: If you have multiple inputs of the same type (e.g., HDMI, RCA), take note of the input number you used so that you can switch to the correct input later.
Once you’ve connected the audio and video cables, it’s time to power on your DVD player and smart TV. Move on to the next step to learn how.
Step 5: Power on the DVD player and smart TV
With the audio and video cables connected, it’s time to power on both your DVD player and smart TV. Follow these simple steps to ensure a smooth power-on process.
1. DVD Player:
- Locate the power button or switch on your DVD player and press it to turn on the device. Wait a few moments for the DVD player to boot up.
- If your DVD player has a tray, press the “Open/Close” button to open the tray and insert the DVD you want to watch.
- Once the DVD is inserted, press the “Open/Close” button again to close the tray.
- Ensure that the DVD player is set to the correct output channel for the connection you made in the previous steps. This may require navigating through the DVD player’s menu or using an “Input/Source” button on the remote control.
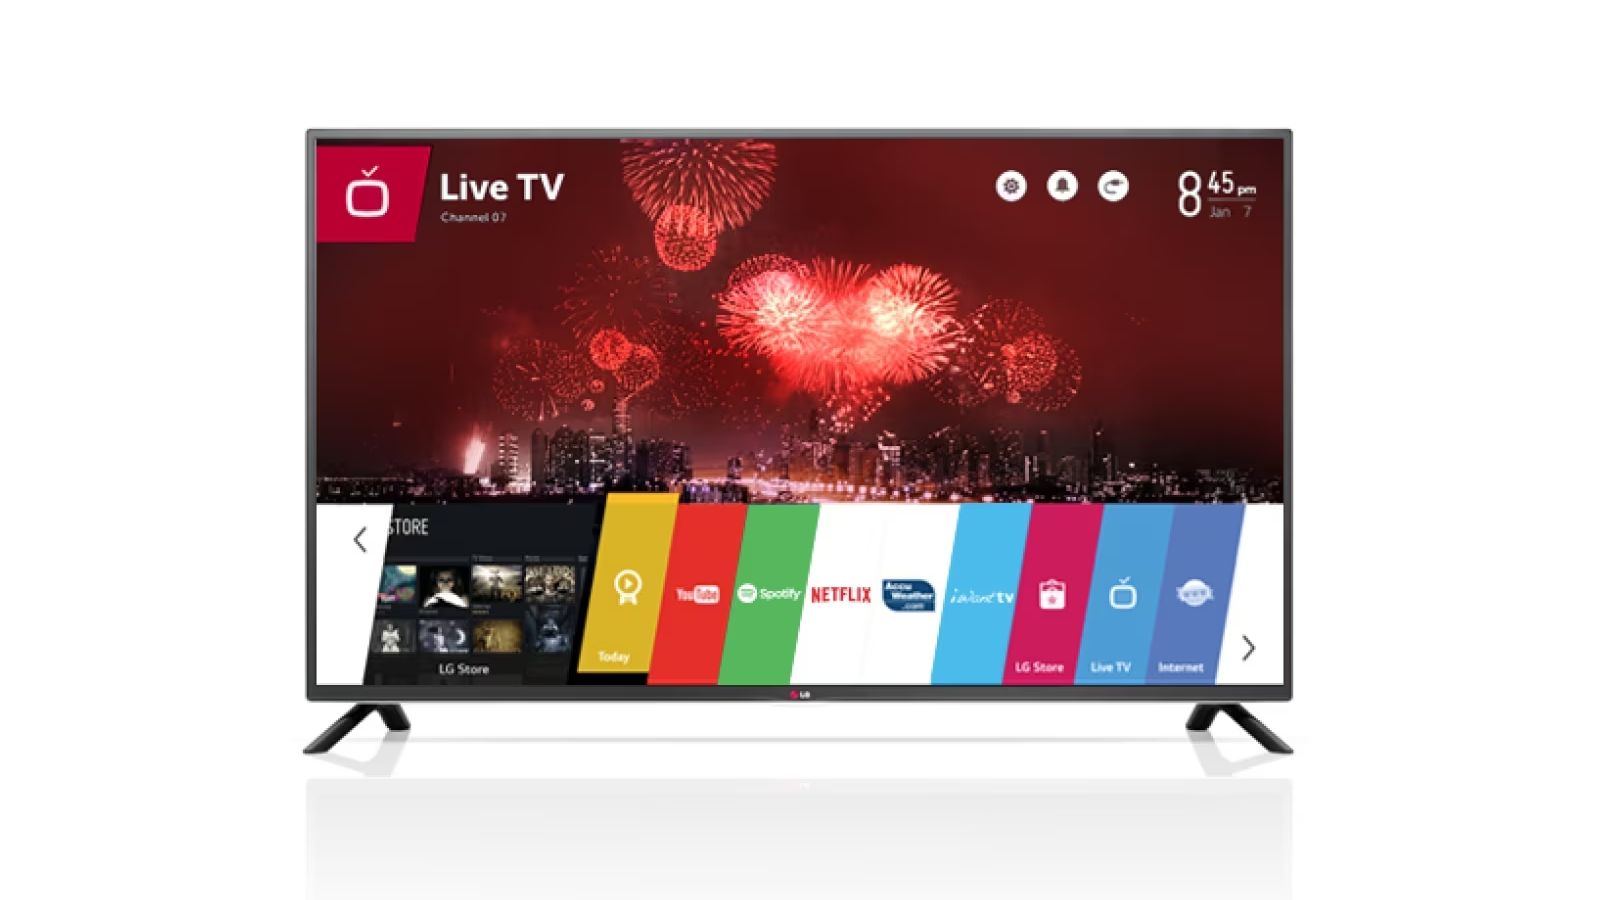
2. Smart TV:
- Locate the power button on your smart TV or use the remote control to power it on.
- Wait for the smart TV to boot up and display the home screen or main menu.
It’s important to ensure that both your DVD player and smart TV are powered on and ready before proceeding to the next step. Once both devices are powered on, move on to the next step to adjust the input/source settings.
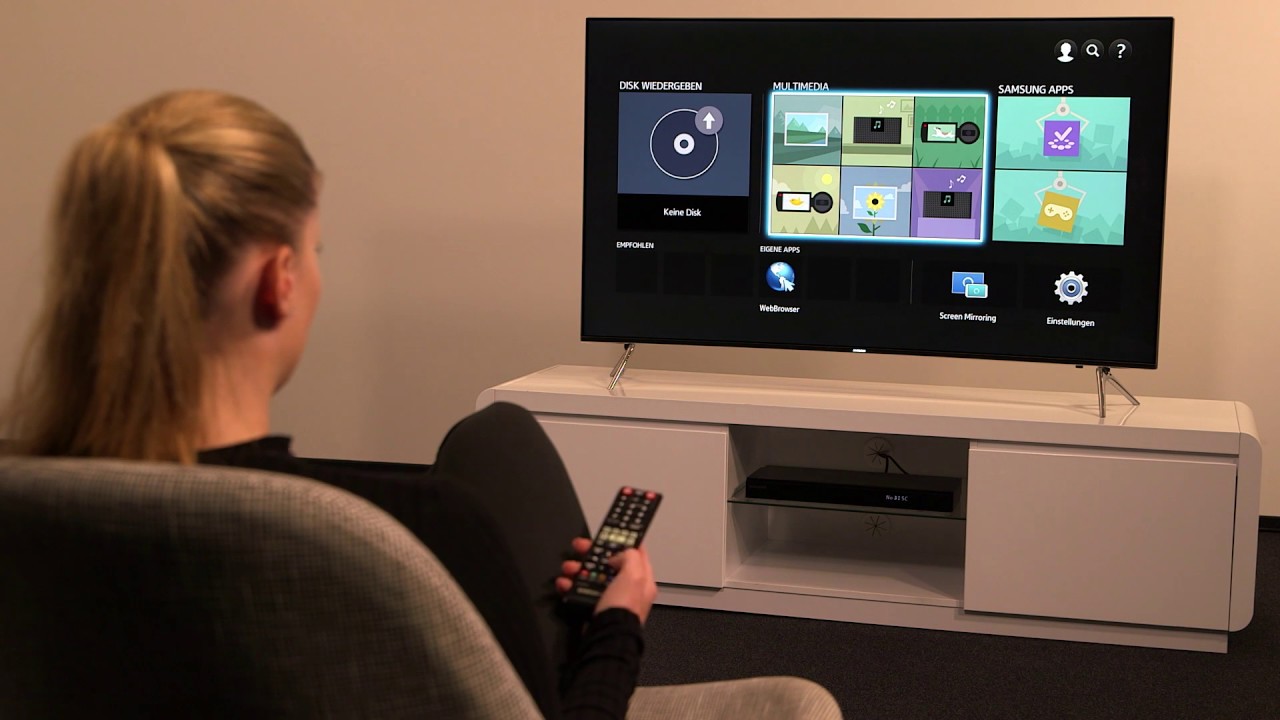
Step 6: Adjust the input/source settings on your smart TV
Now that your DVD player and smart TV are powered on, it’s time to adjust the input or source settings on your smart TV to ensure that it recognizes the DVD player’s signal and displays it on the screen. Follow these steps to make the necessary adjustments:
1. Grab your TV remote and locate the “Input” or “Source” button. This button is usually labeled with one of these terms or may have a symbol representing different input options.
- Press the “Input” or “Source” button on your TV remote to access the input/source selection menu.
2. Use the arrow buttons on your TV remote to navigate through the input/source options. Look for the input/source that corresponds to the connection you made between your DVD player and smart TV.
- If you connected your DVD player via HDMI, select the HDMI input where you plugged in the HDMI cable.
- If you used composite or component cables, select the appropriate input labeled as “AV,” “Composite,” or “Component.”
3. Once you’ve selected the correct input/source, press the “Enter” or “OK” button on your TV remote to confirm your selection.
4. Your smart TV should now display the signal from your DVD player. If everything is set up correctly, you should see the DVD player’s menu or the content of the DVD on your TV screen.
If you don’t immediately see the DVD player’s signal, double-check the connections and repeat the steps to ensure that you’ve selected the correct input/source. If the issue persists, consult the user manual of your smart TV or seek technical assistance.
With the input/source settings adjusted, you’re almost ready to start watching your favorite DVDs on your smart TV. Let’s move on to the final step to test the connection.
Step 7: Test the connection and start watching your favorite DVDs
The moment has finally arrived – it’s time to test the connection between your DVD player and smart TV and start enjoying your favorite DVDs. Follow these steps to ensure everything is working properly:
1. On your smart TV remote, use the arrow buttons or navigation keys to navigate through the DVD player’s menu or browse the contents of the inserted DVD.
2. Select the DVD or desired content you want to watch by highlighting it using the arrow buttons and pressing the “Enter” or “OK” button on your remote.
3. If the DVD is playing and you can see the video and hear the audio on your smart TV, congratulations – your connection is successful!
4. Adjust the volume on your smart TV or use the DVD player’s remote control to control the audio level to your preference.
5. To navigate through DVD menus or perform additional functions, such as subtitles or special features, refer to the DVD player’s manual or use the corresponding buttons on the DVD player’s remote control.
6. Sit back, relax, and enjoy watching your favorite movies, concerts, or TV shows on your smart TV’s bigger screen with better audio quality.
If you encounter any issues, such as no signal, distorted video, or no audio, double-check the cables and connections, ensure the DVD player is set to the correct output, and verify that the TV is set to the correct input/source. If necessary, consult the user manuals for both devices or seek assistance from technical support.
With the connection successfully tested, you’re now ready to immerse yourself in the world of DVD entertainment on your smart TV. Enjoy the experience and happy viewing!
Conclusion
Congratulations! You have successfully connected your DVD player to your smart TV and unlocked a whole new level of entertainment possibilities. By following the simple steps outlined in this guide, you can now enjoy your favorite movies, concerts, or TV shows on a bigger screen with better audio quality.
Remember to gather the necessary cables and connections, locate the video and audio outputs on your DVD player, find the corresponding inputs on your smart TV, connect the audio and video cables securely, power on both devices, adjust the input/source settings on your smart TV, and finally, test the connection and start watching your DVDs.
With this connection, you can relive memories, explore new cinematic experiences, and immerse yourself in the world of entertainment directly from the comfort of your living room. Say goodbye to squinting at small screens and limited audio capabilities – your smart TV and DVD player combination will provide you with a truly cinematic experience.
Should you encounter any issues along the way, remember to consult the user manuals for your devices or seek technical assistance for troubleshooting. Additionally, ensure that your DVD player and smart TV are compatible with the chosen connection type, such as HDMI or RCA cables.
So, gather your favorite DVDs, prepare some popcorn, and get ready for a movie night like no other. With your DVD player hooked up to your smart TV, the possibilities for entertainment are endless!