Introduction
Are you excited about watching your favorite movies and TV shows on a bigger screen? Connecting a DVD player to a smart TV is a simple yet essential step in transforming your entertainment experience. Whether you want to enjoy classic movies or have a collection of DVDs that you want to revisit, connecting your DVD player to a smart TV allows you to enjoy the content in a more immersive way.
With advancements in technology, smart TVs have become the go-to choice for many consumers. These televisions offer a range of features and applications that provide access to online streaming services, gaming, and much more. However, if you still have a DVD player, you might be wondering how to connect it to your smart TV.
In this guide, we will walk you through the steps of connecting a DVD player to a smart TV, so you can start enjoying your favorite movies and shows with ease. We will cover everything from gathering the necessary equipment to configuring the settings on both devices.
Before we dive into the steps, it’s important to note that the specific process might vary slightly depending on the model of your DVD player and smart TV. It’s always a good idea to consult the user manuals for both devices for any specific instructions or considerations.
Now, let’s get started with the first step: gathering the necessary equipment.
Step 1: Gather the necessary equipment
Before connecting your DVD player to your smart TV, you will need to gather the necessary equipment. Here’s a quick checklist of what you will need:
- A DVD player: This is the device that plays your DVDs. Make sure you have a DVD player that is compatible with your smart TV.
- A smart TV: This is the television that you will be connecting the DVD player to. Ensure that your smart TV has the necessary ports to connect the DVD player.
- An HDMI cable: This cable will be used to connect the DVD player to the smart TV. It carries both audio and video signals, providing high-quality playback.
- A power cord: This is the cord that will supply power to both the DVD player and the smart TV.
- Remote controls: Make sure you have the remotes for both the DVD player and the smart TV. These will be used to control the devices.
It’s a good idea to check if these items are readily available or if you need to purchase any of them. If you need to buy anything, make sure to choose high-quality cables and compatible devices to ensure optimal performance.
Once you have gathered all the necessary equipment, you’re ready to move on to the next step: identifying the available port on your TV and DVD player.
Step 2: Identify the available port on your TV and DVD player
Now that you have all the necessary equipment, the next step is to identify the available ports on both your smart TV and DVD player. This is crucial because you need to ensure that you connect the two devices using the correct port.
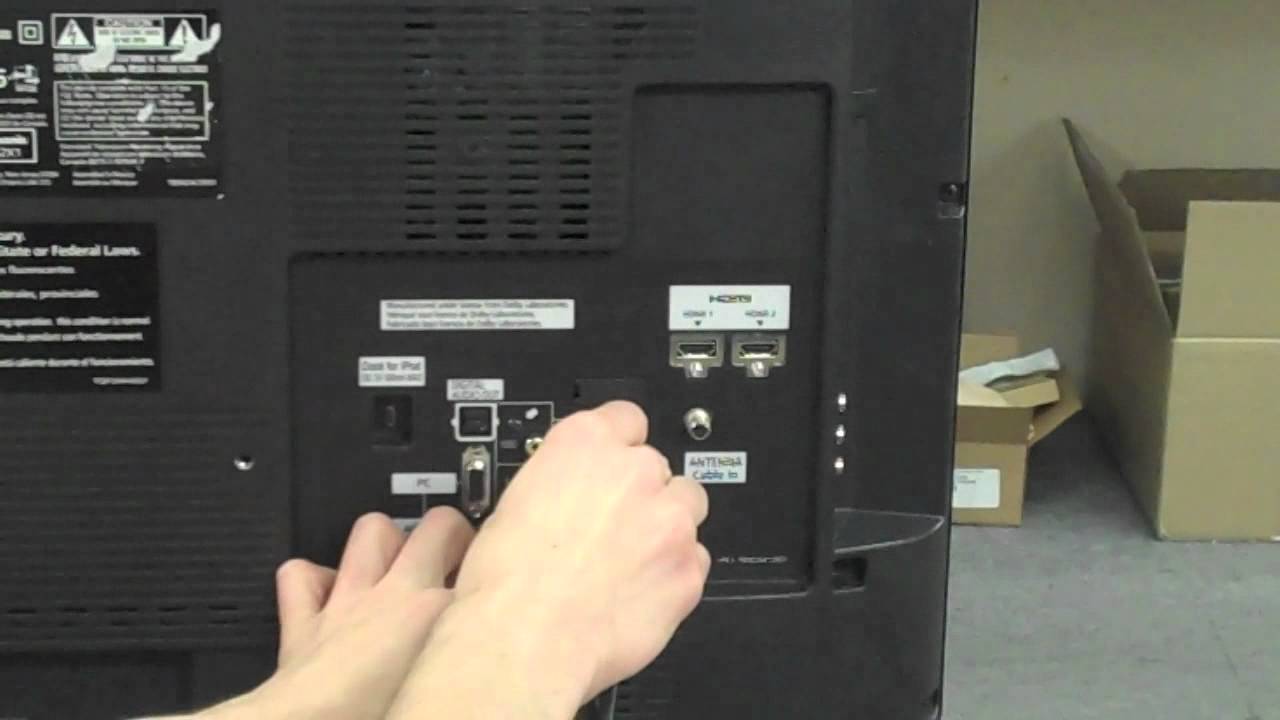
First, take a look at your smart TV. It should have multiple ports located at the back or on the sides of the television. The most common port used for connecting a DVD player is the HDMI port. HDMI ports are usually labeled “HDMI” and can support both audio and video signals.
If your smart TV has multiple HDMI ports, take note of which one you will use for connecting your DVD player. Remember, different HDMI ports might have different functionalities or support different features, so it’s important to select the right one.
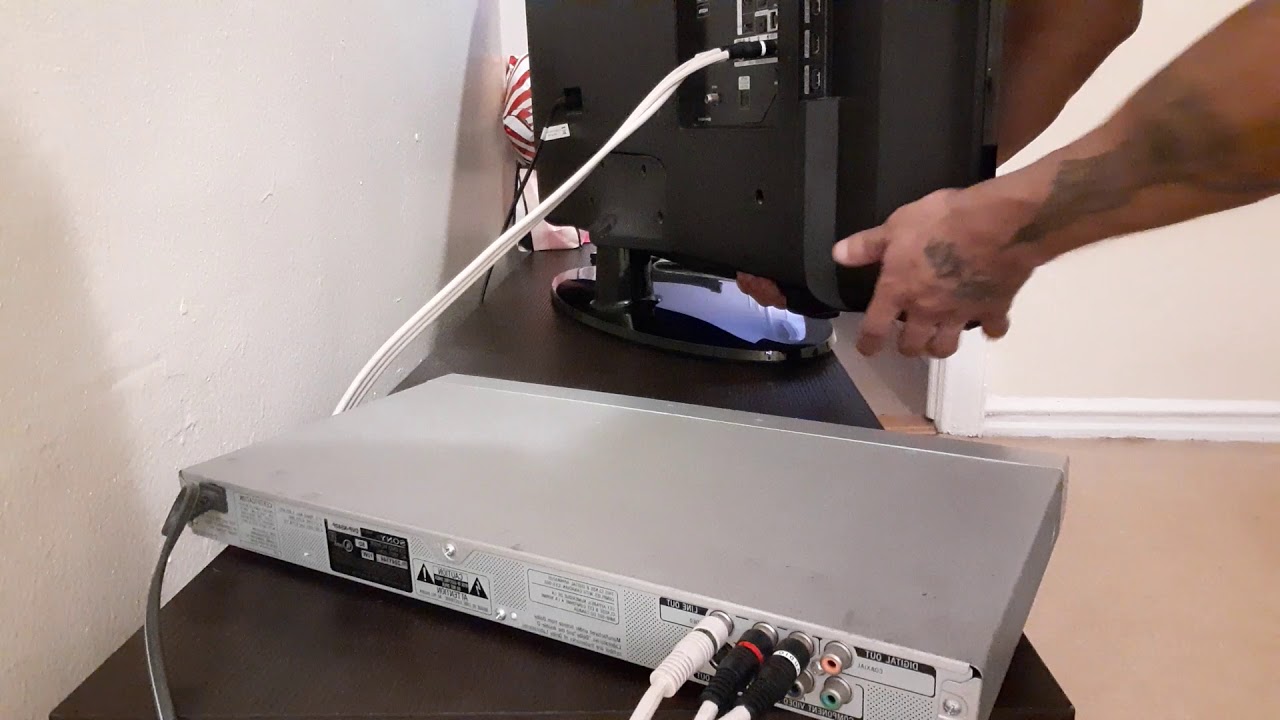
Next, examine your DVD player. Generally, DVD players also have an HDMI port that is used for connecting to a TV. It may be labeled “HDMI Out” or “HDMI.” Besides HDMI, there may be other available ports such as component video, composite video, or S-Video. However, for the best picture and audio quality, it is highly recommended to use the HDMI port.
Once you have identified the available ports on both the smart TV and DVD player, you’re ready to move on to the next step: connecting the DVD player to the TV using an HDMI cable.
Step 3: Connect the DVD player to the TV using HDMI cable
Now that you have identified the available ports on your smart TV and DVD player, it’s time to connect them using an HDMI cable. HDMI cables provide a convenient and high-quality connection between devices.
Here’s how to connect the DVD player to the TV using an HDMI cable:
- Locate the HDMI port on your DVD player. It is usually labeled “HDMI Out” or “HDMI.”
- Take one end of the HDMI cable and insert it into the HDMI port on your DVD player. Make sure it is securely plugged in.
- Locate the HDMI port on your smart TV. It should be labeled “HDMI” and correspond to the HDMI port you connected to on the DVD player.
- Take the other end of the HDMI cable and insert it into the HDMI port on your smart TV. Ensure it is firmly connected.
- Once the HDMI cable is connected to both the DVD player and the smart TV, you’re ready to move on to the next step.
It’s important to note that some smart TVs may have multiple HDMI ports, as mentioned earlier. If this is the case, remember to use the HDMI port that you identified in the previous step. Using the wrong HDMI port may result in no signal or poor picture and sound quality.
Now that you have successfully connected the DVD player to the TV using an HDMI cable, it’s time to power on the devices and configure the necessary settings.
Step 4: Power on the devices and configure the settings
With the DVD player and smart TV connected through the HDMI cable, it’s time to power on the devices and configure the necessary settings to ensure optimal performance.
Here are the steps to power on the devices and configure the settings:
- Plug in the power cord for both the DVD player and the smart TV into a power outlet. Ensure that they have a stable power source.
- Using the remote control for your smart TV, turn on the television. It may take a few moments for the TV to boot up and display the home screen.
- Using the remote control for your DVD player, power on the device. The DVD player should also start up and show an on-screen display.
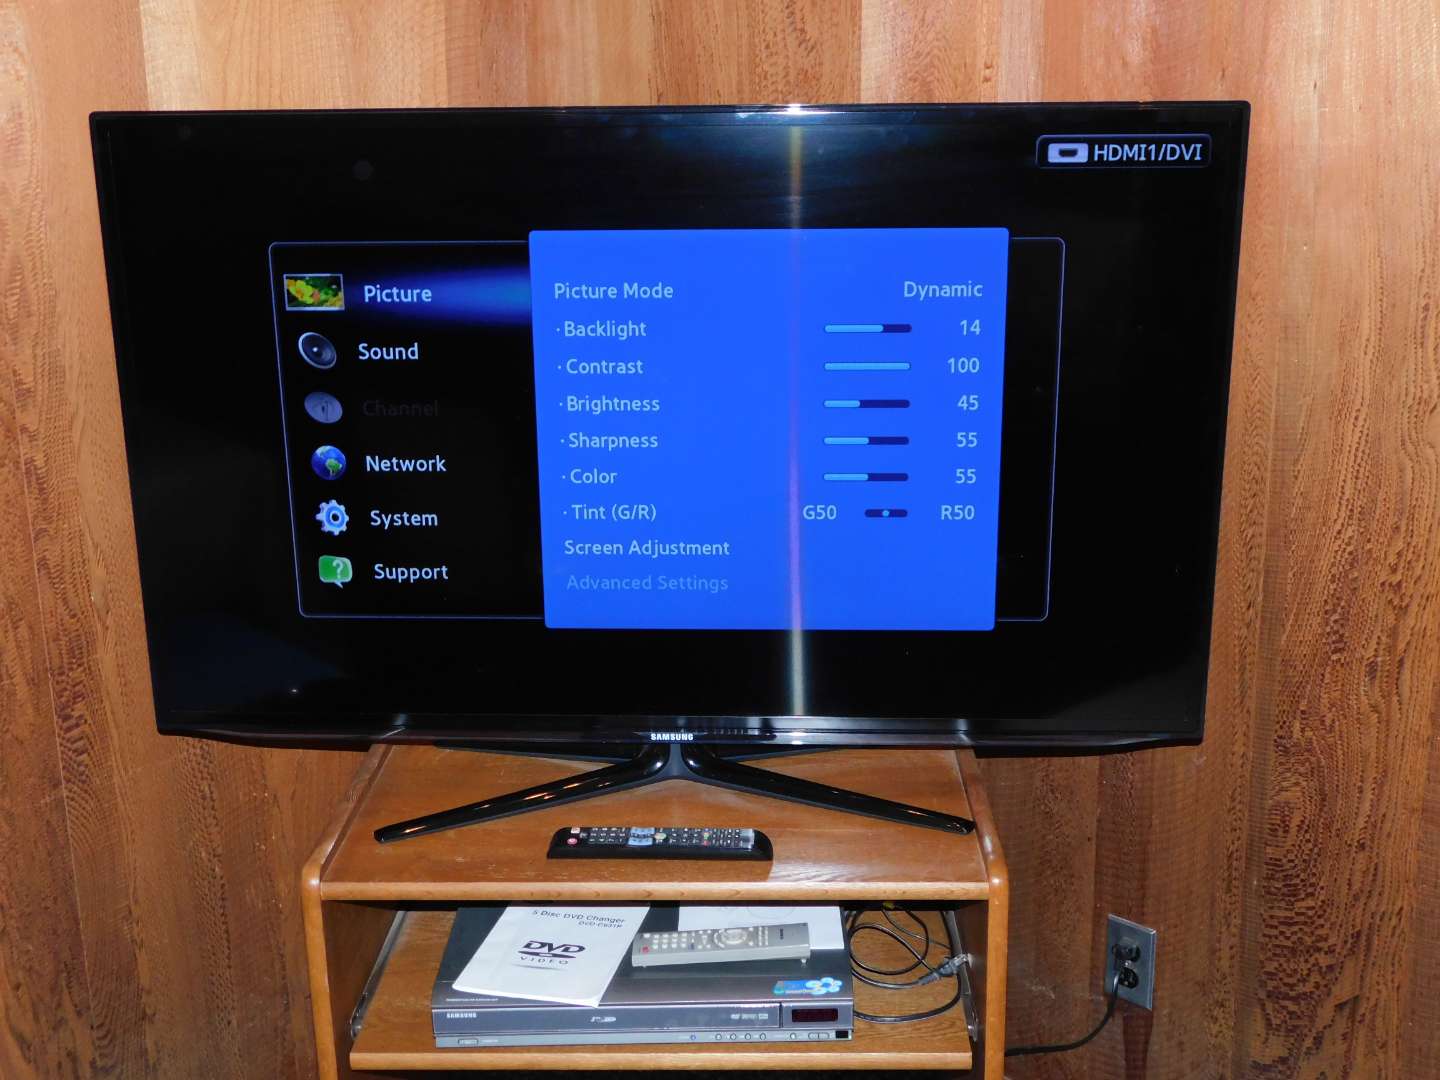
- On your smart TV remote control, navigate to the input/source selection screen. This can usually be done by pressing the “Input” or “Source” button.
- Select the HDMI input that corresponds to the port on the TV where you connected the DVD player. This will ensure that the TV recognizes the DVD player and displays its content.
- Once you have selected the correct HDMI input, you should see the DVD player’s output on your smart TV’s screen.
At this stage, you have successfully powered on both the DVD player and the smart TV, and the devices are connected and ready to go. However, it’s worth mentioning that some smart TVs may have additional settings that need to be configured to optimize the DVD player’s performance. Consult the user manual of your smart TV for any specific instructions on adjusting settings such as display resolution, aspect ratio, or audio output.
Now that you have powered on the devices and configured the necessary settings, it’s time to move on to the final step: testing the connection and enjoying your DVD content.
Step 5: Test the connection and enjoy your DVD content
Now that you have successfully connected your DVD player to your smart TV and configured the settings, it’s time to test the connection and start enjoying your DVD content.
Follow these steps to test the connection and play your DVD:
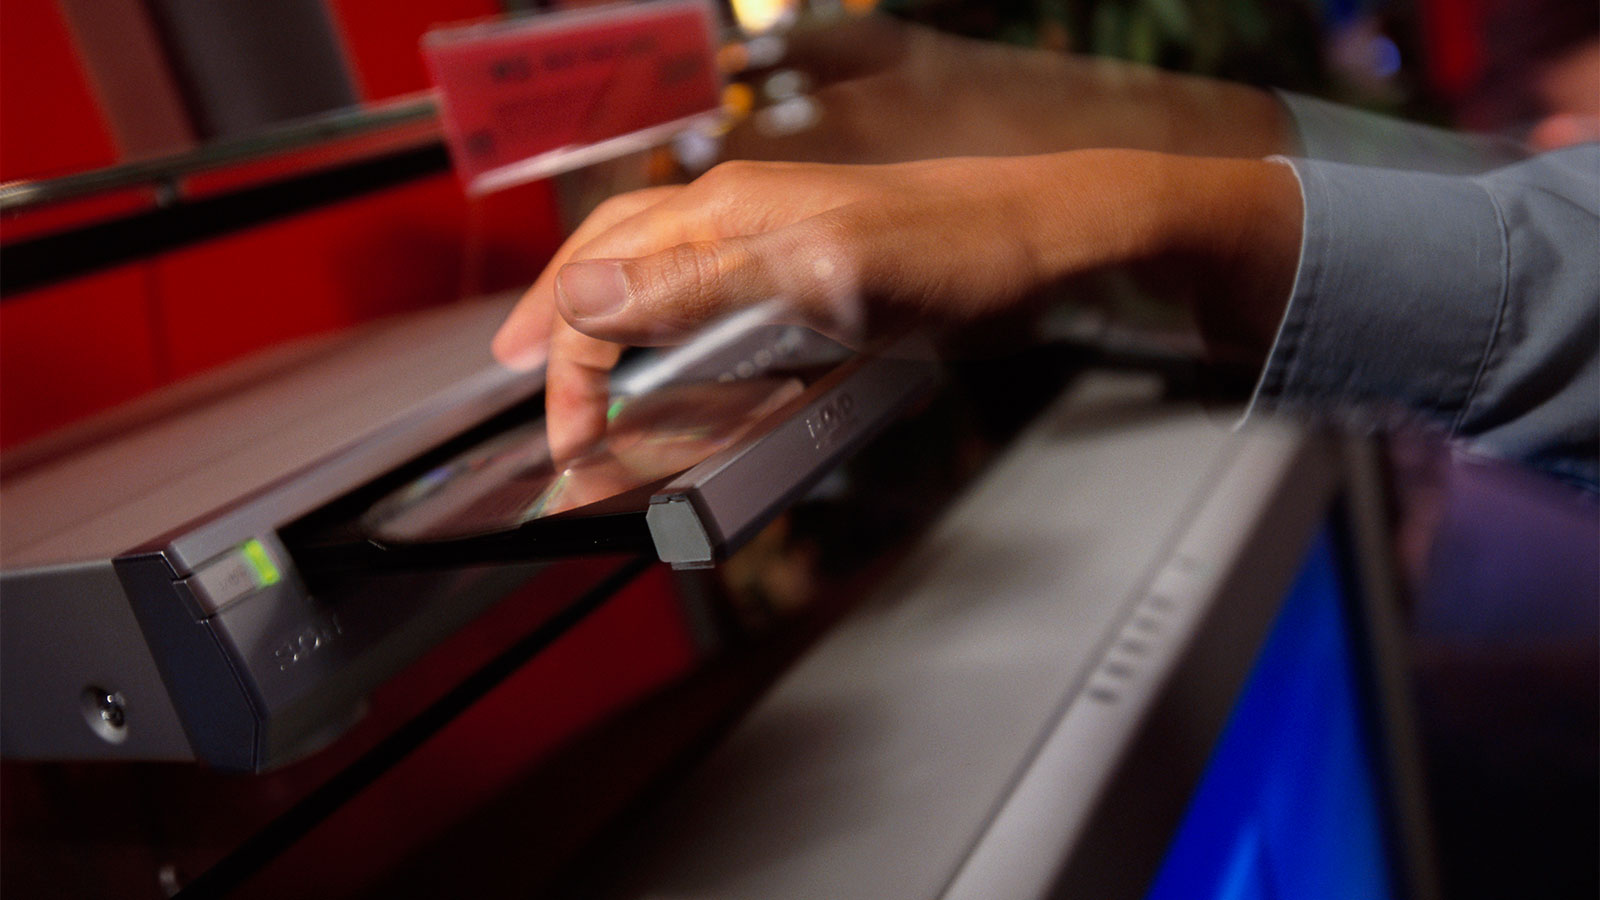
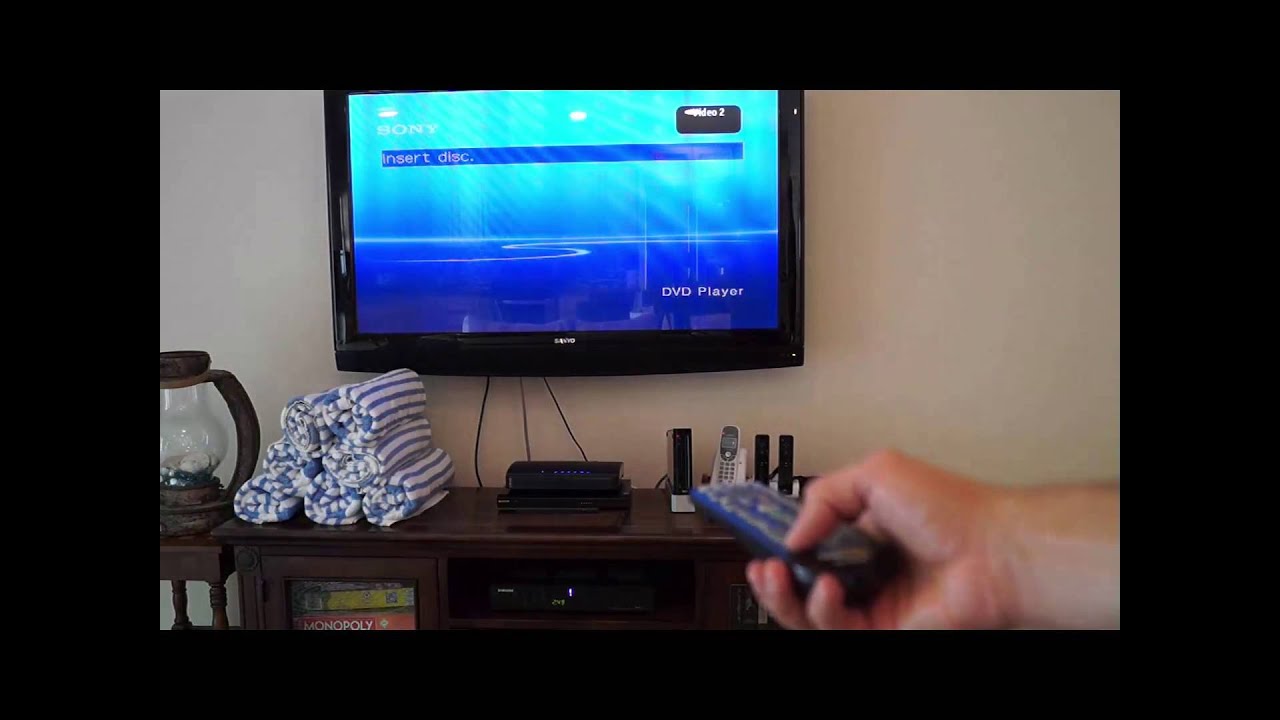
- Insert a DVD into the DVD player. Make sure it is inserted correctly and securely into the disc tray.
- On your smart TV remote control, navigate to the input/source selection screen and select the HDMI input that corresponds to the DVD player.
- You should see the DVD player’s on-screen display appear on your smart TV. This indicates that the devices are successfully connected and the DVD player is ready to play.
- Using the remote control for your DVD player, select the “Play” option to start playback of the DVD.
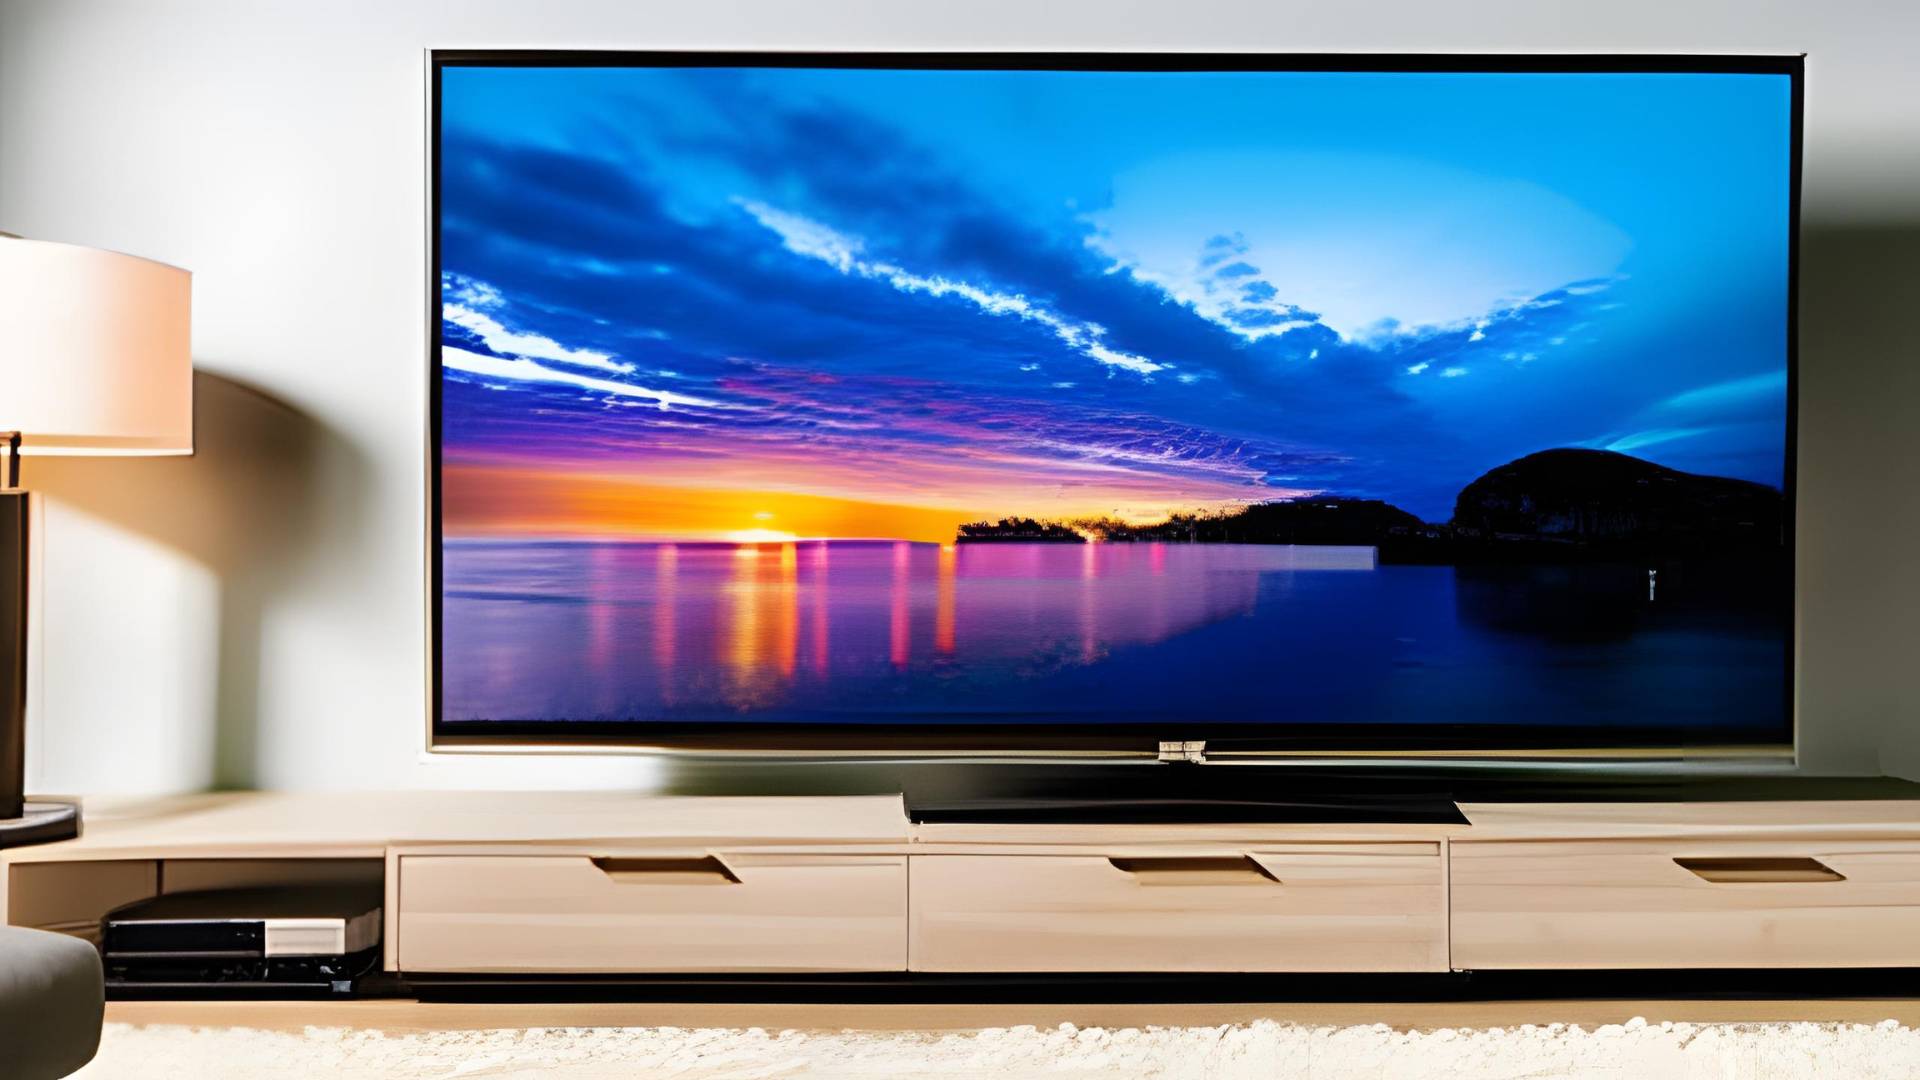
- Sit back, relax, and enjoy your DVD content on the big screen of your smart TV.
Take the opportunity to explore the various features and options available on your DVD player. You may have the ability to navigate through menus, access special features, or adjust playback settings using the player’s remote control.
If you encounter any issues, such as a black screen or no audio, make sure to double-check the connections and settings. Ensure that the HDMI cable is securely plugged in and that you have selected the correct HDMI input on your smart TV.
It’s also worth mentioning that some smart TVs may offer additional features, such as upscaling DVD content to enhance picture quality. You can explore these settings in your smart TV’s menu for an even better viewing experience.
Now that you have tested the connection and successfully played your DVD content, you can sit back, relax, and enjoy your favorite movies and TV shows on the big screen.
Conclusion
Connecting a DVD player to a smart TV is a simple process that allows you to enjoy your DVD collection on a larger and more immersive screen. By following the steps outlined in this guide, you can easily connect your DVD player to your smart TV and start enjoying your favorite movies and TV shows.
We started by gathering the necessary equipment, including a DVD player, a smart TV, an HDMI cable, a power cord, and the respective remote controls. Then, we identified the available ports on both devices, ensuring that we selected the correct HDMI ports for the connection.
Next, we connected the DVD player to the TV using an HDMI cable, ensuring a high-quality video and audio signal transmission. Once connected, we powered on the devices and adjusted the necessary settings on the smart TV to recognize and display the DVD player’s content.
Finally, we tested the connection by inserting a DVD into the player and selecting the correct HDMI input on the smart TV. With everything set up properly, we could sit back and enjoy our DVD content on the big screen of the smart TV.
Remember, every TV and DVD player may have slight differences in the setup process, so it’s essential to consult the user manuals for specific instructions. Additionally, be sure to use high-quality cables and compatible devices for the best performance.
Now that you have successfully connected your DVD player to your smart TV, get ready to experience your movie collection like never before. Grab some popcorn, sit back, and enjoy a cinematic experience from the comfort of your own home!