Introduction
Welcome to the world of entertainment! The ability to connect your DVD player to a smart TV opens up a whole new realm of possibilities for enjoying your favorite movies and shows. Whether you have a vast collection of DVDs or you simply want to access streaming services through your DVD player, this guide will walk you through the steps to make the connection.
In this era of advanced technology, smart TVs have become increasingly popular for their seamless integration with various devices. By connecting your DVD player to your smart TV, you can conveniently access your favorite movies and TV shows, without the need for multiple devices cluttering up your entertainment center.
While the process of connecting a DVD player to a smart TV may seem daunting, fear not. In this article, we will break down the steps for you in a simple and easy-to-understand manner, so you can set up your own entertainment hub with confidence.
Before we dive into the process, it’s important to note that different models of smart TVs and DVD players may vary slightly in terms of connection options and settings. However, the principles and steps discussed here will serve as a general guide to help you connect most DVD players to most smart TVs.
So, whether you’re a movie aficionado or simply someone looking to enhance your home entertainment experience, grab your popcorn, take a seat, and let’s get started on connecting your DVD player to your smart TV!
Determine the Type of Connection
Before you can connect your DVD player to your smart TV, it’s essential to determine the type of connection that is compatible with both devices. The type of connection you need will depend on the available ports on your DVD player and smart TV.
There are a few common types of connections you can use:
- HDMI: HDMI (High-Definition Multimedia Interface) is the most recommended and widely used connection type. It provides high-quality audio and video transmission in a single cable. Most modern DVD players and smart TVs have HDMI ports, making it a convenient and straightforward option.
- Component: Component video cables are another option for connecting your DVD player to your smart TV. These cables transmit analog video signals and may require separate audio cables for sound. Make sure your devices have component video ports if you decide to use this type of connection.
- Composite: Composite cables are the oldest and least desirable option. They use yellow, red, and white connectors to transmit video and audio signals. While they are still functional, composite cables offer lower-quality video and audio compared to HDMI and component connections.
An important factor to consider when choosing a connection type is the availability of ports on your DVD player and smart TV. Take a look at the back or sides of both devices to identify the ports they have. If both devices have HDMI ports, it is highly recommended to use an HDMI connection for the best audio and video quality.
Keep in mind that the availability of ports may differ based on the models and brands of your DVD player and smart TV. If you are unsure about the connection types and available ports, refer to the user manuals or consult the manufacturer’s website for detailed specifications.
Overall, determining the type of connection is crucial before moving forward with the setup process. Once you have identified the compatible connection type, you can proceed to the next step of choosing the right cables to establish the connection between your DVD player and smart TV.
Choose the Right Cables
Now that you have determined the type of connection to use between your DVD player and smart TV, it’s time to select the appropriate cables. The cables you choose should be compatible with the connection type and provide optimal audio and video transmission.
Let’s take a look at the cables commonly used for each connection type:
- HDMI: To connect your DVD player and smart TV using HDMI, you will need an HDMI cable. Ensure that the HDMI cable is of high quality and capable of transmitting both audio and video signals. Look for HDMI cables labeled as “High-Speed” or “Ultra High-Speed” for the best performance.
- Component: If you decide to use component cables to connect your DVD player and smart TV, you will need three video cables and, in most cases, separate audio cables. Make sure the component cables are color-coded (red, green, blue) and labeled for video use. For audio, you can use standard RCA cables or opt for digital audio cables if your devices support them.
- Composite: For composite connections, you will need a set of composite cables with yellow, red, and white connectors. These cables are widely available and come in different lengths to suit your setup.
When selecting cables, ensure that they are long enough to reach between your DVD player and smart TV without being overly taut or too slack. Measure the distance between the two devices before purchasing cables to ensure they are the appropriate length.
In addition, it’s important to choose cables that are well-made and provide reliable performance. Look for cables from reputable brands and check customer reviews to gauge their quality and durability. While it’s not necessary to purchase the most expensive cables on the market, investing in decent-quality cables can help prevent issues such as signal loss and interference.
Lastly, consider the number of cables you will need based on your chosen connection type. HDMI requires only one cable, while component and composite connections may require multiple cables for video and audio signals. Make sure you have the required number of cables to establish the connection successfully.
By choosing the right cables, you can ensure a seamless and reliable connection between your DVD player and smart TV. Once you have obtained the necessary cables, you can move on to the next step of actually connecting the devices.
Connect the DVD Player to the Smart TV
Now that you have determined the type of connection and obtained the necessary cables, it’s time to connect your DVD player to your smart TV. Follow the step-by-step process below for a hassle-free setup:
- Ensure that both your DVD player and smart TV are turned off. This will prevent any electrical mishaps or damage to the devices during the connection process.
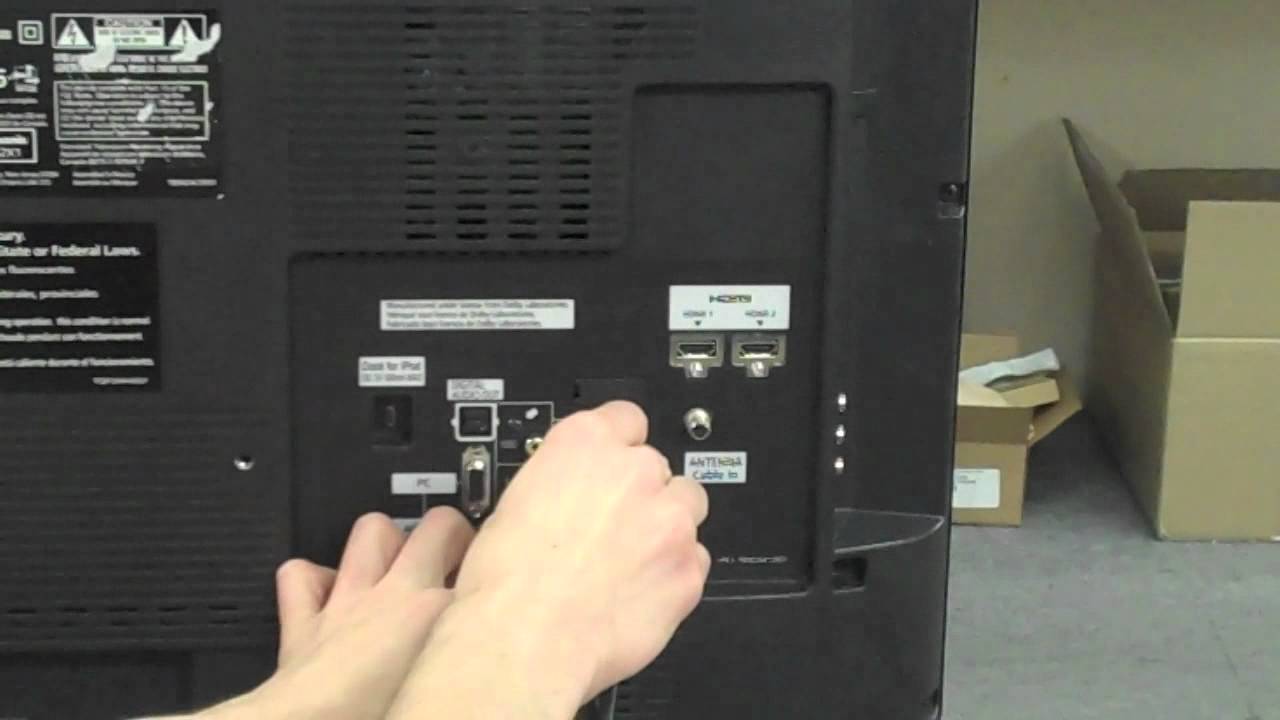
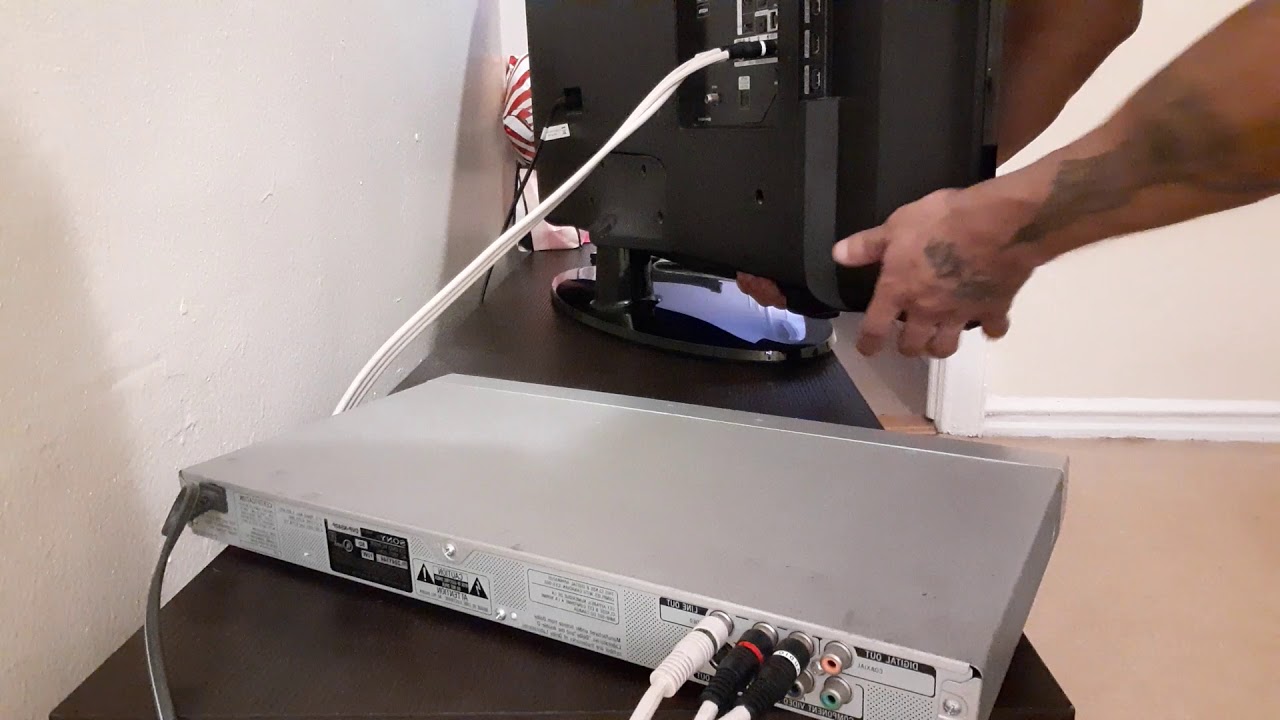
- Locate the HDMI, component, or composite ports on both the DVD player and smart TV. These ports are typically labeled and color-coded for easy identification.
- Take one end of the appropriate cable and plug it into the corresponding port on the back or side of your DVD player. Make sure the connection is secure by gently pushing the cable into the port.
- Connect the other end of the cable to the corresponding port on your smart TV. Again, ensure that the connection is firm and secure.
- If using component cables, connect the separate audio cables to the appropriate audio input ports. These are typically labeled “Audio In” or “L/R” for left and right audio channels.
- Once all the cables are properly connected, check that they are securely plugged in and tightened.
- Now, power on both the DVD player and smart TV.
- Using the input/source button on your smart TV’s remote control, select the appropriate input source for the DVD player. This may be labeled as HDMI, AV, or Component, depending on your TV model.
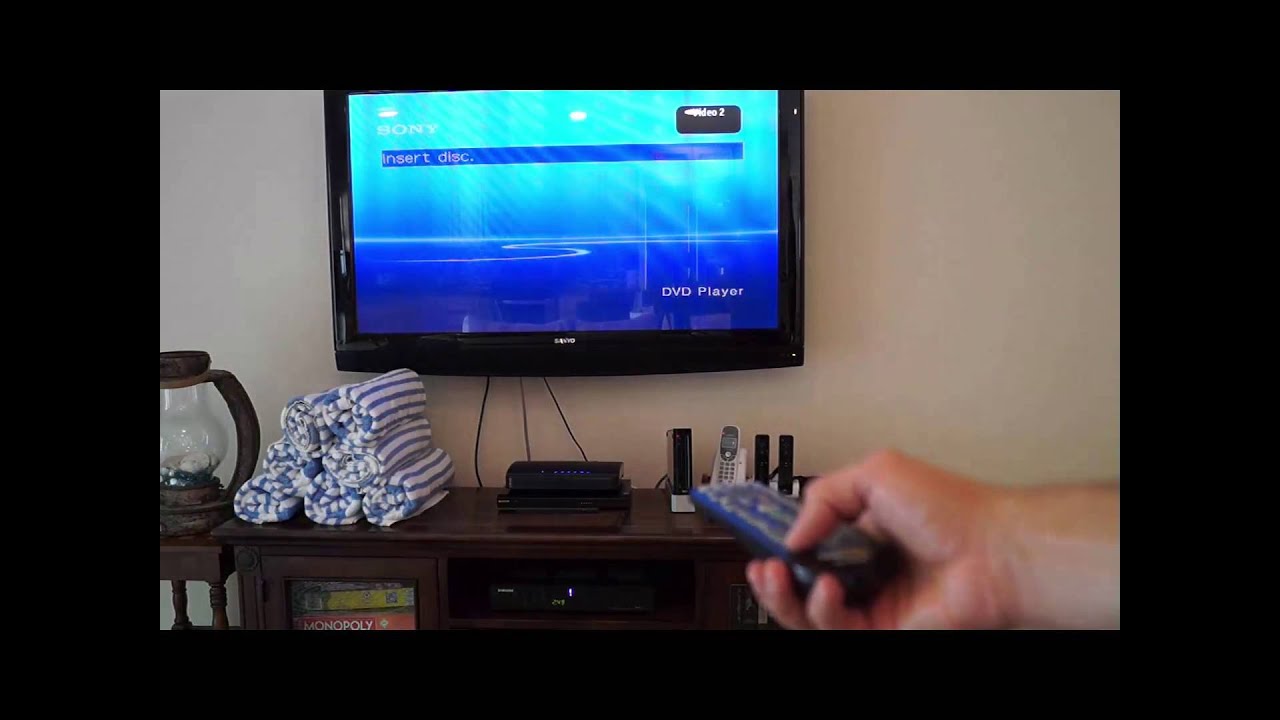
- Your smart TV should now display the content playing on your DVD player. If not, double-check the connections and ensure that the DVD player is properly set up.
Remember that the steps may vary slightly depending on your specific DVD player and smart TV models. Consult the user manuals for detailed instructions if necessary.
With the DVD player successfully connected to your smart TV, you can now enjoy your favorite movies, TV shows, and even streaming services on the big screen. Sit back, relax, and indulge in a cinematic experience from the comfort of your own home.
Configure the DVD Player Settings
After connecting your DVD player to your smart TV, it is important to configure the settings on the DVD player to ensure optimal performance and compatibility with your smart TV.
- Access the menu options on your DVD player by using the remote control that came with the device.
- Navigate to the “Settings” or “Setup” menu on your DVD player.
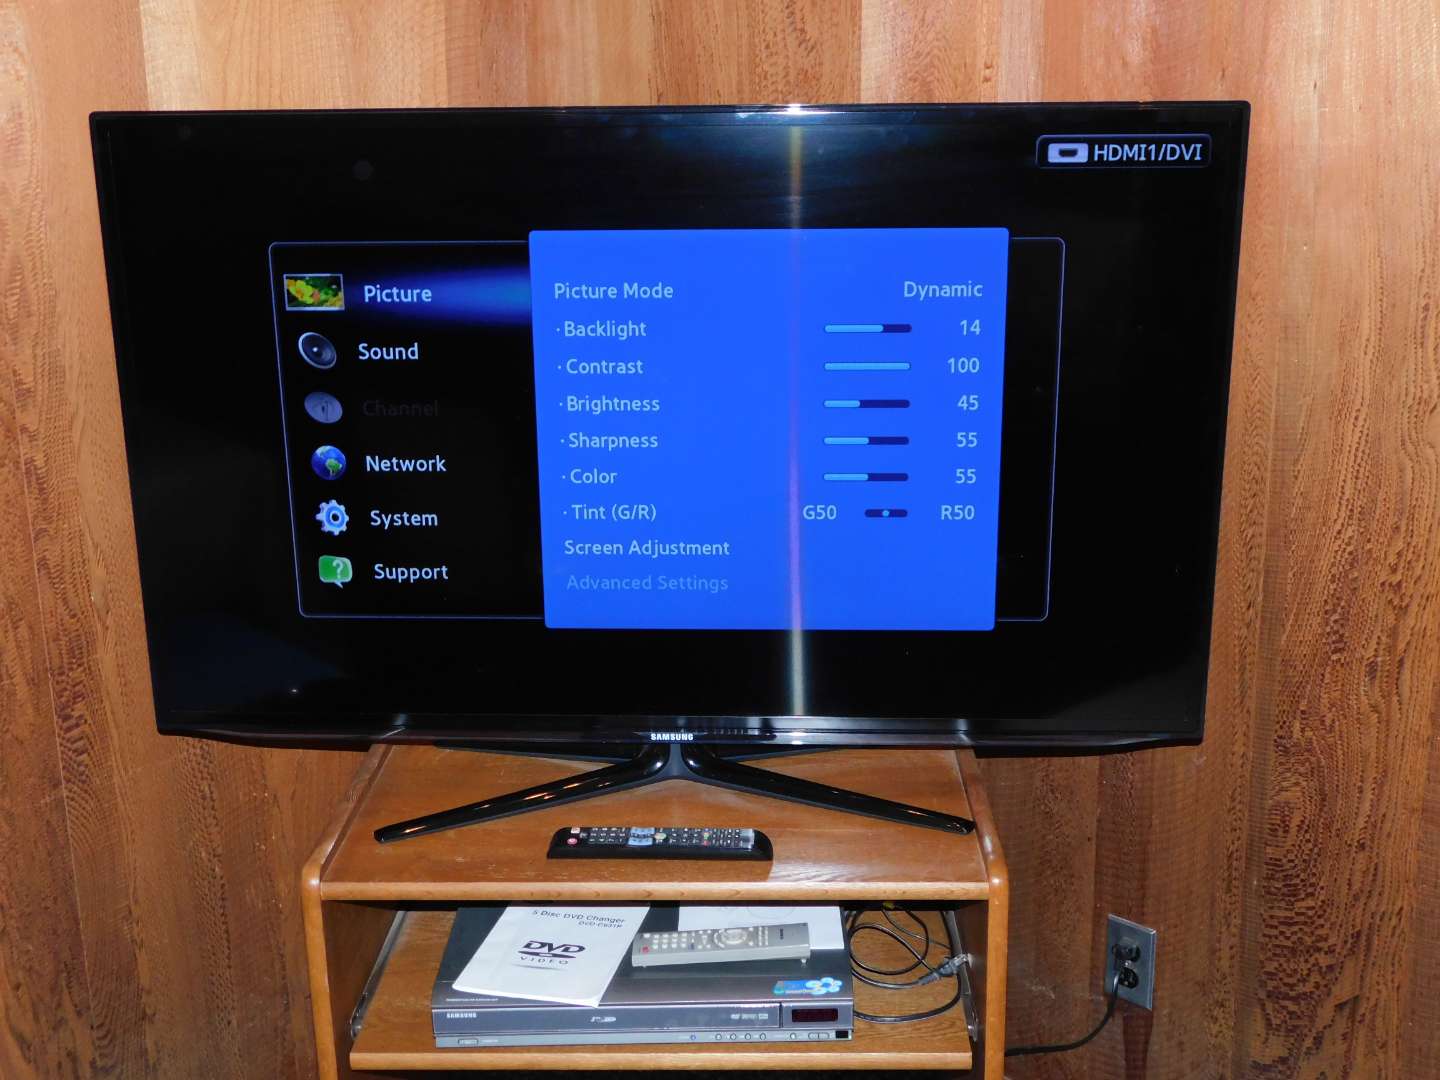
- Adjust the video output resolution to match the capabilities of your smart TV. Most DVD players offer options for 480p, 720p, and 1080p. Select the resolution that is supported by your smart TV for the best picture quality.
- Configure the aspect ratio settings to match the screen format of your smart TV. Choose between options such as 4:3 (standard) or 16:9 (widescreen) based on the aspect ratio supported by your TV.
- Check for any additional audio settings that may need adjustment, such as audio output format or digital audio settings. These settings may vary depending on your DVD player and the audio capabilities of your smart TV.
- Explore any other settings that may enhance your viewing experience, such as subtitles, language preferences, or parental controls.
- Once you have adjusted the desired settings, save and exit the menu on your DVD player.
- Using the remote control for your smart TV, switch to the input/source that corresponds to your DVD player. You should now see the configured settings taking effect on the screen.
- If you experience any issues with the playback, double-check the settings and connections to ensure everything is properly set up.
Keep in mind that the specific menu options and settings may differ between DVD player models. Refer to the user manual for your DVD player if you require more detailed instructions or encounter any difficulties in configuring the settings.
By properly configuring the settings on your DVD player, you can ensure that it is optimized to provide the best possible playback experience on your smart TV. Take some time to explore and experiment with the settings to find the perfect balance for your preferences.
Troubleshooting Tips
While connecting a DVD player to a smart TV is usually a straightforward process, you may encounter some common issues along the way. Here are some troubleshooting tips to help you overcome potential obstacles:
- Ensure that all cables are securely connected to both the DVD player and smart TV. Loose or improperly connected cables can result in a lack of signal or poor audio/video quality.
- If using an HDMI connection, make sure you are using a high-quality HDMI cable capable of transmitting both audio and video signals.
- If using component cables, check that each cable is plugged into the correct corresponding color-coded port on both the DVD player and smart TV.
- Verify that both the DVD player and smart TV are powered on and set to the correct input/source. Use the remote control for your smart TV to switch to the appropriate input/source for the DVD player.
- If the DVD player still does not display on the smart TV, try switching to a different HDMI, component, or composite port on the TV to rule out any potential port issues.
- Double-check the DVD player’s settings menu to ensure that the video output resolution and aspect ratio settings are compatible with your smart TV.
- If you encounter audio issues, ensure that the audio cables are correctly connected to the DVD player and smart TV’s audio input ports.
- Consider performing a power cycle on both the DVD player and smart TV. This involves turning off the devices, unplugging them from the power source, waiting for a few minutes, and then plugging them back in and powering them on.
- If all else fails, consult the user manuals for your DVD player and smart TV or reach out to customer support for further assistance.
Remember, troubleshooting can vary depending on the specific DVD player and smart TV models you are using. Refer to the user manuals for these devices if you require more detailed troubleshooting steps.
By following these troubleshooting tips, you can overcome common issues and ensure a smooth and enjoyable DVD playback experience on your smart TV.
Conclusion
Connecting your DVD player to your smart TV can greatly enhance your home entertainment setup and provide you with endless hours of enjoyable movie nights. By following the steps outlined in this guide, you can successfully establish a connection between the two devices and indulge in a cinematic experience from the comfort of your own home.
From determining the type of connection to selecting the right cables, and from connecting the devices to configuring the settings, each step plays a crucial role in ensuring a seamless and high-quality viewing experience.
Remember to always refer to the user manuals for your specific DVD player and smart TV models, as instructions may vary slightly. Additionally, consult the manufacturer’s website or customer support if you encounter any difficulties or require further assistance.
So, gather your favorite DVDs, prepare the popcorn, and get ready to enjoy a wide range of entertainment options right at your fingertips. Connect your DVD player to your smart TV and transform your living room into a personal home theater that allows you to escape into a world of movies and shows.
With the right connections, cables, and settings, you can create an immersive cinematic experience that rivals the big screen. Sit back, relax, and enjoy your favorite movies and TV shows with enhanced audio and video quality, making every viewing experience truly unforgettable.
Now that you have armed yourself with the knowledge and steps to connect your DVD player to your smart TV, it’s time to embark on your own home entertainment journey. Embrace the convenience and versatility of having your DVD player seamlessly integrated with your smart TV, and let the movie nights begin!