Introduction
When it comes to installing a CPU cooler, one critical step that often gets overlooked is holding the backplate securely in place. This small but essential component not only provides stability to the cooler but also ensures proper thermal transfer between the CPU and the cooler. Ignoring this step can result in an unstable cooler, improper heat dissipation, and potential damage to your CPU.
In this guide, we will discuss the importance of holding the backplate during the CPU cooler installation process and provide you with step-by-step instructions on how to do it effectively. Whether you’re a newbie to PC building or an experienced enthusiast looking to fine-tune your cooling setup, this guide will help you ensure a successful installation.
Why is it important to hold the backplate when installing a CPU cooler? Let’s delve into the details.
When you install a CPU cooler, it puts pressure on the CPU to achieve proper contact for efficient heat transfer. The backplate acts as a support system, preventing the cooler from exerting excessive pressure on the delicate CPU socket. Without the backplate, the cooler may become loose over time, compromising the thermal performance of the CPU and potentially leading to overheating.
Furthermore, holding the backplate properly ensures that the cooler is mounted evenly, without any tilting or misalignment. This ensures optimal contact between the CPU and the cooler, resulting in efficient heat dissipation and better performance.
Now that we understand the importance of holding the backplate, let’s discuss the tools you will need for this task.
Why is it important to hold the backplate when installing a CPU cooler?
When it comes to installing a CPU cooler, many people focus on properly attaching the cooler itself while neglecting the crucial step of holding the backplate. However, holding the backplate securely is a vital aspect of the installation process and should not be overlooked. Let’s explore why it is important:
1. Stability: The backplate provides stability to the CPU cooler. It acts as a foundation, distributing the weight of the cooler evenly across the motherboard. By holding the backplate in place, you ensure that the cooler remains stable, minimizing the risk of it coming loose or wobbling over time.
2. Thermal Transfer: The primary purpose of a CPU cooler is to dissipate the heat generated by the processor. The backplate plays a crucial role in ensuring proper thermal transfer. By securely holding the backplate, you help maintain good contact between the CPU and the cooler, allowing for efficient heat dissipation. This helps in keeping your CPU temperatures at optimal levels, preventing overheating and potential damage.
3. Prevents Damage: Properly holding the backplate also prevents damage to the CPU socket. Without the backplate, the weight of the cooler can exert excessive pressure on the socket, potentially causing it to bend or break. This could result in permanent damage to your motherboard and render it unusable. By holding the backplate, you provide additional support and prevent such mishaps from occurring.
4. Alignment and Balance: Holding the backplate ensures that the CPU cooler is mounted evenly and aligns properly with the CPU. This is crucial for achieving optimal thermal contact. If the cooler is installed at an angle or is misaligned, it can create air gaps between the CPU’s heat spreader and the cooler’s base, hindering efficient heat transfer. Holding the backplate helps in maintaining a balanced installation, ensuring proper alignment and maximum thermal performance.
5. Longevity: Properly holding the backplate during the installation process contributes to the longevity of your CPU cooler. The added stability reduces the chances of the cooler loosening or detaching over time, ensuring consistent cooling performance for an extended period. This not only protects your CPU from potential damage but also extends the lifespan of your cooler, allowing it to effectively handle the heat generated by your processor for years to come.
In summary, holding the backplate when installing a CPU cooler is crucial for stability, efficient thermal transfer, preventing damage to the CPU socket, ensuring proper alignment, and improving the longevity of the cooler. Neglecting this important step can lead to poor cooling performance, overheating, and potential hardware damage. So, make sure to give due attention to holding the backplate during your CPU cooler installation process.
Tools required for holding the backplate
Before you begin the process of holding the backplate during CPU cooler installation, it’s important to gather the necessary tools. While the actual tools required may vary depending on the specific CPU cooler and motherboard you are using, here are some common tools that you may need:
- Screwdriver: In most cases, you will need a screwdriver to secure the backplate in place. The type of screwdriver required will depend on the type of screws or fasteners used by your CPU cooler. It’s best to have a variety of screwdrivers on hand, including Phillips and flathead, to accommodate different screw types.
- Thermal Paste: While not directly involved in holding the backplate, thermal paste is an essential component for an effective CPU cooler installation. It helps in achieving optimal thermal contact between the CPU and the cooler. Ensure that you have good-quality thermal paste available to apply to the CPU before mounting the cooler.
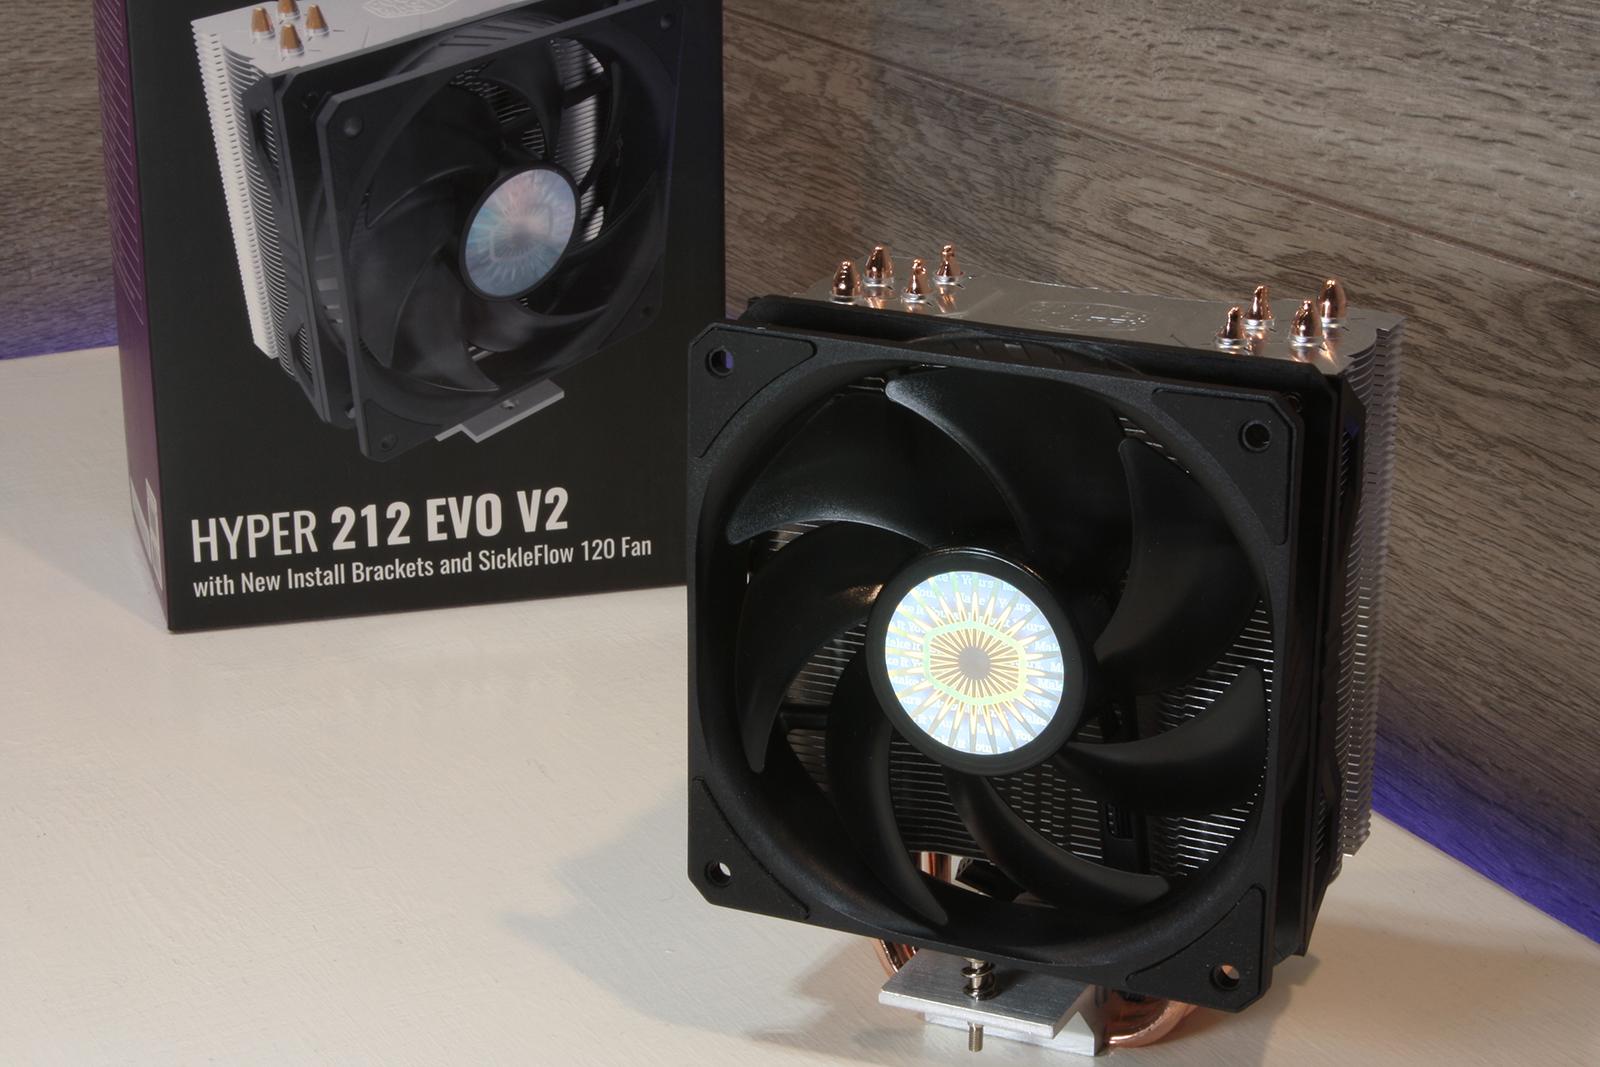
- CPU Cooler Mounting Kit: Some CPU coolers come with their own mounting kits, which may include additional tools, brackets, or screws required for the installation process. Check the packaging of your CPU cooler to see if it includes any specific tools or mounting hardware.
- Motherboard Manual: While not a tool in the traditional sense, the motherboard manual is an invaluable resource during CPU cooler installation. It provides detailed instructions on where the backplate should be positioned and how to secure it correctly. Make sure you have the motherboard manual readily available to refer to during the installation process.
- Anti-static wrist strap: While not directly related to holding the backplate, an anti-static wrist strap is a useful tool to have to protect your components from static electricity during the installation process. This helps prevent accidental damage caused by electrostatic discharge (ESD) and ensures the longevity of your hardware.
It is important to note that not all CPU coolers require a separate backplate. Some coolers come with an integrated backplate or mounting mechanism, eliminating the need for separate tools. In such cases, refer to the instructions provided with your specific CPU cooler for guidance on the installation process.
Now that you’re equipped with the necessary tools, let’s move on to the step-by-step process of holding the backplate when installing a CPU cooler.
Steps to hold the backplate when installing a CPU cooler
Installing a CPU cooler involves several steps, and holding the backplate securely is a crucial part of the process. Following these steps will ensure a successful installation:
- Step 1: Preparation: Begin by turning off your computer and unplugging it from the power source. This will prevent any accidental damage to your components and ensure your safety during the installation process. Gather all the necessary tools and components required, including the backplate, screws, screwdriver, thermal paste, and the CPU cooler itself.
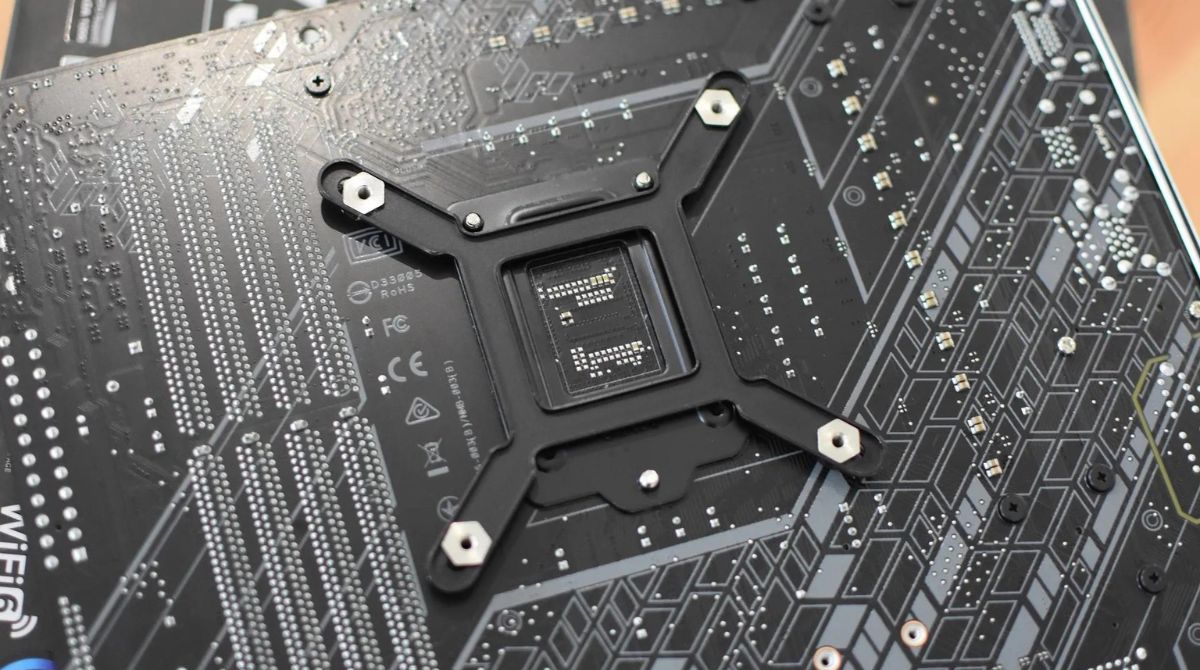
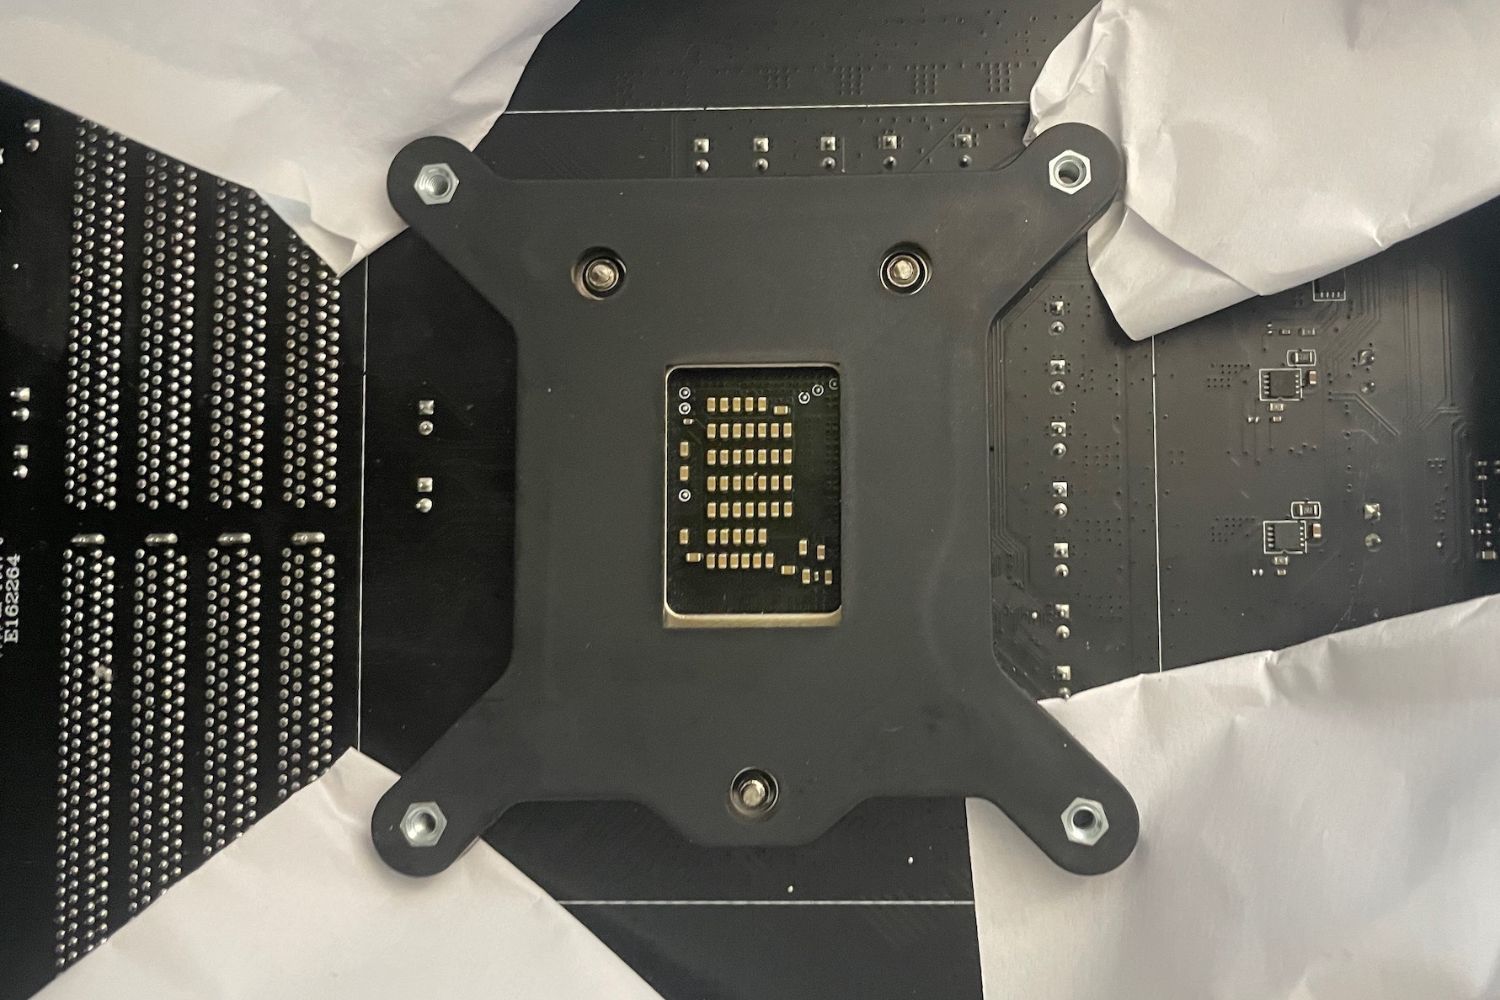
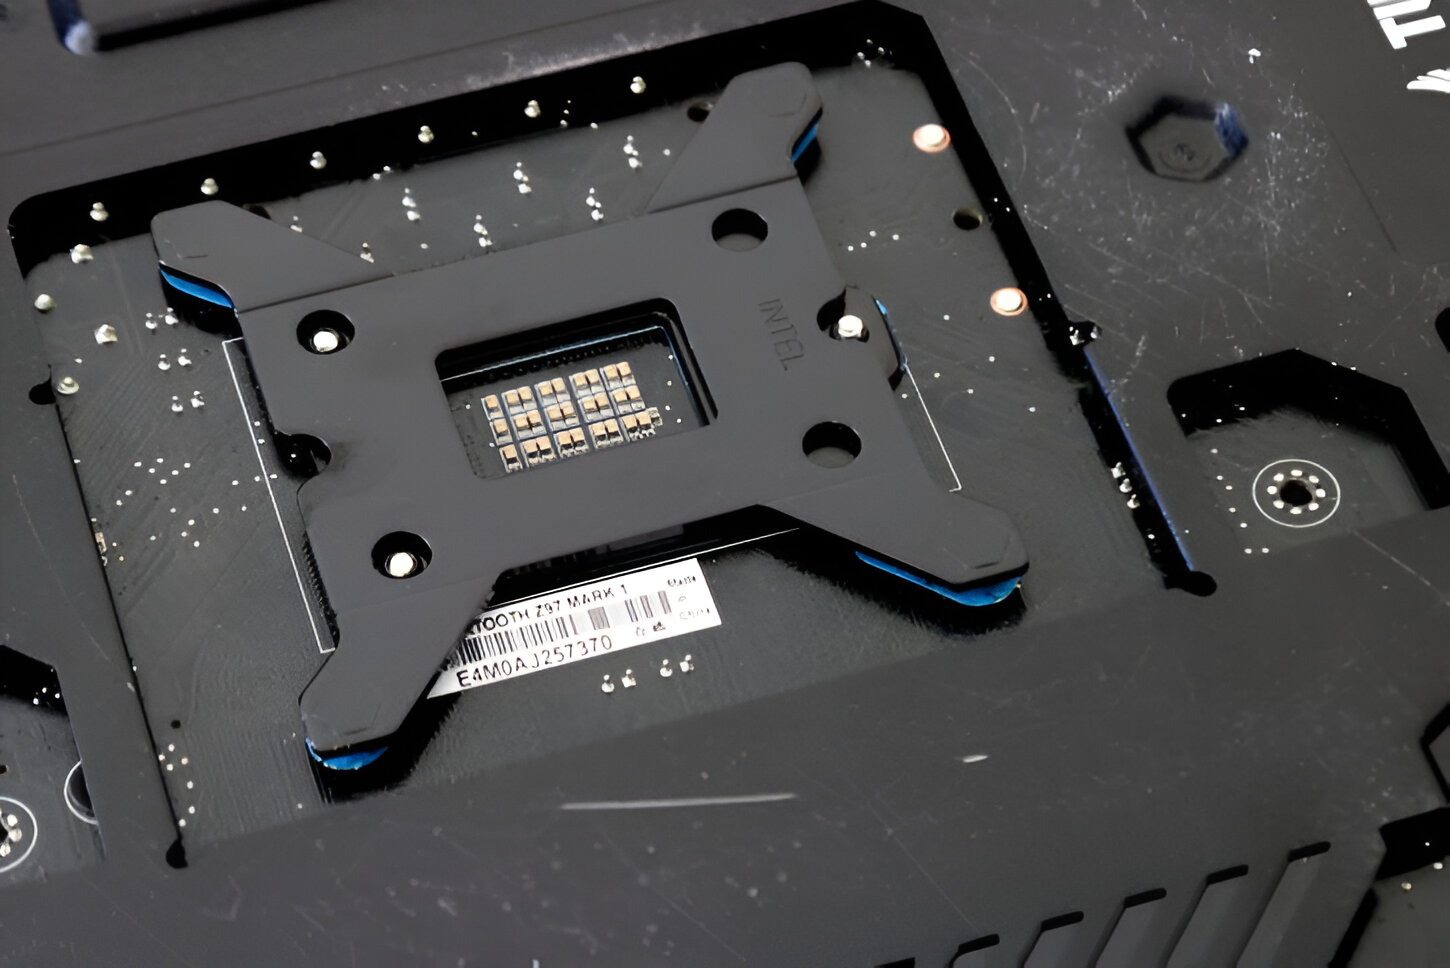
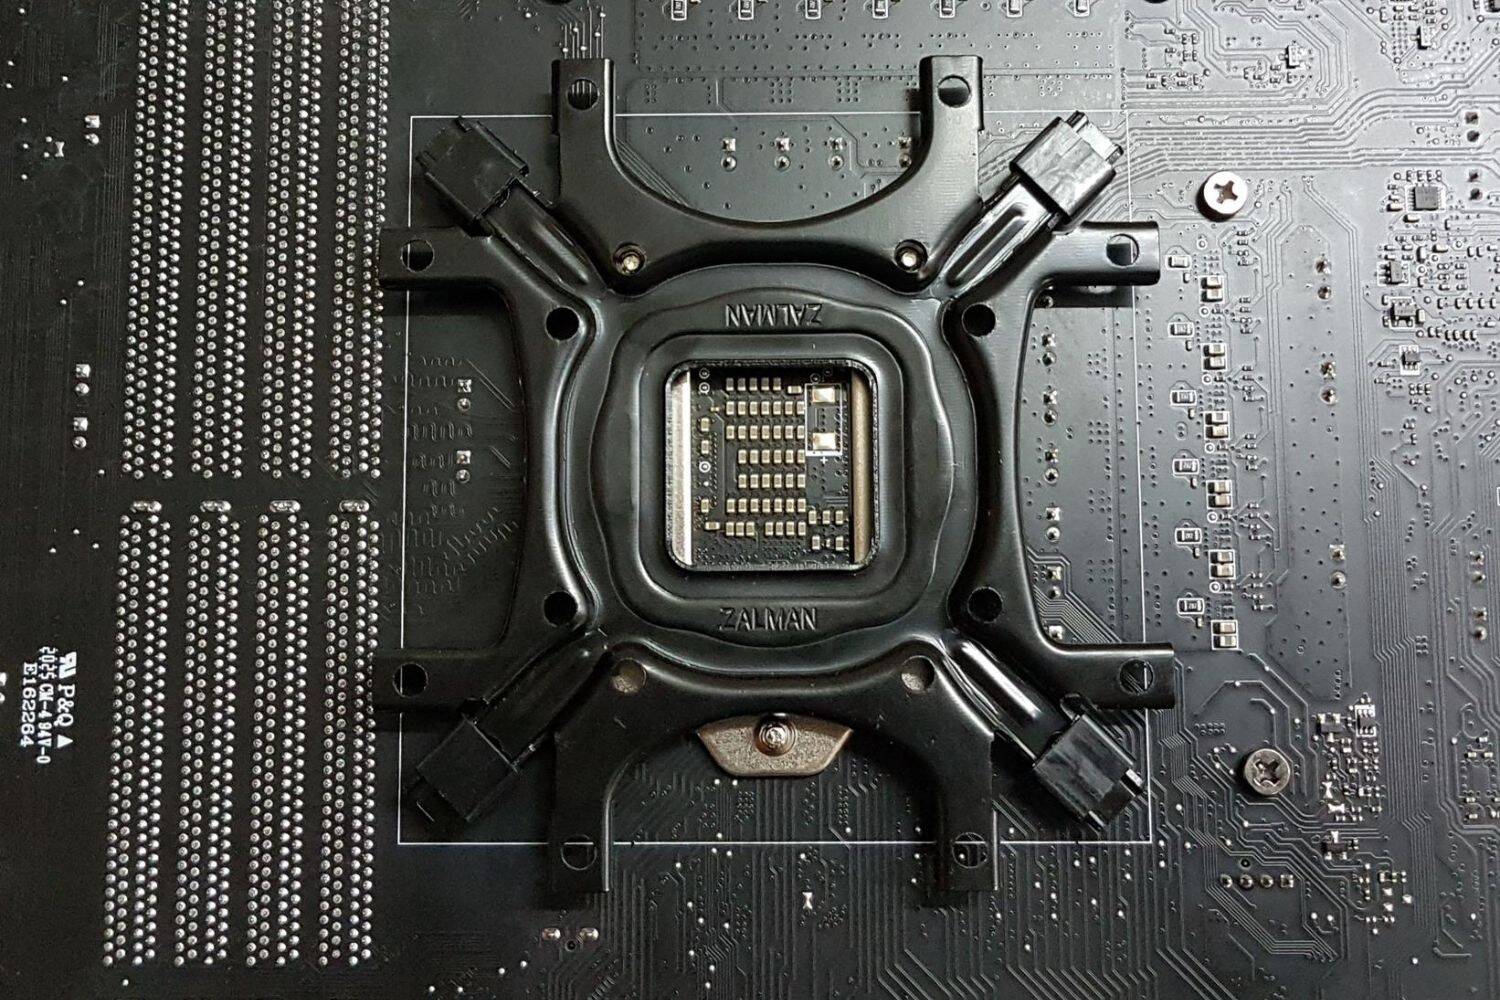
- Step 2: Positioning the backplate: Locate the backplate that came with your CPU cooler or motherboard. The backplate typically has holes or slots that align with the mounting points on the motherboard. Position the backplate on the rear side of the motherboard in the designated area for CPU cooler installation. Ensure that it aligns with the mounting holes on the motherboard.
- Step 3: Holding the backplate: Once the backplate is positioned correctly, hold it firmly against the motherboard from the back side. Use your fingers to apply gentle pressure to keep the backplate in place. Make sure it remains level and centered to ensure proper alignment with the mounting holes.
- Step 4: Fastening the screws: With one hand holding the backplate in place, use your other hand to insert the screws through the mounting holes on the front side of the motherboard. Carefully thread the screws into the backplate, ensuring that they are securely fastened without overtightening. Start with one screw diagonally opposite to maintain balance and then proceed to secure the rest of the screws in a cross-pattern.
- Step 5: Applying thermal paste: Before proceeding with the CPU cooler installation, apply a small amount of thermal paste onto the center of the CPU. The thermal paste helps improve heat transfer between the CPU and the cooler. Refer to the instructions provided with the thermal paste or your CPU cooler for guidance on the appropriate amount to apply.
- Step 6: Attaching the CPU cooler: Carefully lower the CPU cooler onto the CPU, ensuring that it aligns with the mounting screws and the backplate. Gently press down on the cooler to make contact with the thermal paste. Follow the instructions provided by the CPU cooler manufacturer to secure the cooler in place, using the provided brackets or screws.
- Step 7: Testing and final touches: Once the CPU cooler is securely installed, reconnect any cables that were disconnected and plug your computer back into the power source. Turn on your computer and monitor the CPU temperatures to ensure proper cooling. If everything looks good, reassemble the computer case and enjoy the improved cooling performance of your CPU cooler.
It is important to note that the installation process may vary slightly depending on the specific CPU cooler and motherboard you are using. Always refer to the instructions provided by the manufacturer for precise details and any additional steps that may be required.
By following these steps and holding the backplate securely during the installation process, you can ensure a stable and effective CPU cooler setup for optimal cooling performance.
Tips for a successful installation
Installing a CPU cooler and holding the backplate securely can be a delicate process. To ensure a successful installation and avoid any potential issues, consider the following tips:
- Read the instructions: Before starting the installation process, carefully read the instructions provided by the CPU cooler manufacturer. Each cooler may have specific requirements and guidelines that need to be followed.
- Double-check compatibility: Ensure that the CPU cooler you are installing is compatible with your motherboard. Check the socket type and the supported CPU cooler dimensions to avoid any compatibility issues.
- Handle with care: When handling the CPU cooler and backplate, be gentle and avoid applying excessive force. This will prevent any damage to the components and ensure a secure and stable installation.
- Apply the right amount of thermal paste: Applying too much or too little thermal paste can impact thermal conductivity. Refer to the instructions provided with the thermal paste or the CPU cooler for guidance on the appropriate amount to apply.
- Tighten screws evenly: When fastening the screws, tighten them in a diagonal or cross pattern. This ensures even pressure distribution and helps prevent the cooler from tilting or becoming misaligned.
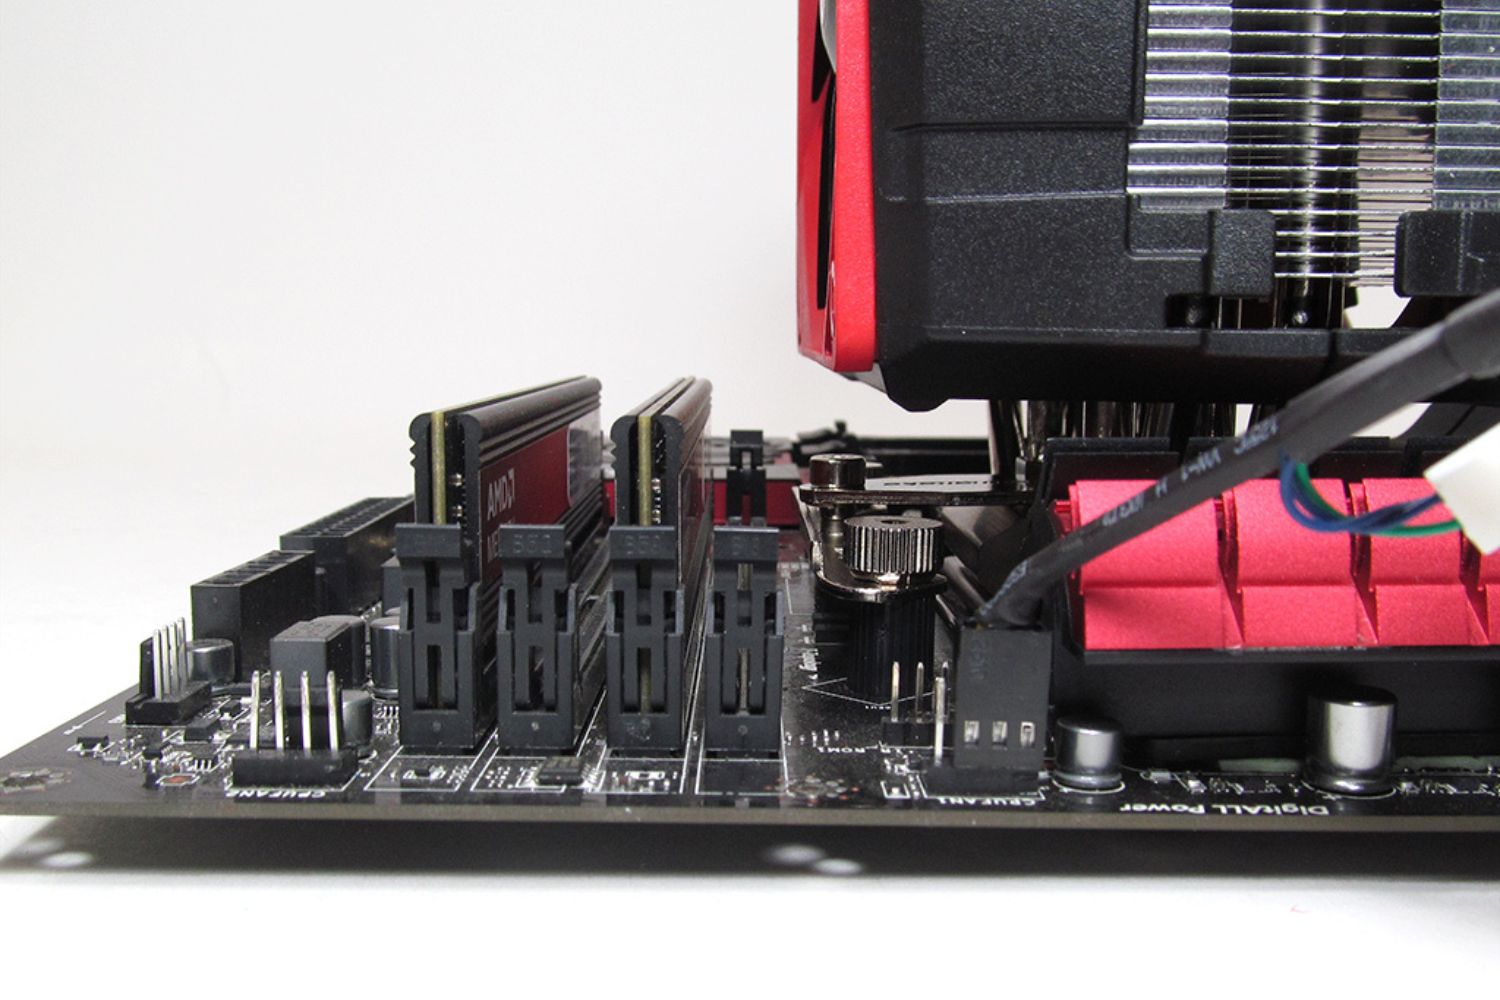
- Check for clearance: Ensure that there is enough clearance around the CPU cooler for proper airflow. Check if any nearby components, such as RAM modules or VRM heatsinks, might interfere with the cooler installation. Make any necessary adjustments or choose a different cooler if needed.
- Monitor CPU temperatures: After installation, regularly monitor your CPU temperatures to ensure effective cooling. Use software tools or motherboard utilities to keep an eye on temperature levels and make any necessary adjustments if temperatures are exceeding recommended limits.
- Consider professional help: If you are unsure or uncomfortable with the installation process, it’s always a good idea to seek professional help. Computer technicians or PC builders can assist you in installing the CPU cooler and holding the backplate securely, ensuring a hassle-free and successful installation.
Remember, taking your time and being mindful of these tips can greatly contribute to a smooth installation process and optimal functioning of your CPU cooler.
Now that you have a solid understanding of the importance of holding the backplate during CPU cooler installation, the tools required, step-by-step instructions, and some useful tips, you can confidently proceed with your installation and enjoy improved cooling performance for your CPU.
Conclusion
Properly holding the backplate when installing a CPU cooler is an essential step that should not be overlooked. The backplate provides stability, ensures proper thermal transfer, prevents damage to the CPU socket, and allows for proper alignment and balance during installation. By following the steps outlined in this guide and keeping in mind the tips for a successful installation, you can ensure a stable and effective CPU cooler setup.
Remember to gather the necessary tools, position the backplate correctly, hold it securely, and fasten the screws evenly. Applying thermal paste accurately and attaching the CPU cooler with care are also vital steps in the process. Regularly monitoring CPU temperatures and considering professional help if needed will contribute to the longevity and performance of your CPU cooler.
Whether you’re a first-time PC builder or an experienced enthusiast, giving due attention to holding the backplate will ensure that your CPU cooler functions optimally, keeping your processor cool and extending its lifespan. By taking the time to follow these guidelines, you can confidently install your CPU cooler and enjoy a well-cooled and efficient system.
Now that you understand the importance of holding the backplate during CPU cooler installation and have the knowledge to complete the process successfully, it’s time to put it into practice and enjoy the benefits of a properly cooled CPU.


