Introduction
Welcome to our guide on how to get more case fan headers! If you’re a PC enthusiast or gamer, you know how crucial proper cooling is for your system’s performance and longevity. Case fans play a critical role in keeping your components cool by circulating fresh air throughout your case. However, not all motherboards come equipped with enough fan headers to accommodate all the fans you want to install. That’s where this guide comes in!
In this article, we will discuss various methods and solutions to expand your case fan headers, ensuring that your system stays cool and performs optimally. We’ll explore options like using fan splitters, installing a fan controller, and even upgrading your motherboard. Whether you’re a beginner or an experienced PC builder, we’ve got you covered with practical tips and step-by-step instructions.
By the end of this guide, you’ll have a clear understanding of what case fan headers are, how to check motherboard compatibility, and different ways to expand your system’s fan header capacity. So, let’s get started and keep your PC running cool!
Understanding Case Fan Headers
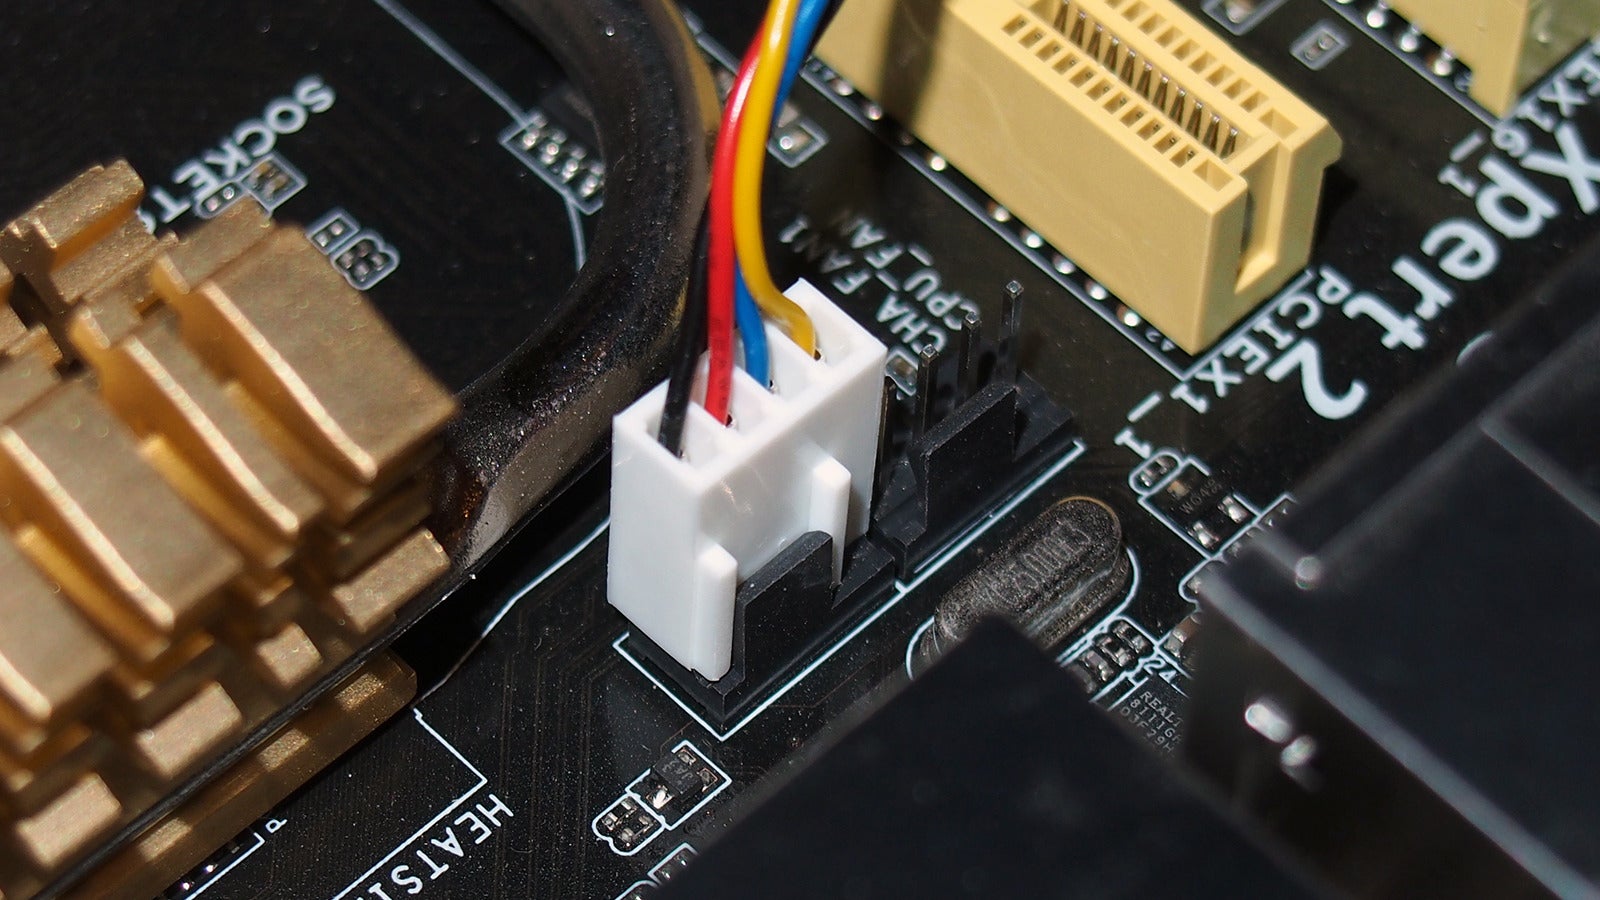
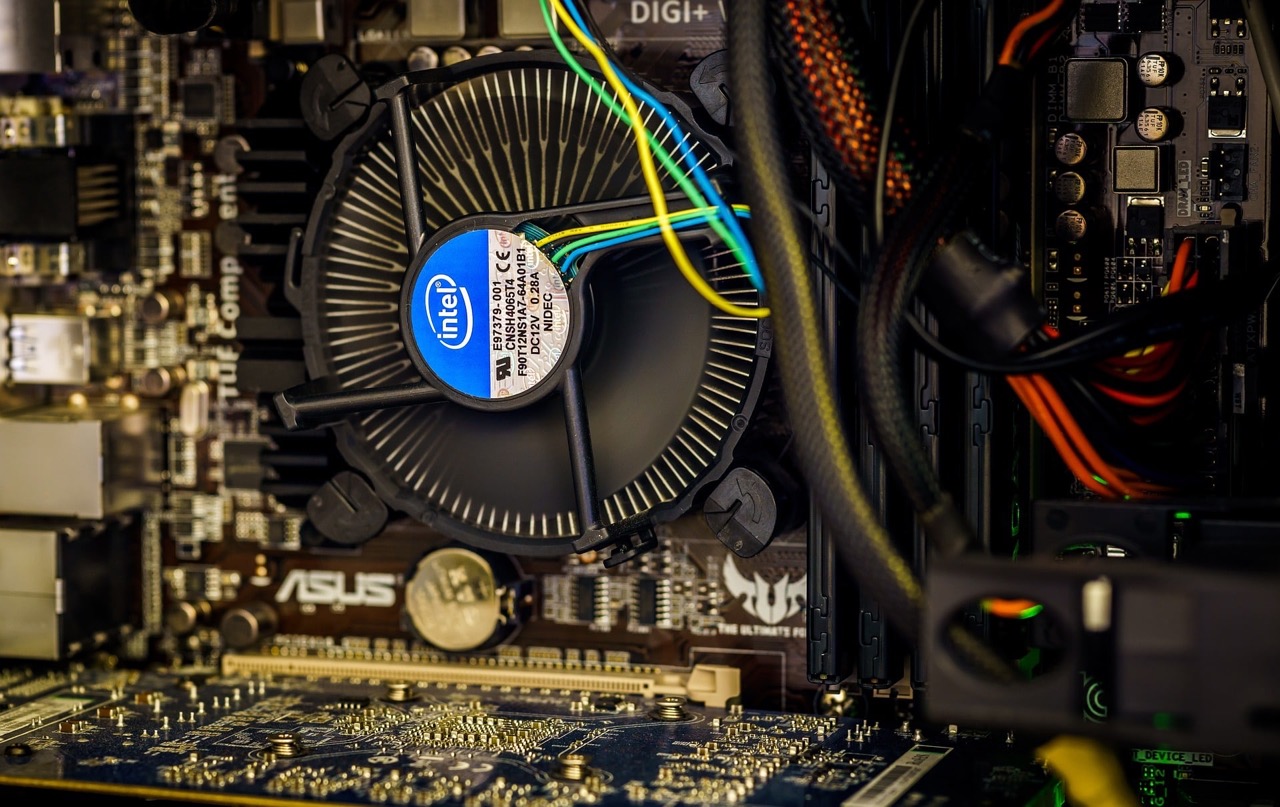
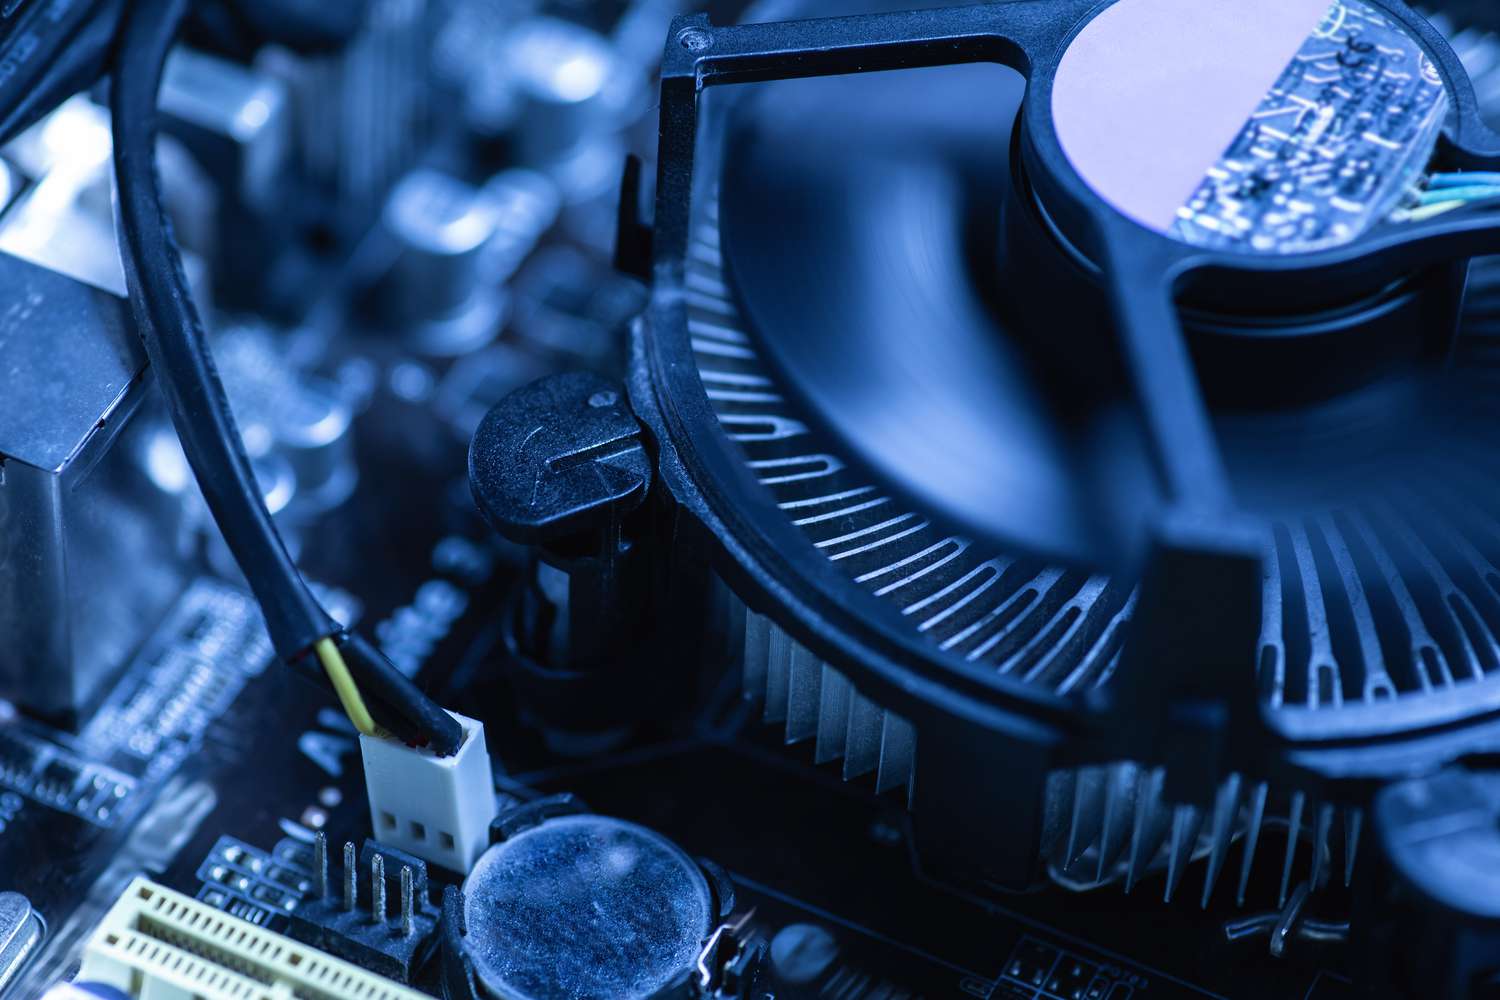
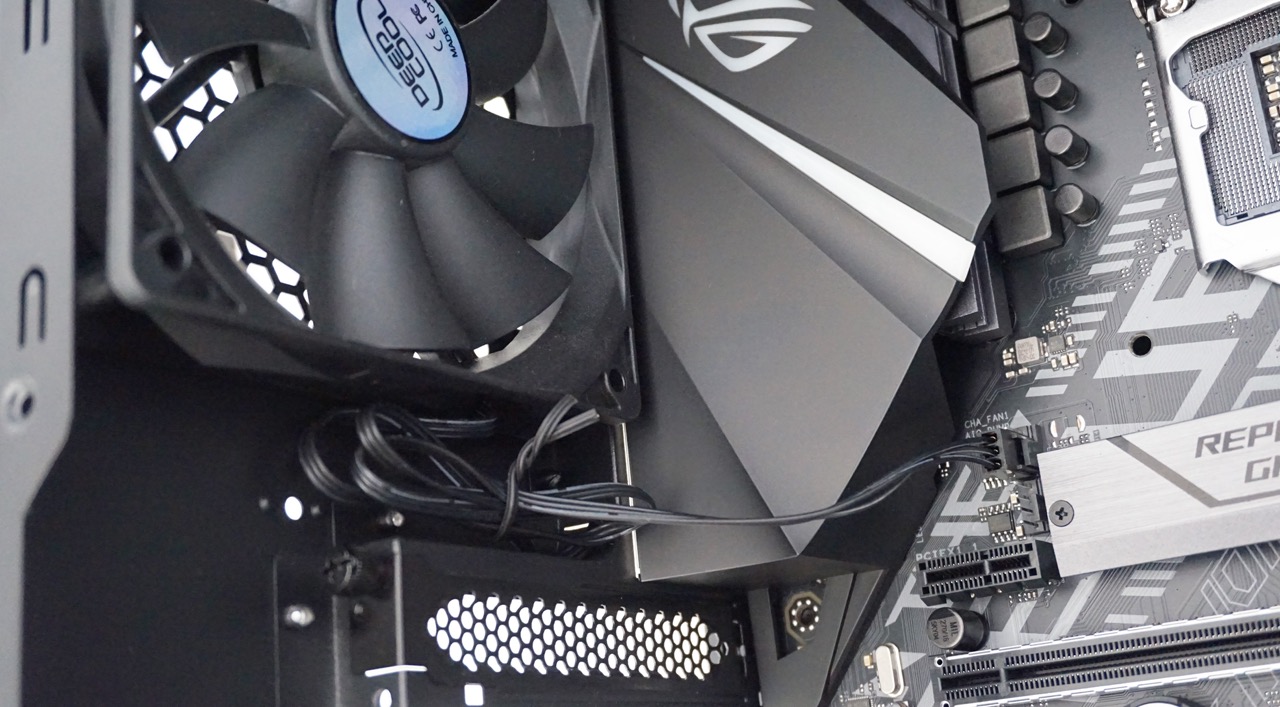
Before we dive into the methods of getting more case fan headers, it’s essential to understand what they are and how they work. Case fan headers, also known as fan connectors or fan headers, are ports on your motherboard designed to connect and control case fans. These headers provide power to the fans and allow the motherboard to regulate their speed.
Most modern motherboards come equipped with a limited number of fan headers, typically ranging from two to six. Each fan header can support one case fan, and depending on the motherboard, they may offer different control options such as voltage regulation or pulse-width modulation (PWM). PWM fan headers are highly recommended as they provide more precise control over fan speed and are compatible with most fans on the market.
It’s important to note that not all fan headers are the same. Some headers may have specific functionalities, such as CPU fan headers that are intended for the CPU cooler fan, while others are labeled system fan headers for case fans. The CPU fan header is often configured as the primary fan and may have additional features like temperature monitoring and fan speed adjustments based on CPU temperature.
Understanding your motherboard’s fan headers is crucial because it determines the maximum number of case fans you can connect. It’s important to check the motherboard’s manual or specifications to find out how many fan headers it has and what type they are.
In the next section, we’ll explore how to check the compatibility of your motherboard and determine the available options for expanding your case fan headers.
Checking Motherboard Compatibility
Once you have a good understanding of case fan headers, the next step is to check the compatibility of your motherboard and determine if there are any available options for expanding your fan header capacity.
The first thing you need to do is locate the motherboard’s manual or visit the manufacturer’s website to find the specifications of your particular model. Look for information on the number and type of fan headers the motherboard has. This will give you an idea of how many fans your motherboard can support without any additional modifications.
If your motherboard doesn’t have enough fan headers to accommodate all the fans you want to install, don’t worry! There are several solutions available to expand your fan header capacity.
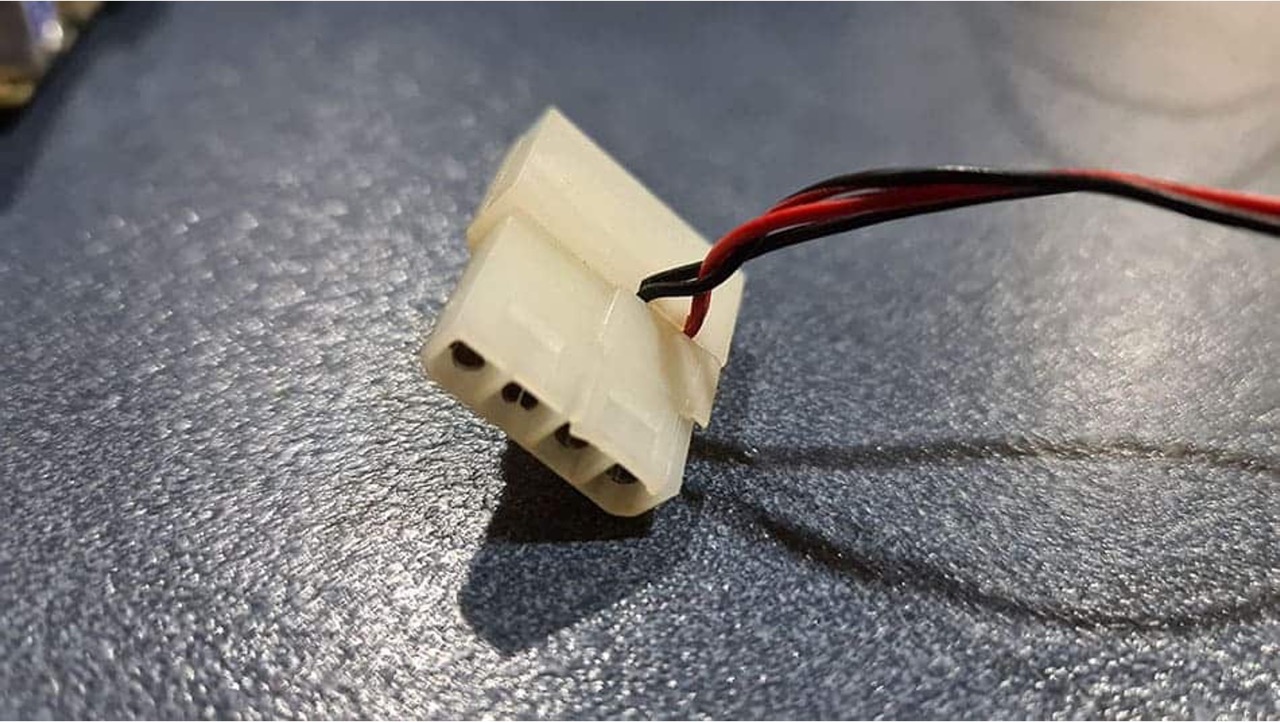
One option is to use fan splitters, which allow you to connect multiple fans to a single fan header. Fan splitters come in various configurations, typically supporting two, three, or four fans. Simply connect the splitter to a fan header, and then connect the fans to the splitter. Keep in mind that using fan splitters means that all the fans connected to a single header will run at the same speed, as the control is shared.
If you prefer more granular control over your fans’ speed, consider installing a fan controller. A fan controller is a dedicated device that provides additional fan header ports and allows you to adjust the speed of each fan individually. Some fan controllers can be mounted internally in a 5.25-inch drive bay, while others are designed to be placed externally. Make sure to choose a fan controller that is compatible with your motherboard and matches your system’s aesthetics.
If you’re looking for a more comprehensive solution, you may consider upgrading your motherboard. Upgrading to a motherboard with more fan headers not only increases your fan capacity but also provides additional features and functionalities that can enhance your overall computing experience. Before making any upgrades, ensure that the new motherboard meets your requirements and is compatible with your CPU, RAM, and other components.
Checking motherboard compatibility is crucial to determine your available options for expanding your case fan headers. By understanding the number and type of fan headers your motherboard has, you can effectively plan your cooling system and choose the best method to increase your fan capacity.
Expanding Case Fan Headers
Now that you have checked the compatibility of your motherboard and determined the available options, let’s explore different methods to expand your case fan headers.
One of the most common and straightforward solutions is to use fan splitters. As mentioned earlier, fan splitters allow you to connect multiple fans to a single fan header. They come in various configurations, such as 1-to-2, 1-to-3, or 1-to-4 splitters, enabling you to connect multiple fans to one header while still retaining basic fan speed control. Keep in mind that the fans connected to a splitter will run at the same speed, so make sure to properly balance the cooling performance and noise levels.
If you prefer more control over your fans, consider installing a fan controller. A fan controller is a dedicated device that provides additional fan header ports and allows you to adjust the speed of each fan individually. With a fan controller, you can precisely fine-tune the airflow and noise levels to match your preferences. Some fan controllers even come with additional features like temperature sensors and customizable profiles. Make sure to choose a fan controller that is compatible with your motherboard and suits your needs.
If you’re planning a more significant upgrade, you might consider replacing your motherboard with an upgraded model that offers more fan headers. Upgrading your motherboard provides you with not only additional fan capacity but also the opportunity to benefit from other advancements like improved power delivery, better cooling, and enhanced connectivity options. Before making any upgrades, ensure that the new motherboard is compatible with your CPU and other components.
There are also external fan controllers available that can be connected via USB or other interfaces. These controllers typically provide multiple fan headers and allow you to control the fan speed through software. This option is ideal for users who prefer a clean and organized interior while still having control over their system’s cooling performance.
Remember to consider the power demands of the fans you plan to install. Make sure that the combined power draw of all the fans connected to a single header does not exceed the maximum power output of the fan header or the fan controller you are using.
Expanding your case fan headers gives you the flexibility to install more fans and optimize the cooling performance of your system. Whether you choose fan splitters, fan controllers, or a motherboard upgrade, these methods ensure that your PC remains cool and performs at its best.
Using Fan Splitters
One effective and economical method to expand your case fan headers is by using fan splitters. Fan splitters allow you to connect multiple fans to a single fan header, enabling you to maximize your cooling potential without the need for additional hardware.
To use a fan splitter, simply connect the splitter to an available fan header on your motherboard. Fan splitters come in various configurations, typically supporting two, three, or four fans. Once connected, you can then connect the fans to the splitter’s ports.
It’s important to note that when using a fan splitter, all the fans connected to a single header will run at the same speed. The fan header will regulate the voltage or PWM signal, and the fans will adjust their speed accordingly. This means that if you adjust the fan speed via motherboard settings, all the fans connected to that header will be affected simultaneously.
When using fan splitters, it’s crucial to consider the power draw of the fans. The combined power consumption of all the fans connected to a single header should not exceed the maximum power output of the fan header. Exceeding the power limit can cause stability issues or, in extreme cases, damage the fan header or other components on the motherboard.
Another consideration is cable management. With multiple fans connected through splitters, you’ll have more cables to manage, potentially leading to clutter and obstructed airflow. Proper cable management techniques, such as using zip ties or cable clips, can help keep the cables organized and maintain an optimal airflow path.
Using fan splitters is a practical and cost-effective way to expand your case fan headers. It allows you to make the most of the available fan headers on your motherboard without additional investments. However, keep in mind the limitations of fan splitters, including the shared speed control and power considerations.
If you require more granular control over your fans’ speed or want to overcome the limitations of fan splitters, you might consider other options like installing a fan controller or upgrading your motherboard. These options provide individual control over each fan and offer additional features to optimize your system’s cooling performance.
Now that you understand how to use fan splitters, let’s explore the installation process and other alternatives in the next sections.
Installing a Fan Controller
If you desire more precise control over your case fans and want individual speed adjustments, installing a fan controller is a recommended solution. A fan controller is a dedicated device that provides additional fan header ports and allows you to adjust the speed of each fan individually.
The installation process for a fan controller may vary depending on the specific model and its design. However, the general steps are as follows:
- Choose a suitable fan controller: There are various types of fan controllers available, including internal and external options. Internal fan controllers are typically installed in a 5.25-inch drive bay on the front of your case, while external controllers can be placed on your desk or mounted elsewhere externally. Consider factors such as compatibility, number of fan headers, and additional features when selecting a fan controller.
- Prepare your case: If installing an internal fan controller, you’ll need an available 5.25-inch drive bay on the front of your case. Remove any existing components or panels obstructing the installation area and ensure proper clearance for the controller.
- Connect power and data cables: Internal fan controllers usually require both a power connection and a data connection. Connect the power cable to an available SATA power connector from your power supply. Additionally, connect the data cable, typically a USB or internal USB header cable, to a corresponding port on your motherboard.
- Mount the fan controller: Carefully insert the fan controller into the empty 5.25-inch drive bay. Ensure that it is securely fastened using screws or other mounting mechanisms provided with the controller.
- Connect the fans: Use the fan cables provided with your fan controller or appropriate fan extension cables to connect your case fans to the individual fan headers on the controller. Ensure that each fan is connected to the corresponding header and that the connections are secure.
- Power up and configure: Once everything is connected, power on your system. Follow the manufacturer’s instructions to configure the fan controller settings. Depending on the controller, you may have access to features like fan speed adjustments, temperature monitoring, and customizable profiles.
Before installing a fan controller, make sure to check the compatibility with your motherboard and the available space in your case. Additionally, consider the power requirements of your fans and ensure that the fan controller can provide enough power to all connected fans.
A fan controller gives you precise control over your case fans, allowing you to optimize airflow, noise levels, and overall cooling performance. It is a recommended option if you want more advanced fan control and customization for your system.
However, if you prefer a simpler solution or your motherboard and case do not support fan controllers, other options like using fan splitters or upgrading your motherboard are worth considering. These alternatives can provide similar benefits while catering to different needs and requirements.
Upgrading Your Motherboard
If you find that your current motherboard lacks the necessary fan headers to accommodate your desired number of case fans, upgrading your motherboard is a viable solution. Not only does it provide more fan header capacity, but it also brings additional features and advancements that can enhance your overall computing experience.
Before proceeding with a motherboard upgrade, ensure that it is compatible with your CPU, RAM, and other components. Consider factors such as the socket type, chipset compatibility, and form factor. If you’re unsure about compatibility, consult the motherboard manufacturer’s website or seek advice from knowledgeable sources.
When selecting a new motherboard, keep an eye out for the number and type of fan headers it offers. Modern motherboards have varying fan header configurations, providing more flexibility in connecting case fans. Look for motherboards that offer PWM fan headers, as they provide finer control over fan speed and are compatible with most fans available on the market.
While upgrading your motherboard provides an opportunity to expand your fan header capacity, it also presents additional benefits. Newer motherboards often come equipped with advanced power delivery systems, improved cooling options, and enhanced connectivity features. Upgrading your motherboard can result in better system stability, improved performance, and increased compatibility with the latest hardware and software technologies.
During the motherboard upgrade process, you will need to disassemble your existing system and carefully install the new motherboard. Follow the manufacturer’s instructions and guidelines to ensure a successful and seamless transition. Be sure to handle and install the components with care, and double-check all connections before powering on your system.
It’s worth noting that upgrading your motherboard may involve additional costs beyond just the motherboard itself. Depending on the motherboard’s different socket type or chipset, you may need to invest in a new CPU or RAM. Additionally, check if any other components, such as your graphics card or storage drives, require compatibility verification or updates.
Upgrading your motherboard should be considered a more comprehensive solution for expanding your case fan headers. It offers the opportunity to maximize your fan capacity while enjoying the advantages of newer technologies and features. However, if you’re looking for a simpler and more cost-effective solution, alternatives like using fan splitters or installing a fan controller may be more suitable for your needs.
Make sure to research and carefully decide on the motherboard that best fits your requirements, allowing you to optimize your system’s cooling performance and overall functionality.
Conclusion
Having adequate case fan headers is essential for maintaining optimal cooling in your PC. While not all motherboards come with enough fan headers, there are several methods to expand your fan capacity.
In this guide, we discussed various options to help you get more case fan headers. We explored the importance of understanding case fan headers and checking motherboard compatibility. Additionally, we discussed using fan splitters to connect multiple fans to a single header and installing a fan controller for individual fan speed control. Lastly, we explored the option of upgrading your motherboard to increase your fan header capacity and gain access to additional features.
When using fan splitters, consider the power draw of the fans and ensure it does not exceed the maximum output of the fan header. Proper cable management is also critical to avoid clutter and obstruction of airflow. Fan controllers offer more advanced control capabilities, allowing you to adjust the speed of each fan individually. Upgrading your motherboard provides not only additional fan header capacity but also improved performance, stability, and compatibility with the latest technologies.
Remember to research and choose the method that best aligns with your needs, budget, and capabilities. Consider factors such as compatibility, power requirements, and available expansion options.
Expanding your case fan headers enables you to maintain a cool and efficient operating environment for your PC. Whether you decide to use fan splitters, install a fan controller, or upgrade your motherboard, these methods will help you maximize your cooling potential and optimize the performance and longevity of your system.
Now that you have the knowledge and options to get more case fan headers, it’s time to take action and ensure your PC stays cool under any workload. Dig into the specifics of your setup, assess your requirements, and choose the method that best suits your needs. With the right strategies in place, you can enjoy a well-cooled and high-performing PC for all your computing needs.