Introduction
Welcome to our comprehensive guide on how to power case fans with USB. If you’re a computer enthusiast or an avid gamer, you know just how crucial it is to keep your system running cool. Case fans play a vital role in maintaining optimal temperature levels inside your computer case, helping to prevent overheating and improve overall performance.
While many case fans are powered by the computer’s power supply unit (PSU) or through a fan controller, there’s an increasingly popular method for powering case fans: using the USB ports on your motherboard. This convenient and efficient option allows you to harness the power of USB to operate your case fans, providing an easy and versatile solution.
In this guide, we will walk you through the step-by-step process of powering case fans with USB, outlining the tools and materials you’ll need and explaining how to connect the case fan to the USB header on your motherboard. We’ll also provide troubleshooting tips for common issues and highlight important safety precautions to keep in mind.
Whether you’re looking to upgrade your cooling system or simply exploring different options for powering your case fans, this guide is here to help. By following our instructions, you’ll be able to harness the power of USB to keep your computer running cool and ensure optimal performance.
So, let’s get started and unlock the potential of USB to power your case fans!
Overview of Case Fans
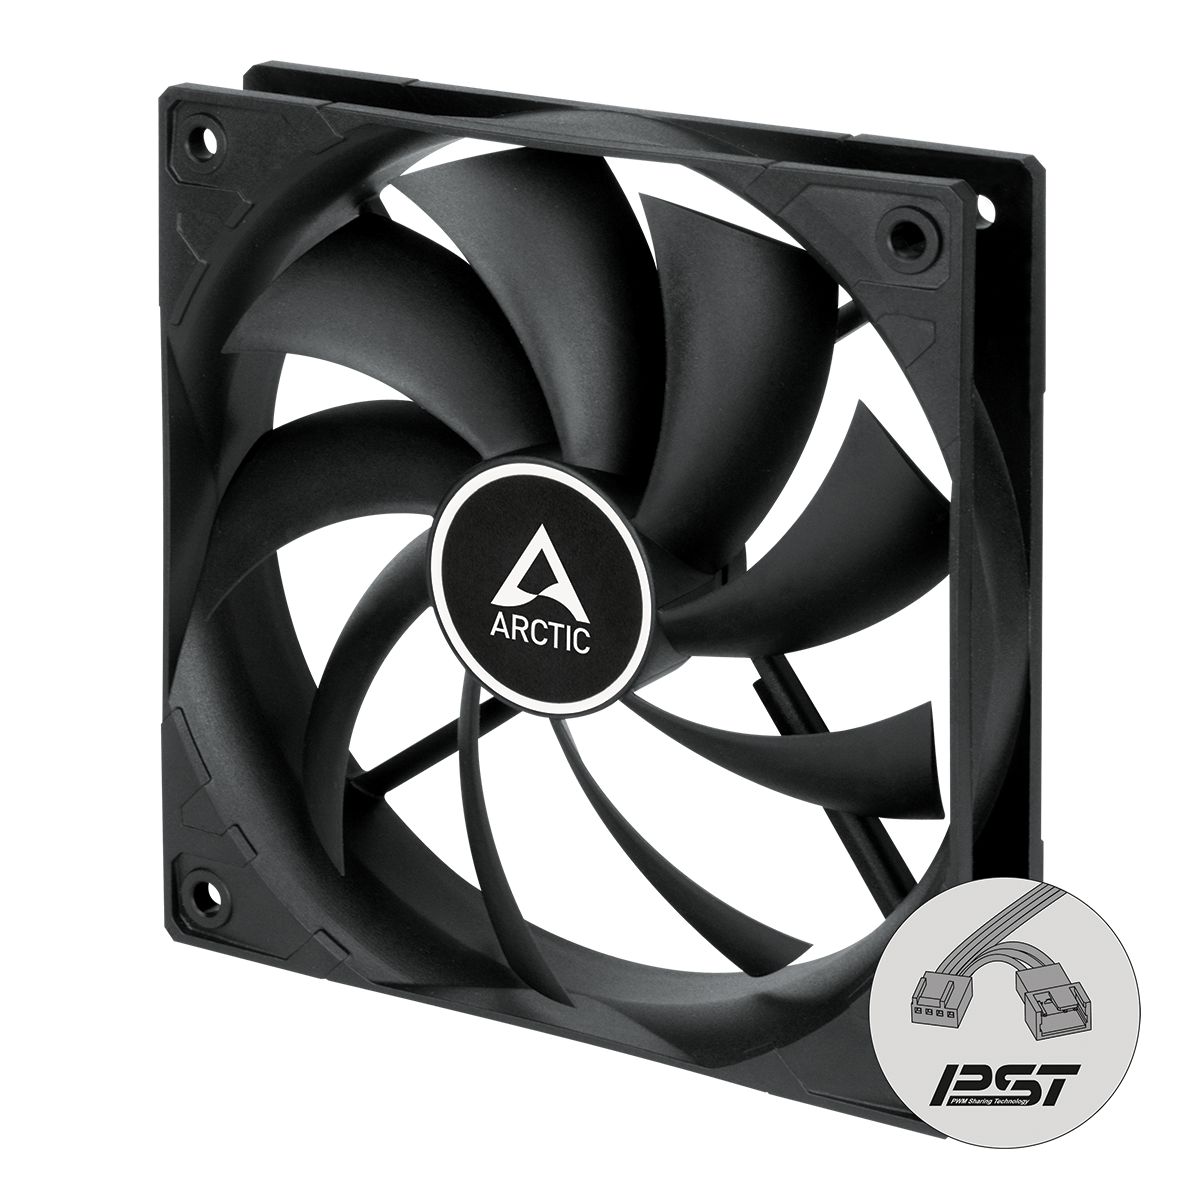
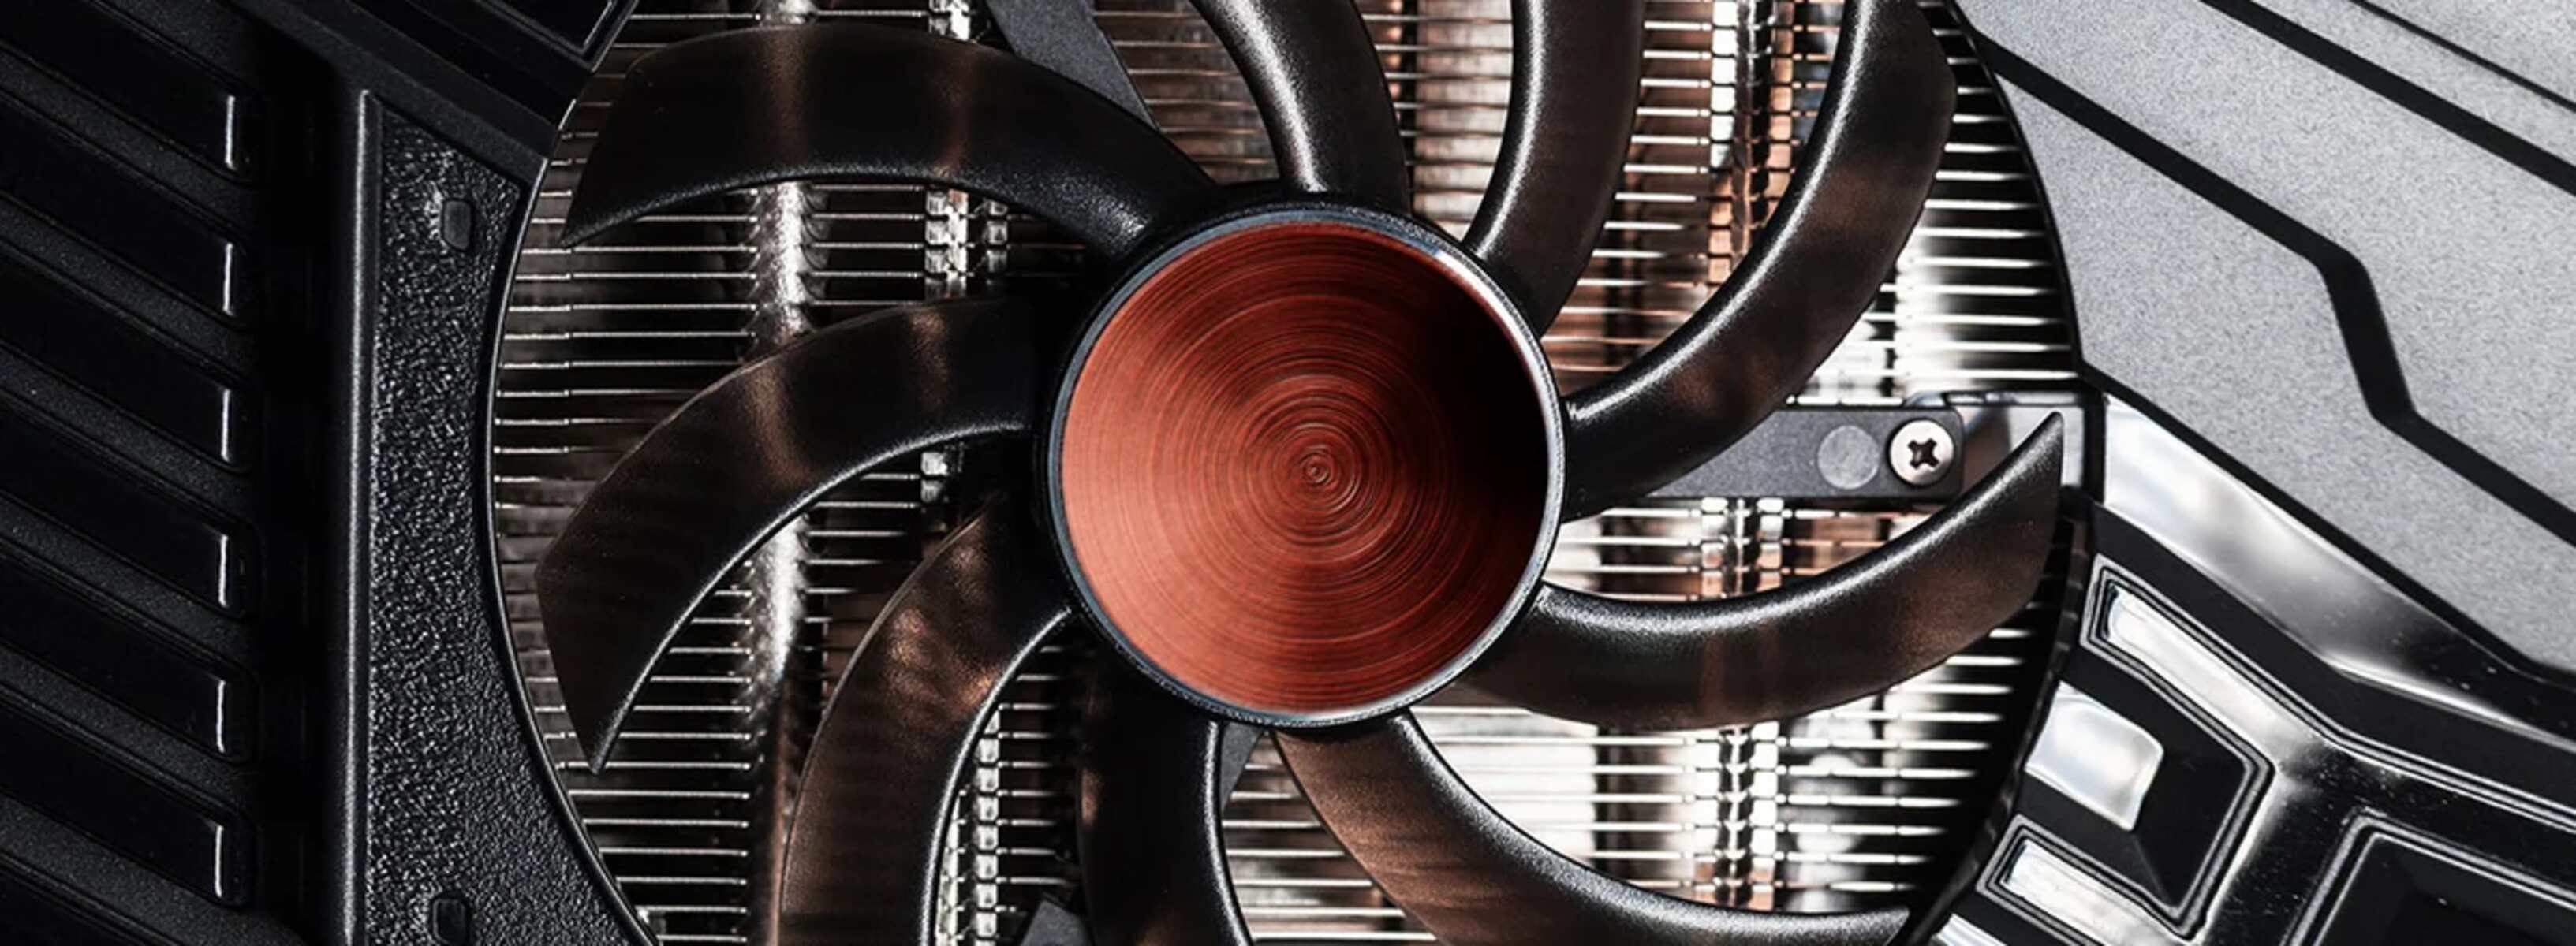
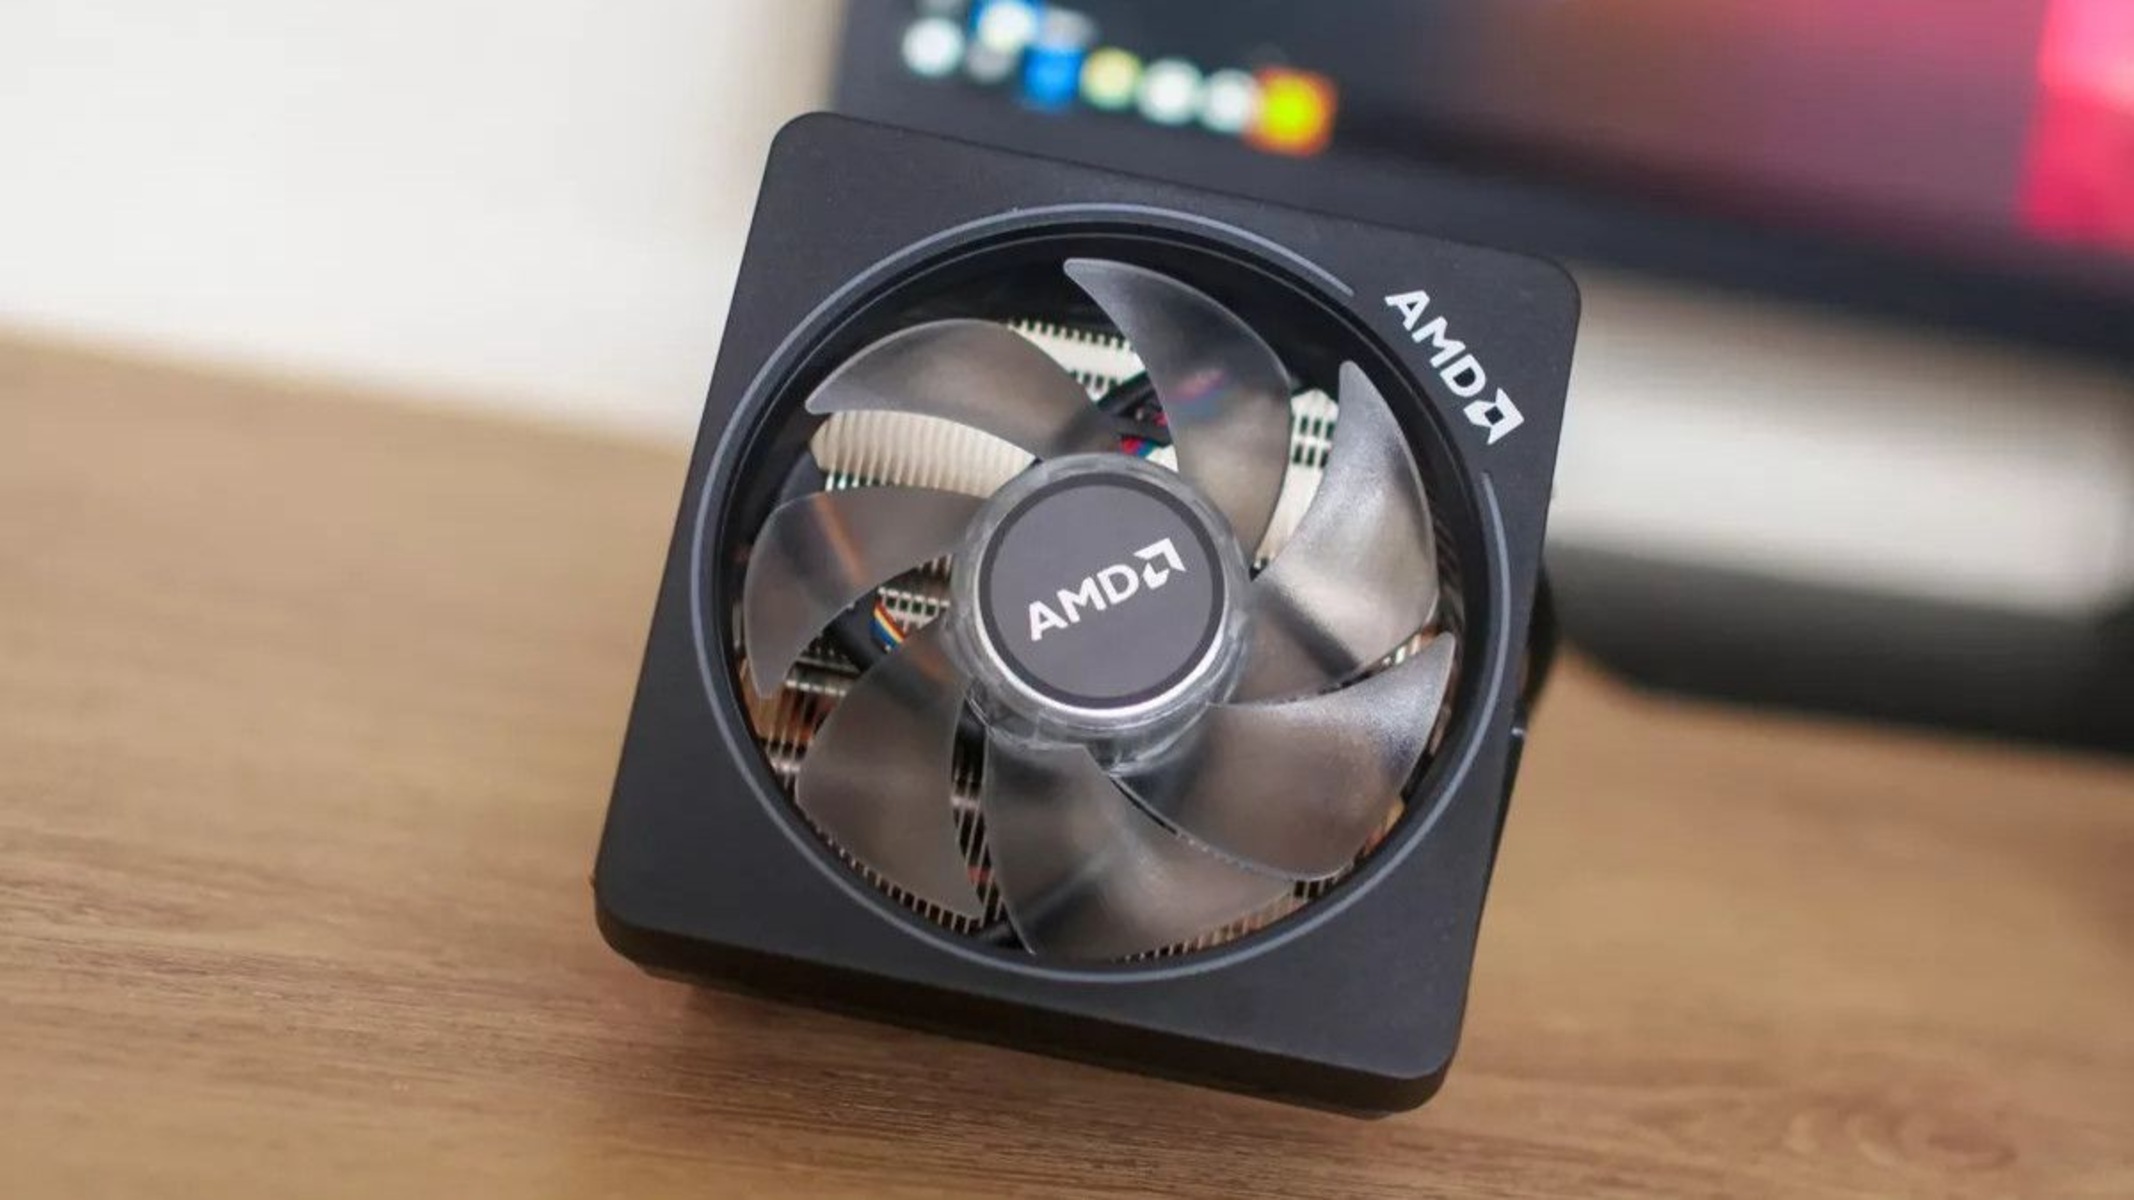
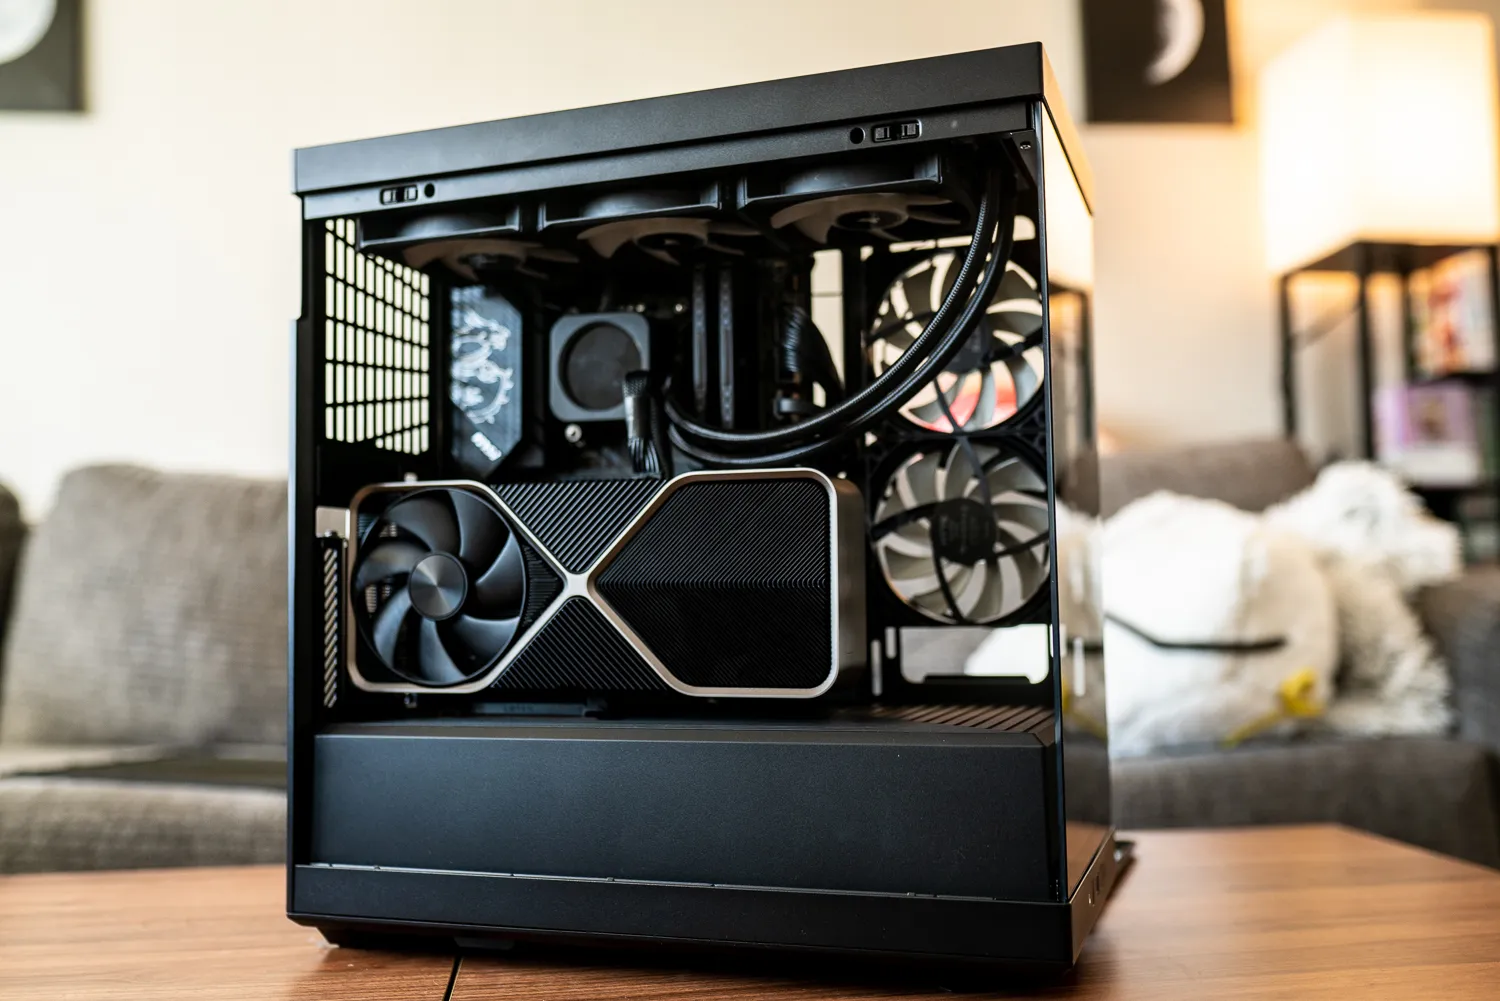
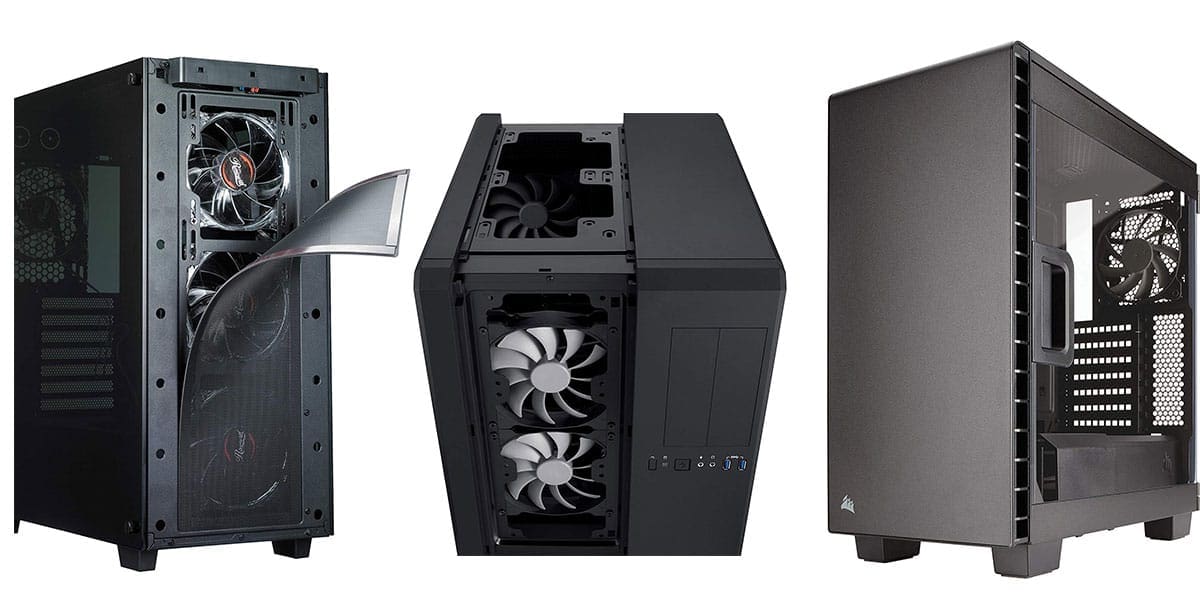
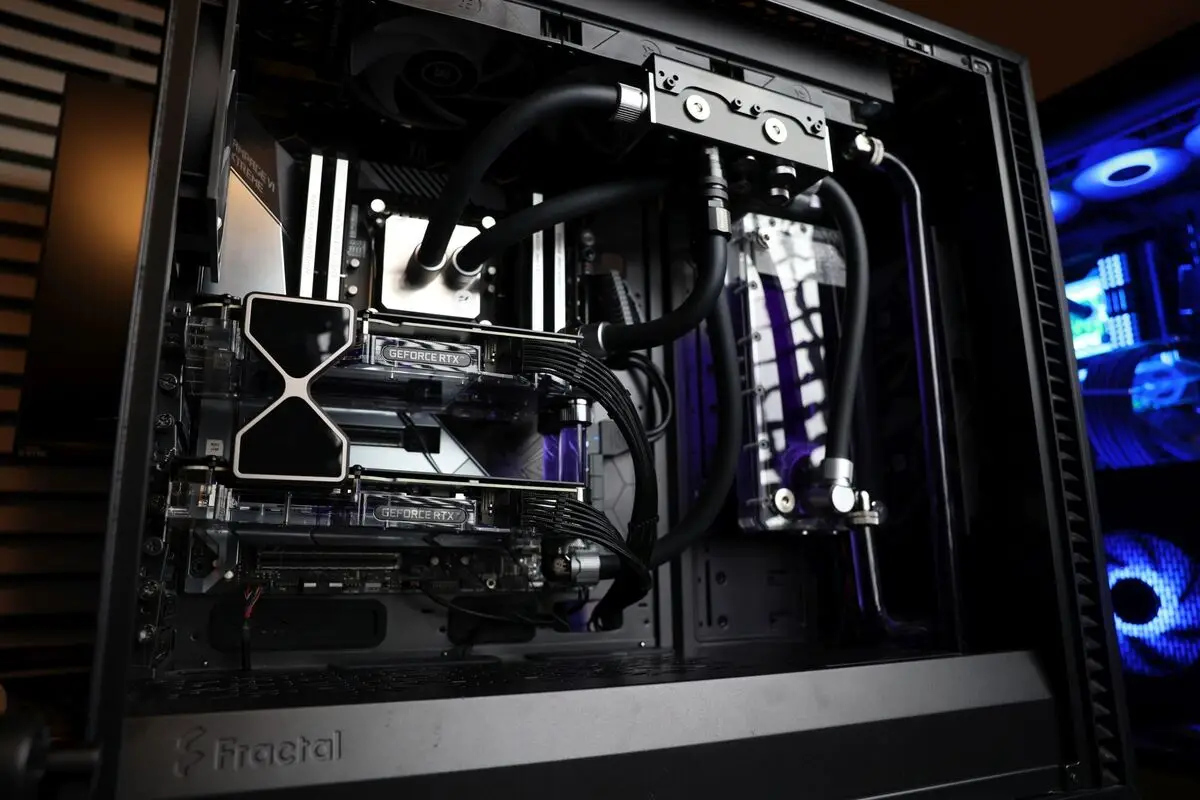
Case fans are essential components of a computer system that help to cool down the internal components. They are typically installed inside the computer case and are responsible for circulating air and dissipating heat generated by the CPU, GPU, and other components.
Case fans come in various sizes, with the most common being 120mm and 140mm. They are available in different configurations, including exhaust fans, intake fans, and combination fans. Exhaust fans expel hot air from the case, while intake fans draw in cool air to keep the components at a lower temperature.
Proper airflow is crucial for maintaining system stability and preventing overheating. By strategically positioning case fans in the computer case, you can create a balanced airflow that ensures cool air is brought in and hot air is expelled efficiently.
In addition to cooling the system, case fans can also help to reduce noise levels. By promoting better airflow, case fans can prevent the build-up of hot air, which results in the system’s fans having to work harder and produce more noise to maintain acceptable temperature levels.
Furthermore, case fans often feature LED lighting options, allowing users to add a touch of aesthetics to their computer build. This not only enhances the overall appearance but also lets users customize the lighting according to their preference and create unique lighting effects.
When selecting case fans, it’s important to consider factors such as airflow, noise level, and static pressure. Airflow determines how much air the fan can move, while static pressure measures its ability to push air through obstacles such as heatsinks or filters. Noise level is also a vital consideration for those seeking a quieter computing experience.
Overall, case fans are vital components for any computer system that require proper cooling. Whether you’re building a new PC or upgrading an existing one, understanding case fans and their role in cooling is crucial to maintaining optimal performance and extending the lifespan of your components.
Why Power Case Fans With USB?
The decision to power case fans with USB offers several advantages and has become increasingly popular among computer users. Let’s explore the reasons why:
Convenience: One of the primary reasons to power case fans with USB is the convenience it offers. USB ports are readily available on almost all modern motherboards, making it easy to connect case fans without the need for additional cables or adapters. This simplicity allows for a hassle-free installation process and eliminates the need for separate fan controllers or power supply connections.
Versatility: USB-powered case fans provide versatility in terms of placement. Unlike traditional fan placements, where fans are connected directly to the power supply or fan controller, USB-powered fans can be positioned anywhere in the case that has a USB header. This flexibility allows users to experiment with fan configurations to optimize airflow and cooling performance.
Power Control: Another advantage of powering case fans with USB is the ability to control fan speeds. Some motherboards offer software or BIOS settings that allow users to adjust the voltage supplied to the USB header, effectively controlling the fan speed. This feature enables users to fine-tune the cooling performance based on their specific requirements, whether it’s maximizing airflow during heavy gaming sessions or reducing noise levels during low-intensity tasks.
Noise Reduction: USB-powered case fans can contribute to reducing noise levels in your computer system. By utilizing the USB header as the power source, you eliminate the need for additional fan controllers or power supply connections that may add to the overall noise. Furthermore, with adjustable fan speeds, you can fine-tune the fan operation to strike a balance between cooling efficiency and noise production.
Compatibility: USB-powered case fans are compatible with a wide range of computer systems. As long as your motherboard has a USB header, you can easily connect and power case fans with USB. This compatibility extends to both desktop and laptop systems, allowing users to enhance cooling performance regardless of the computer type.
Overall, powering case fans with USB offers a convenient, versatile, and efficient solution for cooling your computer system. The ability to control fan speeds, reduce noise, and achieve compatibility with various systems makes USB power an attractive option for both casual users and enthusiasts alike.
Step-by-Step Guide on Powering Case Fans With USB
Now that you understand the benefits of powering case fans with USB, it’s time to walk you through the process. Follow these steps to successfully connect and power your case fans using the USB headers on your motherboard:
- Before you begin, make sure your computer is turned off and unplugged from the power source to avoid any electrical mishaps.
- Start by gathering the necessary tools and materials. You will need your case fans, a compatible USB cable, and a screwdriver for mounting the fans if necessary.
- Identify the USB headers on your motherboard. These headers are typically located near the edges of the motherboard and are labeled as “USB” or “USB_PWR”. Consult your motherboard’s manual for specific information on locating the USB headers.
- Once you’ve identified the USB headers, take note of the pin configuration. Most USB headers have nine pins, arranged in two rows. The pins you’ll be using for powering the case fans are the “Power” and “Ground” pins. Refer to the motherboard manual or manufacturer’s documentation for the precise pin configuration of your motherboard.
- Next, connect the USB cable to the corresponding pins on the USB headers. The red wire of the USB cable should be connected to the “Power” pin, while the black wire should be connected to the “Ground” pin. Insert the wires securely, ensuring a proper connection.
- If your case fans require mounting, carefully position them in the desired locations within your computer case. Use the appropriate screws or mounting brackets to secure the fans in place. Make sure the airflow direction aligns with your intended airflow configuration.
- Once the fans are mounted, connect the other end of the USB cable to the fans’ power input. This can usually be found on the fan hub or controller, or on the individual fan itself. Ensure a secure connection.
- Double-check all connections to make sure they are secure and properly aligned.
- With everything connected, plug in your computer and power it on. The case fans should now receive power from the USB headers and start spinning.
- Depending on your motherboard and its associated software or BIOS settings, you may have the option to control the fan speed. Refer to your motherboard manual or consult the manufacturer’s documentation to learn how to adjust the fan speed through the USB headers.
By following these step-by-step instructions, you can successfully power your case fans using the USB headers on your motherboard. Enjoy the improved cooling performance and efficient airflow within your computer system!
Tools and Materials You Will Need
Before you begin powering your case fans with USB, it’s important to gather the necessary tools and materials. Here’s a list of what you will need:
- Case Fans: Select the desired number and size of case fans based on your cooling requirements and the available space in your computer case. Ensure that they have a compatible power input for USB connection.
- USB Cable: You will need a USB cable that has the appropriate connectors to fit the USB headers on your motherboard and the power input on your case fans. Make sure the cable is long enough to reach from the USB header to the fans’ power input.
- Screwdriver: Depending on the mounting mechanism of your case fans, you may need a screwdriver to secure them in place. Determine the type and size of screws required based on your specific case fan and computer case.
- Documentation: It’s essential to have the documentation for your motherboard on hand. This includes the motherboard manual and any instructions or diagrams provided by the manufacturer. This information will help you locate the USB headers and understand the pin configuration for proper connection.
With these tools and materials, you’ll have everything you need to successfully power your case fans with USB. Make sure you have them readily available before proceeding with the installation process. Taking the time to gather the necessary supplies ensures a smooth and hassle-free experience.
Identifying the USB Pins on Your Motherboard
Before you can connect and power your case fans with USB, it’s important to correctly identify the USB pins on your motherboard. This step will ensure that you make the proper connections and avoid any potential damage. Here’s how you can identify the USB pins on your motherboard:
- Consult the motherboard manual: The first and most reliable source of information is the manual that came with your motherboard. The manual will provide detailed diagrams and explanations of the various connectors on the motherboard, including the USB headers. Look for a section that specifically identifies the USB pins and their corresponding functions.
- Online resources: If you don’t have access to the motherboard manual or need additional guidance, you can search for your motherboard model online. The manufacturer’s website or other reputable tech websites may have detailed documentation and diagrams available for your specific motherboard model.
- Visual inspection: Take a close look at your motherboard and locate the USB headers. They are typically found near the edges of the motherboard and labeled as “USB” or “USB_PWR”. Most motherboards have multiple USB headers, so ensure you are identifying the correct one.
- Pin configuration: Once you’ve located the USB headers, examine the pins to determine the correct configuration. USB headers usually have nine pins, organized in two rows. The pins you’ll be using for powering the case fans are the “Power” and “Ground” pins. Refer to the motherboard manual or online resources to identify the specific pins for your motherboard model.
- Pin labels or markings: Some motherboard manufacturers may label or mark the USB pins directly on the motherboard or near the connectors. Look for any markings or indications that can help you identify the correct pins for powering the case fans via USB.
Remember to exercise caution when identifying the USB pins, as connecting the case fans incorrectly may cause damage to your motherboard or the fans themselves. If you’re uncertain or have any doubts, it’s best to consult the motherboard manual or seek guidance from experienced technicians or knowledgeable individuals in online forums.
By correctly identifying the USB pins on your motherboard, you’ll be ready to connect and power your case fans with USB successfully. Take your time to ensure accuracy and refer to reliable resources to make the process as smooth and error-free as possible.
Connecting the Case Fan to the USB Header
Once you have identified the USB pins on your motherboard, you are ready to connect the case fan to the USB header. Follow these steps to complete the connection:
- Ensure that your computer is powered off and unplugged from the power source before beginning the process.
- Place your computer case in a well-lit, accessible area for easy access to the USB header.
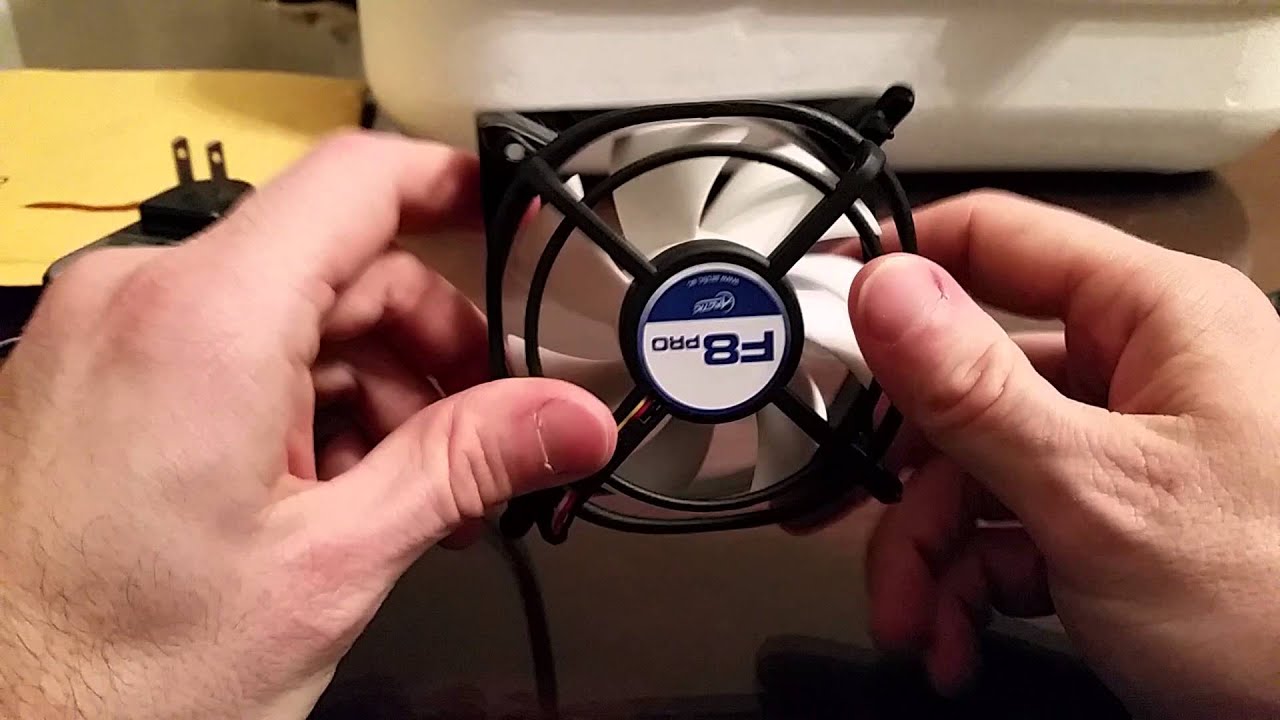
- Take your case fan and locate the USB power input on the fan. This is typically located on the fan hub or controller, or on the individual fan itself.
- Take your USB cable and insert the USB connector into the USB power input on the case fan. Ensure that it is securely and properly aligned.
- Now, locate the USB headers on your motherboard. They are typically found near the edges of the motherboard and labeled as “USB” or “USB_PWR”. Refer to the documentation or visual inspection you performed earlier to identify the correct USB header.
- Take the other end of the USB cable and carefully insert it into the corresponding pins on the USB header. The red wire of the USB cable should be connected to the “Power” pin, and the black wire should be connected to the “Ground” pin.
- Apply gentle pressure to ensure a secure connection, making sure the USB cable is properly seated in the pins.
- Double-check all connections to ensure they are secure and properly aligned.
Once the case fan is connected to the USB header, you can proceed with any necessary mounting or installation of the fan within your computer case, following the manufacturer’s instructions.
It’s important to note that some motherboards may require specific configurations or settings to be adjusted in the BIOS or motherboard software to enable USB-powered case fans. Consult your motherboard manual or manufacturer’s documentation for any additional steps or instructions specific to your motherboard model.
With the case fan successfully connected to the USB header, you can now power on your computer. The fan should receive power from the USB connection and begin spinning, providing efficient cooling for your computer system.
Remember to exercise caution and refer to the motherboard manual or seek guidance from reliable resources if you encounter any difficulties or uncertainties during the connection process. Improper connections may lead to damage or malfunctioning of the case fan or motherboard.
By following these steps, you can easily connect your case fan to the USB header and enjoy the benefits of USB-powered cooling for your computer system.
Troubleshooting Common Issues
While connecting and powering case fans with USB is generally a straightforward process, you may encounter some common issues along the way. Here are a few troubleshooting tips to help you address these issues:
1. Fan not spinning: If the case fan connected to the USB header is not spinning, check the following:
- Ensure that the USB cable is properly connected to both the fan and the USB header on the motherboard. Double-check the connections and make sure they are secure.
- Verify that the fan is receiving power by trying a different USB header or a different USB cable if available.
- Check the BIOS or motherboard software settings to ensure that the USB ports are enabled and supplying power.
2. Incorrect fan speed: If the fan speed seems too high or too low, you can try the following:
- Adjust the fan speed settings in the BIOS or motherboard software if available. Consult the motherboard manual or manufacturer’s documentation for instructions on how to access and modify these settings.
- Ensure that the USB cable is securely connected to the correct pins on the USB header, following the proper configuration for power and ground.
- Consider using third-party fan control software that allows you to manually adjust and monitor the fan speed.
3. Incompatible fan connector: In some cases, the USB header and the fan’s power input may have different connector types. If this happens, you can try the following:
- Use an adapter or converter cable that can convert the connector on the USB header to match the fan’s power input connector.
- Consult the fan manufacturer’s documentation or customer support to identify any compatible adapter options.
- Consider purchasing a new fan that has a compatible connector type for the USB header.
4. Insufficient power: If you are connecting multiple high-powered case fans to a single USB header, you may encounter insufficient power issues. In such cases, consider these solutions:
- Connect the fans to separate USB headers on the motherboard to distribute the power load.
- Use a powered USB hub to provide additional power if the motherboard’s USB headers do not supply enough power.
- Reduce the number of fans connected or consider using fans with lower power requirements.
If you are unable to resolve the issues with your USB-powered case fans, it is recommended to consult the motherboard manual, seek assistance from the fan manufacturer’s customer support, or consult with experienced individuals in online forums or communities.
Remember to exercise caution when troubleshooting and make sure to follow proper safety procedures to avoid any damage to your computer components or personal injury.
By addressing common issues and finding appropriate solutions, you can ensure a smooth and successful experience in powering your case fans with USB.
Safety Precautions When Working with Electronics
When working with electronics, including powering case fans with USB, it’s crucial to prioritize safety to protect yourself and prevent damage to your computer components. Here are some essential safety precautions to keep in mind:
1. Power off and unplug: Before starting any work on your computer, ensure that it is powered off and unplugged from the power source. This will eliminate the risk of electric shock and prevent any accidental damage.
2. Ground yourself: Static electricity can damage sensitive computer components. Before touching any internal components or connectors, ground yourself by touching a metal surface or wearing an anti-static wristband. This will discharge any static electricity accumulated in your body.
3. Read the manuals: Familiarize yourself with the manuals and documentation provided by the motherboard and case fan manufacturers. The manuals contain important information regarding installation, pin configurations, and any specific precautions or warnings.
4. Use the right tools: Utilize the appropriate tools for the job, such as screwdrivers specifically designed for computer components. This will help prevent damage to the components and ensure secure connections.
5. Be cautious of sharp edges: Computer cases often have sharp edges that can cause injuries. Pay attention to the edges and handle them with care to avoid cuts or lacerations.
6. Avoid static-sensitive areas: Keep your computer components away from static-sensitive areas, such as carpets or rugs. Work on a flat, non-static surface to minimize the risk of electrostatic discharge.
7. Take breaks and stay hydrated: Working on electronics can be time-consuming, so remember to take breaks and stay hydrated to maintain focus and prevent fatigue. This will reduce the risk of accidents caused by lack of attention.
8. Follow proper cable management: Ensure that cables are neatly organized and secured to prevent them from blocking airflow or becoming a tripping hazard.
9. Be mindful of heat: Some computer components can become hot during operation. Before touching or working near these components, allow them to cool down to avoid burns.
10. Proceed with caution: Take your time when making connections or adjustments. Rushing can lead to mistakes or accidents. Double-check your work to ensure everything is properly connected and secured.
Remember, the safety precautions listed here are general guidelines. Always refer to the specific safety instructions provided by the manufacturers and exercise caution when handling sensitive electronics.
By following these safety precautions, you can minimize the risks associated with working with electronics and ensure a safe and successful experience when powering your case fans with USB.
Conclusion
Powering your case fans with USB offers a convenient, versatile, and efficient solution for cooling your computer system. By utilizing the USB headers on your motherboard, you can enjoy the benefits of easy installation, flexible positioning, power control, noise reduction, and compatibility with various systems.
In this comprehensive guide, we provided an overview of case fans and their importance in maintaining optimal temperature levels inside your computer case. We discussed the reasons why powering case fans with USB has become popular, including its convenience, versatility, power control capabilities, noise reduction, and compatibility.
We also provided a step-by-step guide on how to power case fans with USB, covering the tools and materials you’ll need, the process of identifying the USB pins on your motherboard, and connecting the case fan to the USB header. We offered troubleshooting tips for common issues and emphasized the importance of safety precautions when working with electronics.
By following the instructions and recommendations outlined in this guide, you can successfully power your case fans with USB and enjoy improved cooling performance for your computer system.
Remember to consult the motherboard manual, manufacturer’s documentation, and seek guidance from reputable sources if you encounter any difficulties or uncertainties during the process. Always prioritize safety by disconnecting power, grounding yourself, and using the proper tools and precautions.
With USB-powered case fans, you can ensure that your computer system operates at optimal temperatures, enhancing performance, prolonging the lifespan of your components, and providing a more enjoyable computing experience.