Introduction
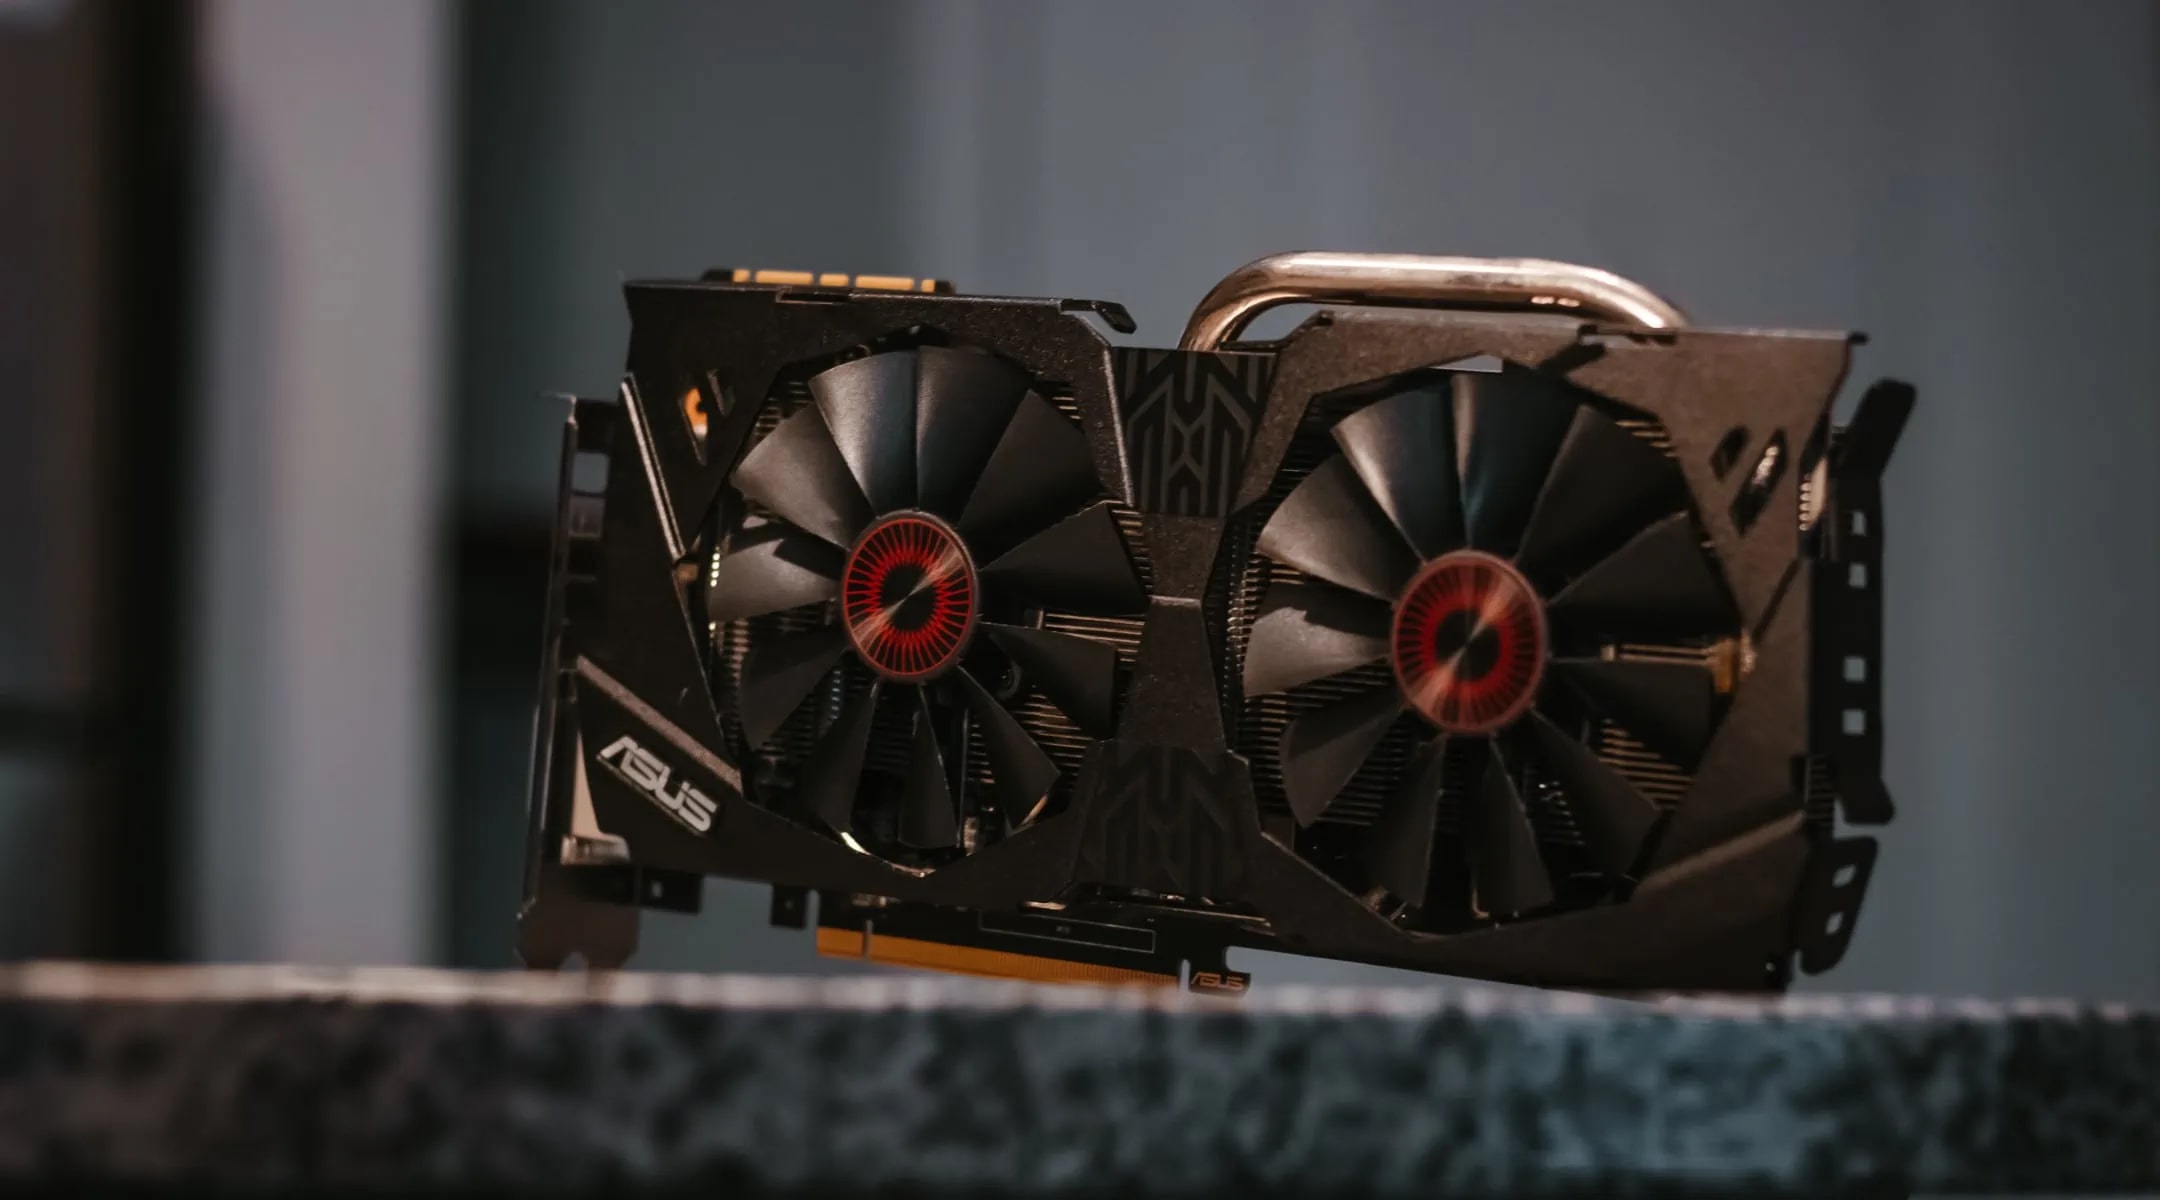
Installing a computer case fan is a crucial step in maintaining the optimal temperature and performance of your computer. However, sometimes you may run into the frustrating problem of having a fan screw that won’t fit. This can be a common issue, especially when using aftermarket fans or replacing old ones.
But fear not! In this guide, we will walk you through the necessary steps to overcome this challenge and successfully install your computer case fan. We will explore various solutions that can help you tackle the problem of a screw that doesn’t fit, ensuring that your fan is securely in place and effectively cooling your system.
Before diving into the solutions, it is essential to have a basic understanding of the tools and materials you will need for this task. Depending on the specific fan and case you’re working with, the requirements may vary slightly. However, here are some common tools and materials that you should have on hand:
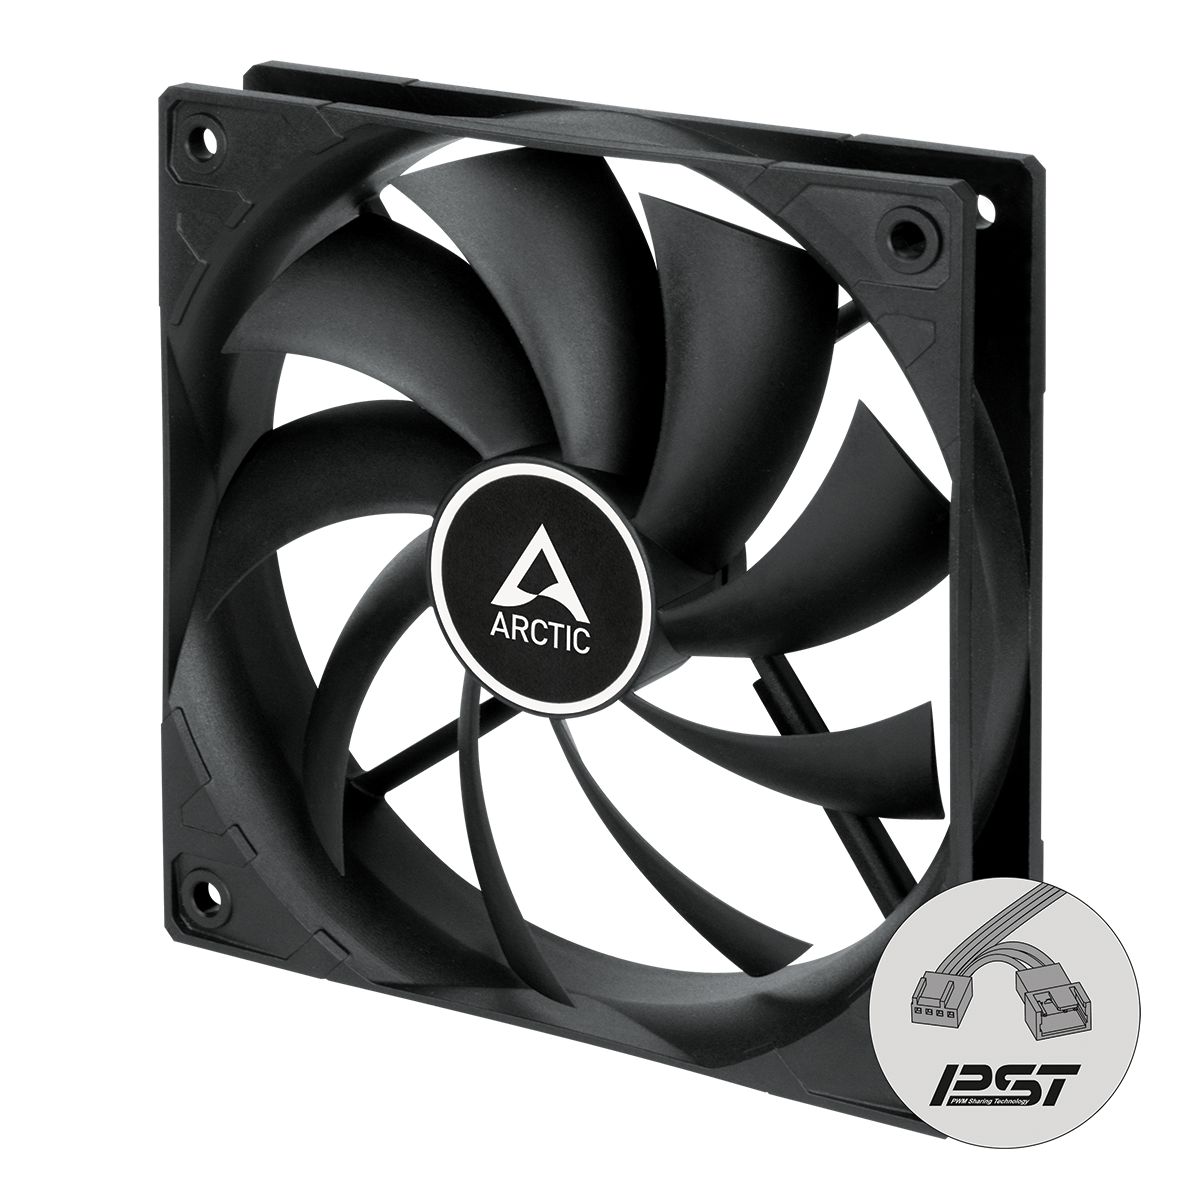
- Screwdriver (Phillips or flathead, depending on your fan’s screws)
- Pliers
- Extra screws and washers (in case replacements are needed)
- Optional: Rubber grommets or vibration dampeners for noise reduction
Now that you have a list of the necessary tools, let’s move on to the next step: determining the correct screw size for your fan installation. This is an important first step, as using the wrong size can lead to instability and suboptimal cooling performance.
Step 1: Gather the necessary tools
Before you can tackle the problem of a fan screw that won’t fit, it’s important to ensure you have all the necessary tools and materials on hand. Here’s a checklist of what you’ll need:
- Screwdriver: Make sure you have a screwdriver that matches the type of screws used for your computer case fan. Most fans use either Phillips or flathead screws. Having the correct screwdriver will make the installation process much easier and prevent damage to the screws.
- Pliers: Pliers can come in handy if you need to grip onto a stubborn screw to remove it or to hold a nut in place while tightening the screw.
- Extra screws and washers: It’s always a good idea to have some extra screws and washers on hand, just in case you encounter any damaged or missing components. This way, you won’t have to put the installation on hold while waiting for replacements.
- Optional: Rubber grommets or vibration dampeners: If noise reduction is a priority for you, consider using rubber grommets or vibration dampeners. These accessories can help minimize vibrations and prevent them from transferring to the case, resulting in a quieter operation.
Ensure that you have all the necessary tools and materials organized and easily accessible before you start the installation process. This will save you time and prevent any unnecessary frustration later on.
Now that you’re well-equipped, it’s time to move on to the next step: determining the correct screw size for your fan installation. This is crucial to ensure a secure and stable fit for your fan.
Step 2: Determine the correct screw size
When faced with a fan screw that won’t fit, one possible cause is using the incorrect screw size. It’s crucial to determine the appropriate screw size for your fan installation to ensure a proper fit. Here’s how:
- Refer to the fan manufacturer’s instructions: Start by consulting the fan’s manual or any documentation provided by the manufacturer. They often include specific guidelines on the type and size of screws that should be used.
- Measure the fan screw holes: If you don’t have access to the manufacturer’s instructions, you can measure the diameter and length of the screw holes on the fan itself. Use a caliper or ruler to get accurate measurements. This will give you an idea of the screw size needed.
- Check the computer case specifications: Take a look at your computer case’s specifications or manual. It may provide guidelines on the compatible screw sizes for fan installation. This information can be helpful in narrowing down the appropriate screws to use.
- Consider universal fan screw kits: If you’re unable to determine the exact screw size needed or if the original screws are not available, consider using universal fan screw kits. These kits typically include a variety of screw sizes and types, ensuring you have options that can fit most fans and cases.
By taking these steps, you’ll be able to identify the correct screw size for your fan installation. This will help prevent the frustration of dealing with ill-fitting screws and ensure a more secure and stable installation.
Once you’ve determined the appropriate screw size, you can proceed to the next step, which involves troubleshooting any obstacles that may be preventing the screw from fitting properly. We’ll cover potential obstacles and their solutions in the following section.
Step 3: Troubleshoot any obstacles
Encountering obstacles while installing a computer case fan can be frustrating, but don’t worry. In this step, we’ll explore some common obstacles and provide troubleshooting solutions to help you overcome them:
- Obstacle: Alignment issues: Sometimes, the screw holes on the fan may not align perfectly with those on your computer case. This misalignment can prevent the screws from fitting properly.
- Solution: Try gently adjusting the fan’s position to align the screw holes. You can also check if there are any obstructions, such as cables or components, that are preventing proper alignment. If necessary, temporarily remove or rearrange these obstructions to achieve proper alignment.
- Obstacle: Stripped or damaged screw holes: Over time, the screw holes on the fan or computer case can become stripped or damaged, making it challenging to secure the screws.
- Solution: In such cases, you can use slightly larger screws or screws with a different thread pattern. However, be cautious not to use screws that are too large, as they may compromise the stability of the fan or damage the case. Alternatively, you can try using screw anchors or adhesive materials specifically designed for securing screws in stripped or damaged holes.
- Obstacle: Insufficient clearance: The fan or its mounting bracket may have limited clearance due to nearby components or cables, making it difficult to insert the screws.
- Solution: In this situation, explore alternative mounting options. For example, you could use zip ties or adhesive mounts to secure the fan in place. Alternatively, you can consider using low-profile or slim fans that require less clearance.
By troubleshooting these obstacles, you can overcome the challenges of a fan screw that won’t fit. If none of these solutions seem to work, don’t hesitate to seek assistance from computer hardware professionals or the manufacturer’s support team for further guidance.
With the obstacles resolved, you’re now ready to proceed to the next step, where we’ll explore solutions to modify the screw hole if necessary. Keep reading!
Step 4: Modify the screw hole
If you’ve encountered a situation where the screw holes on your computer case or fan aren’t compatible, it may be necessary to modify the screw hole to ensure a proper fit. Here’s how you can do it:
- Enlarge the screw hole: If the screw holes on the fan are slightly smaller than the screws you have, you can carefully enlarge them to accommodate the larger screws. Use a drill with a drill bit that matches the new screw size, and gently widen the hole. Be cautious not to make the hole too large, as this can compromise the stability of the fan.
- Add a washer: Sometimes, adding a washer can help bridge the gap between the screw and the hole, providing a snug fit. Place a washer over the screw before inserting it into the hole. Ensure that the washer is the appropriate size and thickness for a secure fit.
- Tap new threads: In some cases, the screw holes on your computer case or fan may be stripped or damaged, making it challenging to secure the screws. In such situations, you can tap new threads using a tap and die set. The process involves creating new threads so that you can use larger screws or screws with a different thread pattern.
- Utilize adhesive or alternative fasteners: If modifying the screw holes is not feasible or if you prefer not to make permanent changes to your computer case or fan, you can explore adhesive options or alternative fasteners. Adhesive strips or adhesives specifically designed for securing fans can be used to hold the fan mounts in place.
Keep in mind that while modifying the screw hole can be a viable solution, it’s important to exercise caution and ensure that the fan remains securely and stably mounted after modifications. Always double-check the fit and perform a test run before fully securing the fan in place.
If modifying the screw hole doesn’t resolve the problem of a fan screw that won’t fit, don’t worry. There are alternative mounting options that you can explore, which we’ll discuss in the next step.
Step 5: Use alternative mounting options
If you’re facing difficulty with the traditional screw mounting method for your computer case fan, don’t despair! There are alternative mounting options that can provide a secure and effective solution. Consider the following alternatives:
- Zip ties or cable ties: In situations where the screw holes aren’t lining up or the fan isn’t fitting properly, you can use zip ties or cable ties as an alternative mounting method. Thread the ties through the fan’s mounting holes or around the fan’s corners and tighten them securely around the case or the available mounting points. This option provides flexibility and can work well in cases where traditional screw mounting isn’t feasible.
- Adhesive mounts: Another alternative is to use adhesive mounts that are specifically designed for securing computer case fans. These adhesive mounts have a strong adhesive backing that allows you to attach the fan securely to the case. Ensure that you clean and dry the mounting surface before applying the adhesive mount to ensure optimal adhesion.
- Vibration dampeners: If noise reduction is a concern, you can use rubber grommets or vibration dampeners. These accessories help reduce vibrations and noise generated by the fan. They are often designed to fit into the fan mounting holes and provide a cushioned and secure mounting solution.
- Custom brackets or adapters: If none of the above options are suitable for your situation, you can explore the possibility of using custom brackets or adapters. These can be specially designed or modified to ensure proper mounting of the fan. It may require some DIY skills or professional assistance, but it can provide a tailored solution to fit your specific requirements.
When using alternative mounting options, ensure that the fan is secure and stable in its position. It’s important to test the fan’s operation and monitor its temperature to ensure it’s functioning optimally without any issues.
With these alternative mounting options at your disposal, you can overcome the challenge of a fan screw that won’t fit. However, if you prefer a more traditional mounting method, the next step will guide you through the process of securing the fan in place using available screws and tools. Let’s move on!
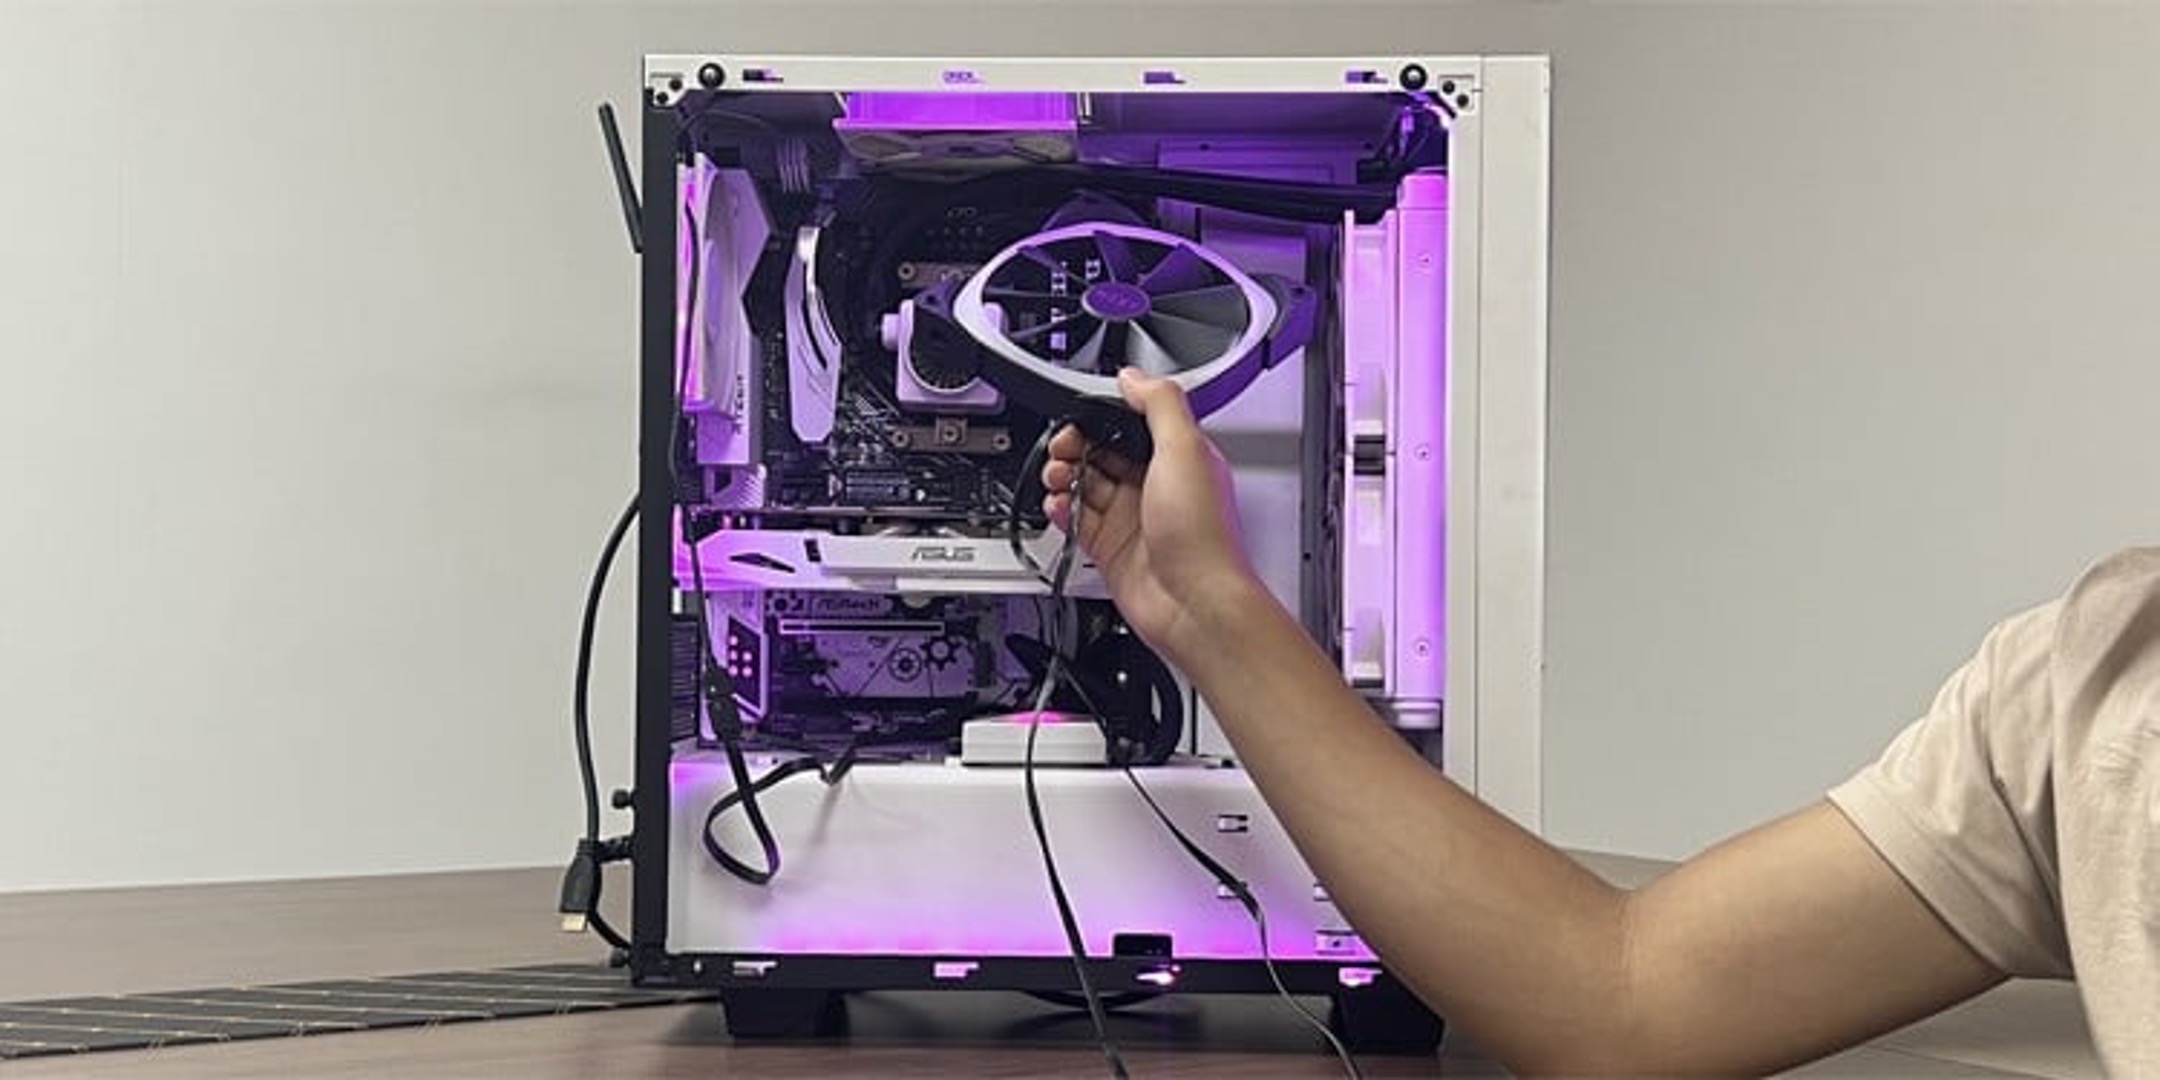
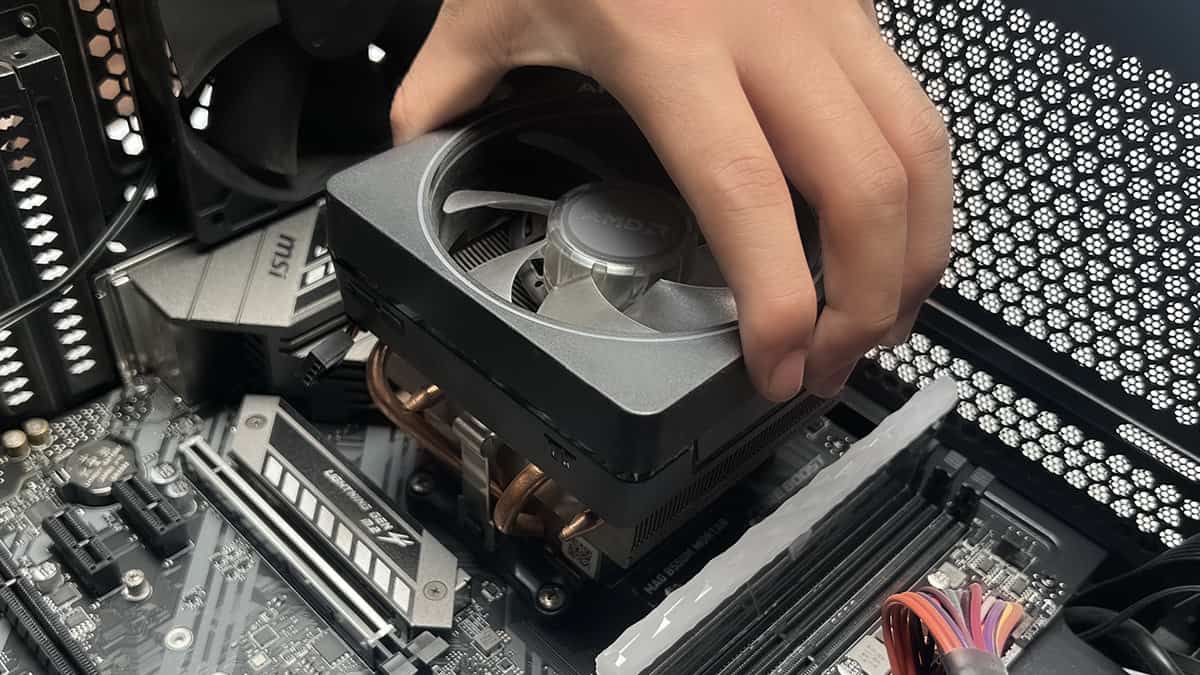
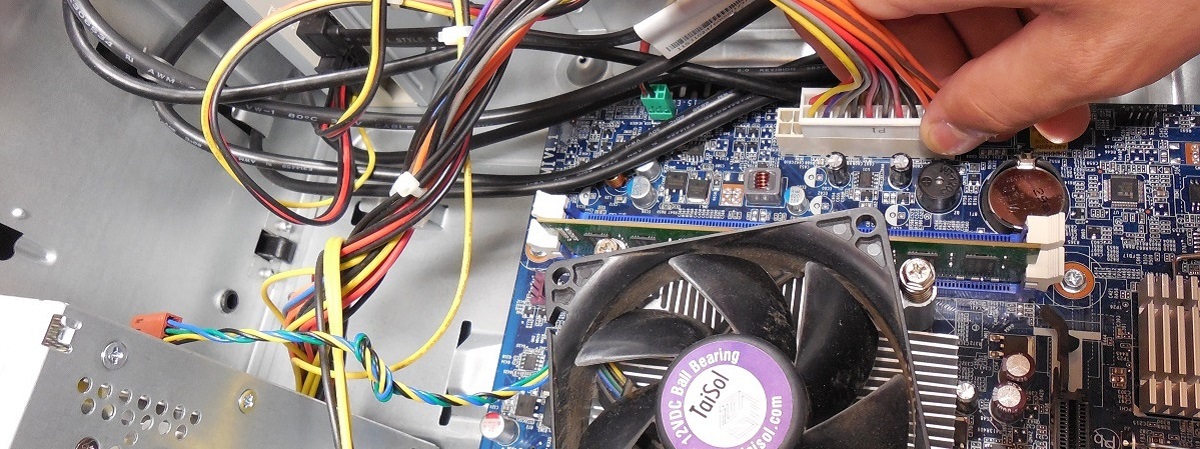
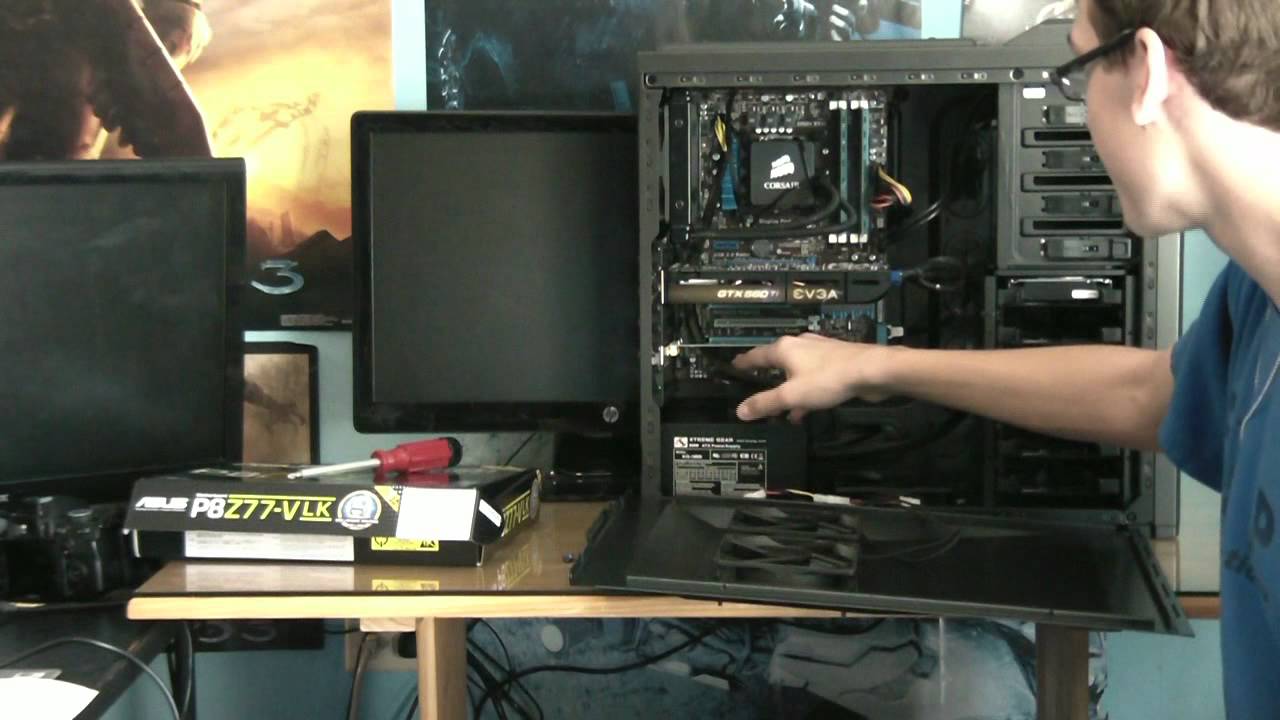
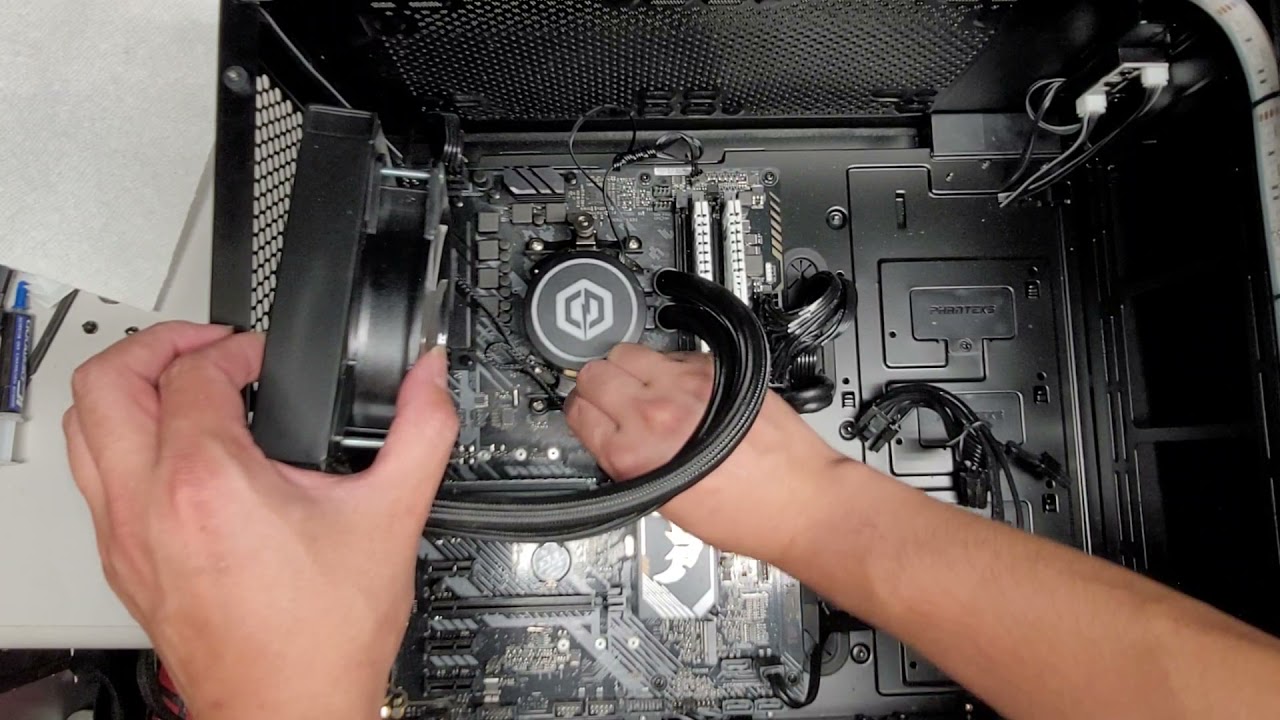
Step 6: Secure the fan in place
After exploring alternative mounting options, you may opt to secure your computer case fan using the available screws and tools. This traditional method can provide a reliable and sturdy mounting solution. Follow these steps to securely install your fan:
- Align the fan: Position the fan in the desired location inside your computer case. Make sure it is aligned with the mounting holes or the chosen alternative mounting method.
- Insert the screws: Insert the appropriate screws into the fan’s mounting holes or the alternative mounting points. Begin by tightening the screws by hand to ensure they are threaded properly.
- Tighten the screws: Using a screwdriver or a compatible tool, gradually tighten each screw, alternating between them to ensure even and secure fastening. Be careful not to overtighten the screws, as it can damage the fan or the case.
- Confirm stability: After tightening the screws, gently wiggle the fan to check for any movement or instability. If the fan remains securely in place without any wobbling or shifting, you’ve successfully secured it.
- Test the fan: Turn on your computer and monitor the fan’s operation. Ensure it spins smoothly and provides adequate airflow. Keep an eye on the fan’s temperature readings to ensure it’s effectively cooling your system.
By following these steps, you can securely mount your fan using the traditional screw installation method. This method offers a reliable and stable solution while ensuring optimal cooling performance for your computer.
Remember, each computer case and fan may have slight variations, so it’s important to refer to the specific instructions provided by the manufacturer if available.
With the fan securely in place, you’re now ready to enjoy the benefits of improved airflow and temperature control in your computer case. Keep an eye out for any changes in performance or temperature and make any necessary adjustments if needed.
Now that you’ve successfully installed and secured your computer case fan, take some time to appreciate your accomplishment. Your efforts in overcoming the challenge of a fan screw that didn’t fit have resulted in a more efficient and reliable cooling solution for your computer system.
Conclusion
Installing a computer case fan can be a straightforward process, but it can become challenging when you encounter a fan screw that won’t fit. However, with the steps outlined in this guide, you can overcome this issue and successfully install your fan while ensuring optimal cooling performance for your computer.
By gathering the necessary tools, determining the correct screw size, troubleshooting any obstacles, modifying the screw hole if needed, exploring alternative mounting options, and finally securing the fan in place, you’ve learned how to adapt and overcome the challenges that may arise during the installation process.
Remember, it’s important to take your time and carefully follow the instructions provided by the fan and computer case manufacturers. Each system may have its own specifications and requirements, so staying informed and being adaptable is key to a successful installation.
If you encounter any difficulties or feel unsure about any of the steps, don’t hesitate to seek assistance from professionals or consult the manufacturer’s support team for further guidance.
By tackling the problem of a fan screw that didn’t fit, you’ve taken a proactive approach to maintain the optimal temperature and performance of your computer system. Ensuring proper fan installation plays a crucial role in preventing overheating and maintaining the longevity of your PC components.
Now that you’re equipped with the knowledge and strategies to overcome this common issue, you can confidently proceed with installing your computer case fan and enjoy a cool and efficient computing experience.
Good luck with your installation, and may your computer run smoothly and stay cool!