Introduction
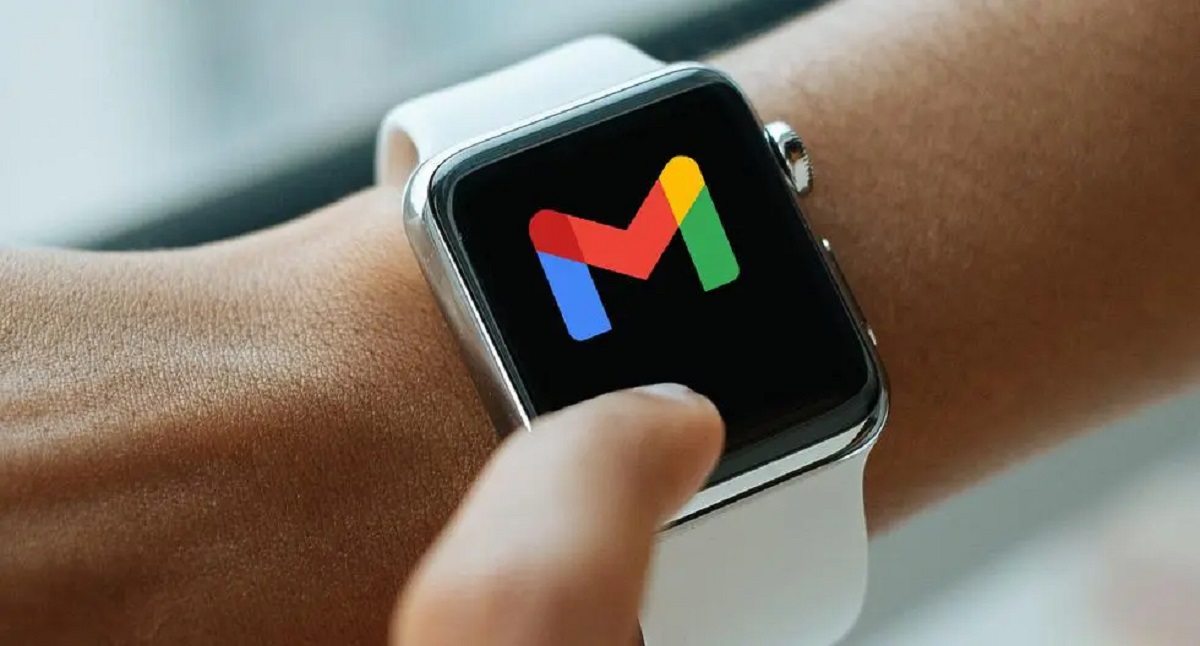
Are you an Apple Watch user who wants to stay connected to your Gmail account while on the go? In this article, we will guide you on how to get Gmail on your Apple Watch and receive email notifications right on your wrist.
The Apple Watch is a versatile wearable device that allows you to check emails, messages, and other notifications without having to take out your iPhone. With the integration of the Gmail app on your Apple Watch, you can stay up to date with your emails and respond to important messages quickly and efficiently.
By following a few simple steps, you can easily set up the Gmail app on your Apple Watch and enjoy the convenience of accessing your emails wherever you are. Whether you’re on a jog, in a meeting, or simply don’t have your iPhone handy, having Gmail on your Apple Watch ensures that you won’t miss any important communication.
In this article, we will walk you through the process of installing the Gmail app on your iPhone, syncing your Gmail account with the Apple Watch, customizing your notification settings, and using the Gmail app to read and reply to emails. So grab your Apple Watch, and let’s get started on bringing Gmail to your wrist!
Step 1: Install the Gmail app on your iPhone
The first step to getting Gmail on your Apple Watch is to ensure that you have the Gmail app installed on your iPhone. The Gmail app allows for seamless integration between your Gmail account and your Apple Watch, providing you with real-time email notifications and the ability to read and respond to emails directly from your wrist.
To install the Gmail app on your iPhone, follow these simple steps:
- Open the App Store on your iPhone.
- Tap on the search icon at the bottom of the screen.
- Type “Gmail” into the search bar and tap on the search button.
- Once the Gmail app appears in the search results, tap on it.
- Tap on “Get” or the cloud icon to download and install the Gmail app on your iPhone. You may be prompted to enter your Apple ID password or use Face ID/Touch ID to authenticate the download.
- After the app is installed, tap on “Open” to launch the Gmail app.
- Sign in to your Gmail account using your email address and password. If you have two-factor authentication enabled, you may be required to enter a verification code.
Once you have successfully installed the Gmail app on your iPhone and signed in to your Gmail account, you are ready to proceed to the next step of setting up notifications for Gmail on your iPhone.
Step 2: Set up notifications for Gmail on your iPhone
Now that you have installed the Gmail app on your iPhone, it’s time to configure the notification settings to ensure that you receive real-time email alerts on your Apple Watch. Follow these steps to set up notifications for Gmail on your iPhone:
- Open the Settings app on your iPhone.
- Scroll down and tap on “Notifications”.
- Look for the Gmail app in the list of installed apps and tap on it.
- Toggle on the “Allow Notifications” option.
- Customize your notification preferences by selecting your desired options, such as sounds, banners, or alerts.
- Scroll down to the “Options” section and tap on “Show Previews”.
- Select “Always” to display full email previews in your notifications, or choose “When Unlocked” to only show previews when your iPhone is unlocked.
- Tap on “Back” to return to the previous screen and save your changes.
By enabling notifications for the Gmail app on your iPhone, you will be alerted whenever you receive a new email. These notifications will be automatically synced with your Apple Watch, allowing you to view them on your wrist without the need to access your iPhone.
Once you have finished configuring the notification settings for Gmail on your iPhone, you are ready to move on to the next step – syncing your Gmail account with your Apple Watch.
Step 3: Sync your Gmail account with the Apple Watch
Now that you have the Gmail app installed on your iPhone and notifications set up, it’s time to sync your Gmail account with your Apple Watch. This will allow you to receive email notifications and access your Gmail inbox directly from your wrist. Follow these steps to sync your Gmail account with the Apple Watch:
- Open the Apple Watch app on your iPhone.
- Tap on the “My Watch” tab at the bottom of the screen.
- Scroll down and select “Mail” from the list of available apps.
- Tap on “Gmail” and make sure the “Mirror my iPhone” option is enabled. This will ensure that your Gmail account settings on the Apple Watch match those of your iPhone.
Once you have completed these steps, your Gmail account will be synced with your Apple Watch. This means that any email notifications you receive on your iPhone will also be mirrored on your Apple Watch. You can now move on to customizing your Gmail notification settings specifically for the Apple Watch.
By syncing your Gmail account with the Apple Watch, you can conveniently stay updated with your emails without needing to constantly check your iPhone. Whether you’re out for a run, in a meeting, or simply don’t want to reach for your phone, having Gmail on your Apple Watch ensures that you won’t miss any important emails.
Now that your Gmail account is synced with your Apple Watch, let’s proceed to the next step to customize your Gmail notification settings on the Apple Watch.
Step 4: Customize your Gmail notification settings on Apple Watch
After syncing your Gmail account with the Apple Watch, it’s time to customize your notification settings specifically for the Gmail app on your watch. This allows you to control how you receive and interact with Gmail notifications on your wrist. Follow these steps to customize your Gmail notification settings on the Apple Watch:
- On your iPhone, open the Apple Watch app.
- Navigate to the “My Watch” tab.
- Scroll down and select “Notifications”.
- Look for the Gmail app from the list of installed apps and tap on it.
- Here, you can customize various options such as notification alerts, sound, haptics, and more.
- Toggle on the “Show Alerts” option to enable notifications for the Gmail app on your Apple Watch.
- Choose whether you want to receive “Notifications” or “Notifications & Haptic” alerts from Gmail on your watch.
- Customize other options like sound, haptics, and notification grouping according to your preference.
By customizing the Gmail notification settings on your Apple Watch, you have full control over how you receive and interact with Gmail notifications. You can choose to receive subtle haptic alerts, play a sound, or completely mute the notifications if desired.
With these settings in place, you can stay informed about your important emails without needing to constantly check your iPhone. The Gmail app on your Apple Watch will notify you whenever you receive new email messages, allowing you to quickly glance at them and decide if further action is required.
Now that you have customized your Gmail notification settings on the Apple Watch, it’s time to explore how you can effectively use the Gmail app on your watch to read and reply to emails.
Step 5: Use the Gmail app on Apple Watch to read and reply to emails
Now that you have successfully set up Gmail on your Apple Watch, you can start using the Gmail app to conveniently read and reply to emails directly from your wrist. Follow these steps to use the Gmail app on your Apple Watch:
- On your Apple Watch, press the Digital Crown to access the app grid.
- Scroll through the apps and find the Gmail app icon.
- Tap on the Gmail app icon to launch it.
- You will see a list of your most recent emails in the Gmail app on your Apple Watch.
- Swipe up or down to navigate through the emails.
- Tap on an email to open and read its contents.
- To reply to an email, scroll down to the bottom of the email and tap on “Reply”.
- You can dictate your reply or choose from a list of predefined responses.
- After composing your reply, tap on “Send”.
The Gmail app on your Apple Watch provides a simplified interface that allows you to quickly triage and respond to your emails. While you may not have access to all the features and options available on your iPhone or computer, it offers a convenient way to stay connected and manage your emails on the go.
By using the Gmail app on your Apple Watch, you can easily keep up with your important emails without having to pull out your iPhone. Whether you’re out for a run, in a meeting, or simply prefer the convenience of checking your emails on your wrist, the Gmail app on your Apple Watch ensures that you are always connected.
Now that you know how to use the Gmail app on your Apple Watch, you can enjoy the convenience of accessing your emails wherever you are. Stay efficient and stay connected with Gmail on your wrist!
Conclusion
Congratulations! You have successfully learned how to get Gmail on your Apple Watch and make the most out of its features. By following the steps outlined in this guide, you can now receive real-time email notifications, read and reply to emails, and stay connected to your Gmail account right from your wrist.
Having Gmail on your Apple Watch offers numerous benefits, such as the ability to stay informed about your emails without constantly checking your iPhone. Whether you’re on the go, in a meeting, or simply want a more convenient way to manage your emails, the integration of Gmail on your Apple Watch ensures that you won’t miss any important communication.
Remember to install the Gmail app on your iPhone, set up notifications to receive alerts on your Apple Watch, sync your Gmail account with the watch, customize the Gmail notification settings on the Apple Watch, and use the Gmail app on your watch to read and reply to emails. These steps will help you maximize the use of Gmail on your Apple Watch.
Now, you can enjoy the convenience of checking and responding to your emails without the need to pull out your iPhone every time. Stay connected and productive with Gmail on your wrist!
Thank you for reading this guide. We hope you found it helpful and that you enjoy using Gmail on your Apple Watch. Stay connected, stay productive, and make the most out of your wearable device!


