Introduction
Welcome to our guide on how to connect your Apple Watch to the internet! The ability to connect your Apple Watch to the internet opens up a world of possibilities. You can receive notifications, stream music, use GPS, and even make calls directly from your wrist. Whether you have an Apple Watch with cellular capabilities or you want to connect it to Wi-Fi, we’ve got you covered with step-by-step instructions.
Connecting your Apple Watch to the internet can enhance your overall user experience and allow you to take full advantage of its features and apps. If you have a cellular-enabled Apple Watch, you can stay connected even when your iPhone is out of range. On the other hand, connecting your Apple Watch to Wi-Fi provides you with a faster and more reliable internet connection, especially in areas with poor cellular reception.
Before we dive into the step-by-step process, it’s important to note that you’ll need an iPhone to set up your Apple Watch and establish an internet connection. Additionally, your iPhone must be compatible with your Apple Watch model and have a cellular data plan if you want to use cellular connectivity.
In this guide, we’ll walk you through the process of connecting your Apple Watch to Wi-Fi and cellular data. We’ll also cover some troubleshooting tips in case you encounter any internet connection issues. So, without further ado, let’s get started and get your Apple Watch connected to the internet!
Step 1: Check your Apple Watch and iPhone requirements
Before you begin the process of connecting your Apple Watch to the internet, it’s important to ensure that both your Apple Watch and iPhone meet the necessary requirements. Here’s what you need to keep in mind:
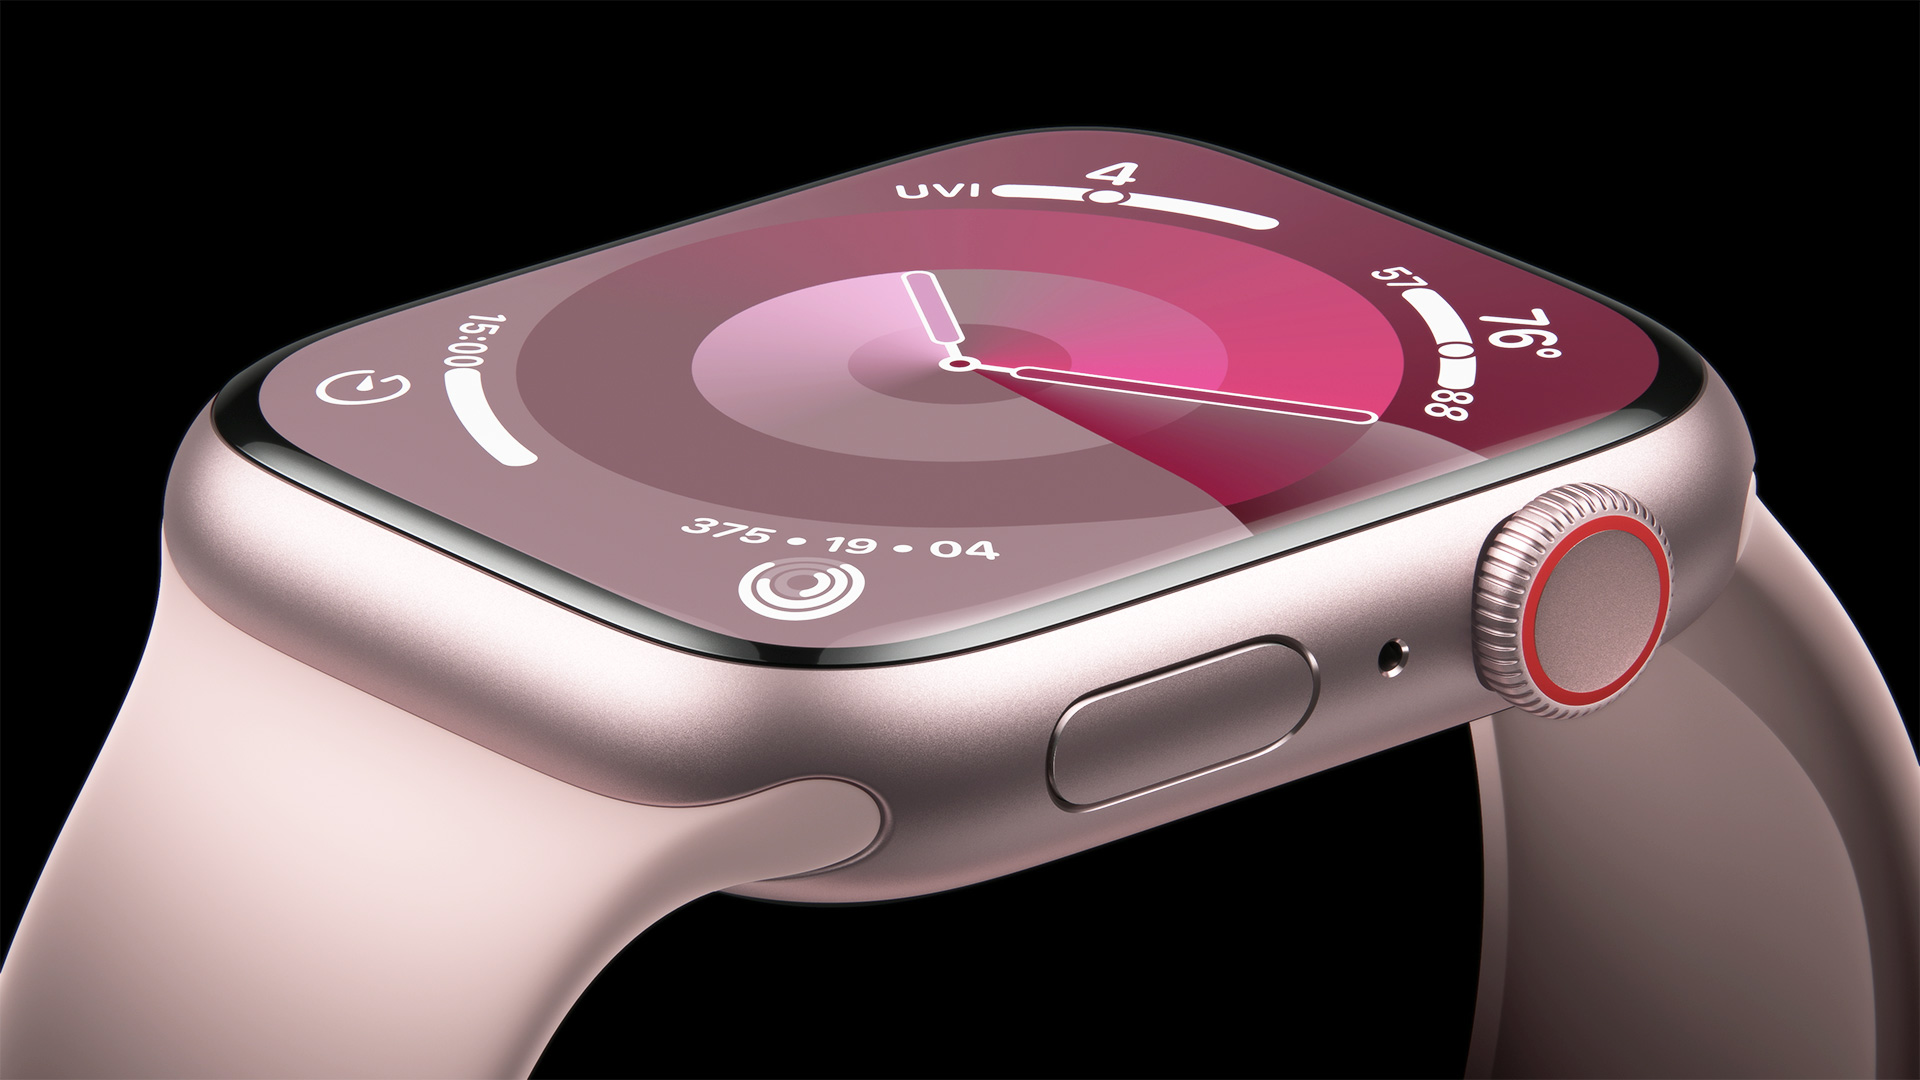
- Apple Watch model: Not all Apple Watch models have cellular capabilities. If you want to use cellular connectivity, make sure you have an Apple Watch Series 3 or later with cellular support.
- iPhone compatibility: Your iPhone must be compatible with your Apple Watch model. For instance, if you have an Apple Watch Series 5, your iPhone needs to be an iPhone 5s or newer running iOS 13 or later.
- Cellular data plan: If you own a cellular-enabled Apple Watch and want to use cellular connectivity, you need to have an active cellular data plan with a supported carrier. Check with your carrier to ensure that your plan supports Apple Watch connectivity.
- Bluetooth and Wi-Fi: To establish the initial connection and set up your Apple Watch, both Bluetooth and Wi-Fi need to be enabled on your iPhone. Make sure these features are turned on before proceeding.
Once you’ve confirmed that your Apple Watch and iPhone meet these requirements, you’re ready to move on to the next steps of connecting your Apple Watch to the internet. Whether you choose to connect via Wi-Fi or cellular, the following steps will guide you through the process.
Now that you’re familiar with the requirements, let’s move on to the next step: connecting your Apple Watch to Wi-Fi or cellular data.
Step 2: Connect your Apple Watch to Wi-Fi
If you prefer to connect your Apple Watch to Wi-Fi, follow these steps to establish a connection:
- Ensure that your iPhone is connected to a Wi-Fi network.
- Open the Apple Watch app on your iPhone.
- Navigate to the “My Watch” tab at the bottom of the screen.
- Tap on “General” and then select “Wi-Fi”.
- In the Wi-Fi settings, make sure that the toggle button for “Wi-Fi” is turned on.
- A list of available Wi-Fi networks will appear on your Apple Watch. Select the network you want to connect to.
- If the network is password-protected, enter the password using the on-screen keyboard on your Apple Watch.
- Wait for your Apple Watch to establish a connection to the Wi-Fi network.
Once your Apple Watch is connected to the Wi-Fi network, it will use this connection whenever your iPhone is out of range. This ensures that you can still receive notifications, use apps, and enjoy other internet-related features on your Apple Watch.
If you ever need to change the Wi-Fi network on your Apple Watch, simply follow the same steps outlined above and select a different network from the list. It’s important to note that your Apple Watch will automatically connect to known Wi-Fi networks, so you won’t have to manually select them every time.
Congratulations! Your Apple Watch is now connected to Wi-Fi, providing you with a reliable and fast internet connection on your wrist. In the next step, we’ll explore how to connect your Apple Watch to cellular data.
Step 3: Connect your Apple Watch to Cellular
If you have a cellular-enabled Apple Watch, you can connect directly to cellular data without relying on your iPhone. Follow these steps to set up cellular connectivity:
- Ensure that your iPhone and Apple Watch are in close proximity.
- Open the Apple Watch app on your iPhone.
- Navigate to the “My Watch” tab at the bottom of the screen.
- Tap on “Cellular” and then select “Set Up Cellular”.
- Follow the prompts to complete the setup process, including confirming your cellular plan details.
- Once the setup is complete, you can choose whether to enable “Cellular Data” or “Voice and Data” on your Apple Watch.
Enabling “Cellular Data” allows your Apple Watch to use cellular data for internet-related activities, such as browsing the web and using apps. Enabling “Voice and Data” allows you to make and receive calls directly on your Apple Watch, even when your iPhone is not nearby.
Please note that additional carrier fees may apply for enabling cellular connectivity on your Apple Watch. It’s important to check with your carrier for information on data plans and pricing.
With your Apple Watch now connected to cellular data, you can enjoy a seamless internet experience even when your iPhone is out of range. Stay connected, stream music, use GPS, and make calls right from your wrist.
In case you encounter any issues with your cellular connection, please refer to the next step for troubleshooting tips.
Step 4: Troubleshooting common internet connection issues
While connecting your Apple Watch to the internet is usually a smooth process, you may occasionally encounter some common issues. Here are a few troubleshooting tips to help you resolve any internet connection issues:
- Check your Wi-Fi or cellular signal: Make sure that your Apple Watch is within range of a known Wi-Fi network or has a strong cellular signal. Poor signal strength can cause connection problems.
- Restart your Apple Watch: Sometimes, a simple restart can fix connectivity issues. Go to the settings on your Apple Watch, select “General”, and choose “Restart” to restart your device.
- Restart your iPhone: Restarting your iPhone can also help resolve connectivity problems. Simply turn off your iPhone, wait a few seconds, and then turn it back on.
- Toggle Wi-Fi or cellular off and on: In the settings on your Apple Watch, try turning off Wi-Fi or cellular data, wait a few seconds, and then turn it back on. This can refresh the connection and resolve any temporary issues.
- Update your software: Ensure that both your iPhone and Apple Watch have the latest software updates installed. Outdated software can sometimes cause compatibility issues with internet connectivity.
- Reset network settings: If you’re still experiencing issues, you can try resetting the network settings on your Apple Watch. Go to the settings, select “General”, then “Reset”, and choose “Reset Network Settings”. Keep in mind that this will remove all saved Wi-Fi networks and passwords from your Apple Watch.
If none of these troubleshooting steps resolve your internet connection issues, it’s recommended to contact Apple Support or your carrier for further assistance. They will be able to provide more specific solutions to help you get back online.
By following these troubleshooting tips, you can resolve common internet connection issues and ensure that your Apple Watch stays connected to the internet.
Conclusion
Congratulations! You have successfully learned how to connect your Apple Watch to the internet. Whether you choose to connect via Wi-Fi or cellular data, having an internet connection on your Apple Watch opens up a world of possibilities.
By following the step-by-step instructions in this guide, you can ensure that your Apple Watch is connected to the internet and ready to provide you with a seamless user experience. Whether you want to receive notifications, stream music, use GPS, or make calls directly from your wrist, you now have the knowledge to do so.
Remember to check the requirements of your Apple Watch and iPhone to ensure compatibility and have an active cellular data plan if you want to use cellular connectivity. If you encounter any issues, the troubleshooting tips provided in this guide can help you resolve common internet connection problems.
Now, go ahead and enjoy the full capabilities of your Apple Watch. Stay connected, stay informed, and make the most of this powerful wearable device.
* Please note that the availability and functionality of certain features may vary depending on your Apple Watch model, carrier, and region.